Jetpack Compose系列(5) - 图片组件
Jetpack Compose中的常用图片组件有两个:Icon和Image。从命名上就不难看出这两个组件在内容呈现上就是负责图形和图片相关。
需要说明的是,Compose获取资源方式有四种:
· 文本 -> stringResource(R.string.hello_world)
· 颜色 -> colorResource(R.color.black)
· 尺寸 -> dimensionResource(R.dimen.padding)
· 图片 -> painterResource(R.drawable.head_icon)
而Icon和Image毫无疑问都是图片资源。
Icon

Icon共有三种构造函数:
fun Icon(bitmap: ImageBitmap,contentDescription: String?,modifier: Modifier = Modifier,tint: Color = LocalContentColor.current.copy(alpha = LocalContentAlpha.current)
)
fun Icon(imageVector: ImageVector,contentDescription: String?,modifier: Modifier = Modifier,tint: Color = LocalContentColor.current.copy(alpha = LocalContentAlpha.current)
)
fun Icon(painter: Painter,contentDescription: String?,modifier: Modifier = Modifier,tint: Color = LocalContentColor.current.copy(alpha = LocalContentAlpha.current)
)
三种函数仅第一个参数类型不一致,但均是Icon的实际内容。其他三个参数,分别为:
· contentDescription: 内容含义描述,用于 无障碍服务(考虑到一些视觉障碍的人使用,所以有个这个属性,会使用TTS语音播放将contentDescription属性读出来,告知用户此按钮的作用) ,如果这个Icon可以被触发,就需要解释它的含义,如果仅仅是装饰性质,可以忽略掉。
· modifier: 修饰器。
· tint: 着色器,可以直接修改Icon实质内容的颜色。(跟View体系的一个道理)
另外三个有区别的参数即:
· ImageBitmap: 位图。
· Painter: 抽象类,表示可被绘制的内容,类似于Android中的 Drawable。
· ImageVector: 矢量图。
Compose内置了几十个常用的图标,Icons里面定了5种MaterialDesign类型风格Outlined、Filled、Sharp、TwoTone、Rounded,可以根据自己的需要选择不同的类型。
下例我们引用官方提供的矢量图资源来显示五种类型Icon:
Row {Icon(Icons.Outlined.CheckCircle, contentDescription = null, tint = Color.Red)Icon(Icons.Filled.CheckCircle, contentDescription = null, tint = Color.Black)Icon(Icons.Sharp.CheckCircle, contentDescription = null, tint = Color.Blue)Icon(Icons.TwoTone.CheckCircle, contentDescription = null, tint = Color.Green)Icon(Icons.Rounded.CheckCircle, contentDescription = null, tint = Color.Red)
}
对应效果为:
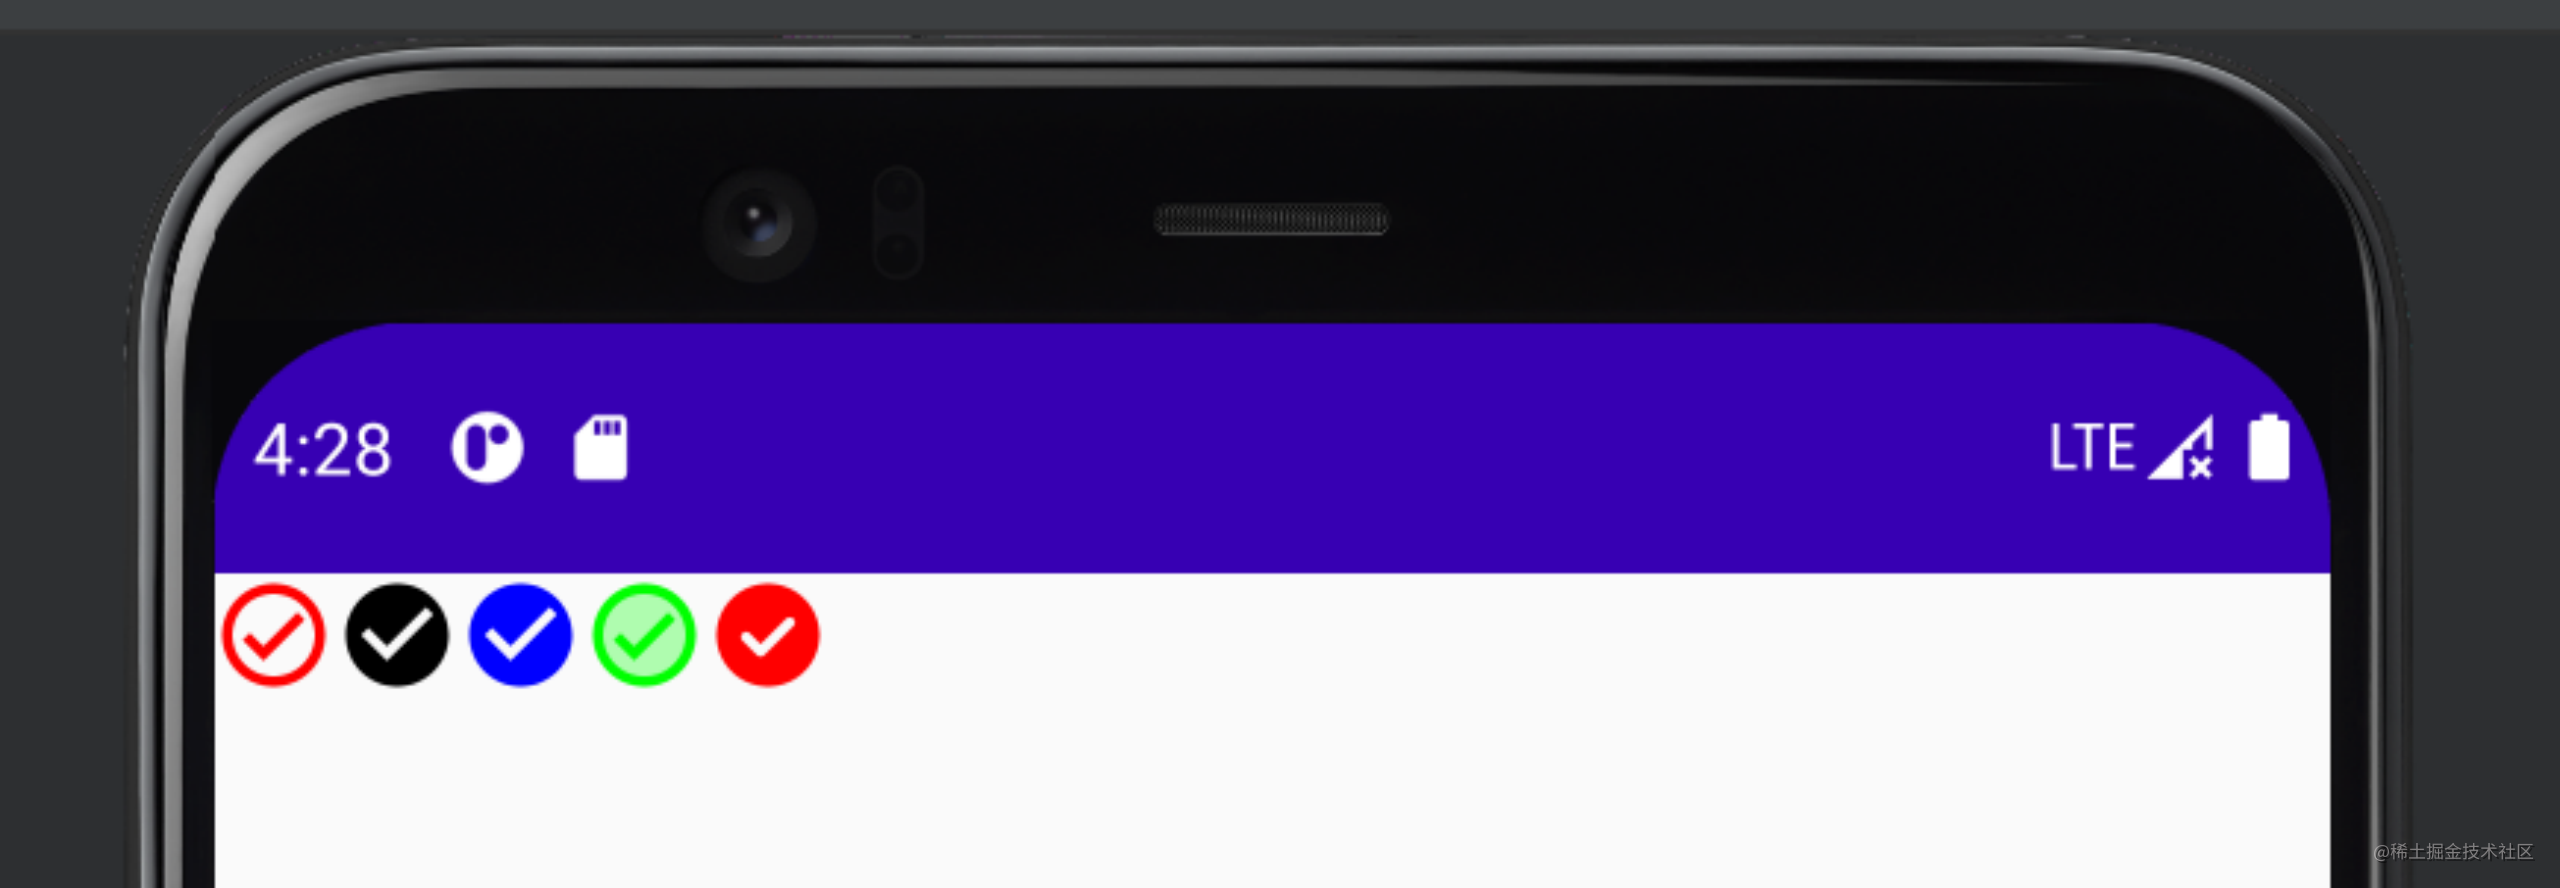
不难看出,这五种风格分别对应:
· Filled 默认类型,图形是内容填充风格。
· Outlined 轮廓型,只有描边,不做填充。
· Rounded 圆形,例如圆形启动图标。
· TwoTone 双调,不确定翻译doc是否写错,和Sharp完全一致。
· Sharp 例如直角图标。
这里需要提一下,代码中的图片资源文件是Compose内置的,除此之外默认常用的多达40+个,如果想用其他内置图标,可以在gradle中通过导入material-icons-extended依赖来使用:
dependencies {···implementation "androidx.compose.material:material-icons-extended:$compose_version"
}
但是全套图标会导致打包后的apk文件会过大,所以官方推荐使用导入图标文件的方法,详情可参考官方文档。
Painter
我们拿Painter写个简单的Icon:
Icon(painter = painterResource(id = R.mipmap.ic_launcher), null)
一运行,发现:

居然报错了!赶紧看下原因:

错误原因写得很清楚了,这里painter对象只只支持.png或.jpg格式图片,而原图片是.webp格式。
这回我们换个图片,如下:
Icon(painter = painterResource(id = R.mipmap.icon_text), null)
运行发现:

显示成黑色了,原图不是这样的啊。
这里需要说明的是,tint着色器默认模式是AmbientContentColor.current,我们要显示出原图色彩需要更换模式,设置tint的属性设置为Color.Unspecified。
代码可以修改为:
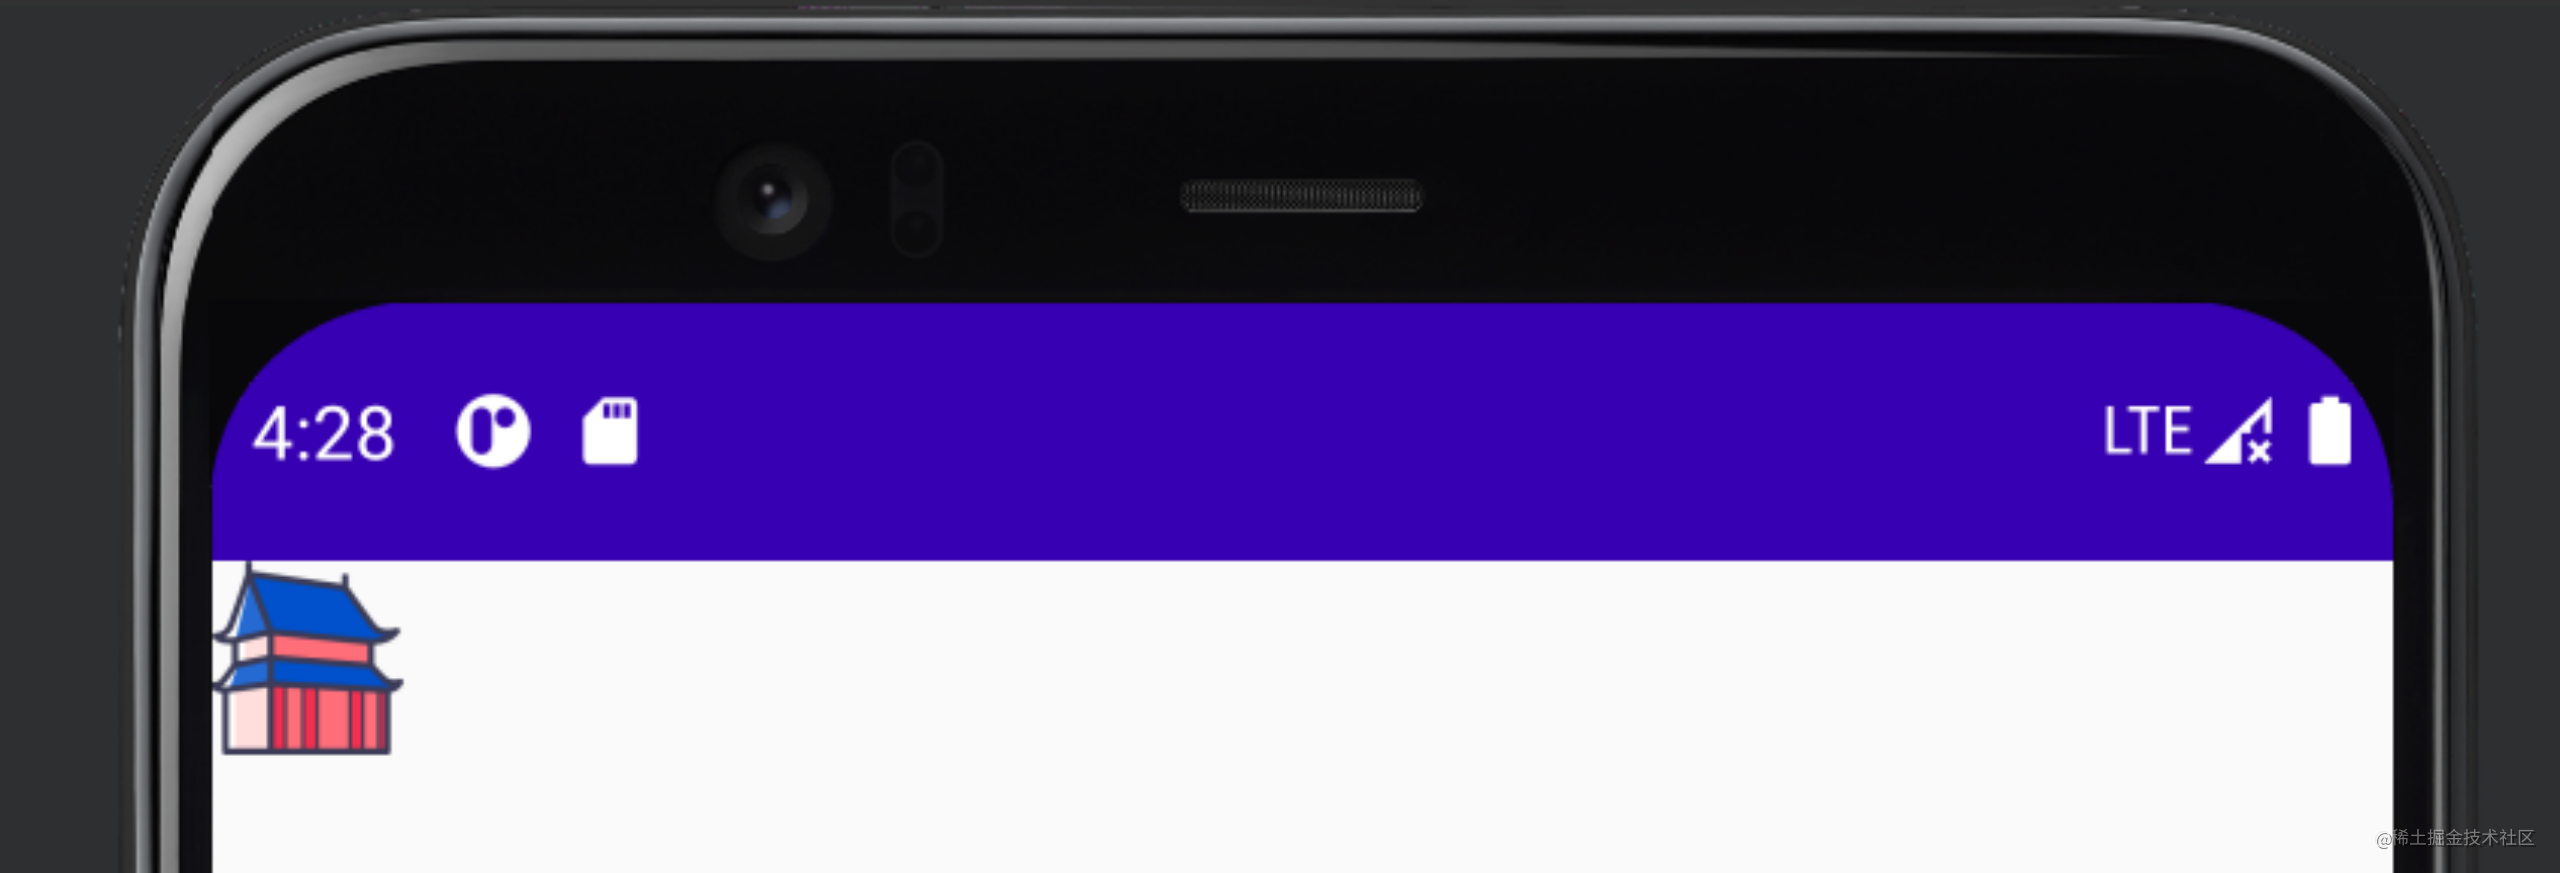
Icon(painter = painterResource(id = R.mipmap.icon_text), null, tint = Color.Unspecified)
对应的Icon也正常显示了:
Image
按照惯例,我们先看引用Image控件需要的参数。

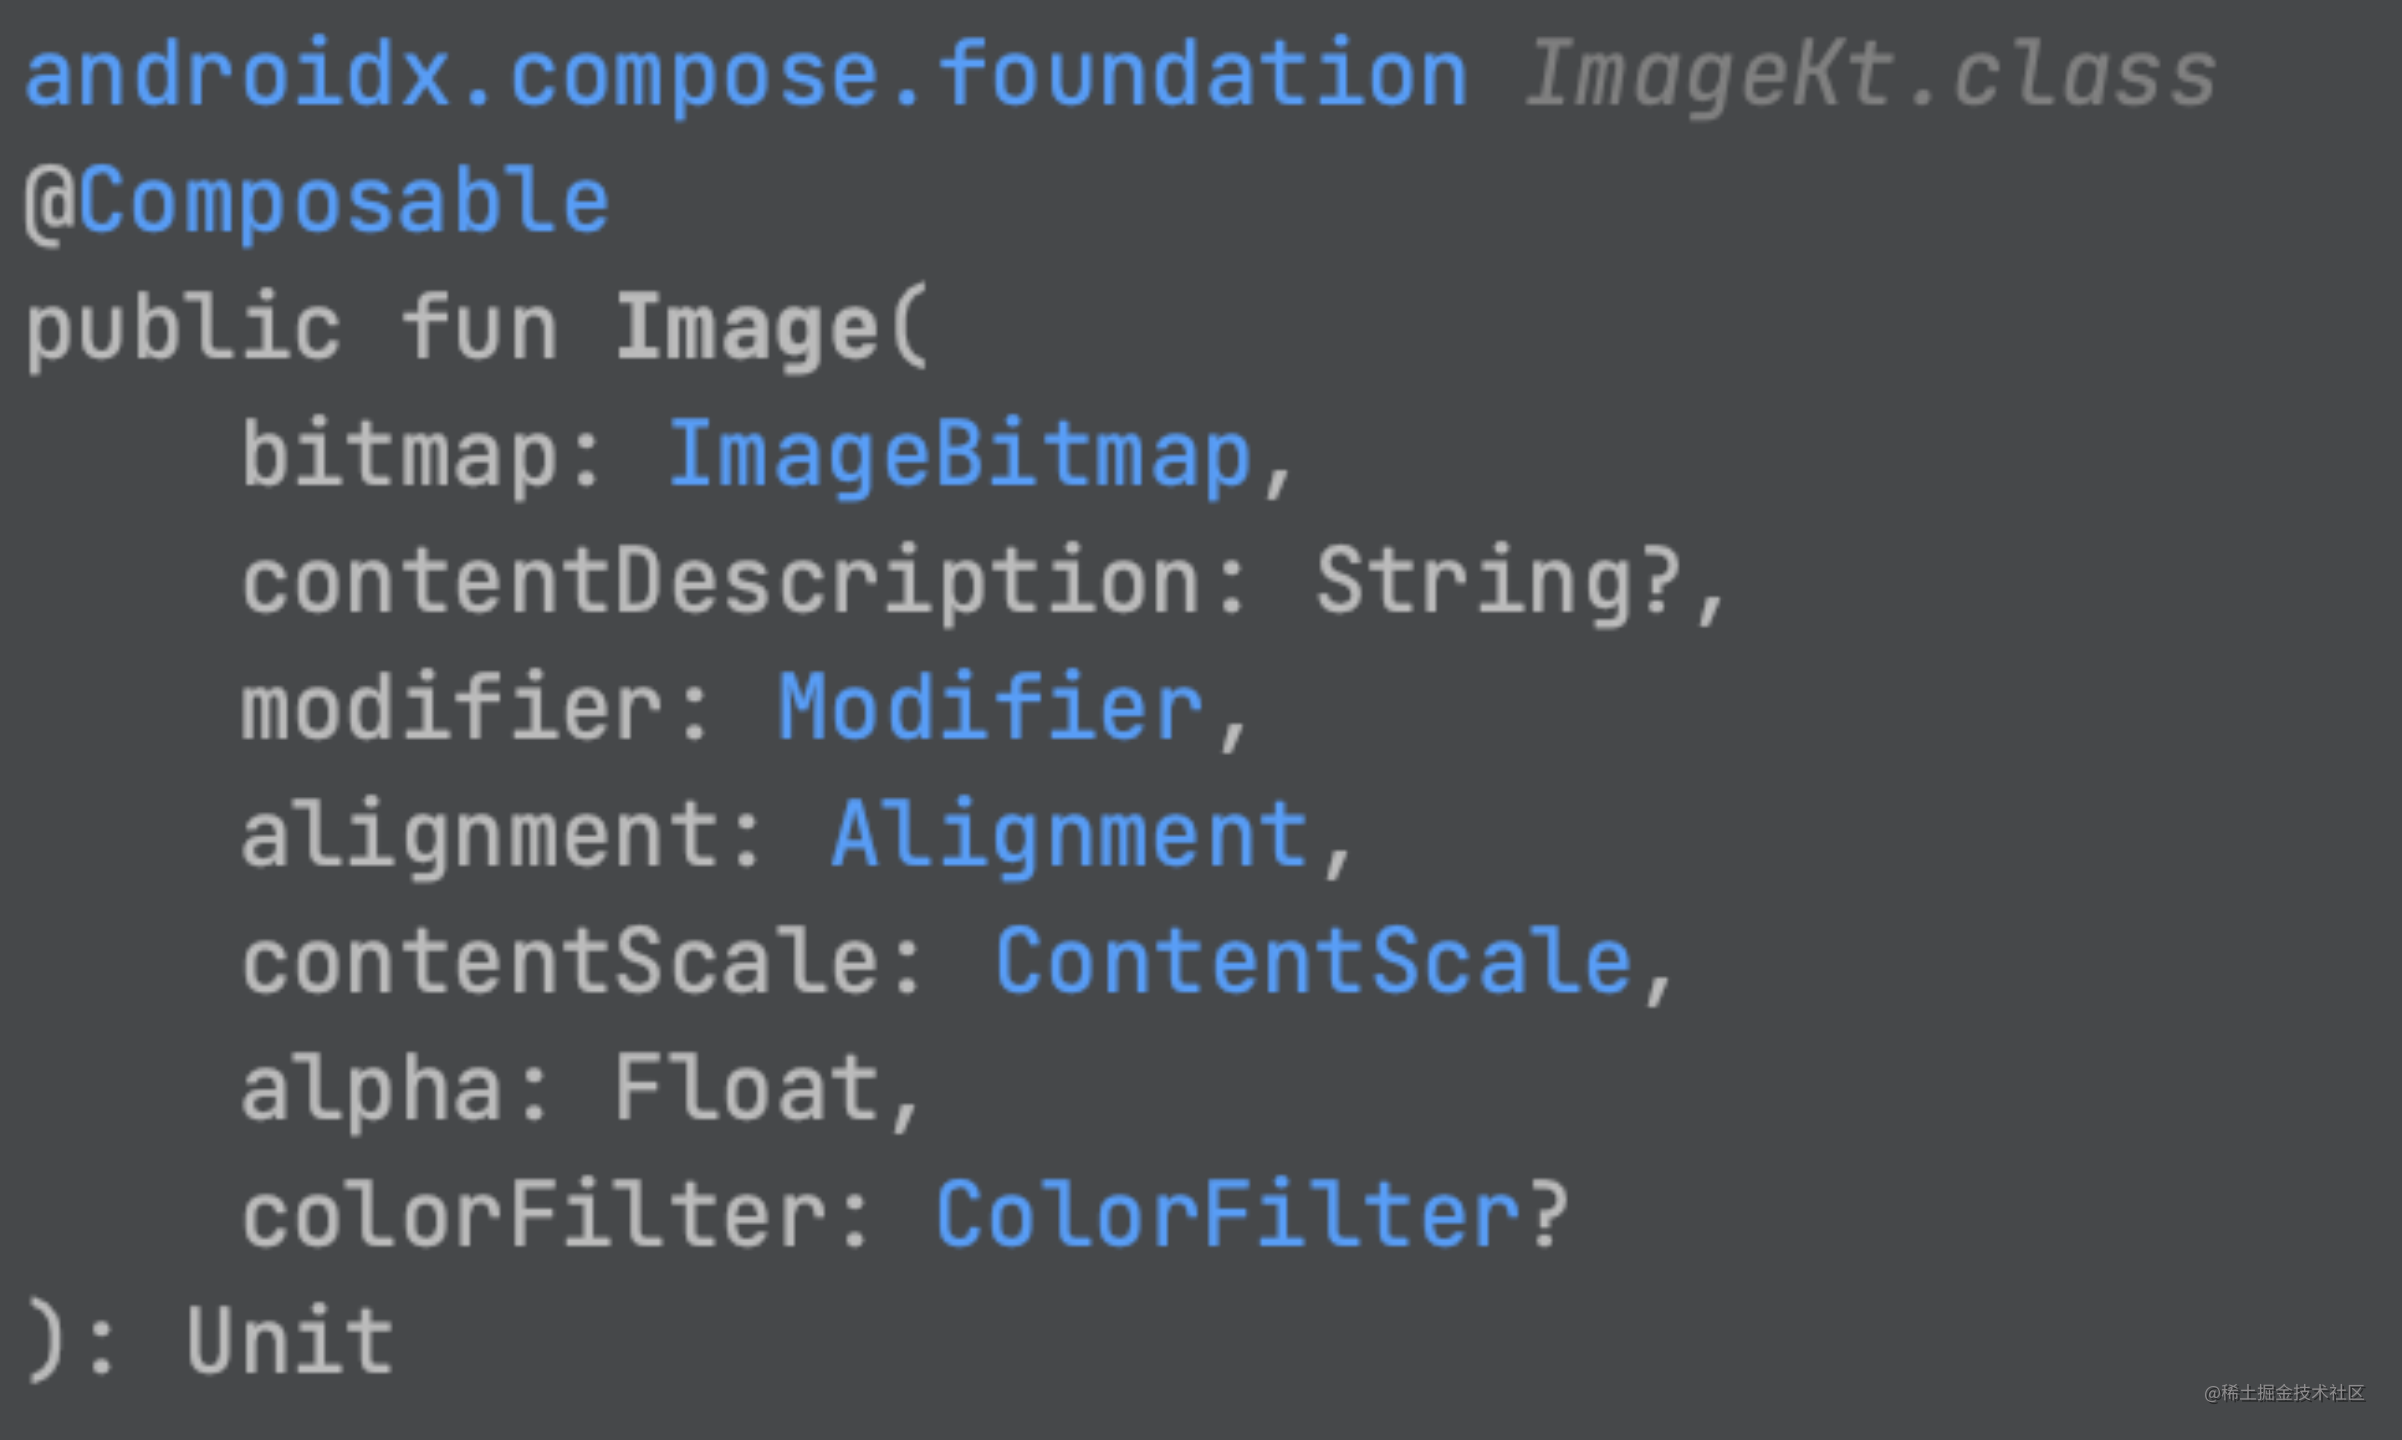
不难看出Image参数与Icon的基础参数几乎一致。使用方式事实上也一致,这里主要说下其他区别参数:
alignment:对齐方向
Image使用alignment的前提是设置了宽高。alignment对应的取值如下:
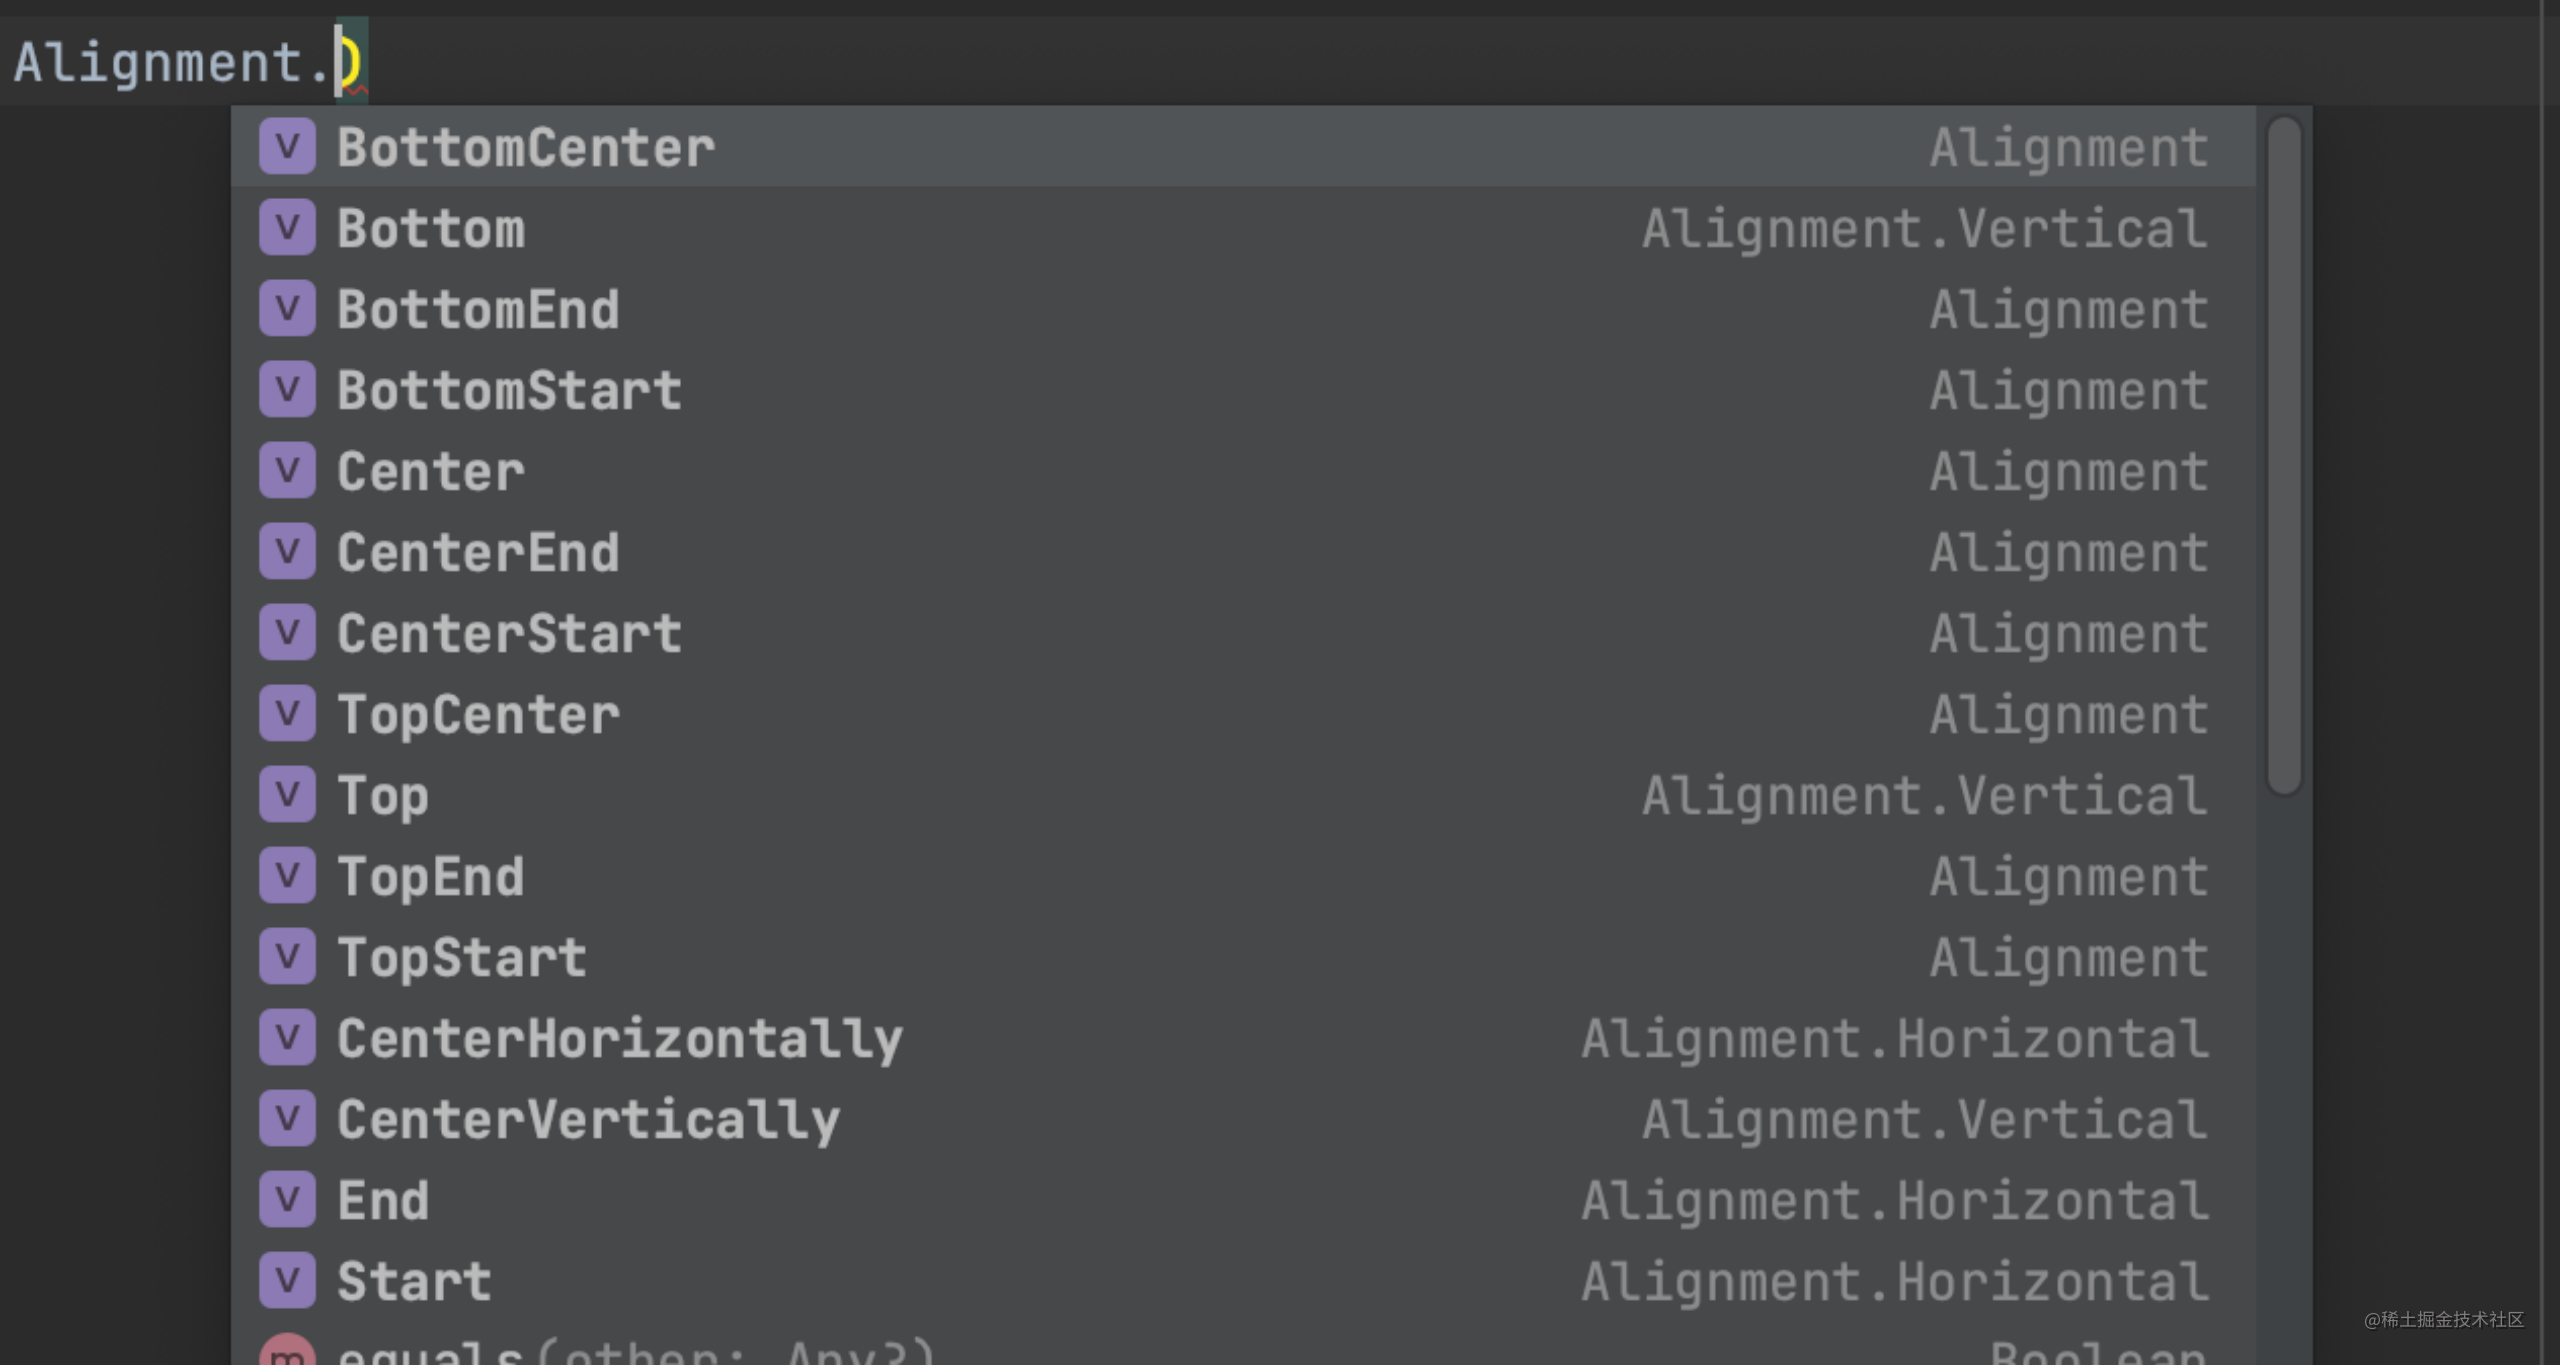
看词义就能猜到具体位置,这里不做赘述。
contentScale:缩放设置
其效果类似View体系中的ImageView scaleType属性,具体缩放值在ContentScale中:

其中这一项默认值为ContentScale.Fit。其余各参数解释如下:
· ContentScale.Crop: 裁剪;
· ContentScale.FillBounds: 拉伸图片宽高填满形状;
· ContentScale.FillHeight: 拉伸图片高度填满高度;
· ContentScale.FillWidth: 拉伸图片宽度填满宽度;
· ContentScale.Fit: 均匀缩放源(保持源的长宽比),以便源的两个维度(宽度和高度)都等于或小于目标的相应维度;
· ContentScale.Inside: 如果源大于目标,则缩放源以保持长宽比在目标边界内。 如果源在两个维度中都小于或等于目标,则此行为类似于None;
· ContentScale.None: 不缩放。
alpha透明度
数值范围为0f-1f之间,默认是1f,这没什么好讲的。
colorFilter:着色效果
将某种颜色应用到图片上,即使用颜色对图片进行混合加工,有如下三种设置方法:
· ColorFilter.tint(Color, BlendMode) :修改着色效果;
· ColorFilter.lighting(Color,AddColor) :在着色图片上添加AddColor颜色;
· ColorFilter.colorMatrix(colorMatrix) :修改着色矩阵。
一般来说,都是用在图片不变的基础上修改图片颜色。
Row {Image(modifier = Modifier.size(60.dp, 45.dp),painter = painterResource(id = R.drawable.icon_text),contentDescription = null,alpha = 1f,colorFilter = null)Image(modifier = Modifier.size(60.dp, 45.dp),painter = painterResource(id = R.drawable.icon_text),contentDescription = null,alpha = 1f,colorFilter = ColorFilter.tint(color = Color.Blue, BlendMode.SrcAtop))Image(modifier = Modifier.size(60.dp, 45.dp),painter = painterResource(id = R.drawable.icon_text),contentDescription = null,alpha = 1f,colorFilter = ColorFilter.lighting(multiply = Color.Blue,add = Color.Black))
}
对应的效果为:
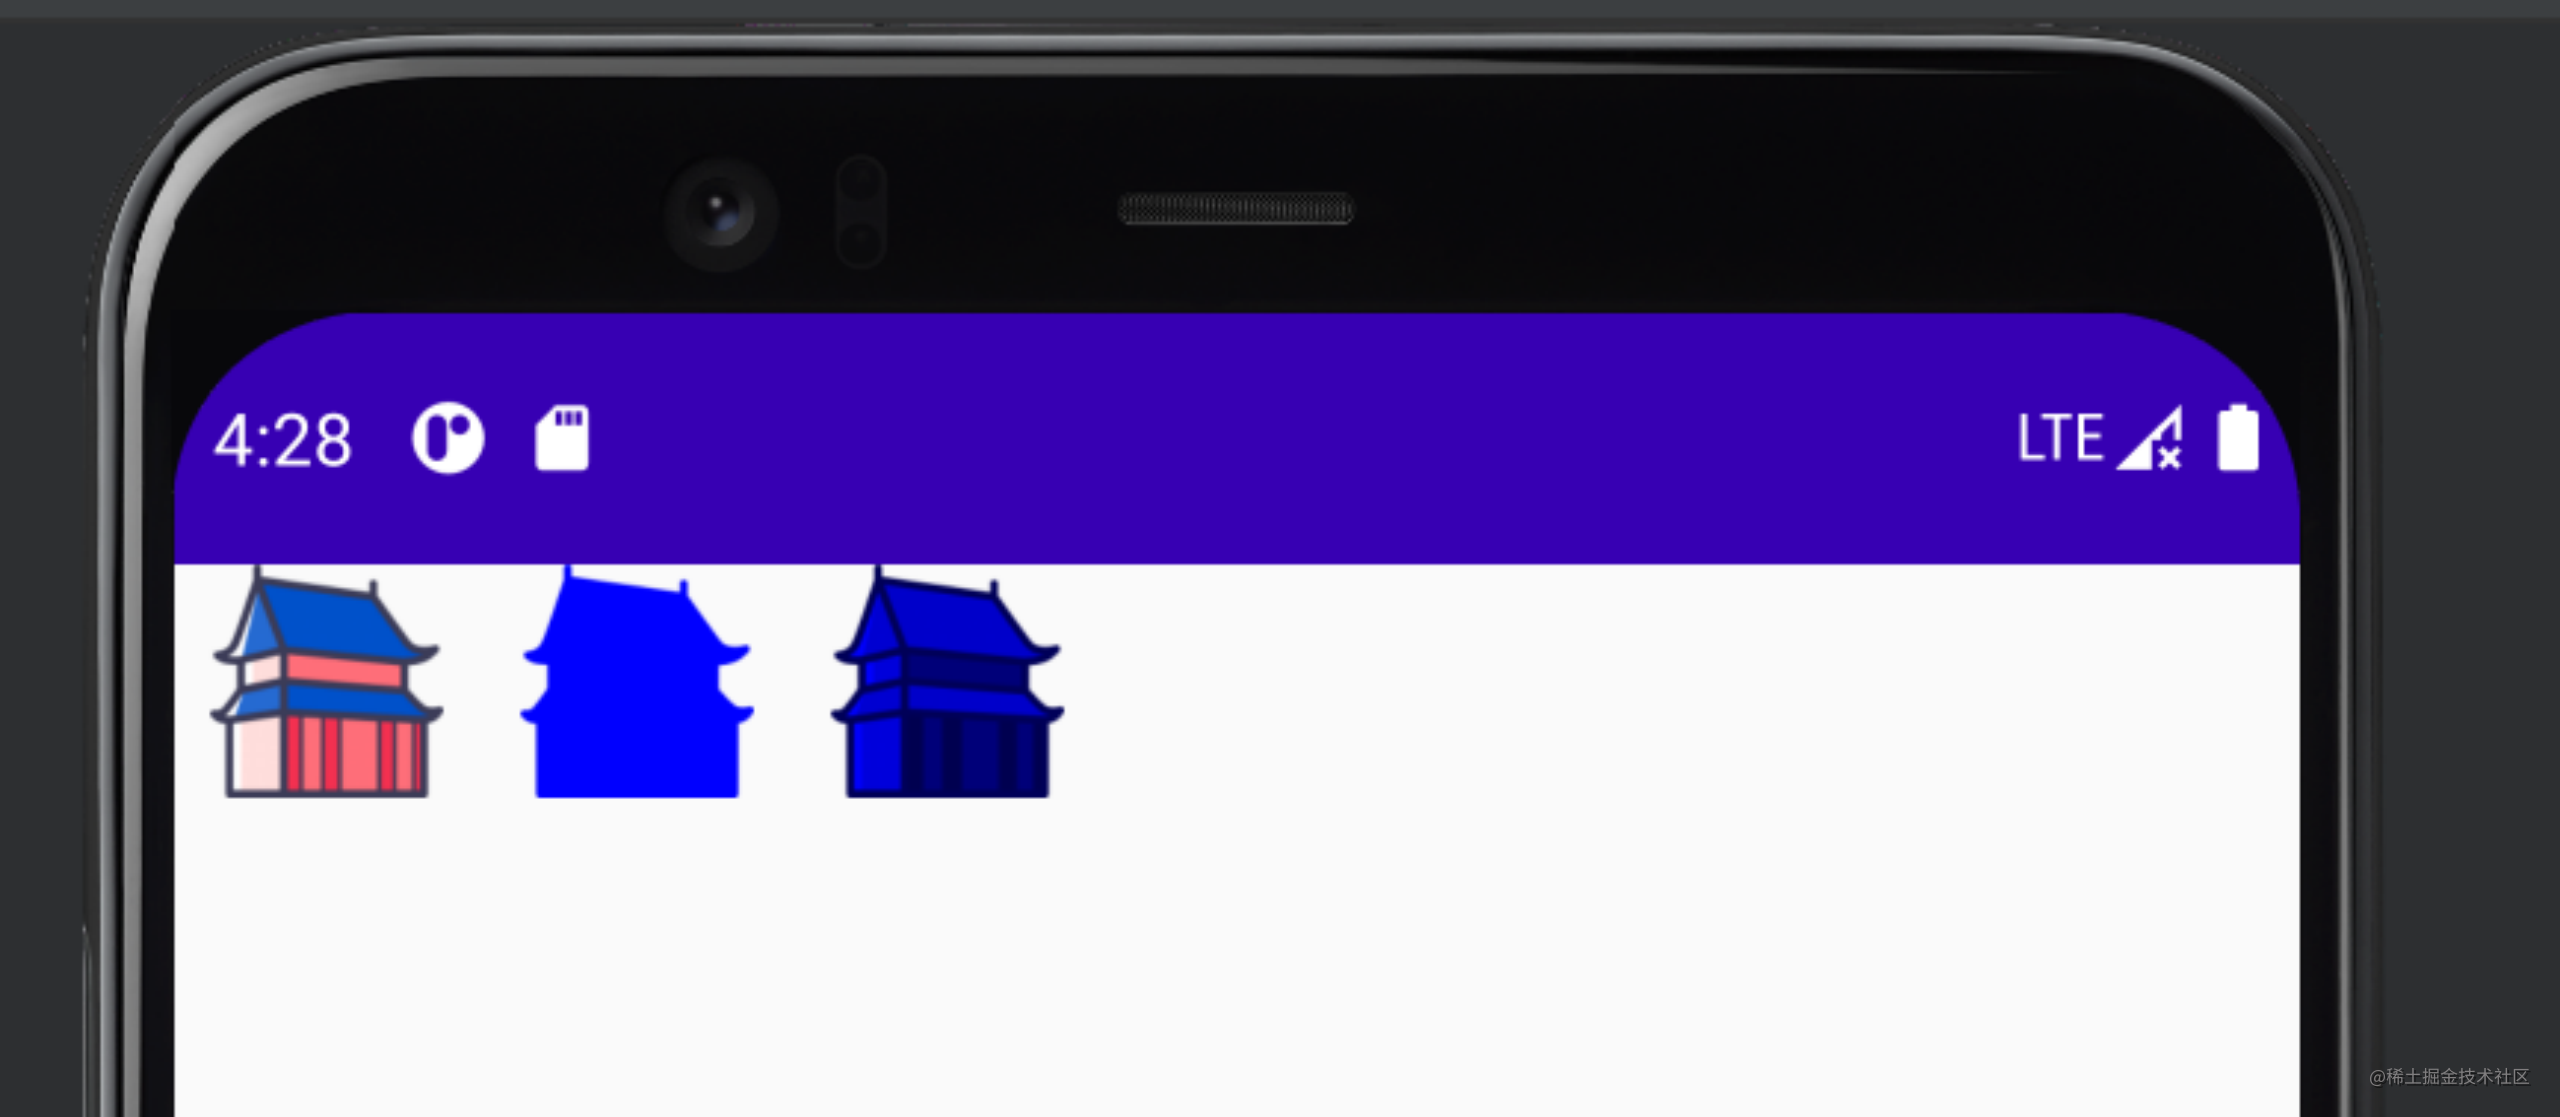
colorMatrix涉及到色彩矩阵,使用场景也较少,这里不再赘述。
![C# 从“byte[]”转换为“BitmapImage”](http://pic.xiahunao.cn/C# 从“byte[]”转换为“BitmapImage”)


![[leetcode] 22. 括号生成](http://pic.xiahunao.cn/[leetcode] 22. 括号生成)


)