第一次开发基于SpringBoot的Java应用
- 一、 方式1:IDEA创建New Project + Spring Boot官方文档的Getting Started
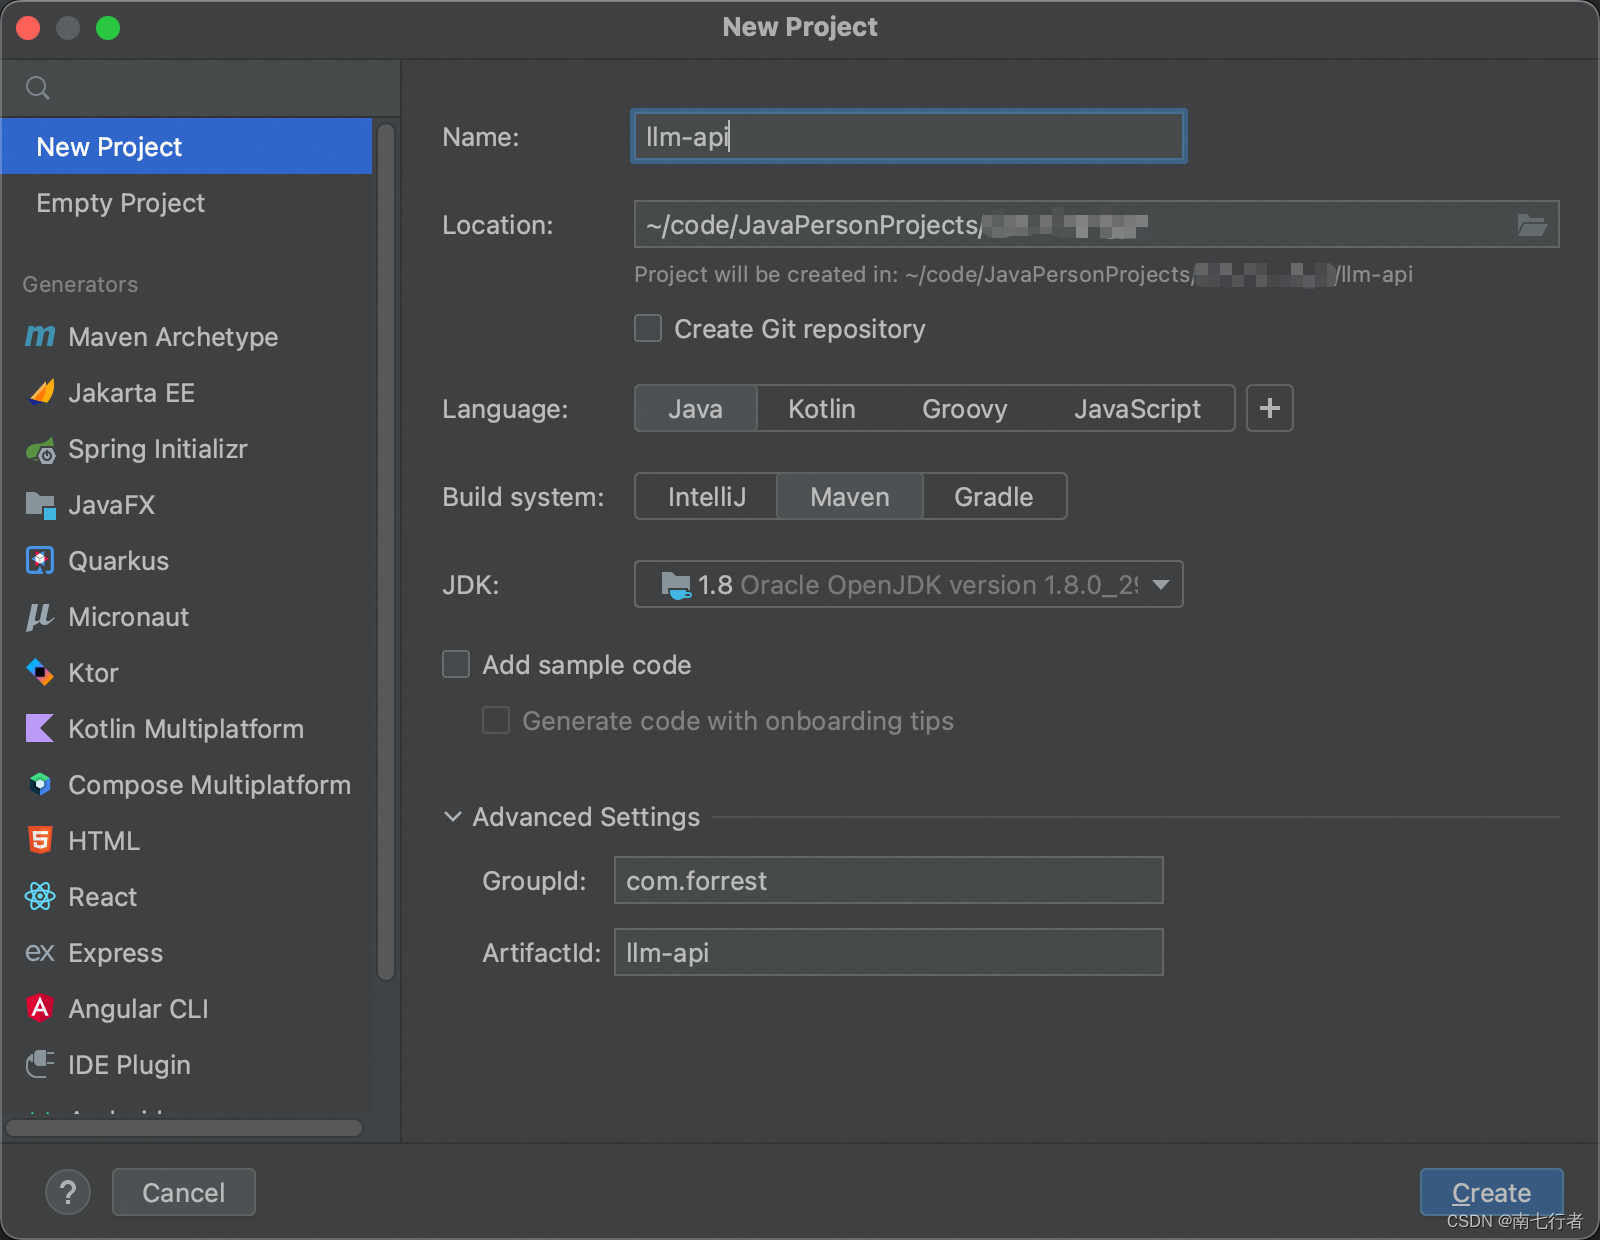
- 1、IDEA创建New Project
- 2、Spring Boot官方文档的Getting Started
- 2.1 Creating the POM (实际是,更新pom.xml)
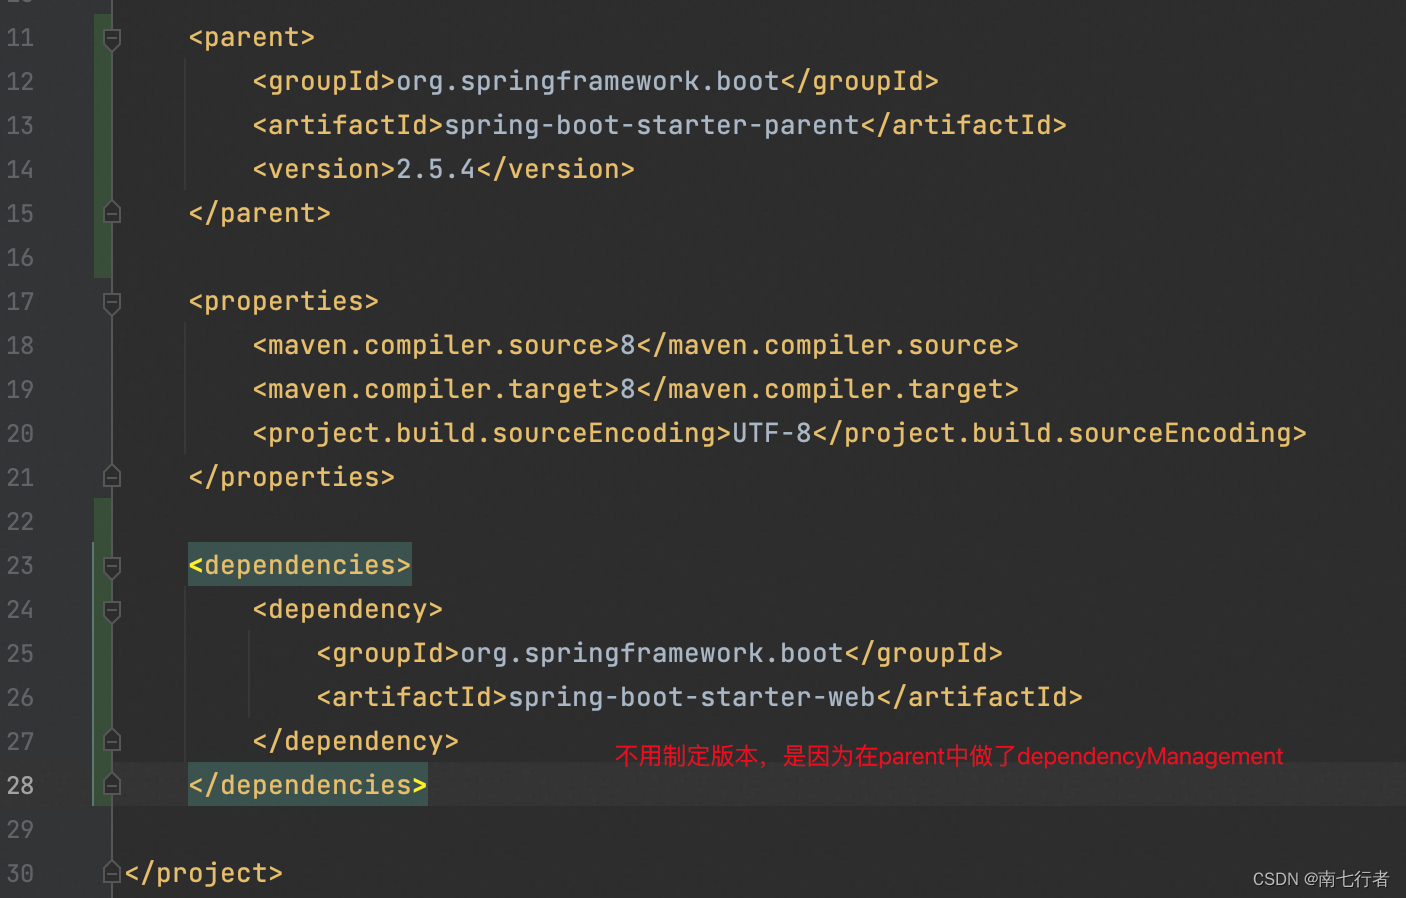
- 2.2 Adding Classpath Dependencies
- 2.3 Writing the Code
- 2.4 Running the Example
- 二、方式2:阿里云的脚手架
一、 方式1:IDEA创建New Project + Spring Boot官方文档的Getting Started
1、IDEA创建New Project
2、Spring Boot官方文档的Getting Started
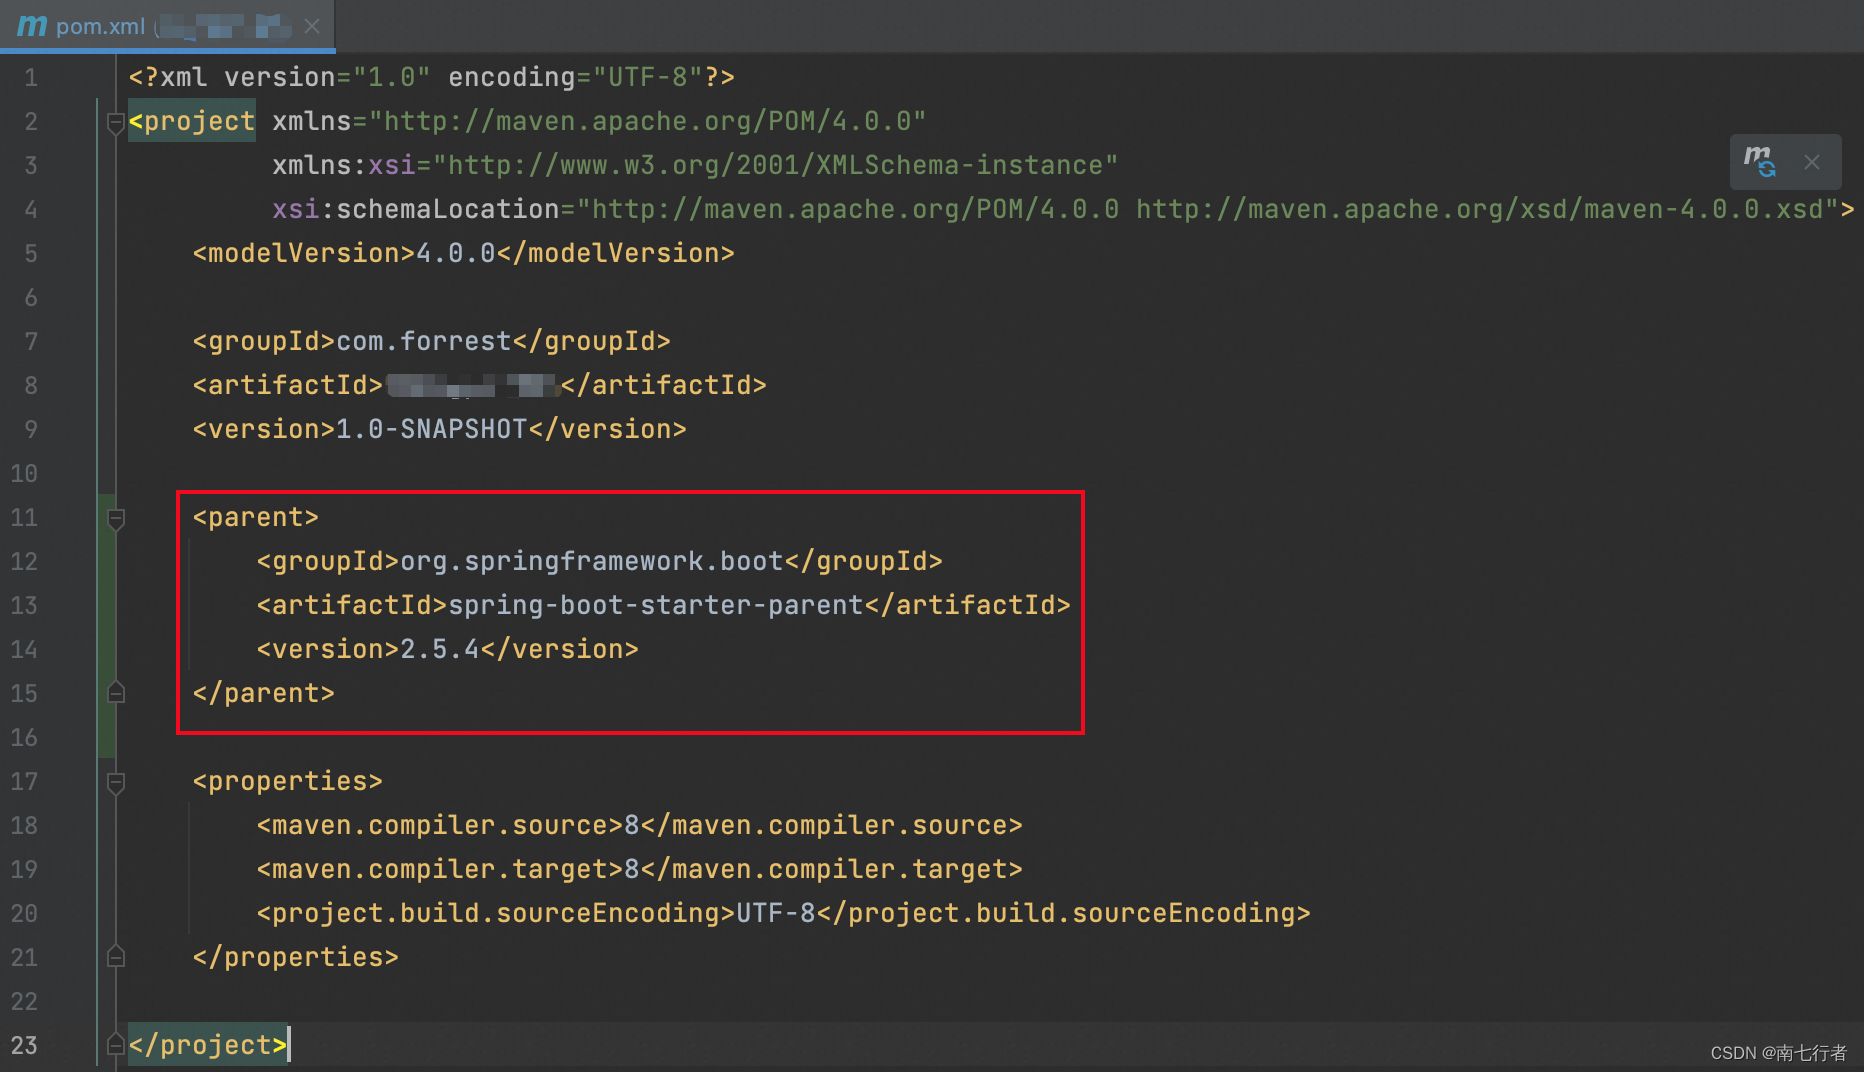
2.1 Creating the POM (实际是,更新pom.xml)
(1)在Maven中,
<parent>标签里的<version>是不能在<properties>标签里定义的。在<parent>标签中,咱必须直接指定<version>。
(2)这是因为Maven的解析顺序的问题,<properties>标签在解析时<parent>标签已经被解析过了。所以,父项目的版本号必须是硬编码的,不能引用属性。
2.2 Adding Classpath Dependencies
- 修改pom.xml:
<dependencies><dependency><groupId>org.springframework.boot</groupId><artifactId>spring-boot-starter-web</artifactId></dependency>
</dependencies>
2.3 Writing the Code
package com.forrest.start;import org.springframework.boot.SpringApplication;
import org.springframework.boot.autoconfigure.EnableAutoConfiguration;
import org.springframework.web.bind.annotation.RequestMapping;
import org.springframework.web.bind.annotation.RestController;/*** @since 2024/1/14*/
@RestController
@EnableAutoConfiguration
public class MyApplication {@RequestMapping("/")String home() {return "Hello World!";}public static void main(String[] args) {SpringApplication.run(MyApplication.class, args);}}
2.4 Running the Example


二、方式2:阿里云的脚手架
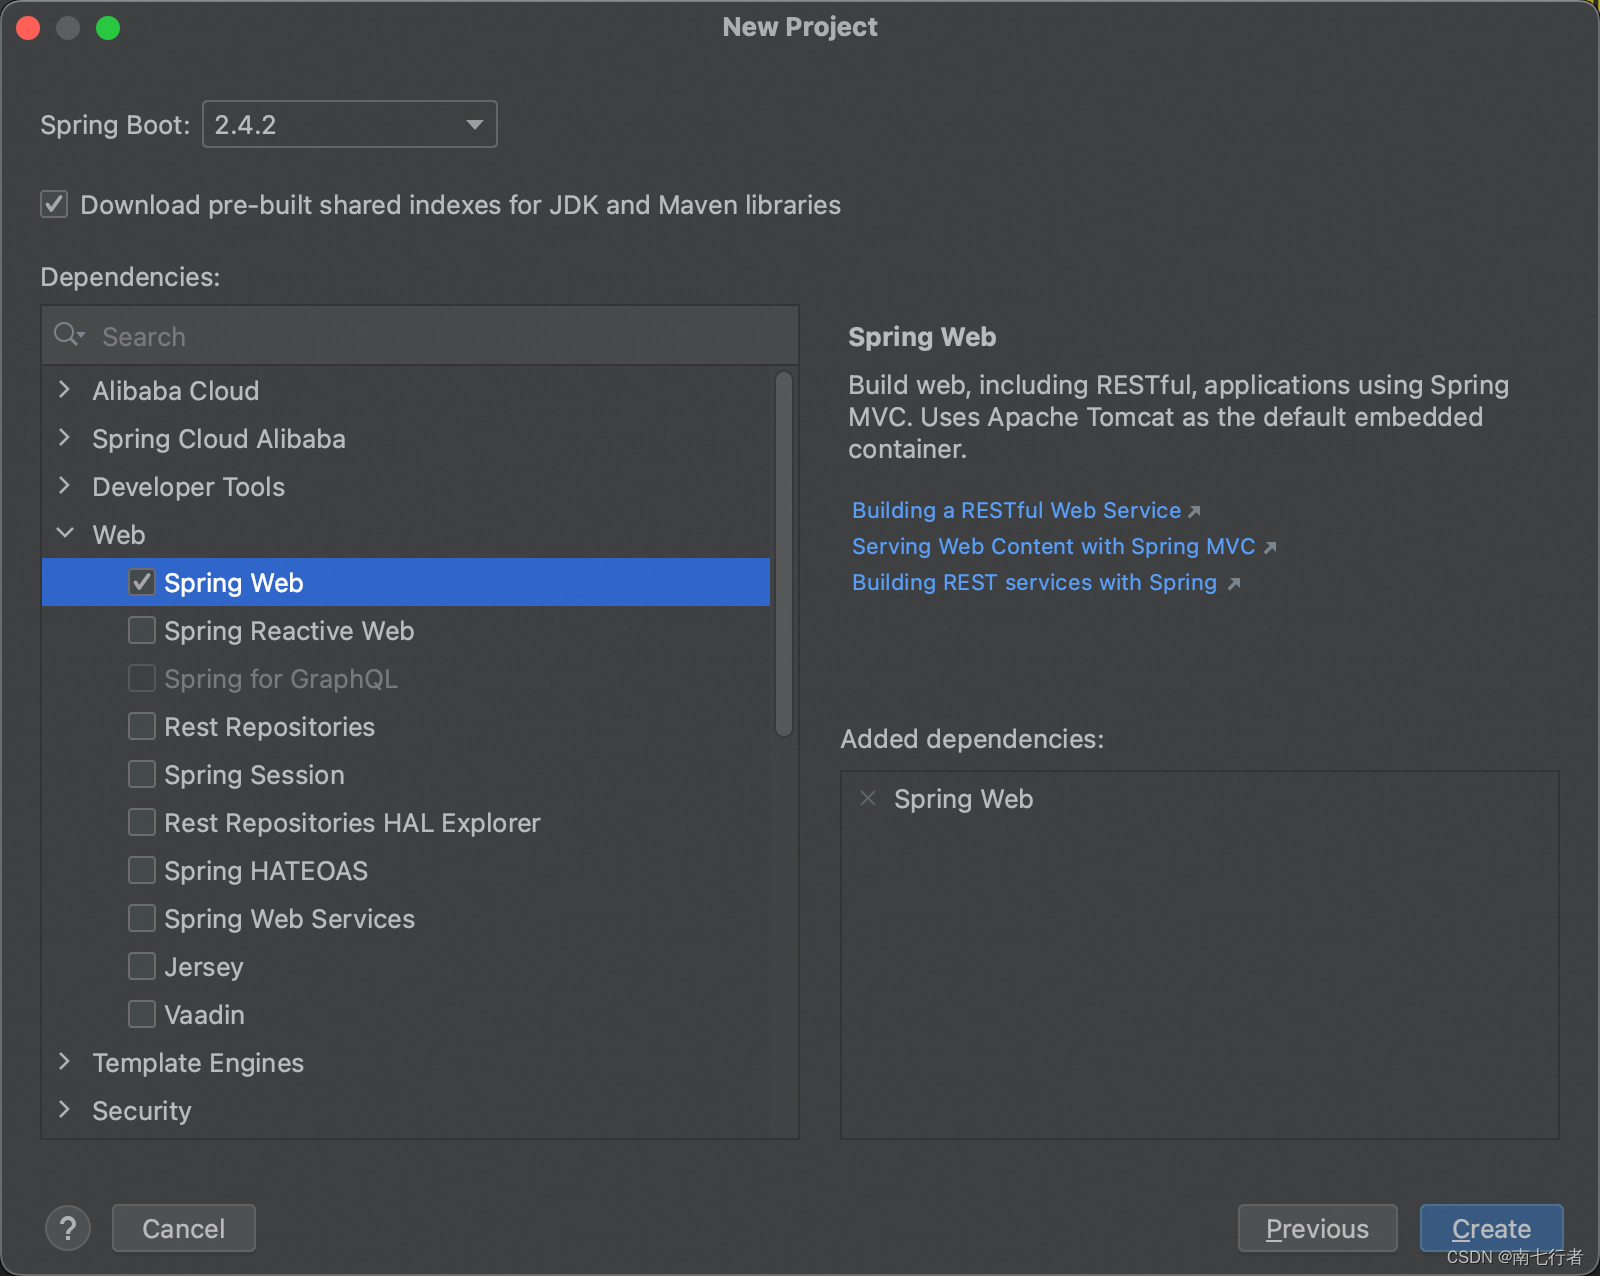
- 创建
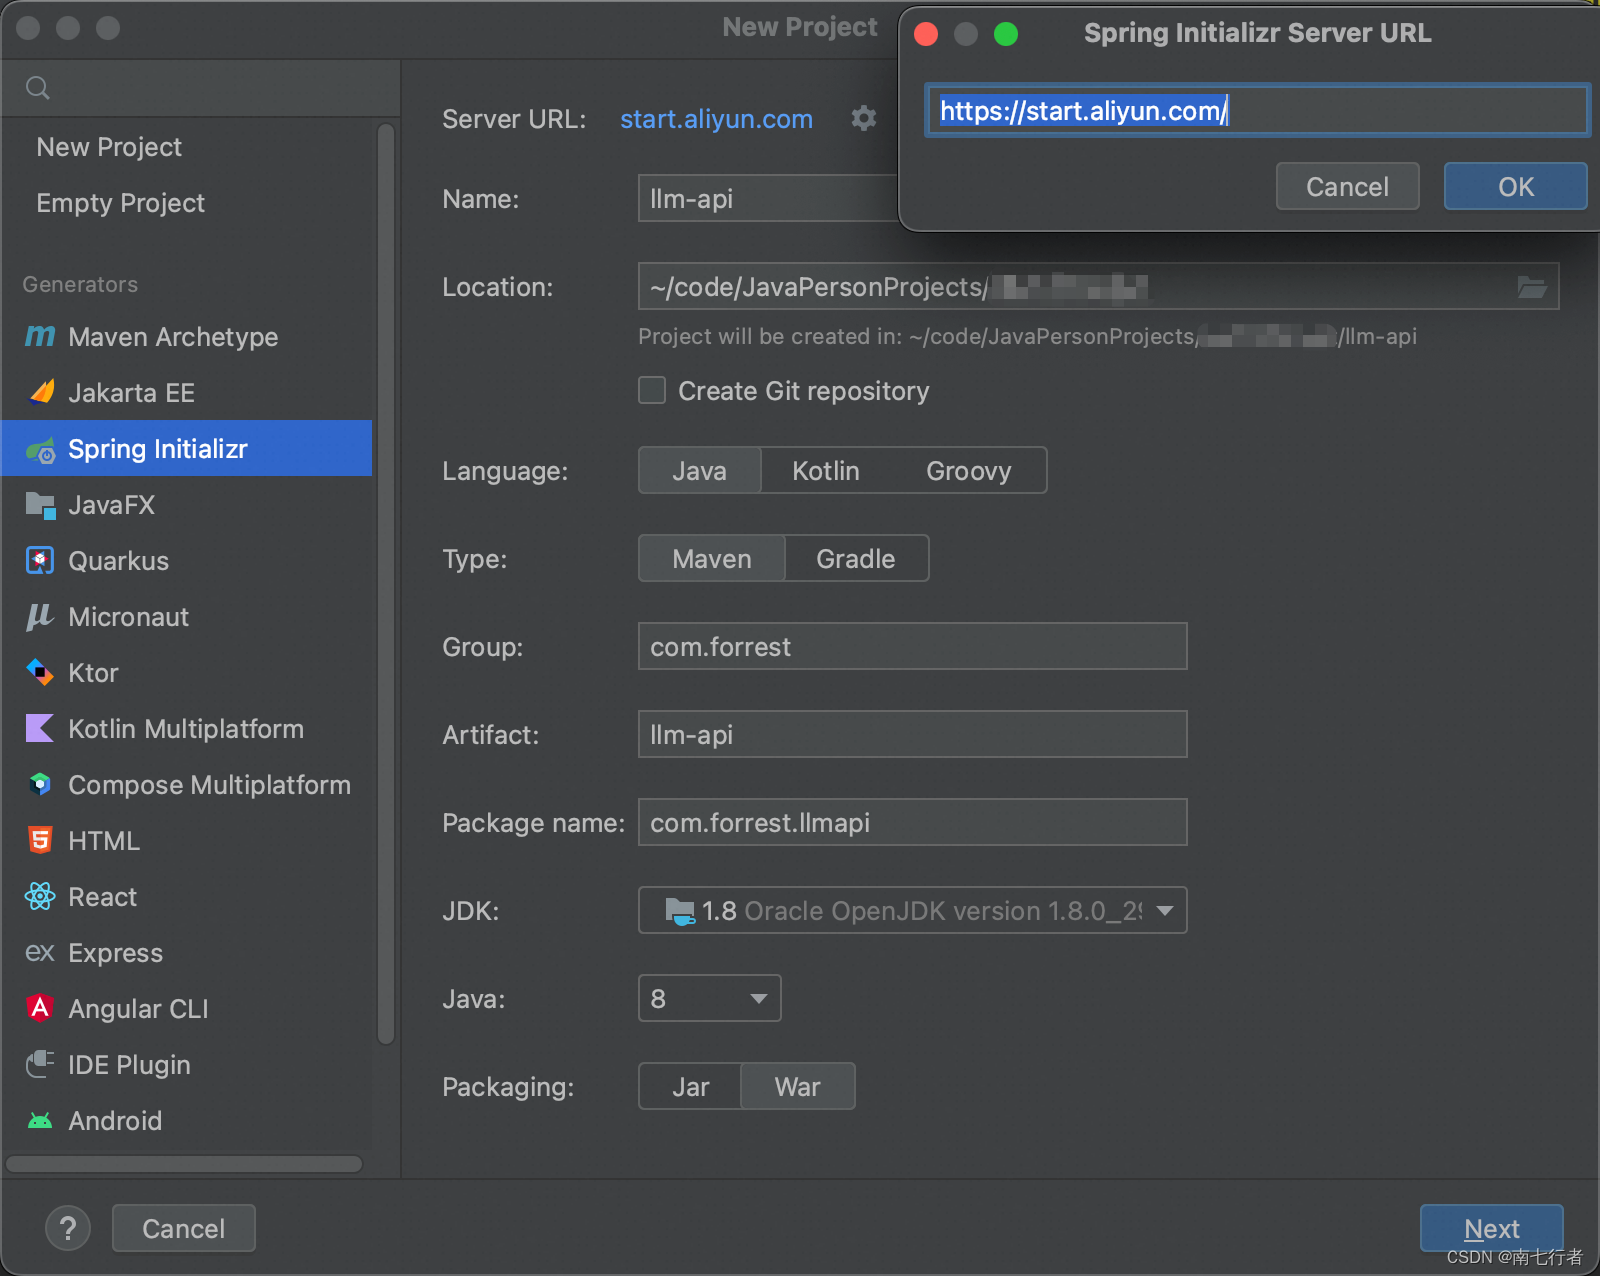
Spring官方的脚手架,已经不支持Java8了:)
- 启动
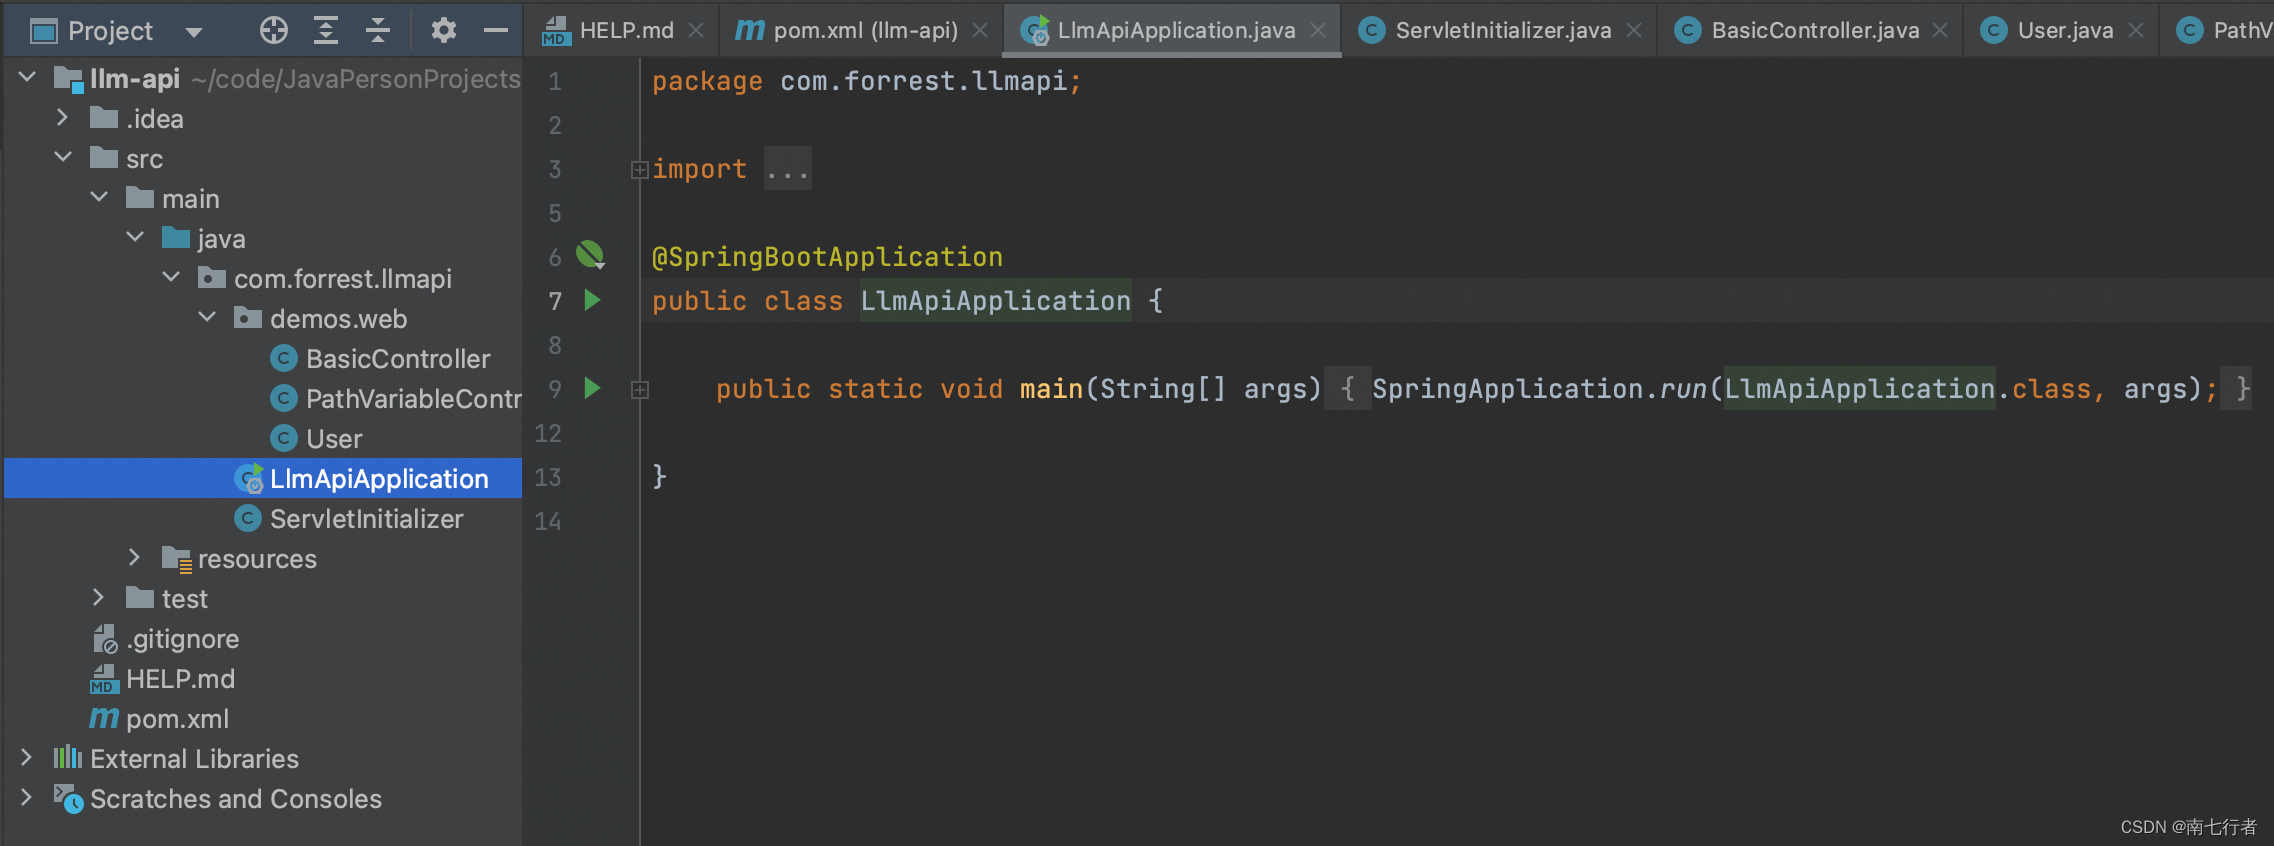
- 效果


很方便,还给了一些示例。


——综合题(Sniffer抓包分析))


)
坐标系)


