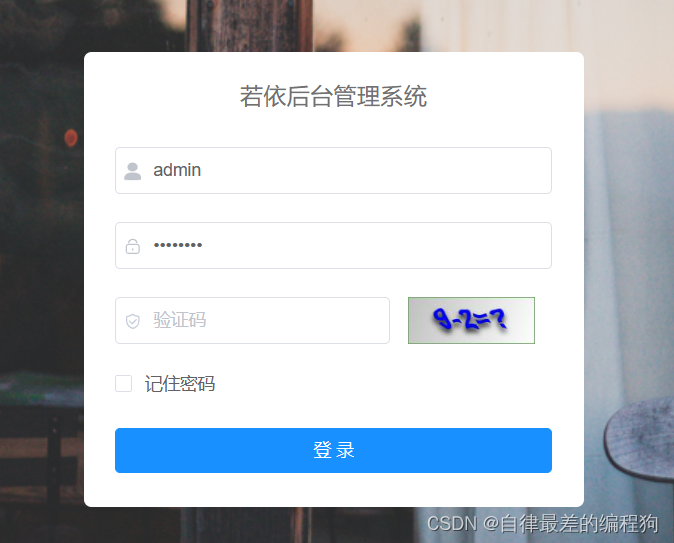
前端登录验证码实现过程
- 生成过程分析

生成过程分析
验证码的生成过程简单概括为:前端登录页面加载时,向后端发送一个请求,返回验证码图片给前端页面展示
- 前端页面加载触发代码:
	import { getCodeImg } from "@/api/login";created() {this.getCode();this.getCookie();},// 1.页面初始化页面调用的验证码加载函数getCode() {getCodeImg().then(res => {this.captchaEnabled = res.captchaEnabled === undefined ? true : res.captchaEnabled;if (this.captchaEnabled) {this.codeUrl = "data:image/gif;base64," + res.img;this.loginForm.uuid = res.uuid;}});},// 2.获取验证码APIexport function getCodeImg() {return request({url: '/captchaImage',headers: {isToken: false},method: 'get',timeout: 20000})}// 3.axios请求const service = axios.create({// axios中请求配置有baseURL选项,表示请求URL公共部分baseURL: process.env.VUE_APP_BASE_API,// 超时timeout: 10000})// 4.解决跨域问题,将前端的URL替换成后端可识别的URLproxy: {// detail: https://cli.vuejs.org/config/#devserver-proxy[process.env.VUE_APP_BASE_API]: {target: `http://localhost:8080`,changeOrigin: true,pathRewrite: {['^' + process.env.VUE_APP_BASE_API]: ''}}},
}
细节说明:
created钩子下执行的代码时机是在页面刚刚加载后执行的,因此主要调用了getCodeImg()方法@/可以理解为src/getCodeImg()使用axios向后端发送请求- 前端
vue.config.js文件中proxy解决请求跨域问题
- 后端请求代码分析
快速查询请求小妙招:


后端核心逻辑
- 判断验证码校验是否开启
- 生成验证码,验证码的题目被转换成验证码图片,验证码答案存入Redis中,Key为固定验证码字符串头部+
UUID - 验证码图片写入转换流中,
Base64.encode("转换流.toByteArray()")存入Ajax,UUID存入Ajax返回给前端 - 前端接收为
this.codeUrl = "data:image/gif;base64," + res.img;,使用codeUrl可以直接展示


