概述
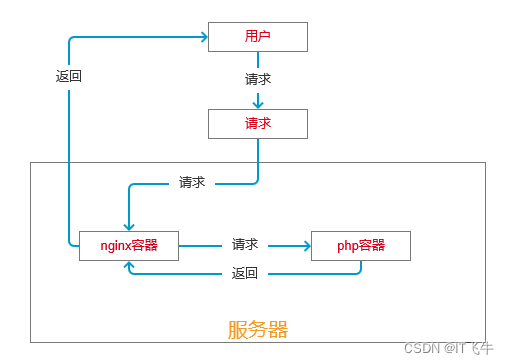
最终达成的容器部署结构和原理如下图:

一、获取nginx、php官方镜像
docker pull nginx	//拉取nginx官方镜像
docker pull php:7.4-fpm	//拉取php官方镜像
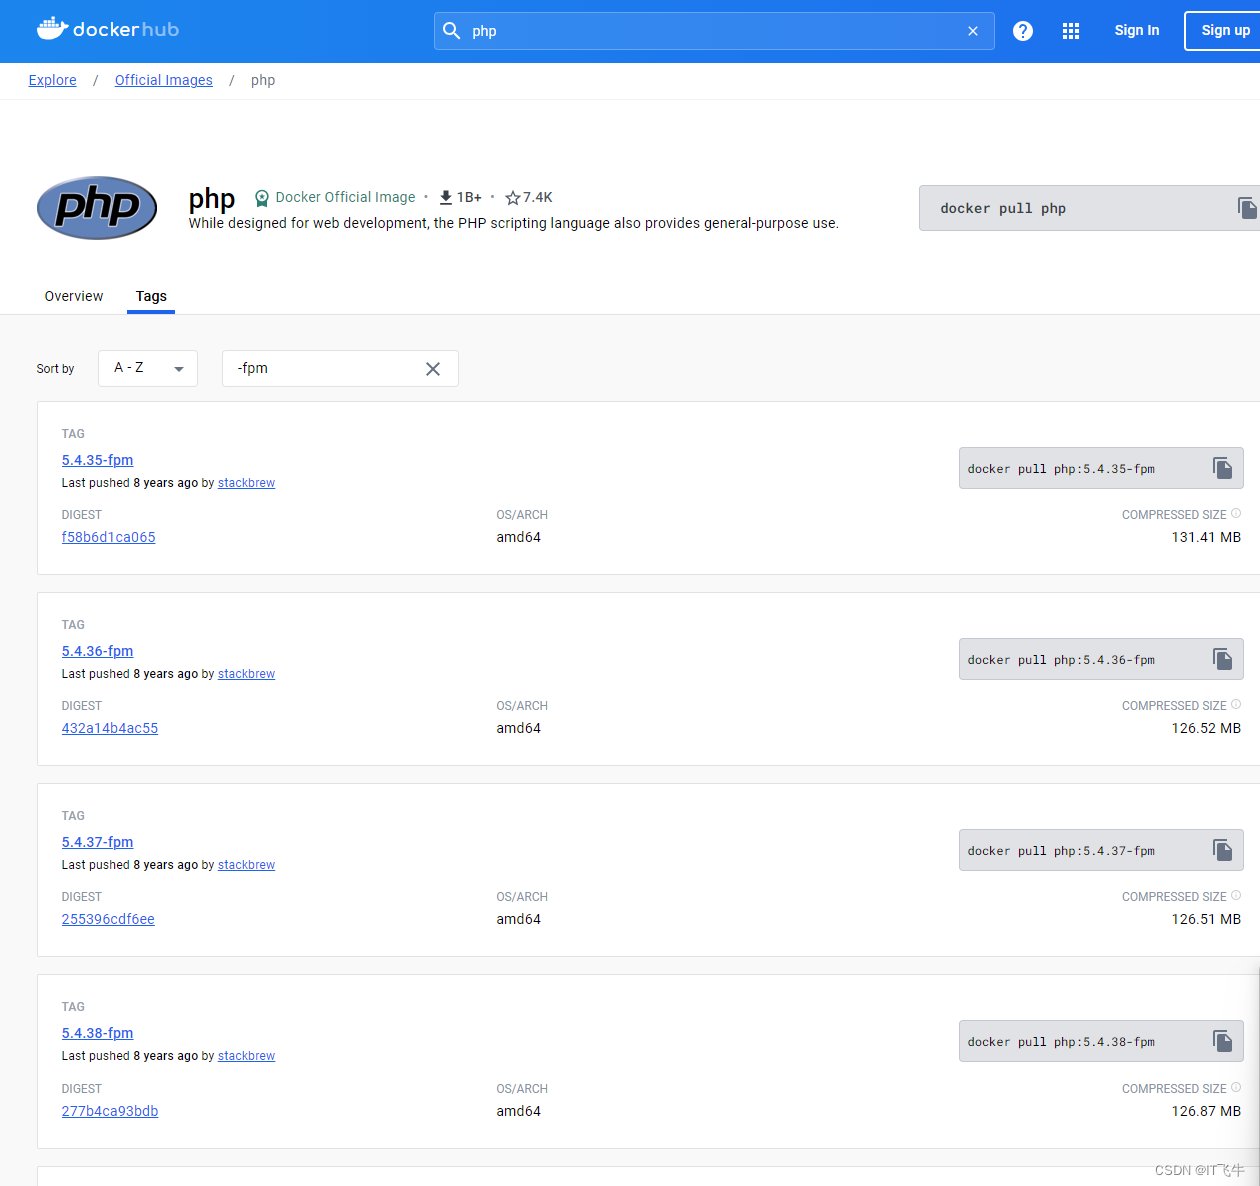
需要获取其他可用的php版本,可以上【docker hub】搜索【php】,所有的【xxx-fpm】版本都可以使用。.

二、创建项目目录
项目目录:/root/www/project
//-p:循环创建,如何不存在目录,则会自动创建
mkdir -p /root/www/project
三、创建php容器
创建php容器
docker run --name myphp -v $PWD/www:/www -d [php镜像id]
四、创建nginx容器
# conf/conf.d/docker_zhihao1_cn.conf
server {listen       80;server_name  your domain; #这里修改成自己的域名location / {root   /usr/share/nginx/html;index  index.html index.htm index.php;}error_page   500 502 503 504  /50x.html;location = /50x.html {root   /usr/share/nginx/html;}#当请求网站下php文件的时候,反向代理到php-fpmlocation ~ \.php$ {fastcgi_pass   php:9000;fastcgi_index  index.php;fastcgi_param  SCRIPT_FILENAME  /www/$fastcgi_script_name;include        fastcgi_params;}
}
docker run --name nginx_php -p 9001:80 -d \
-v $PWD/www:/usr/share/nginx/html \
-v $PWD/conf/conf.d:/etc/nginx/conf.d \
--link myphp:php nginx
myphp:php中的 php 是别名
//查看容器日志
docker logs -f -t --tail 10 容器id
//进入容器
docker exec -it myphp /bin/bash
然后就可以访问域名了。
参考阅读:
https://www.zhihao1.cn/91.html
https://juejin.cn/post/7029730919510442020


2.0.2中文支持M3)
)

![[VulnHub靶机渗透] HA: Narak](http://pic.xiahunao.cn/[VulnHub靶机渗透] HA: Narak)
)

)