Android拖放startDragAndDrop拖拽Glide加载堆叠圆角图,Kotlin(5)
import android.content.ClipData
import android.graphics.Canvas
import android.graphics.Point
import android.os.Bundle
import android.util.Log
import android.view.DragEvent
import android.view.LayoutInflater
import android.view.View
import android.view.View.OnDragListener
import android.view.View.OnLongClickListener
import android.view.ViewGroup
import android.widget.ImageView
import android.widget.TextView
import androidx.appcompat.app.AppCompatActivity
import com.bumptech.glide.load.resource.bitmap.CenterCrop
import com.bumptech.glide.load.resource.bitmap.RoundedCornersclass MainActivity : AppCompatActivity() {companion object {const val TAG = "fly"const val DEGREE = -10 //图片选择的角度。const val RADIUS = 30 //图片的圆角半径。}override fun onCreate(savedInstanceState: Bundle?) {super.onCreate(savedInstanceState)setContentView(R.layout.activity_main)val shadowBuilder = createDragShadowBuilder()setData(shadowBuilder.getShadowView())val triggerView = findViewById<ImageView>(R.id.image)triggerView.setOnLongClickListener(object : OnLongClickListener {//长按事件触发拖拽.override fun onLongClick(v: View?): Boolean {val data = ClipData.newPlainText("name", "phil") //测试数据。triggerView.startDragAndDrop(data,shadowBuilder,null,0 or View.DRAG_FLAG_GLOBAL or View.DRAG_FLAG_OPAQUE)return true}})triggerView.setOnDragListener(object : OnDragListener {override fun onDrag(v: View?, event: DragEvent?): Boolean {when (event?.action) {DragEvent.ACTION_DRAG_STARTED -> {//拖放开始Log.d(TAG, "ACTION_DRAG_STARTED")//updateData(shadowView)}DragEvent.ACTION_DRAG_ENTERED -> {//进入imageViewLog.d(TAG, "ACTION_DRAG_ENTERED")}DragEvent.ACTION_DRAG_ENDED -> {//拖放结束Log.d(TAG, "ACTION_DRAG_ENDED")}DragEvent.ACTION_DRAG_EXITED -> {//离开imageViewLog.d(TAG, "ACTION_DRAG_EXITED")}}return true}})}private fun createDragShadowBuilder(): MyDragShadowBuilder {val shadowView = LayoutInflater.from(this).inflate(R.layout.dnd, null)return MyDragShadowBuilder(shadowView)}private fun setData(viewGroup: View) {//从1和4两个数字中随机选一个。var cnt = intArrayOf(1, 4).random()Log.d(TAG, "cnt=$cnt")val group: androidx.constraintlayout.widget.Group = viewGroup.findViewById(R.id.group)val number = viewGroup.findViewById<TextView>(R.id.number)if (cnt == 1) {//只显示一张。number.text = "1"group.visibility = ViewGroup.INVISIBLE} else if (cnt == 4) {//显示重叠在一起的4张。number.text = "4"group.visibility = ViewGroup.VISIBLEval imageViews = arrayOf(viewGroup.findViewById<ImageView>(R.id.iv1),viewGroup.findViewById<ImageView>(R.id.iv2),viewGroup.findViewById<ImageView>(R.id.iv3))val resIds = arrayOf(R.mipmap.pic1,R.mipmap.pic2,R.mipmap.pic3)imageViews.forEachIndexed { index, iv ->val degree = (imageViews.size - index) * DEGREELog.d(TAG, "index=$index degree=$degree")iv.rotation = degree.toFloat()GlideApp.with(this).load(resIds[index]).transform(CenterCrop(), RoundedCorners(RADIUS)) //先中心缩放,再切圆角。.override(resources.getDimensionPixelSize(R.dimen.image_size_w),resources.getDimensionPixelSize(R.dimen.image_size_h)).placeholder(R.drawable.ic_launcher_foreground).error(android.R.drawable.stat_notify_error).into(iv)}}val folder = viewGroup.findViewById<ImageView>(R.id.folder)//封面GlideApp.with(this).load(R.mipmap.pic4).transform(CenterCrop(), RoundedCorners(RADIUS)) //先中心缩放,再切圆角。.override(resources.getDimensionPixelSize(R.dimen.image_size_w),resources.getDimensionPixelSize(R.dimen.image_size_h)).placeholder(R.drawable.ic_launcher_foreground).error(android.R.drawable.stat_notify_error).into(folder)}class MyDragShadowBuilder(private var mShadow: View) :View.DragShadowBuilder() {private val width: Int =mShadow.context.resources.getDimensionPixelSize(R.dimen.view_size_w)private val height: Int =mShadow.context.resources.getDimensionPixelSize(R.dimen.view_size_h)fun getShadowView(): View {return mShadow}override fun onProvideShadowMetrics(outShadowSize: Point?, outShadowTouchPoint: Point?) {//拖动图像的宽和高outShadowSize?.set(width, height)//手指在拖动图像的位置 中点outShadowTouchPoint?.set(width / 2, height / 2)}override fun onDrawShadow(canvas: Canvas) {mShadow.measure(width, height)mShadow.layout(0, 0, width, height)mShadow.draw(canvas)Log.d(TAG, "onDrawShadow width=$width height=$height")}}
}
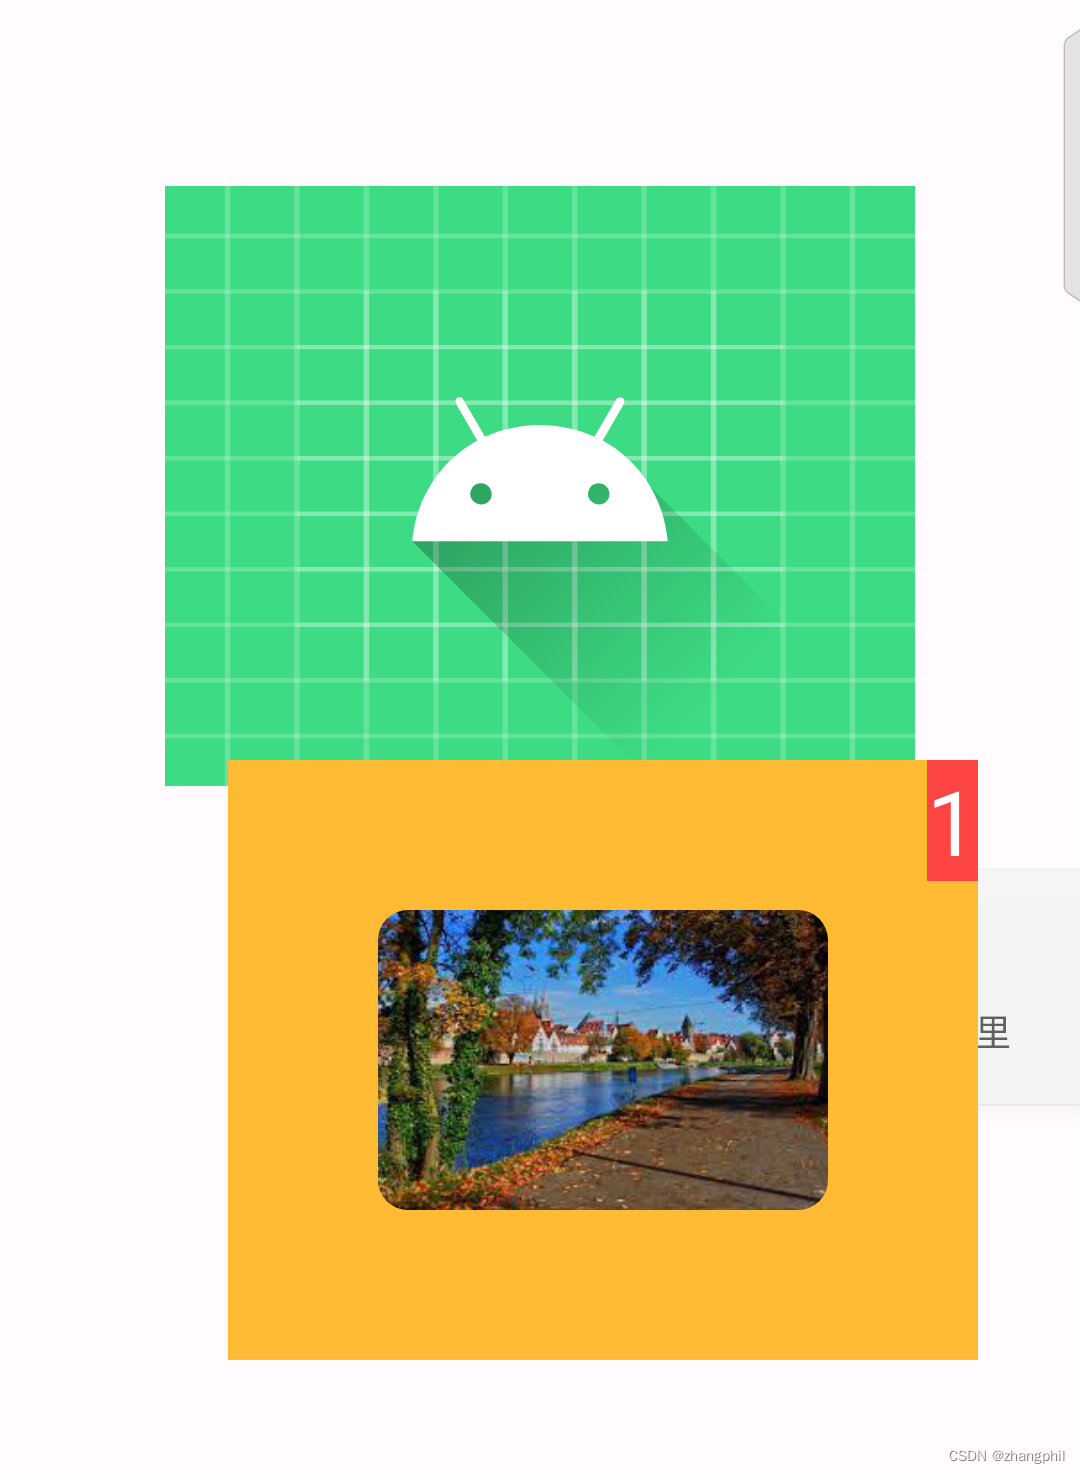
只有一张图片,只显示封面图:

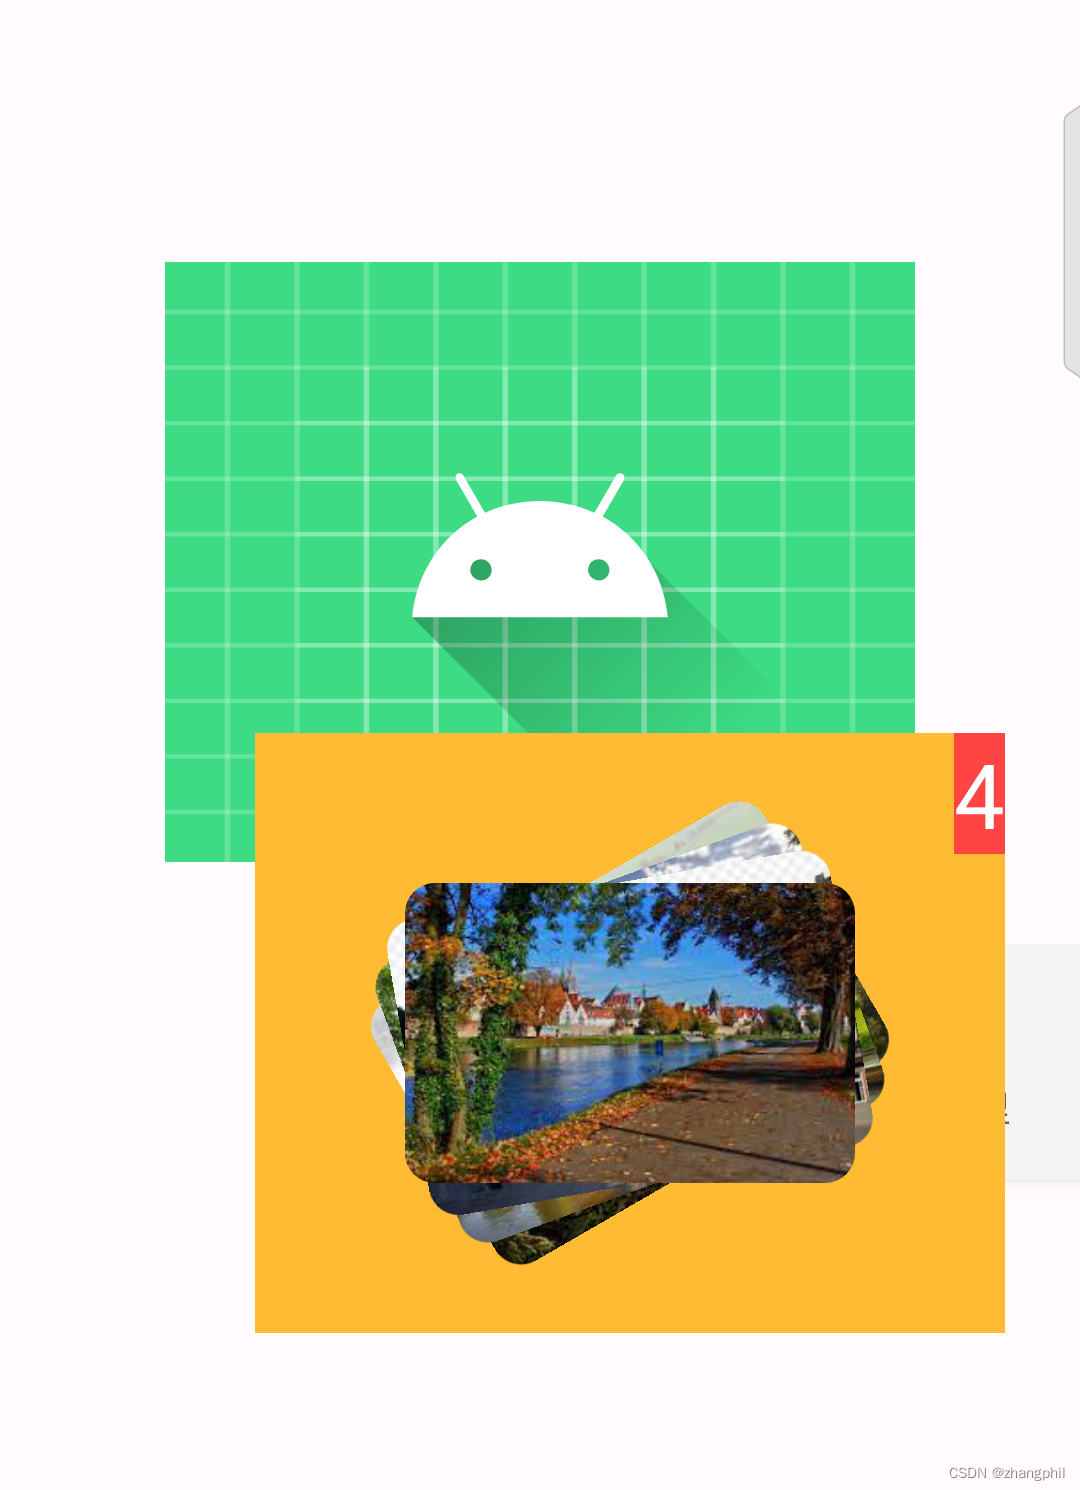
多张图片,显示堆叠的图片,并同时设置封面图:

dnd.xml:
<?xml version="1.0" encoding="utf-8"?>
<androidx.constraintlayout.widget.ConstraintLayout xmlns:android="http://schemas.android.com/apk/res/android"xmlns:app="http://schemas.android.com/apk/res-auto"android:layout_width="@dimen/view_size_w"android:layout_height="@dimen/view_size_h"android:background="@android:color/holo_orange_light"><ImageViewandroid:id="@+id/iv1"android:layout_width="@dimen/image_size_w"android:layout_height="@dimen/image_size_h"android:layout_margin="@dimen/my_margin"app:layout_constraintBottom_toBottomOf="parent"app:layout_constraintLeft_toLeftOf="parent"app:layout_constraintRight_toRightOf="parent"app:layout_constraintTop_toTopOf="parent" /><ImageViewandroid:id="@+id/iv2"android:layout_width="@dimen/image_size_w"android:layout_height="@dimen/image_size_h"android:layout_margin="@dimen/my_margin"app:layout_constraintBottom_toBottomOf="parent"app:layout_constraintLeft_toLeftOf="parent"app:layout_constraintRight_toRightOf="parent"app:layout_constraintTop_toTopOf="parent" /><ImageViewandroid:id="@+id/iv3"android:layout_width="@dimen/image_size_w"android:layout_height="@dimen/image_size_h"android:layout_margin="@dimen/my_margin"app:layout_constraintBottom_toBottomOf="parent"app:layout_constraintLeft_toLeftOf="parent"app:layout_constraintRight_toRightOf="parent"app:layout_constraintTop_toTopOf="parent" /><androidx.constraintlayout.widget.Groupandroid:id="@+id/group"android:layout_width="wrap_content"android:layout_height="wrap_content"android:visibility="visible"app:constraint_referenced_ids="iv1,iv2,iv3" /><ImageViewandroid:id="@+id/folder"android:layout_width="@dimen/image_size_w"android:layout_height="@dimen/image_size_h"android:layout_margin="@dimen/my_margin"app:layout_constraintBottom_toBottomOf="parent"app:layout_constraintLeft_toLeftOf="parent"app:layout_constraintRight_toRightOf="parent"app:layout_constraintTop_toTopOf="parent" /><TextViewandroid:id="@+id/number"android:layout_width="wrap_content"android:layout_height="wrap_content"android:background="@android:color/holo_red_light"android:text="--"android:textColor="@android:color/white"android:textSize="30dp"app:layout_constraintRight_toRightOf="parent"app:layout_constraintTop_toTopOf="parent" />
</androidx.constraintlayout.widget.ConstraintLayout>
dimens.xml:
<?xml version="1.0" encoding="utf-8"?>
<resources><dimen name="view_size_w">250dp</dimen><dimen name="view_size_h">200dp</dimen><dimen name="image_size_w">150dp</dimen><dimen name="image_size_h">100dp</dimen><dimen name="my_margin">50dp</dimen>
</resources>
Android拖放startDragAndDrop拖拽onDrawShadow静态添加xml布局View,Kotlin(4)-CSDN博客文章浏览阅读74次。Android DynamicGrid:拖曳交换位置Android DynamicGrid是一个第三方开源项目,DynamicGrid在github上的项目主页是:https://github.com/askerov/DynamicGrid它实现在一个网格布局内,拖曳任意子view实现动态的交换位置,这很类似手机的桌面,手机桌面的图标,均可自由拖曳实现摆放位置的交换,如动图所示:_android 拖拽交换位置。Android View拖拽startDragAndDrop,Kotlin-CSDN博客。https://blog.csdn.net/zhangphil/article/details/134017828


-40)


)


-卷积神经网络)


111. 二叉树的最小深度)
)