目录
前言
一、常用属性
1.1、字体相关
1.2、文本相关
1.3、背景相关
1.3.1、背景颜色
1.3.2、背景图片
1.4、圆角边框
二、常用布局相关
2.1、display
2.2、盒子模型
2.2.1、基本概念
2.2.2、border 边框
2.2.3、padding 内边距
2.2.4、margin 外边距
2.3、弹性布局
2.4、实际开发常用小技巧
前言
这里推荐一个 CSS 属性网站,里面的样式很全,忘记了也可以在这里查~
CSS 参考手册
一、常用属性
1.1、字体相关
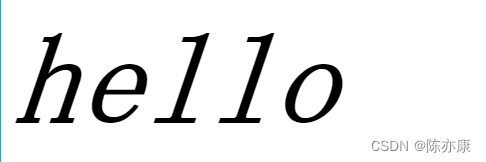
.one {/* 字体家族: 默认是微软雅黑 */font-family: "宋体";/* 字体大小 */font-size: 100px;/* 字体粗细 */font-weight: 900;/* 设置字体倾斜*/font-style: italic;}例如 hello ,效果如下
1.2、文本相关
/* 文本相关 */.two {font-size: 100px;color: red;/* 文本对齐: left左对齐、right右对齐、center居中对齐 */text-align: center;/* 文本装饰:underline下划线、none去除下划线(a 标签) */text-decoration: underline;/* 文本缩进 */text-indent: 20px;/* 行高(行间距) */line-height: 100px;}例如 world ,效果如下:

1.3、背景相关
1.3.1、背景颜色
.three {width: 200px;height: 500px;background-color: green;}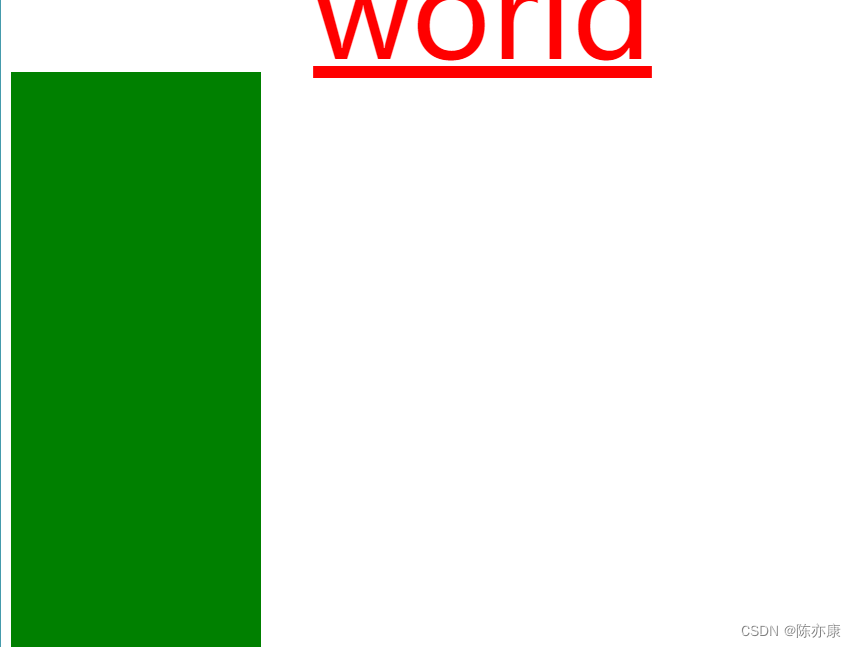
1.3.2、背景图片
a)通过 background-image 来设置一个背景图片
.one {width: 2000px;height: 2000px;background-color: grey;background-image: url(img/logo.png);}Ps:background: rgba(0, 0, 0, 0.2); 中前三个是三原色调色,最后一个是半透明程度
例如一个小鸭子图标,使用 background-image 设置背景图片,默认都是 “平铺” ,就类似于铺地砖一样,效果如下:

b)可以使用 background-repeat 来禁止平铺,如下:
.one {width: 2000px;height: 2000px;background-color: grey;/* 背景图片 */background-image: url(img/logo.png);/* 禁止平铺 */background-repeat: no-repeat;}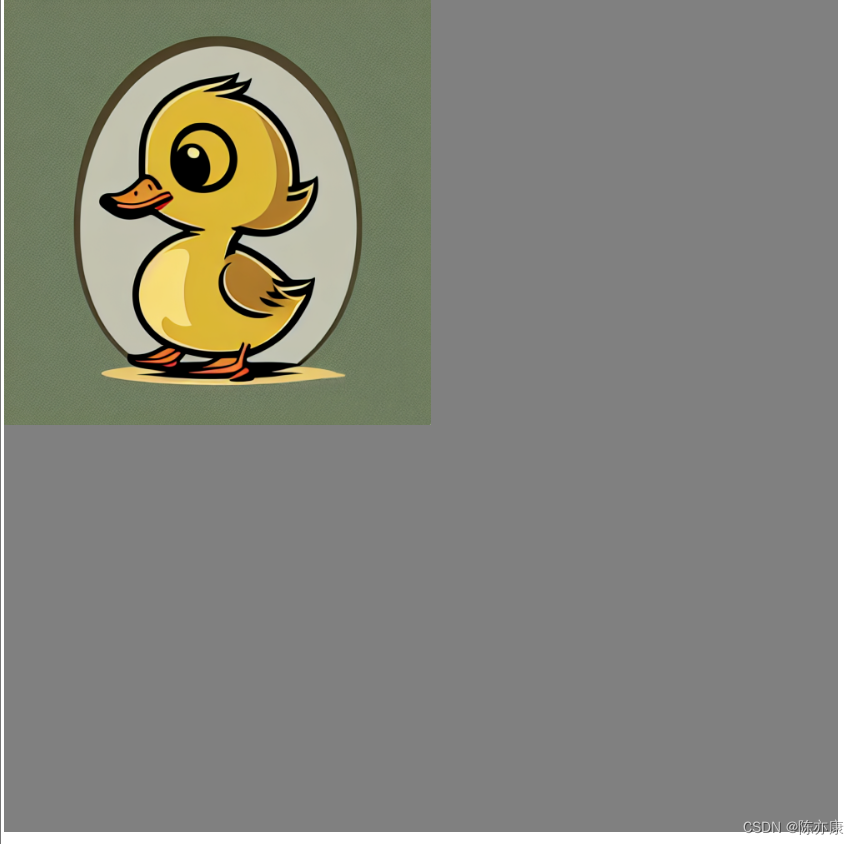
c)可以 backgroud-position 来设置背景图的位置
.one {width: 2000px;height: 2000px;background-color: grey;/* 背景图片 */background-image: url(img/logo.png);/* 禁止平铺 */background-repeat: no-repeat;/* 设置位置 */background-position: center center;}
d)设置背景图的大小
        .one {width: 2000px;height: 2000px;background-color: grey;/* 背景图片 */background-image: url(img/logo.png);/* 禁止平铺 */background-repeat: no-repeat;/* 设置位置 */background-position: center center;/* contain 表示保证图片原有比例的情况下填满容器,cover 表示一定填满容器(忽略比例)
,当然也可以自己手动指定宽高 *//* background-size: contain; */background-size: 2000px 2000px;}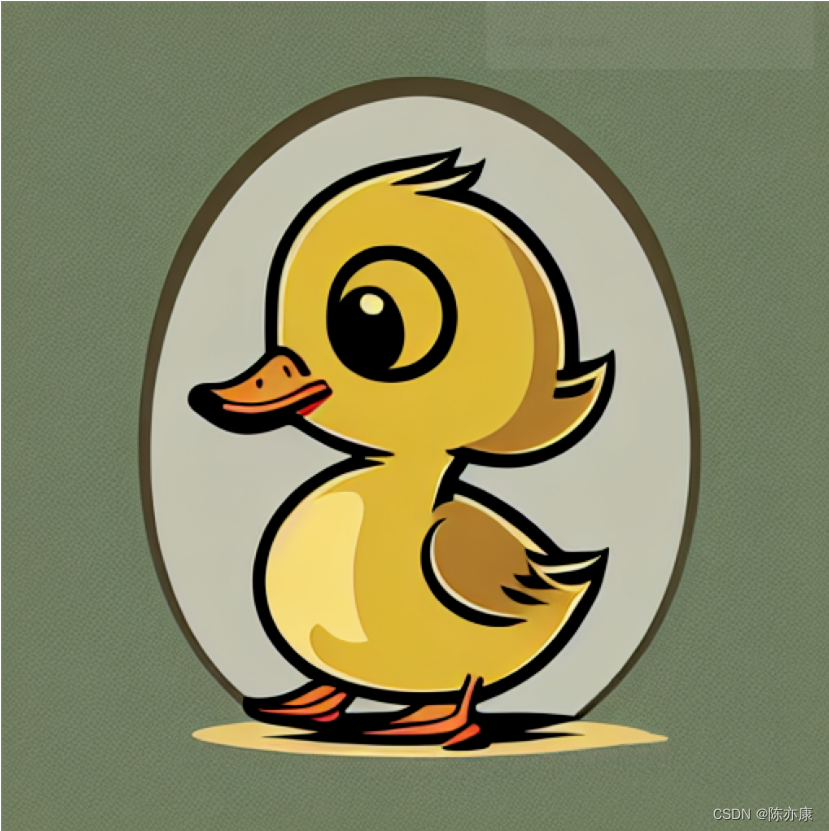
1.4、圆角边框
a)通过 border-radius 可以设置圆角矩形(值为内切圆半径)
.one {width: 300px;height: 300px;background-color: greenyellow;border-radius: 30px;}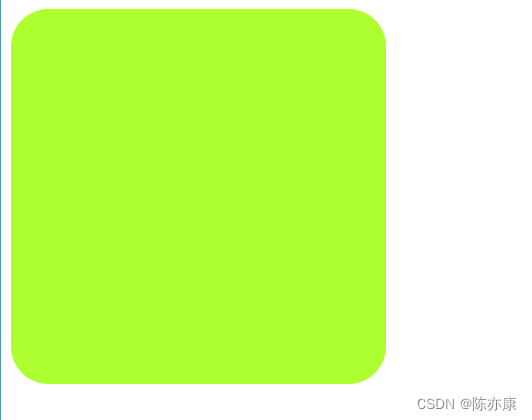
b)如果是一个正方形,并且 border-radius 的值刚好是边长的一般,此时就得到了正圆形(头像一般都是这么设置的).
.one {width: 300px;height: 300px;background-color: greenyellow;border-radius: 150px;}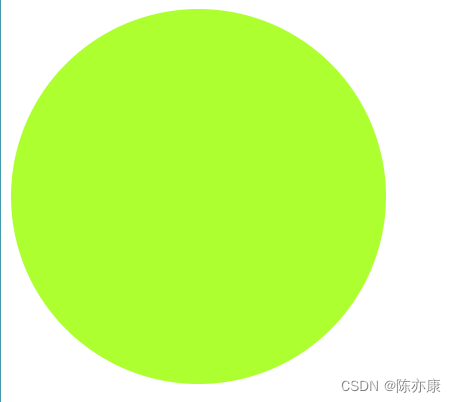
二、常用布局相关
2.1、display
- 块级元素: display: block;
- 行级元素:display: inline;
- 隐藏元素:display: none;
每个 html 元素都会有默认的 display 属性,例如 h1 ~ h6、p、div、ul、ol、li、table...... 默认都是 block 块级元素. 而 a 、span、img 默认都是 inline 行级元素.
区别有很多,主要是以下两个方面:
- 块级元素默认独占一行,行内元素默认不独占一行
- 块级元素可以设置尺寸(width、height),行内元素则不能.
Ps:因此在实际的开发中,我们经常会把行内元素(比如 span),通过 display: block 改成块级元素.
2.2、盒子模型
2.2.1、基本概念
一个 HTML 元素,就是一个矩形的盒子,组成如下:
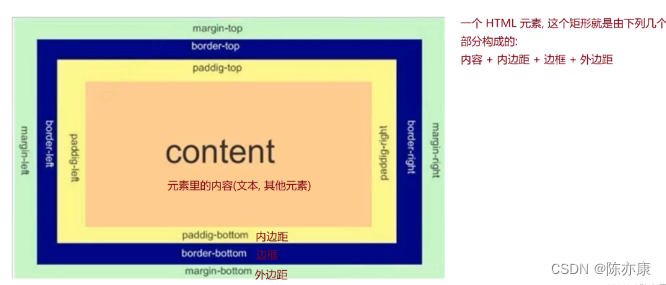
Ps:这些属性只有块级元素设置才生效
- margin:外边距. 可以想象成每个房子(盒子)之间的距离.
- border:边框. 可以想象成房子的墙壁.
- padding:内边距. 可以想象成墙壁和内部家具(content)的距离.
2.2.2、border 边框
a)border:边框. 可以想象成房子的墙壁.
<style>.one {width: 400px;height: 500px;background-color: grey;/* red边框颜色、20px边框粗细、solid边框为实线 */border: red 20px solid;}</style>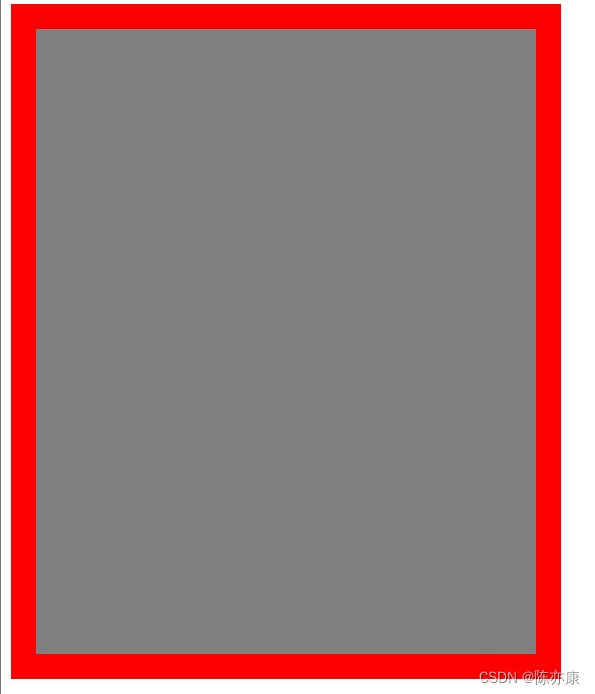
b)边框也可以分开设置
.one {width: 400px;height: 500px;background-color: grey;/* red边框颜色、20px边框粗细、solid边框为实线 *//* border: red 20px solid; *//* 边框也可以分开设置 */border-left: red 20px solid;border-right: green 20px dotted;border-top: blue 20px dashed;border-bottom: orange 20px solid;}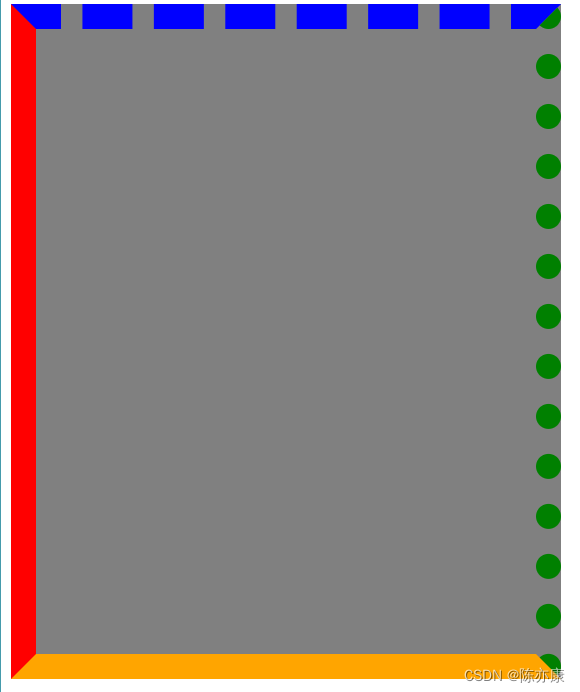
边框使用注意事项:
设置了边框粗细以后,虽然给 div 设置的尺寸例如是 500*400,但实际上可能却变成了 540* 340,这是因为边框把元素给撑大了!
在实际的开发中,一般不希望见到这种情况,因此可以使用 box-sizing:border-box 属性来避免此情况.
一般会对所有元素都进行如下设置:
* {box-sizing: border-box;}2.2.3、padding 内边距
a)内边距,就是元素和边框的距离,可以想象成墙壁和内部家具的距离.
.one {width: 400px;height: 500px;background-color: grey;border: red 20px solid;padding: 30px;}
b)也可以设置给四个方向分别设置
.one {width: 400px;height: 500px;background-color: grey;border: red 20px solid;/* padding: 30px; *//* 可以分别给四个方向设置 *//* padding-left: 20px; *//* 给上下设置 30px,左右设置 20px *//* padding: 30px 20px; *//* 给四个方向分别设置,顺序是 上右下左 顺时针顺序设置 */padding: 10px 20px 30px 40px;}2.2.4、margin 外边距
外边距:可以想象成每个房子(盒子)之间的距离,用法和 padding 基本一样
这里讲一个特殊用法:把 margin 左右方向设置为 auto ,可以实现元素水平居中的效果(前提是块级元素,并且有设置 width),但是垂直方向设置为 auto,则不能垂直居中.
.one {width: 400px;height: 500px;background-color: grey;margin: 100px auto;}
2.3、弹性布局
前面讲到,块级元素默认是独占一行的(垂直方向排列的),有时又想让块级元素能够水平方向排列,就可以使用弹性布局了.
Ps:行内元素虽然也是水平排列,但是不能设置尺寸.
这里我们只需要知道最基础的三个属性即可.
1.开启弹性布局:display: flex ,某个元素一旦开始了弹性布局,此时内部的子元素(子元素里的子元素不受影响),就会按照水平方向排列.
2.水平方向排列规则:通过 justify-content 属性进行设置.
例如有以下元素
<div class="one"><div class="two">0</div><div class="two">2</div><div class="two">3</div><div class="two">4</div><div class="two">5</div></div><style>.two {width: 100px;height: 100px;background-color: greenyellow;border: red 3px solid;}</style>justify-content: center居中排列:

justify-content: left靠左:

justify-content: right靠右:

justify-content: space-around 分散排列(不占据两边):

justify-content: space-between(占据两边):

justify-content: space-evenly(全部均分,包括左右):

Ps:一般最常用的就是 space-around
3. align-items:设置垂直方向排列,这个一般就用 center 就可以.
.one {display: flex;justify-content: space-around;align-items: center;}2.4、实际开发常用小技巧
Ps:如果全局全局属性是 Vue-cli 的工程,那么就在 App.vue 中的 style 添加即可
a)一般在开始写项目的 css 样式时,会先进行以下操作,防止一些干扰.
* {/* 防止边框将元素撑大 */box-sizing: border-box;/* 去除浏览器默认样式 */padding: 0;margin: 0;
}
b)为了让背景图片能铺满整个屏幕,需要给 body 和 html 标签设置自适应高度(随着浏览器的缩放而缩放)
html {height: 100%;
}body {height: 100%;
}
height: 100% 就表示高度和父元素一样高.
解释:由于 body 的父元素时 html,而 html 元素的父元素是浏览器窗口,这里设置 100%,就是让 html 元素和浏览器一样高,再让 body 和 html 一样搞,此时 body 就和浏览器窗口一样高了.
c)版心高度设置:我们在做完导航栏以后,接下来版心的高度该如何设置呢?在 CSS 3 中新出了一个语法 height: calc(100% - 50px); 通过他就可以实现.
- 第一个参数:写100% 就表示父元素的高度.
- 第二个参数:50px 就是指导航栏的高度(根据实际情况而定).
注意:减号两侧必须要加空格.


)


中的数据类型和变量)


:SQL 表值函数(Table Function))


