nssm工具的作用:把项目部署成Windows服务,可以在系统后台运行
1.创建一个asp.net core mvc的项目weblication1
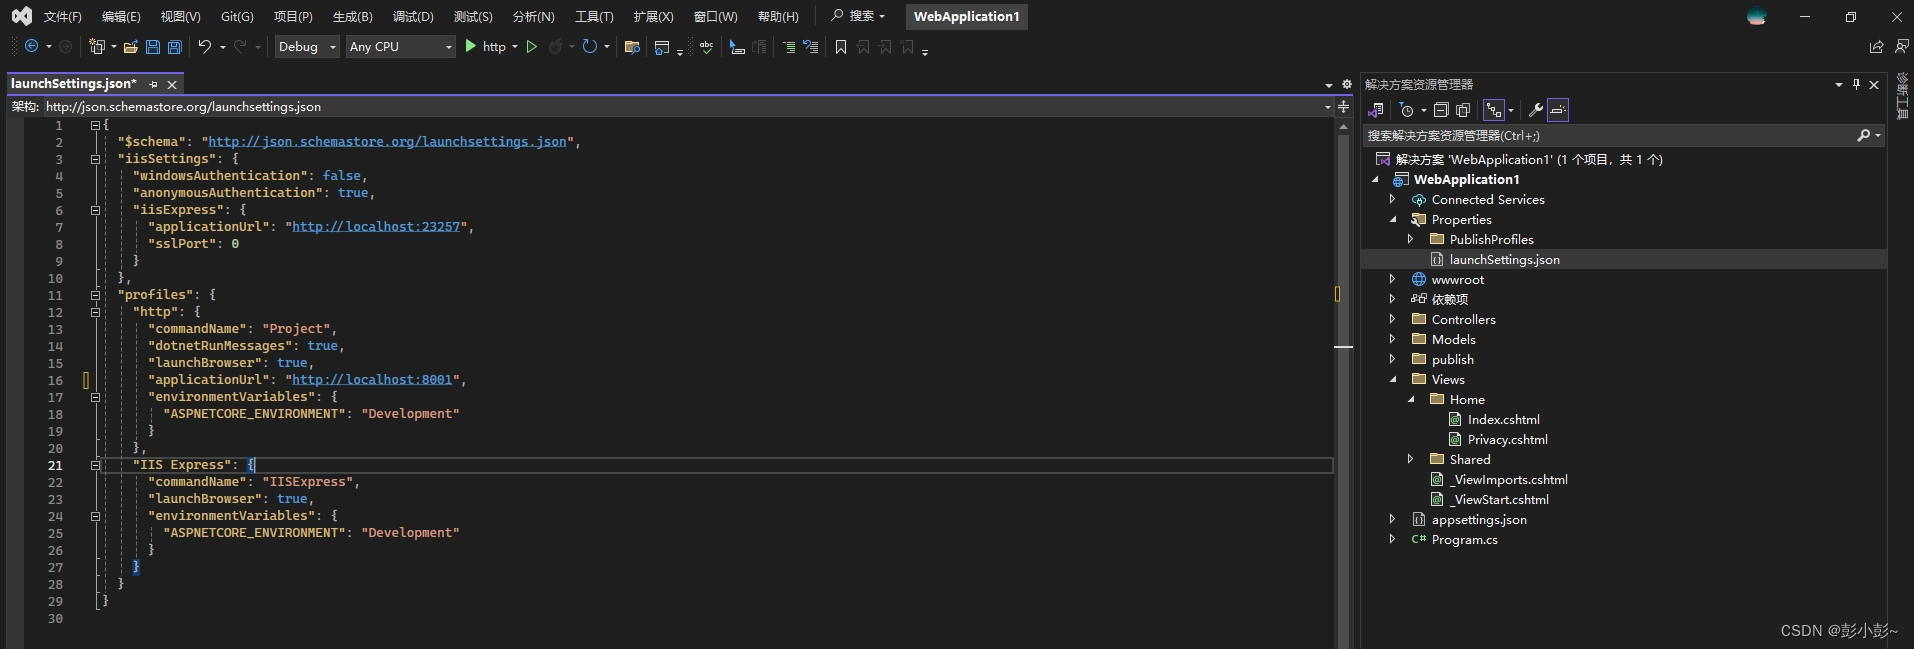
asp.net core mvc项目要成为windows服务需要安装下面的nuget包
<ItemGroup><PackageReference Include="Microsoft.Extensions.Hosting.WindowsServices" Version="8.0.0" />
</ItemGroup>
在program中添加代码

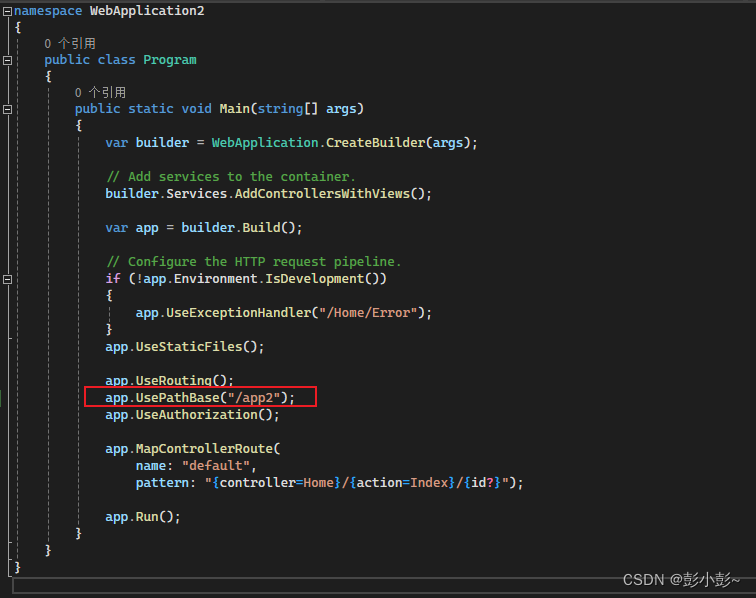
在创建一个asp.net core mvc项目 webapplication2
把program中的usePathBase改为(“/app2”)
我这里没添加
builder.Host.UseWindowsService();也成功了。有可能是我使用.net 8版本的原因,低版本的应该不可以。
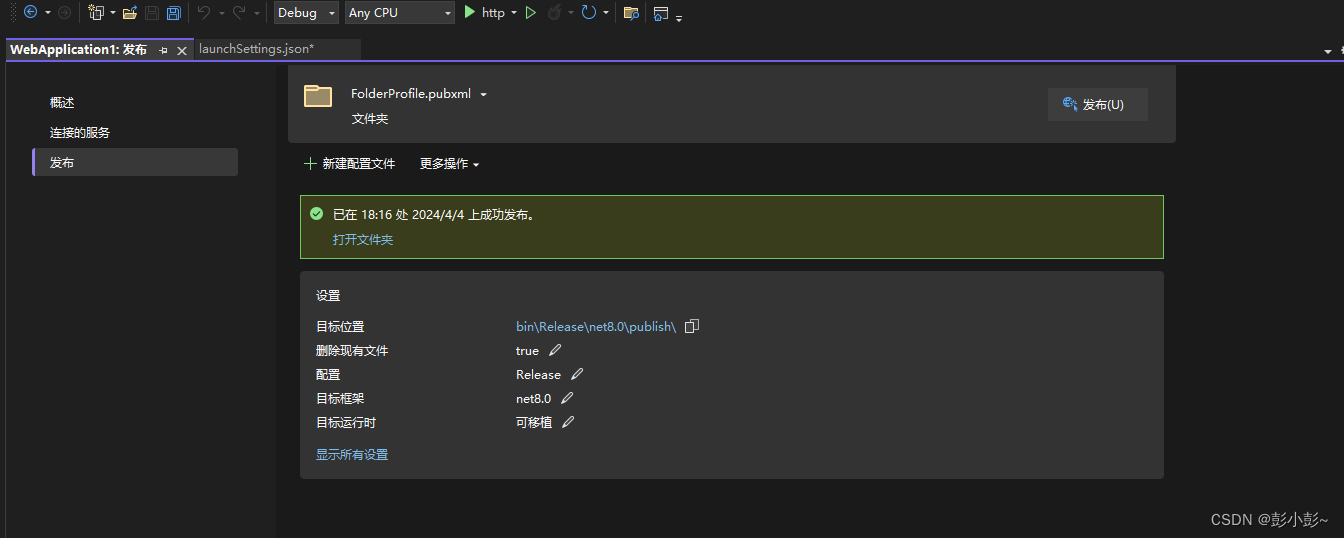
2.发布项目(两个项目都发布)
3.使用nssm工具安装服务
这里就不提供安装包了,可以自己在网上下载
找到文件目录,在地址栏输入 cmd

安装 命令:nssm install

进入图形化界面

配置项说明:
Path:运行应用程序的程序
Startup directory:应用程序所在的目录
Arguments:应用运行的参数
Service name:生成服务的名称
最后点击install service 完成windows服务安装,在windows服务列表就能看到创建的服务了。
常用命令:
nssm install servername //创建servername服务,弹出配置界面
nssm start servername //启动服务
nssm stop servername //暂停服务
nssm restart servername //重新启动服务
nssm remove servername //删除创建的servername服务
nssm edit servername//更改servername服务,弹出修改界面
nssm set servername 参数名 参数值 //设置服务参数值
sc delete servername//windows删除服务命令
直接使用windows的服务管理也可以实现服务的操作,服务右键属性 - 恢复即可设置服务挂掉重启等内容。
将应用作成服务(两个项目都要,记得改名称)
1.应用的启动命令是:
dotnet WebApplication1.dll --urls=http://*:8888/ --port=8888
2、安装服务:
安装两个一个8888,一个8889。这边就演示一遍
Path:C:\Program Files\dotnet\dotnet.exe
Startup directory:C:\Users\pzx\source\repos\WebApplication1\WebApplication1\bin\Release\net8.0\publish
Arguments:WebApplication1.dll --urls=http://localhost:8888/ --port=8888
Service name:webapp1
填入上面的信息,提示succful 安装成功!

查看服务,是否已安装。

需要,右击启动服务(服务可以设置为自动,服务器重启了,也可以直接访问)
webapp1
直接在浏览器里输入:http://localhost:8888/

webapp2

下载nginx服务器
下载地址
https://nginx.org/en/download.html
选择稳定版,windows版本

双击exe即可,这个是绿色版的,无需安装
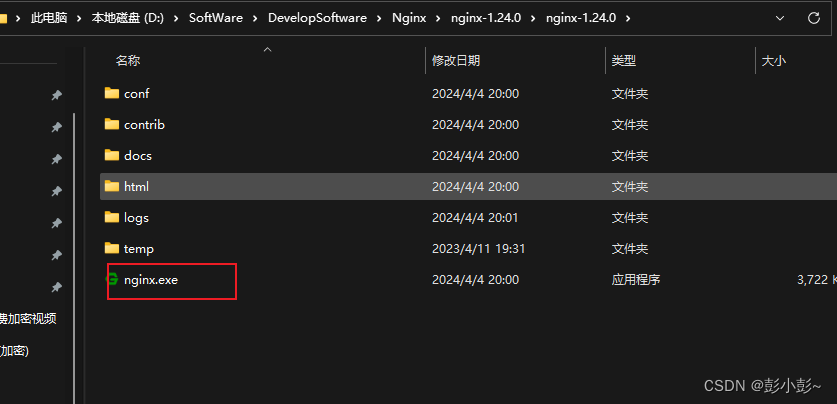
安装成功(默认80端口)输入IP或localhost 显现下面页面

配置ngixn.conf
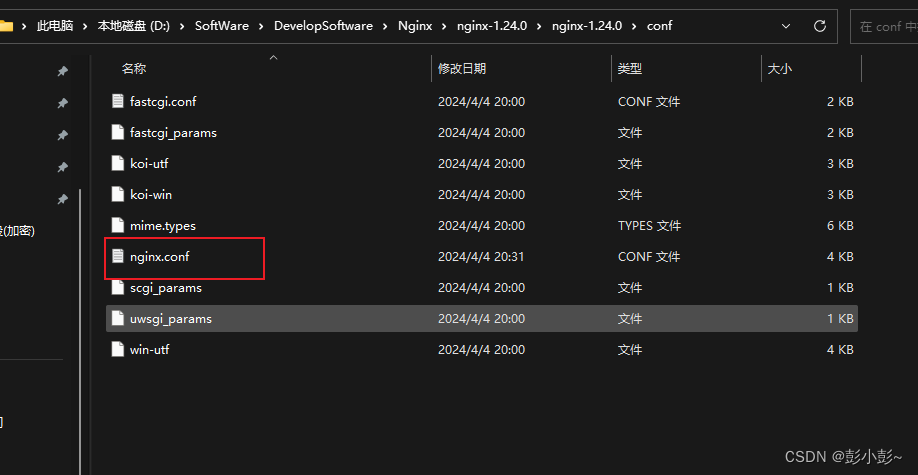
在server里面添加下面的配置:
location / {root html;index index.html index.htm;}location /app1 {# 去除路径前缀,以便正确代理rewrite ^/app1(/.*)$ $1 break;proxy_pass http://localhost:8888;proxy_http_version 1.1;proxy_set_header Upgrade $http_upgrade;proxy_set_header Connection "upgrade";proxy_read_timeout 300s;proxy_redirect off;proxy_set_header X-Forwarded-For $proxy_add_x_forwarded_for;proxy_set_header X-Real-IP $remote_addr;proxy_set_header Host $http_host;proxy_next_upstream http_502 http_504 error timeout invalid_header;}#此配置css,js失效时可添加location ~ .*\.(js|css|jpg|jpeg|gif|png|ico|pdf|txt)$ {# 去除路径前缀,以便正确代理rewrite ^/app1(/.*)$ $1 break;proxy_pass http://localhost:8888;}location /app2 {# 去除路径前缀,以便正确代理rewrite ^/app2(/.*)$ $1 break;proxy_pass http://localhost:8889;proxy_http_version 1.1;proxy_set_header Upgrade $http_upgrade;proxy_set_header Connection "upgrade";proxy_read_timeout 300s;proxy_redirect off;proxy_set_header X-Forwarded-For $proxy_add_x_forwarded_for;proxy_set_header X-Real-IP $remote_addr;proxy_set_header Host $http_host;proxy_next_upstream http_502 http_504 error timeout invalid_header;}#此配置css,js失效时可添加location ~ .*\.(js|css|jpg|jpeg|gif|png|ico|pdf|txt)$ {# 去除路径前缀,以便正确代理rewrite ^/app2(/.*)$ $1 break;proxy_pass http://localhost:8889;}
修改后,要把nginx进程结束,在重启启动
直接在浏览器输入
http://localhost/app1
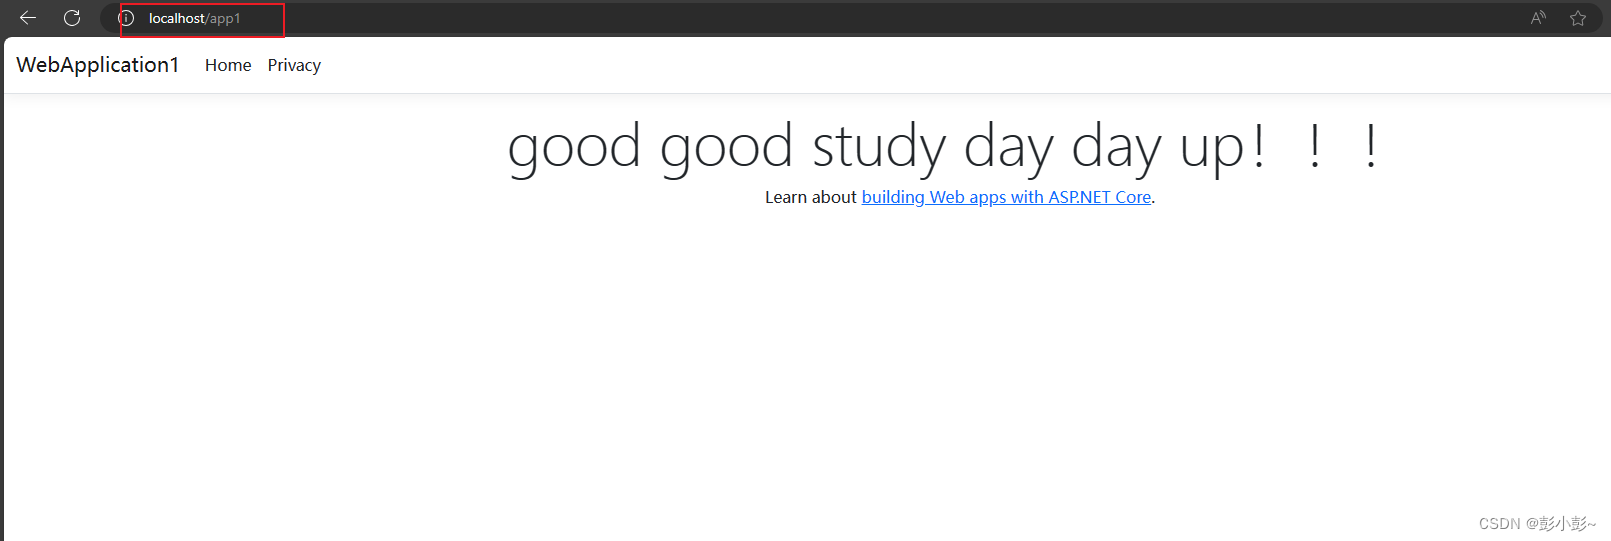
http://localhsot/app2

上面就一台服务器代理两个不同的服务。
Linux下也一样的配置
使用 vim 打开
vim /etc/nginx/sites-enabled/default
配置一样
nginx语法检查
nginx -t重启服务
systemctl restart nginx-常用的gradle命令)
)


)
)
)


: std::map、std::multimap与std::unordered_map)


)
)
