目录
1. 首先创建两个不同配置文件
2. pom.xml 配置文件
3. 指定环境
4. 最后启动测试
1. 首先创建两个不同配置文件
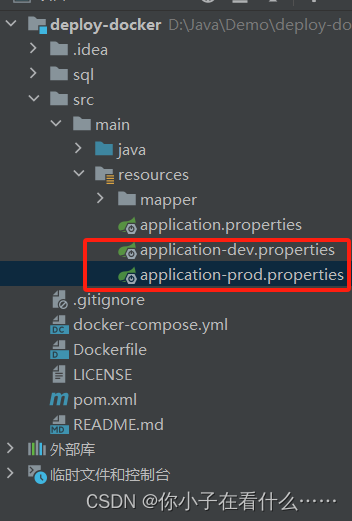
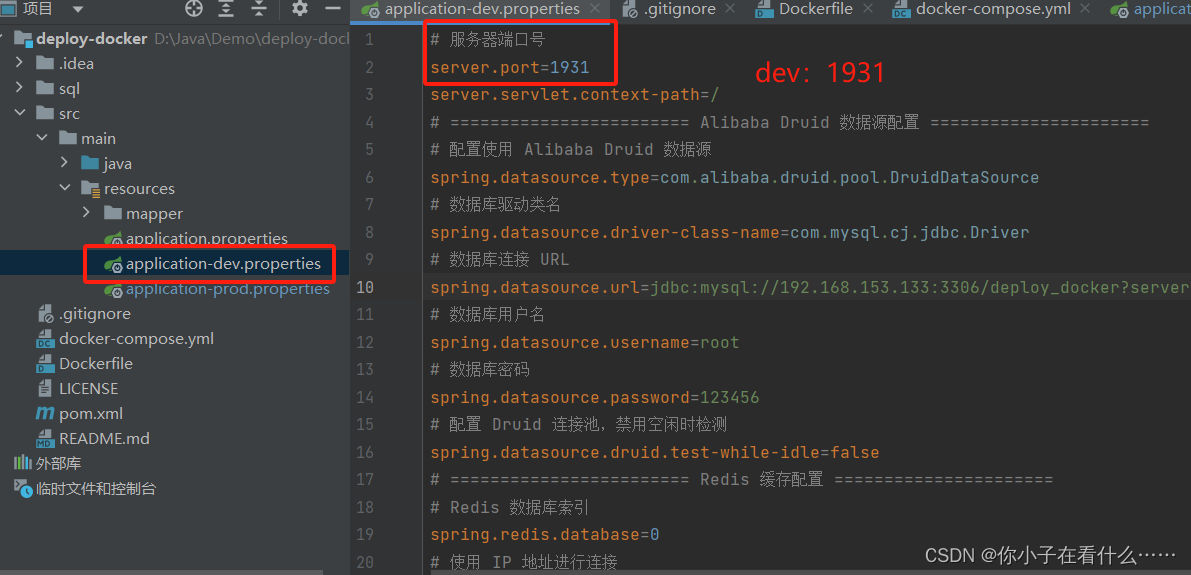
分别为开发环境和生产环境 application-dev.properties 和 application-prod.properties

application-dev.properties 配置为 1931 端口

application-prod.properties 配置为1932 端口

2. pom.xml 配置文件
<!--配置不同的profile,对应不同的生产环境--><profiles><profile><!--开发--><id>dev</id><activation><!--默认开发环境--><activeByDefault>true</activeByDefault></activation><properties><activatedProperties>dev</activatedProperties></properties></profile><profile><id>prod</id><properties><activatedProperties>prod</activatedProperties></properties></profile></profiles>刷新maven,查看是否配置成功

3. 指定环境
编辑配置,在添加VM选项中添加,指定读取的文件。
这里指定为开发环境(端口:1931)
-Dspring.profiles.active=dev
在部署的时候可以使用命令指定环境
# 使用 --spring.profiles.active 参数来指定激活的 Spring Profile
java -jar xxx.jar --spring.profiles.active=prod
4. 最后启动测试
可以根据不同的端口号查看是否配置成功
)
![[office] excel怎么在表格中画斜线 #经验分享#知识分享#媒体](http://pic.xiahunao.cn/[office] excel怎么在表格中画斜线 #经验分享#知识分享#媒体)

)

)


容器化部署传统应用(Redis+Postgresql+Git+SpringBoot+Nginx))

![洛谷 P1087 [NOIP2004 普及组] FBI 树](http://pic.xiahunao.cn/洛谷 P1087 [NOIP2004 普及组] FBI 树)


