首
文档
安装
1、安装nodejs(链接),18.0以上版本。
2、在想要创建项目的目录下执行命令
npm create vue@latest按提示创建项目,其中vue router是实现路由功能,pinia实现组件之间共享数据。如果项目需要两个功能建议选择yes。
3、
cd <your-project-name>
npm install
npm run dev
启动项目访问所给链接即可。
安装bootstrap
如果创建项目时,部分功能没有选择,之后可手动加入,以bootstrap为例。
项目目录下执行:
npm install bootstrap在main.js中引入:
//import './assets/main.css'
import 'bootstrap/dist/css/bootstrap.css'
import 'bootstrap/dist/js/bootstrap'import { createApp } from 'vue'
import { createPinia } from 'pinia'import App from './App.vue'
import router from './router'const app = createApp(App)app.use(createPinia())
app.use(router)app.mount('#app')
pinia和router也像这样引入,如果自定义样式记得删除man.css样式,App.vue中的样式不需要也可以删除。
vue文件结构
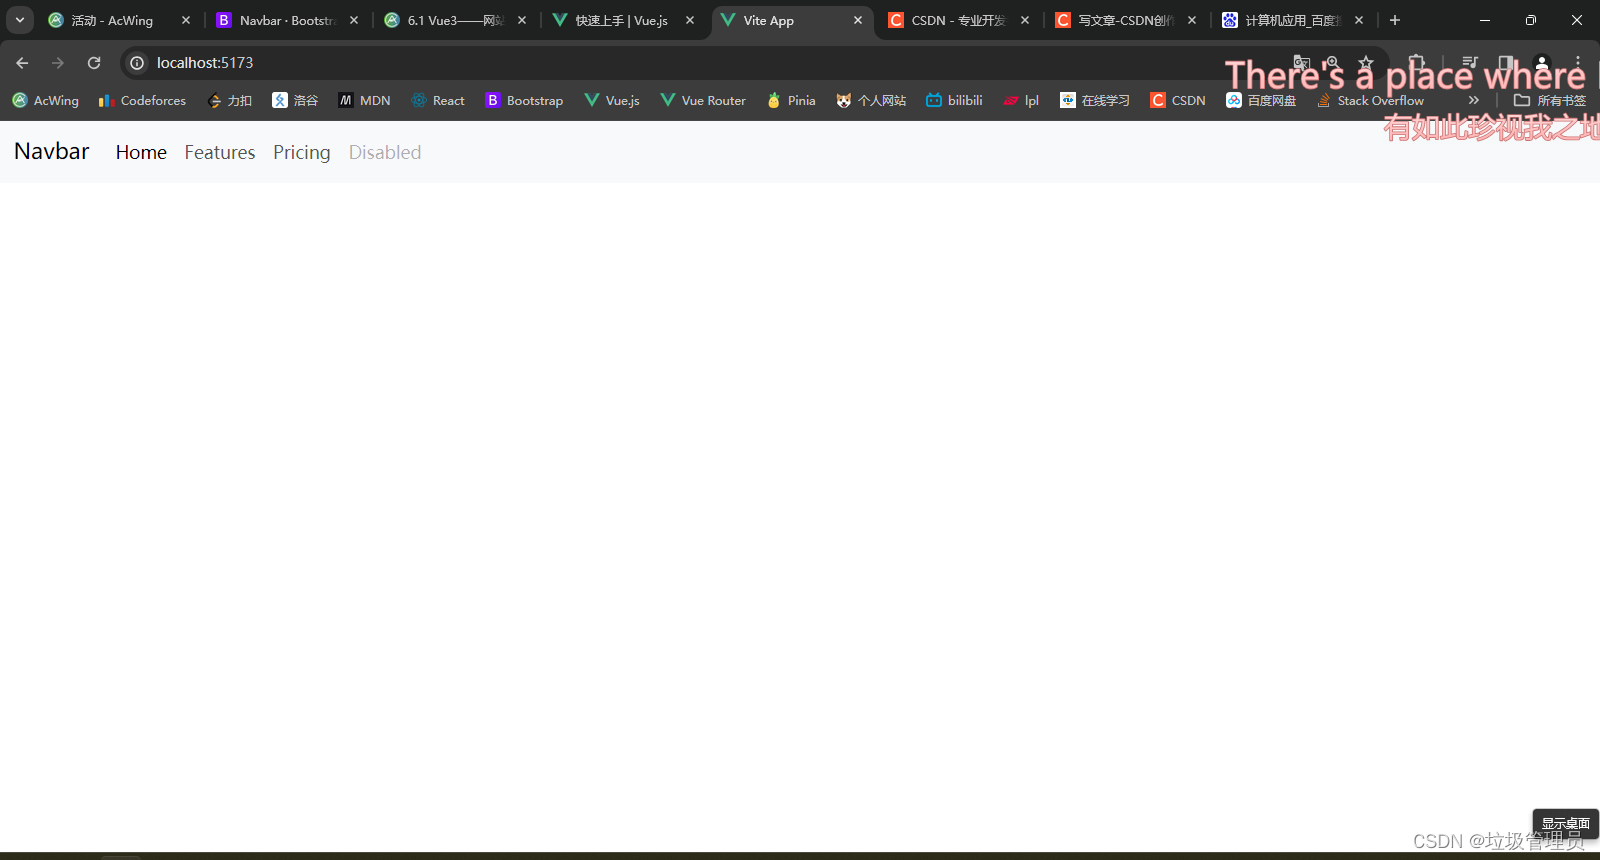
创建/src/components/NavBar.vue:
<script setup>
</script><template>
<nav class="navbar navbar-expand-lg bg-body-tertiary"><div class="container-fluid"><a class="navbar-brand" href="#">Navbar</a><button class="navbar-toggler" type="button" data-bs-toggle="collapse" data-bs-target="#navbarNavAltMarkup" aria-controls="navbarNavAltMarkup" aria-expanded="false" aria-label="Toggle navigation"><span class="navbar-toggler-icon"></span></button><div class="collapse navbar-collapse" id="navbarNavAltMarkup"><div class="navbar-nav"><a class="nav-link active" aria-current="page" href="#">Home</a><a class="nav-link" href="#">Features</a><a class="nav-link" href="#">Pricing</a><a class="nav-link disabled">Disabled</a></div></div></div>
</nav>
</template><style scoped>
</style>
分为三部分script(js)、template(html)和style(css)。script的setup可以帮用户完成很多东西,也可以不写然后手动设置,详细请看文档。style的scoped是为了让不同vue组件间css样式名称不产生冲突。
在App.vue中引入:
<script setup>
import NavBar from './components/NavBar.vue'
</script><template><NavBarVue /><RouterView />
</template><style scoped></style>
RouterView是每个路由对应的视图。

基础知识
template获取script变量
创建组件/scr/components/TestSon.vue:
<script setup>const msg = "hello world";
</script><template><span>{{ msg }}</span>
</template>
script中定义变量,template使用{{}}进行获取。
接受父组件参数
修改TestSon.vue:
<script setup>const pros = defineProps({msg: {type: String,required: true,}})
</script><template><span>{{ pros.msg }}</span>
</template>
使用defineProps定义组件接受的参数。
创建组件/scr/components/TestParent.vue:
<script setup>
import TestSon from './TestSon.vue';
</script><template><TestSon msg="123" />
</template>
<TestSon />是<TestSon></TestSon>的缩写,父组件直接以属性的方式传递参数。
向组件中传递模板
编写组件HomeContent.vue:
<script setup>import ContentBase from './ContentBase.vue';
</script>
<template><ContentBase><h1>title</h1><p>I have a dream...</p></ContentBase>
</template>
我们希望有一个类似容器的组件contentbase,容纳当前编写的模板内容。
ContentBase:
<template><div class="container"><div class="card"><slot /></div></div>
</template>
使用slot槽来接受内容,夹在<ContentBase>之间的内容会替换<slot>的位置。
属性绑定
上述例子中父组件传递的参数msg是固定string,我们也可以通过v-bind动态的绑定:
<script setup>
import TestSon from './TestSon.vue';const msg = "123";
</script><template><TestSon v-bind:msg="msg" />
</template>
也可以简写为:
<TestSon :msg="msg" />条件渲染
<script setup>const flag = true;
</script><template><div v-if="flag">真的</div><div v-else>假的</div>
</template>
列表渲染
<script setup>const list = ["alice", "bob"];
</script><template><div v-for="item in list" :key="item">{{ item }}</div>
</template>
需要绑定key,要求每个样例key不同。
事件处理
<script setup>
function say(msg){alert(msg);
}
</script><template><button v-on:click="say('hello')">Say hello</button>
</template>
可简写:
<button @click="say('hello')">Say hello</button>输入绑定
<script setup>
import { ref } from "vue";const message = ref();
</script><template><p>Message is: {{ message }}</p><input v-model="message" placeholder="edit me" />
</template>
如果需要在script中使用message的值,需要使用message.value来访问。ref用来声明响应式状态,对于一些复杂类型如object,可以使用reactive代替ref。
访问DOM
<script setup>
import { ref, onMounted } from 'vue'// 声明一个 ref 来存放该元素的引用
// 必须和模板里的 ref 同名
const input = ref(null)onMounted(() => {input.value.focus()
})
</script><template><input ref="input" />
</template>
onMounted会在组件加载完之后调用,只会执行一次,input.value是组件实例。
子组件向父组件抛出事件
父组件TestParent
<script setup>
import TestSon from './TestSon.vue';const say = () => {alert("hi");
};
</script><template><TestSon @parent_event="say" />
</template>
子组件TestSon
<script setup>const emit = defineEmits(["parent_event"]);emit('parent_event');
</script><template></template>
也可通过$emit直接抛出
<script setup></script><template><button @click="$emit('parent_event')">emit</button>
</template>


)


)

