下面是一个需求,识别图片中的导线,要在图像中检测导线,我们需要采用不同于直线检测的方法。由于OpenCV没有直接的曲线检测函数,如同它对直线提供的HoughLines或HoughLinesP,检测曲线通常需要更多的图像处理步骤和算法:
-
边缘检测:首先使用Canny边缘检测器检测图像中的边缘。
-
寻找轮廓:然后使用
cv2.findContours来寻找边缘连接的轮廓。轮廓可能对应于图像中的曲线。 -
轮廓分析:分析这些轮廓,筛选出满足特定条件的轮廓,如长度、曲率等。
-
绘制轮廓:在原始图像上绘制这些轮廓。
下面是成品代码:
# coding=UTF-8import cv2
import numpy as npdef load_and_detect_curves(image_path, new_width, new_height):# 加载图像image = cv2.imread(image_path)if image is None:print("无法加载图像")return# 调整图像尺寸resized_image = cv2.resize(image, (new_width, new_height))# 将图像转换为灰度图gray_image = cv2.cvtColor(resized_image, cv2.COLOR_BGR2GRAY)# 应用高斯模糊blurred_image = cv2.GaussianBlur(gray_image, (5, 5), 0)# 使用Canny边缘检测器检测边缘edges = cv2.Canny(blurred_image, 50, 150, apertureSize=3)# 寻找轮廓contours, _ = cv2.findContours(edges, cv2.RETR_TREE, cv2.CHAIN_APPROX_SIMPLE)# 筛选和绘制轮廓for contour in contours:# 可以在这里添加条件筛选特定轮廓if len(contour) > 100:  # 例如,筛选长度大于100的轮廓cv2.drawContours(resized_image, [contour], -1, (0, 255, 0), 2)# 显示结果cv2.imshow('Detected Curves', resized_image)if cv2.waitKey(0) & 0xFF == ord('q'):cv2.destroyAllWindows()# 使用函数
load_and_detect_curves('./images/2.png', 800, 600)  # 替换为你的图像路径和期望的尺寸
# load_and_detect_curves('./images/demo.jpg', 800, 600)  # 替换为你的图像路径和期望的尺寸
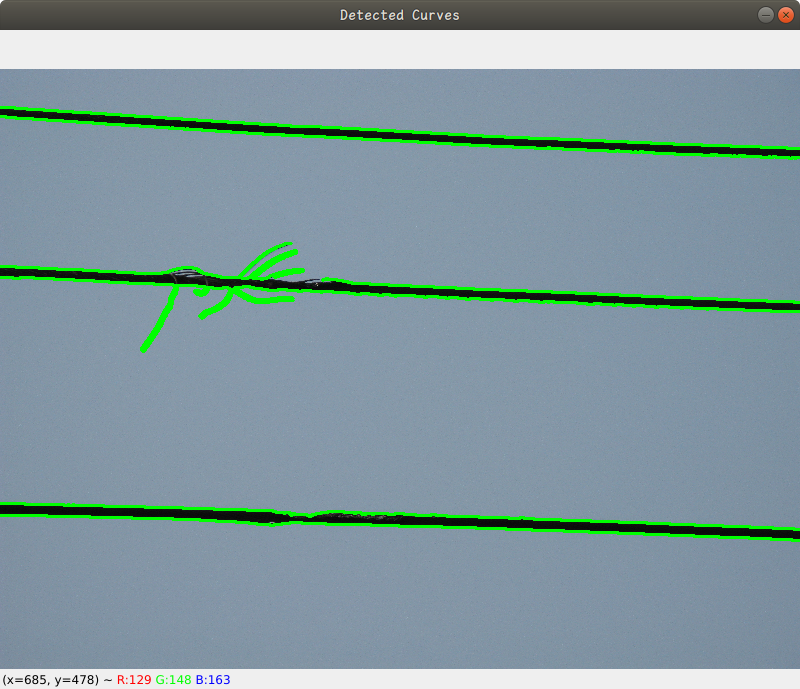
下面是运行效果:

