1、背景
由于jenkins运行在k8s上能够更好的利用动态agent进行构建。所以写了个部署教程,亲测无坑
2、部署
1、创建ns
kubectl create namespace devops
2、kubectl apply -f jenkins.yml
apiVersion: v1
kind: ServiceAccount
metadata:name: jenkinsnamespace: devops
---
kind: ClusterRole
apiVersion: rbac.authorization.k8s.io/v1
metadata:name: jenkins
rules:- apiGroups: ["extensions", "apps"]resources: ["deployments", "ingresses"]verbs: ["create", "delete", "get", "list", "watch", "patch", "update"]- apiGroups: [""]resources: ["services"]verbs: ["create", "delete", "get", "list", "watch", "patch", "update"]- apiGroups: [""]resources: ["pods"]verbs: ["create", "delete", "get", "list", "patch", "update", "watch"]- apiGroups: [""]resources: ["pods/exec"]verbs: ["create", "delete", "get", "list", "patch", "update", "watch"]- apiGroups: [""]resources: ["pods/log", "events"]verbs: ["get", "list", "watch"]- apiGroups: [""]resources: ["secrets"]verbs: ["get"]
---
apiVersion: rbac.authorization.k8s.io/v1
kind: ClusterRoleBinding
metadata:name: jenkinsnamespace: devops
roleRef:apiGroup: rbac.authorization.k8s.iokind: ClusterRolename: jenkins
subjects:- kind: ServiceAccountname: jenkinsnamespace: devops
---
apiVersion: apps/v1
kind: Deployment
metadata:name: jenkinsnamespace: devops
spec:selector:matchLabels:app: jenkinstemplate:metadata:labels:app: jenkinsspec:serviceAccount: jenkinsinitContainers:- name: fix-permissionsimage: busybox:1.35.0command: ["sh", "-c", "chown -R 1000:1000 /var/jenkins_home"]securityContext:privileged: truevolumeMounts:- name: jenkinshomemountPath: /var/jenkins_homecontainers:- name: jenkinsimage: jenkins/jenkins:2.414.1-lts-jdk11imagePullPolicy: IfNotPresentenv:- name: JAVA_OPTSvalue: -Dhudson.model.DownloadService.noSignatureCheck=trueports:- containerPort: 8080name: webprotocol: TCP- containerPort: 50000name: agentprotocol: TCPreadinessProbe:httpGet:path: /loginport: 8080initialDelaySeconds: 60timeoutSeconds: 5failureThreshold: 12volumeMounts:- name: jenkinshomemountPath: /var/jenkins_home- name: localtimemountPath: /etc/localtime  volumes:- name: jenkinshomehostPath:path: /opt/jenkins/jenkins_data- name: localtimehostPath:path: /etc/localtime
---
apiVersion: v1
kind: Service
metadata:name: jenkinsnamespace: devopslabels:app: jenkins
spec:selector:app: jenkinsports:- name: webport: 8080targetPort: web- name: agentport: 50000targetPort: agent
---
apiVersion: networking.k8s.io/v1
kind: Ingress
metadata:name: jenkinsnamespace: devops
spec:ingressClassName: nginxrules:- host: jenkins.k8s.comhttp:paths:- path: /pathType: Prefixbackend:service:name: jenkinsport:name: web
注意:镜像建议使用最新版本,因为jenkin平台默认提供了最新的插件,且无法选择版本,所以如果jenkins版本过低会导致插件不兼容问题
3、本地电脑配置host解析后,就可以用域名访问
4、查看pod日志获取初始化密码,也可以查看/opt/jenkins/jenkins_data/secrets/initialAdminPassword
5、安装必要插件
中文插件: Localization: Chinese
pipeline插件:Pipeline
k8s插件: Kubernetes
代码库管理插件:Git
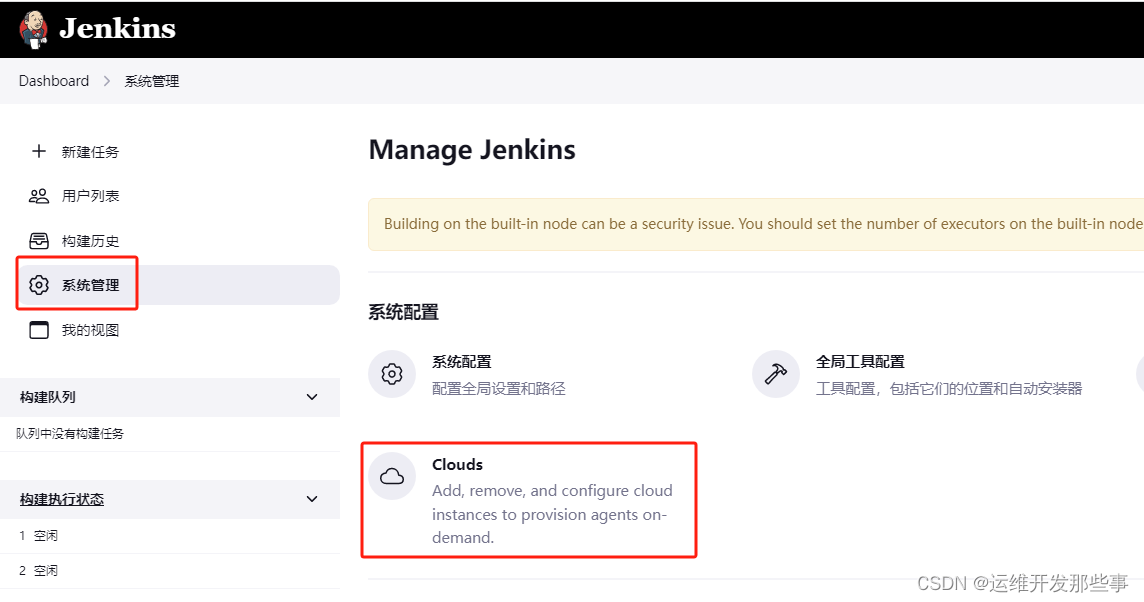
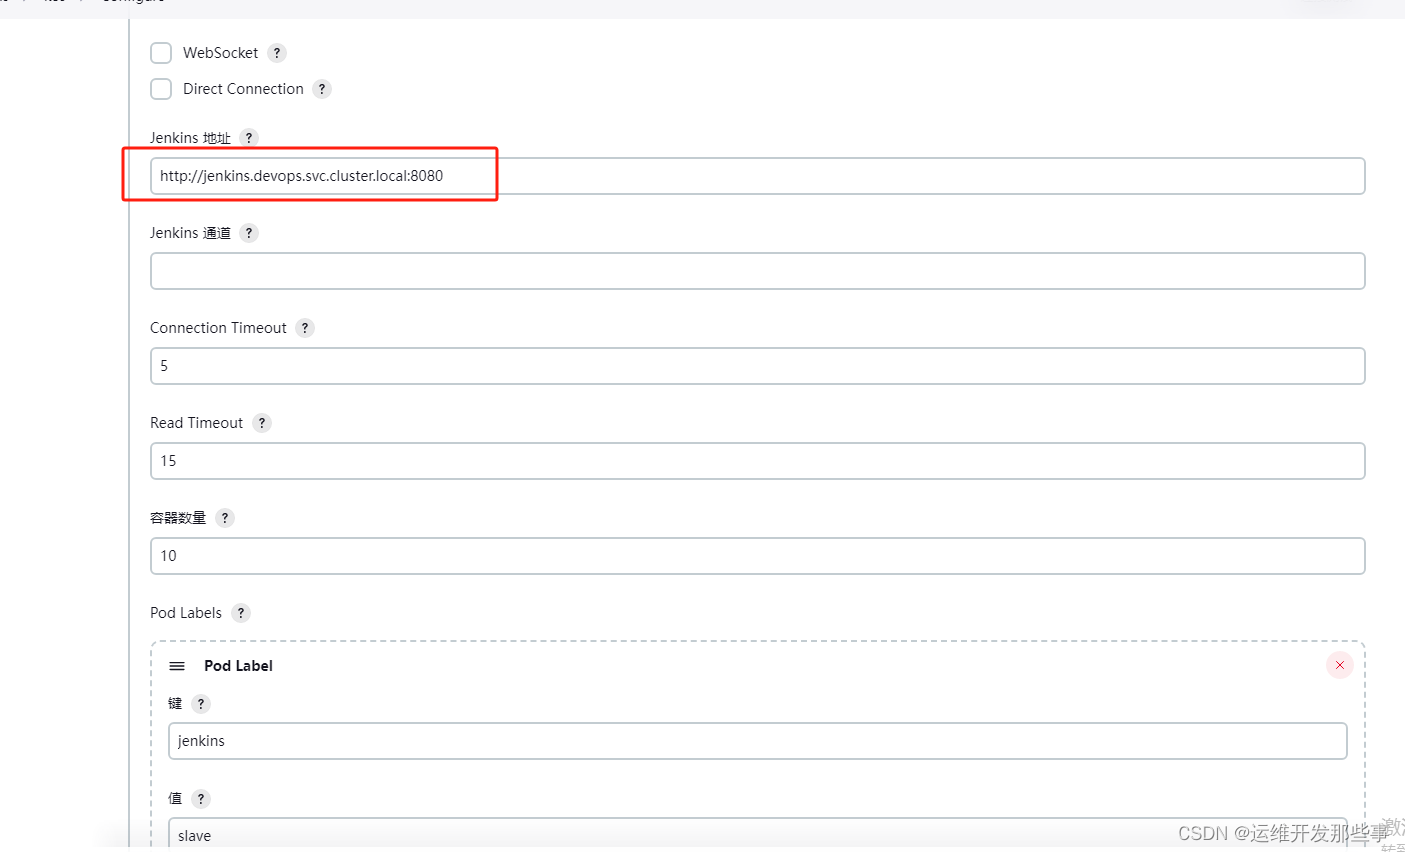
6、配置k8s连接信息


填写 以下内容 ,然后点击测试。
k8s地址 :https://kubernetes.default.svc.cluster.local
命名空间:devops
jenkins地址:http://jenkins.devops.svc.cluster.local:8080
由于之前部署的时候已经给jenkins用户访问k8s 的devops命名空间的权限,所以这里不需要配置kubeconfig认证也可直接访问
3、编写一条pipeline
这里用一个java项目的ci过程作为案例
def createVersion() {// 定义一个版本号作为当次构建的版本,输出结果 20191210175842_69return new Date().format('yyyyMMddHHmmss') + "_${env.BUILD_ID}"
}pipeline{agent{kubernetes{defaultContainer 'maven'yaml '''
apiVersion: v1
kind: Pod
spec:containers:- name: mavenimage: maven:3.8.1-jdk-8command: ["sleep"]args: ["99d"]- name: dockerimage: dockercommand: ["sleep"]args: ["99d"]volumeMounts:- mountPath: /var/run/docker.sockname: docker-socketvolumes:- name: docker-sockethostPath:path: /var/run/docker.sock
'''}}environment {tag = createVersion()}stages{stage("pull code"){steps{script{git 'https://gitee.com/uuei/java-devops-demo.git'}}}stage("mvn"){steps{script{sh 'mvn clean package'}container('docker') {script {sh 'docker build -t java-demo:${tag} .'}}}}}
}


 380. O(1) 时间插入、删除和获取随机元素 ——【Leetcode每日一题】)


数组的排序插入和删除)


