前言
接上一篇学习笔记,今天主要是分享上次学习完了,还没来得及记录,趁今天晚上换换脑子的时间记录下。
今天主要是记录的vuex文件的拆分,因为毕竟如果只在一个index.js文件写,文件会随着业务的复杂性上升,显得乱的很。另外简单的对了个开放接口,演示异步修改。
一、拆分后目录

其实主要就是store目录下index.js文件拆分state.js、actions.js、mutations.js(文件拆分)
modules目录则是按模块拆分,每个模块一个js文件。
二、vuex拆分知识点


三、拆分示例
App.vue
<template><img alt="Vue logo" src="./assets/logo.png"><HelloWorld/>
</template><script setup>
import HelloWorld from './components/HelloWorld.vue'</script><style>
#app {font-family: Avenir, Helvetica, Arial, sans-serif;-webkit-font-smoothing: antialiased;-moz-osx-font-smoothing: grayscale;text-align: center;color: #2c3e50;margin-top: 60px;
}
</style>
main.js
import { createApp } from 'vue'
import App from './App.vue'
import VuexStore from "./store";const app = createApp(App)
app.use(VuexStore)
app.mount('#app')
组件HelloWorld.vue
<template><div class="hello"><p>demo author:{{ author }}</p><h1>list 数据</h1><ul><li v-for="item in list" :key="item.id"><p>{{ item.name }} | {{ item.age }} | {{ item.sex }}</p></li></ul><p>辅助函数读取nickname:{{ nickname }}</p><p>辅助函数读取localCurAge:{{ localCurAge }}</p><p>修改Author:<input  @keyup="changeAuthor($event.target.value)"/></p><p>辅助函数方式修改Author:<input  @keyup="setAuthor($event.target.value)"/></p><p>异步修改Author:<input @change="syncChangeAuthor($event.target.value)"></p><p>辅助函数方式异步修改Author:<input @change="loadUserInfo($event.target.value)"></p></div>
</template><script>
import {mapState,mapMutations,mapActions} from "vuex";export default {computed: {localCurAge: {get() {return 18;},},...mapState(["author", "nickname", "list"]),},methods: {changeAuthor(value) {//方式一,使用commit提交this.$store.commit("setAuthor", value);},...mapMutations(["setAuthor"]),syncChangeAuthor(value) {//方式二,使用dispatch提交,触发一个动作actionthis.$store.dispatch("loadUserInfo", value);},...mapActions(["loadUserInfo"]) //映射为本地方法},}</script><!-- Add "scoped" attribute to limit CSS to this component only -->
<style scoped>
h3 {margin: 40px 0 0;
}ul {list-style-type: none;padding: 0;
}li {display: inline-block;margin: 0 10px;
}a {color: #42b983;
}
</style>
store目录下
index.js
import {createStore} from 'vuex'
import state from "./state"
import mutations from "./mutations"
import actions from "./actions"const modules = {}const vuexStore = createStore({//用来存储状态数据state: state,mutations: mutations,actions: actions,modules: modules
})export default vuexStore
actions.js
import axios from "axios";export default {async loadUserInfo(context, username) {//第一个参数是上下文对象,第二个参数是传递过来的值,loadUserInfo是自定义的方法名,第一个对象是一个与store具有相同属性和方法的对象const loadUserInfoUrl = "https://gitee.com/api/v5/users/" + username;console.log(loadUserInfoUrl)const {data} = await axios.get(loadUserInfoUrl);console.log(data)//调用mutations中的方法(必须这样处理)context.commit('setAuthor', data.name)}
}
mutations.js
//用来改变状态数据,必须是同步操作
export default {//第一个参数是state,第二个参数是传递过来的值,setAuthor是自定义的方法名setAuthor(state, newValue) {state.author = newValue}
}
state.js
//定义一个对象,用来存储状态数据
export default {author: '韦小宝',nickname: '肥仔哥哥',list: [{name: 'tom',age: 1,sex: '男'},{name: 'jerry',age: 2,sex: '女'},{name: 'lili',age: 3,sex: '男'}]
}
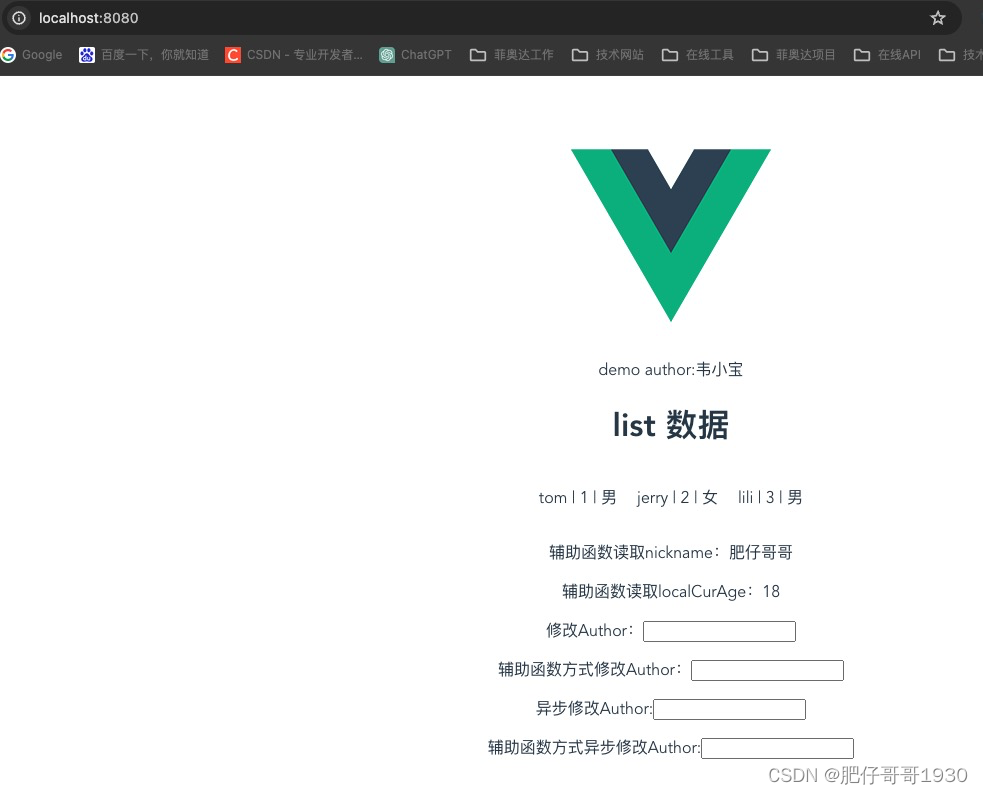
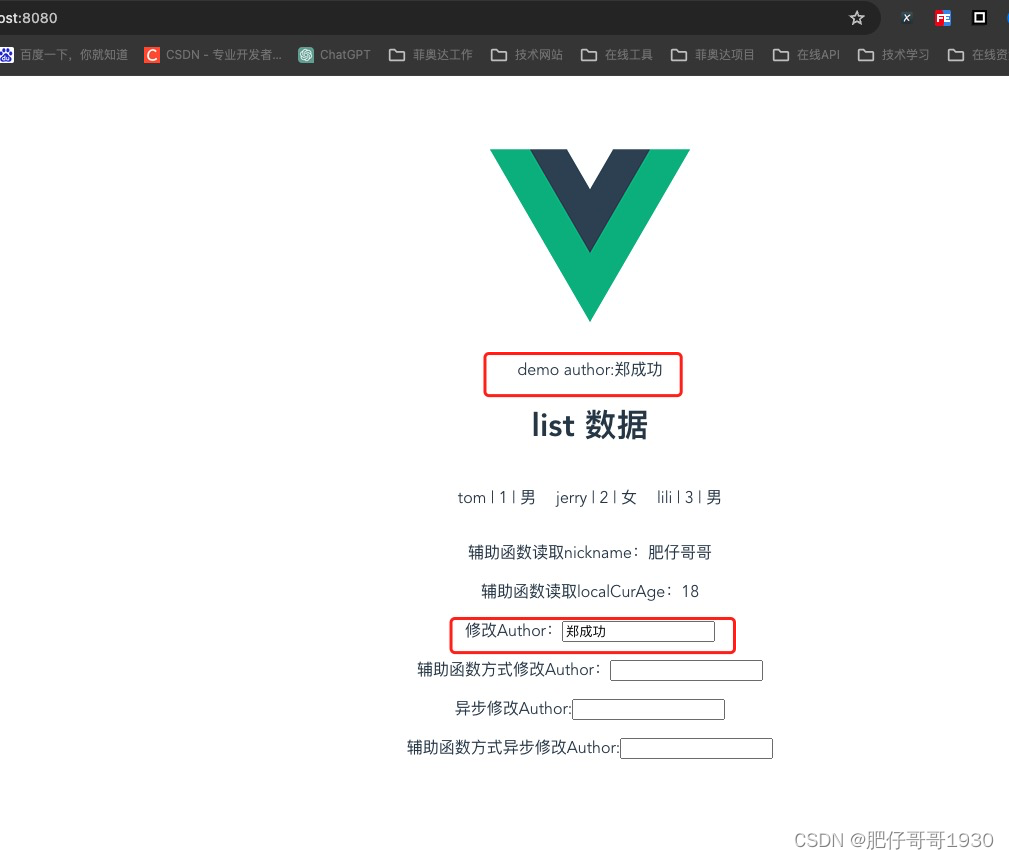
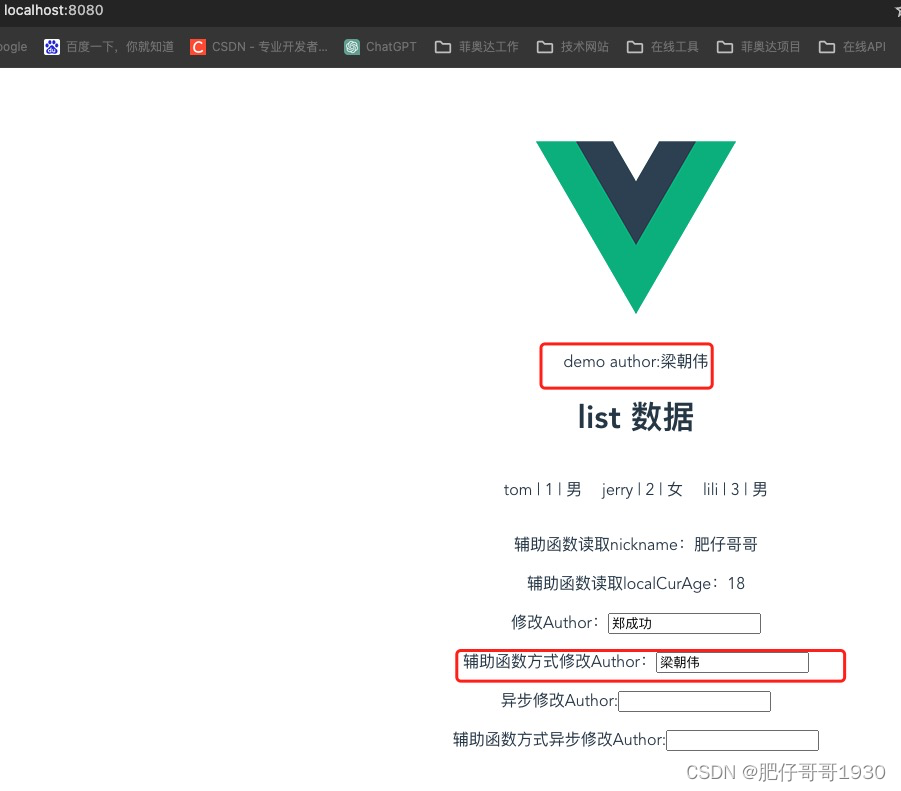
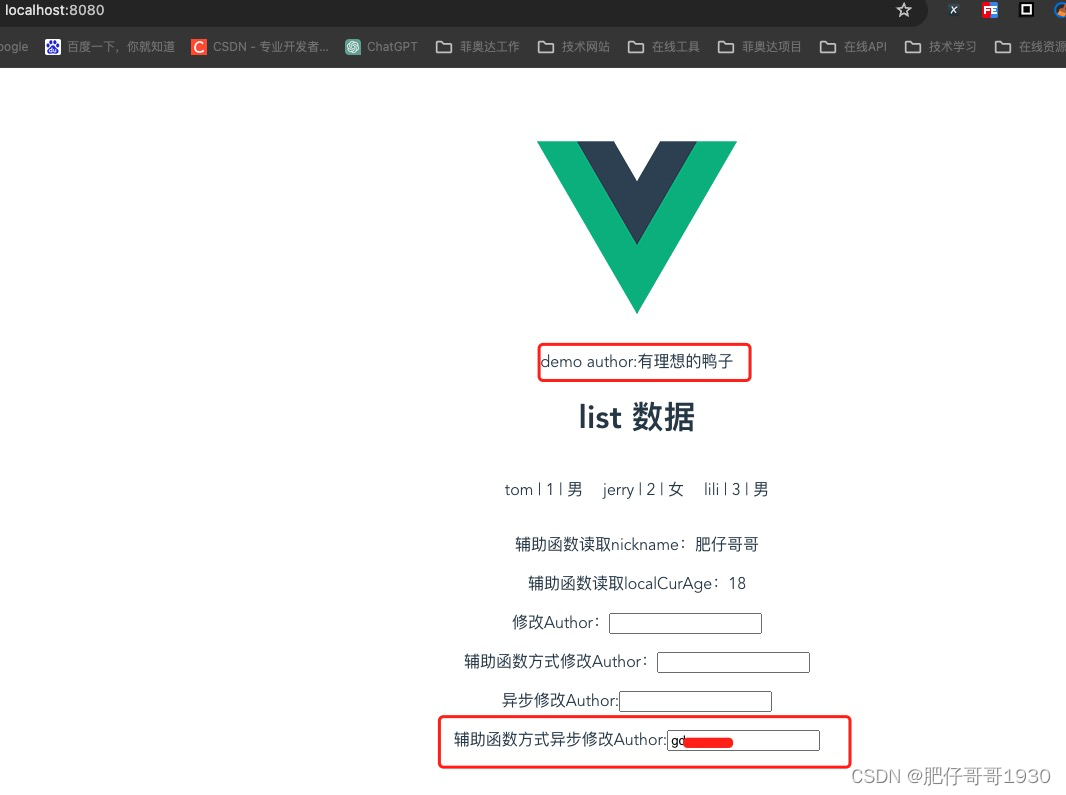
四、效果


简单的对了个开放接口,演示vuex状态管理的异步修改。
总结
- vuex状态管理还是很强的,业务中状态管理应该会利用的比较多
- vuex状态管理不支持API组合式,遗憾
就记录到这里,与大家共同进步,uping!

)


服装,Quad Remesher四边面拓扑布线、UV投射)


)
写一个小批量梯度下降的线性回归算法)

