一、实验准备
192.168.115.148 zabbix-server
192.168.115.151 zabbix-angent
rpm -Uvh https://repo.zabbix.com/zabbix/5.0/rhel/7/x86_64/zabbix-release-5.0-1.el7.noarch.rpm
yum install zabbix-server-mysql zabbix-agent
yum install centos-release-scl
vim /etc/yum.repos.d/zabbix.repo
####改这里
[zabbix-frontend]
...
enabled=1
...yum install zabbix-web-mysql-scl zabbix-apache-conf-sclyum -y install mariadb mariadb-server
systemctl start mariadb.service
##进入MYSQL
mysql
mysql> create database zabbix character set utf8 collate utf8_bin;
mysql> create user "zabbix"@"localhost" identified by '123456';
mysql> grant all privileges on zabbix.* to "zabbix"@"localhost";
mysql> quit;zcat /usr/share/doc/zabbix-server-mysql*/create.sql.gz | mysql -uzabbix -p zabbixyum install zabbix-getvim /etc/zabbix/zabbix_server.conf
##修改密码
DBPassword=123456
DBHost=192.168.115.118vim /etc/opt/rh/rh-php72/php-fpm.d/zabbix.conf
php_value[date.timezone] = Asia/Shanghaisystemctl restart zabbix-server zabbix-agent httpd rh-php72-php-fpm
systemctl enable zabbix-server zabbix-agent httpd rh-php72-php-fpm
rpm -Uvh https://repo.zabbix.com/zabbix/5.0/rhel/7/x86_64/zabbix-release-5.0-1.el7.noarch.rpm
yum install zabbix-agent##117行
Server=192.168.115.148
##163行
ServerActive=192.168.115.148
##174行
Hostname=192.168.115.151systemctl start zabbix-agent
systemctl enable zabbix-agent
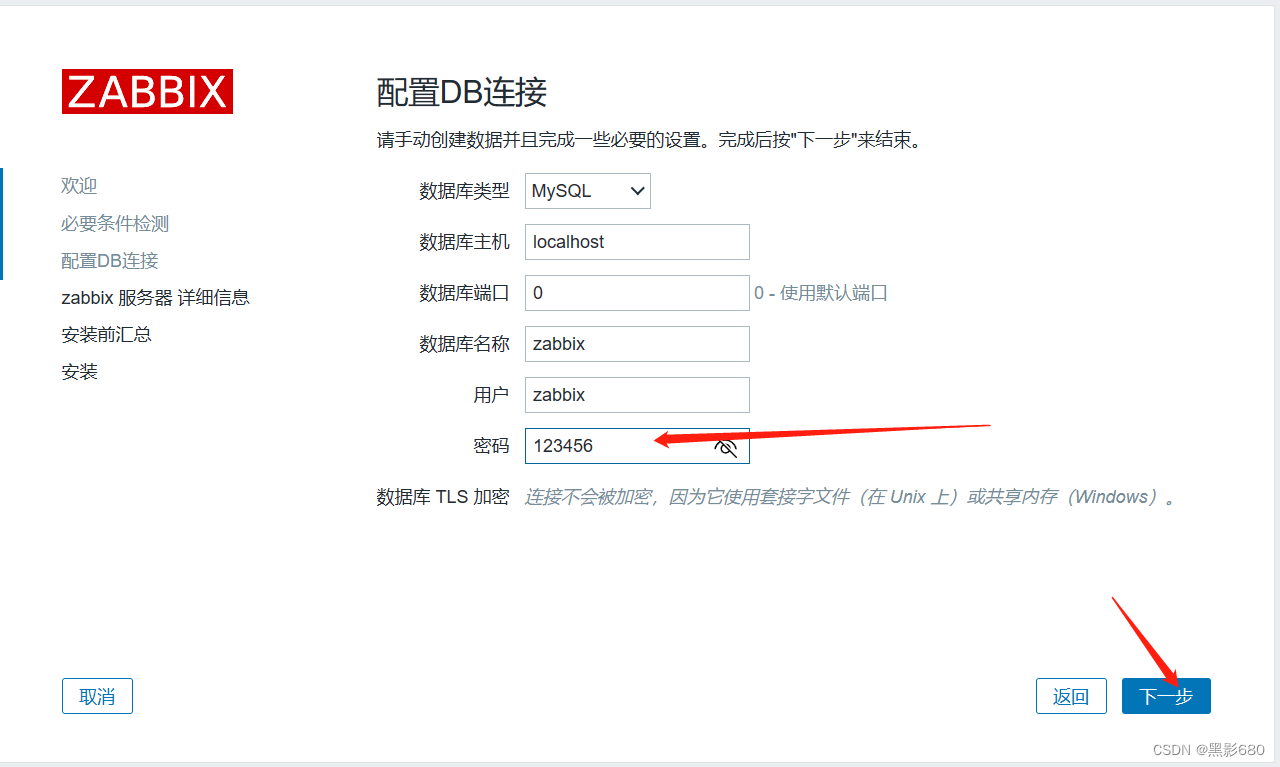
二、安装
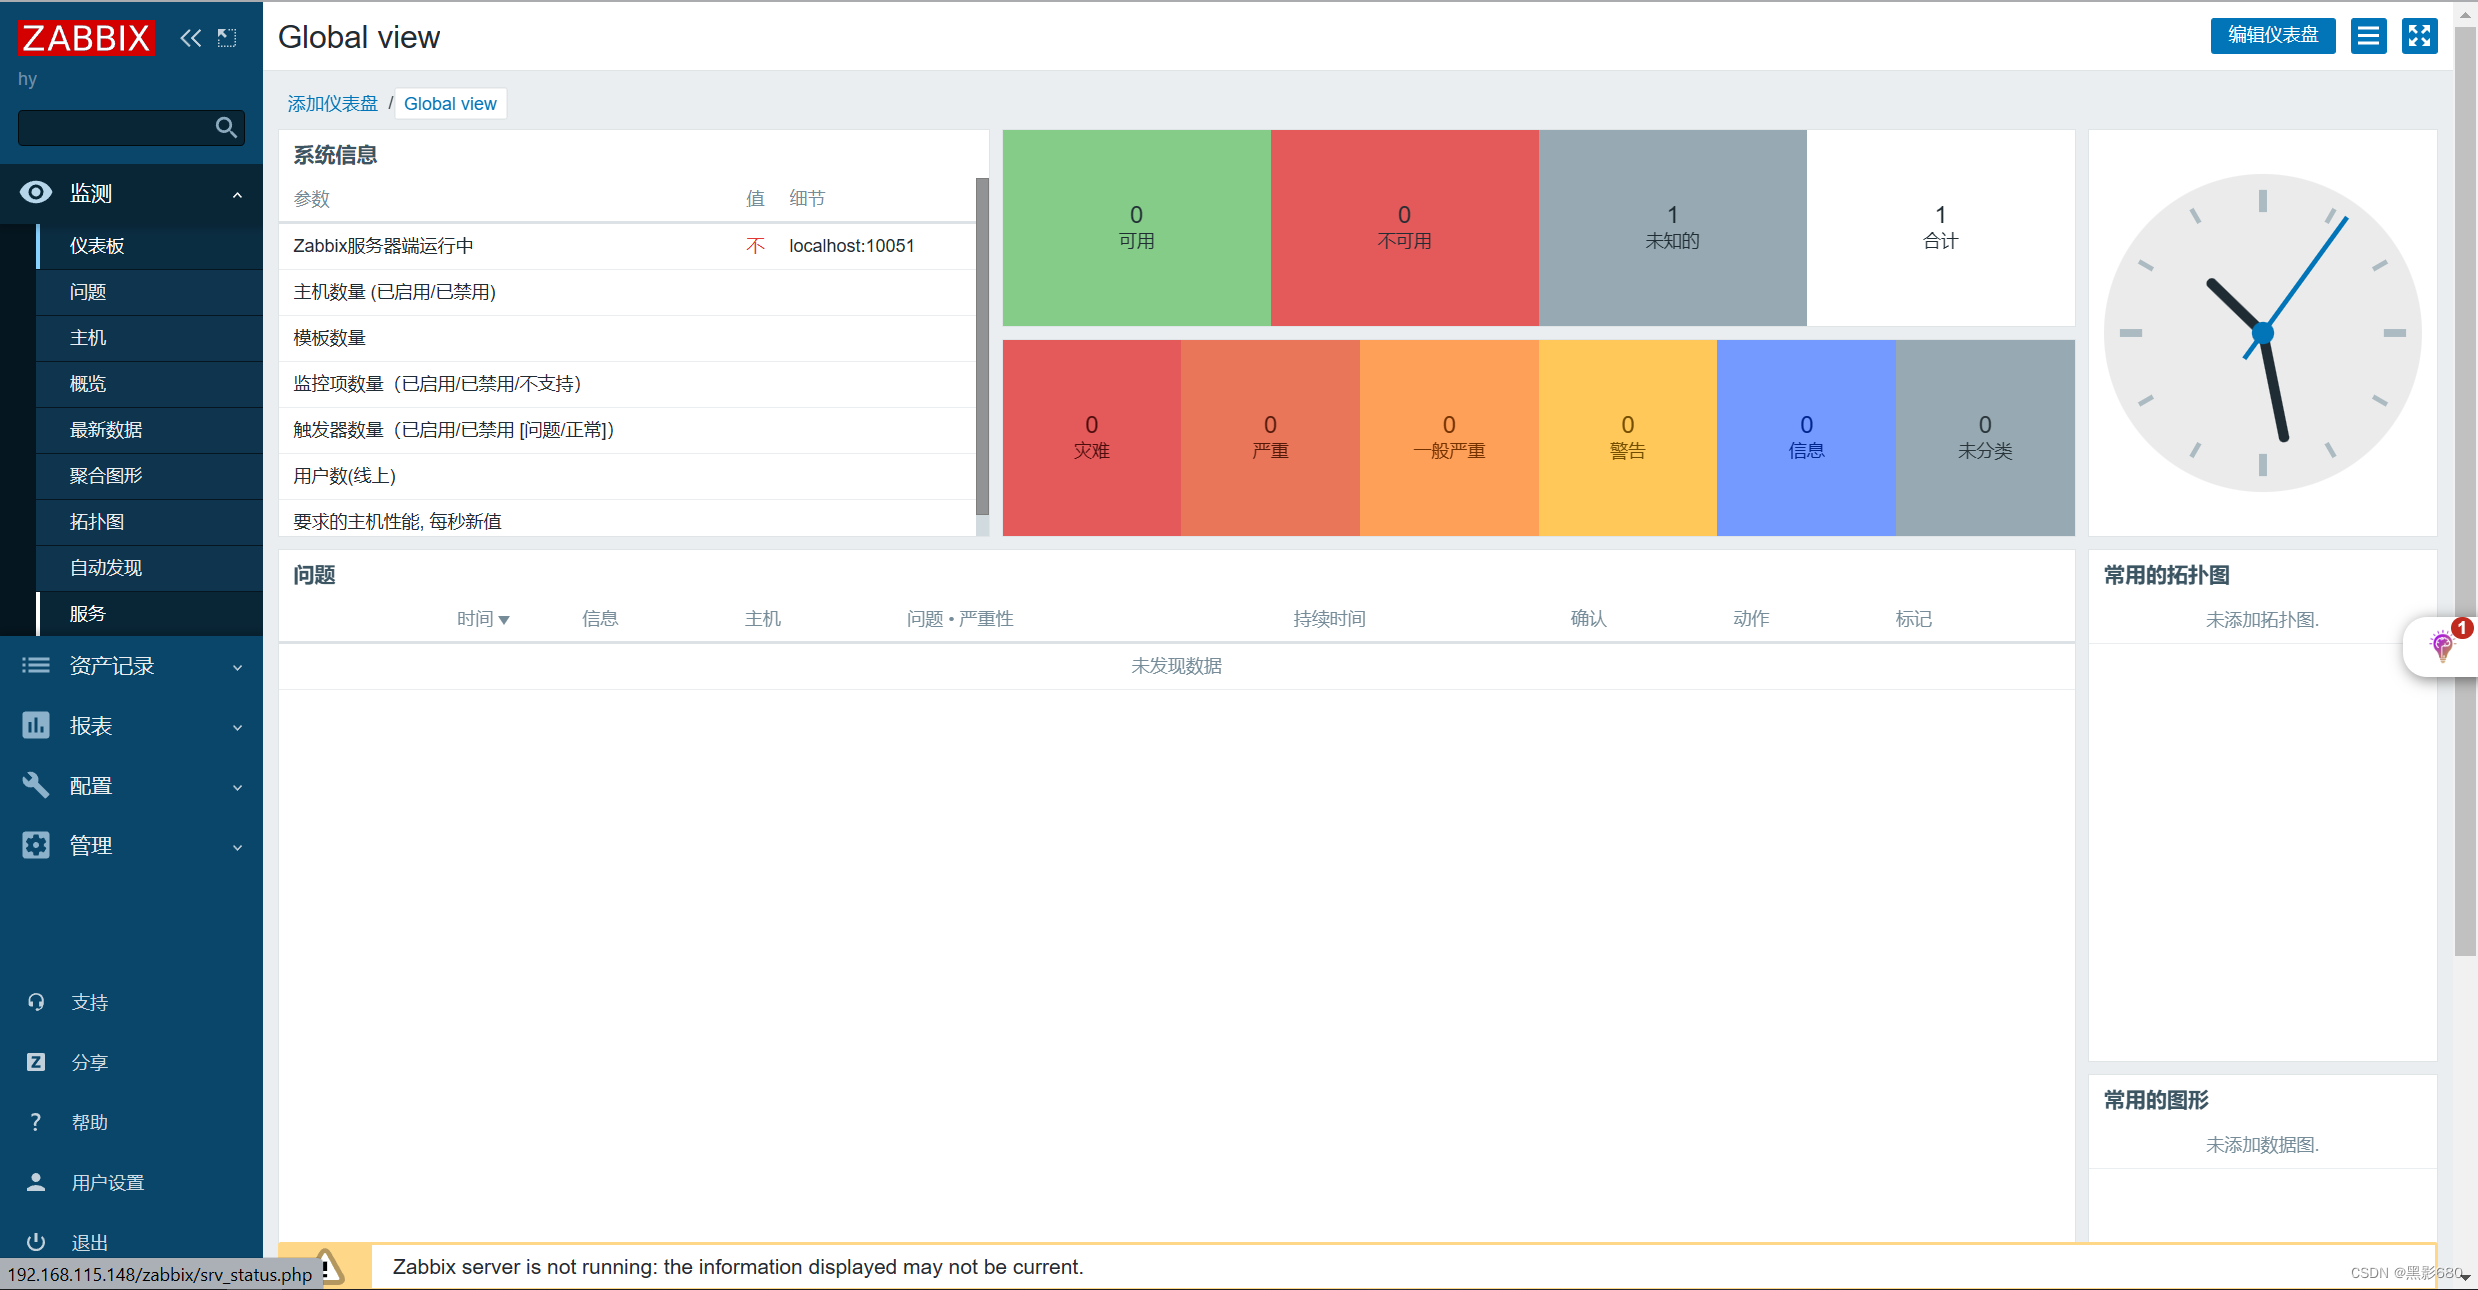
访问192.168.115.148/zabbix




三、添加监控对象
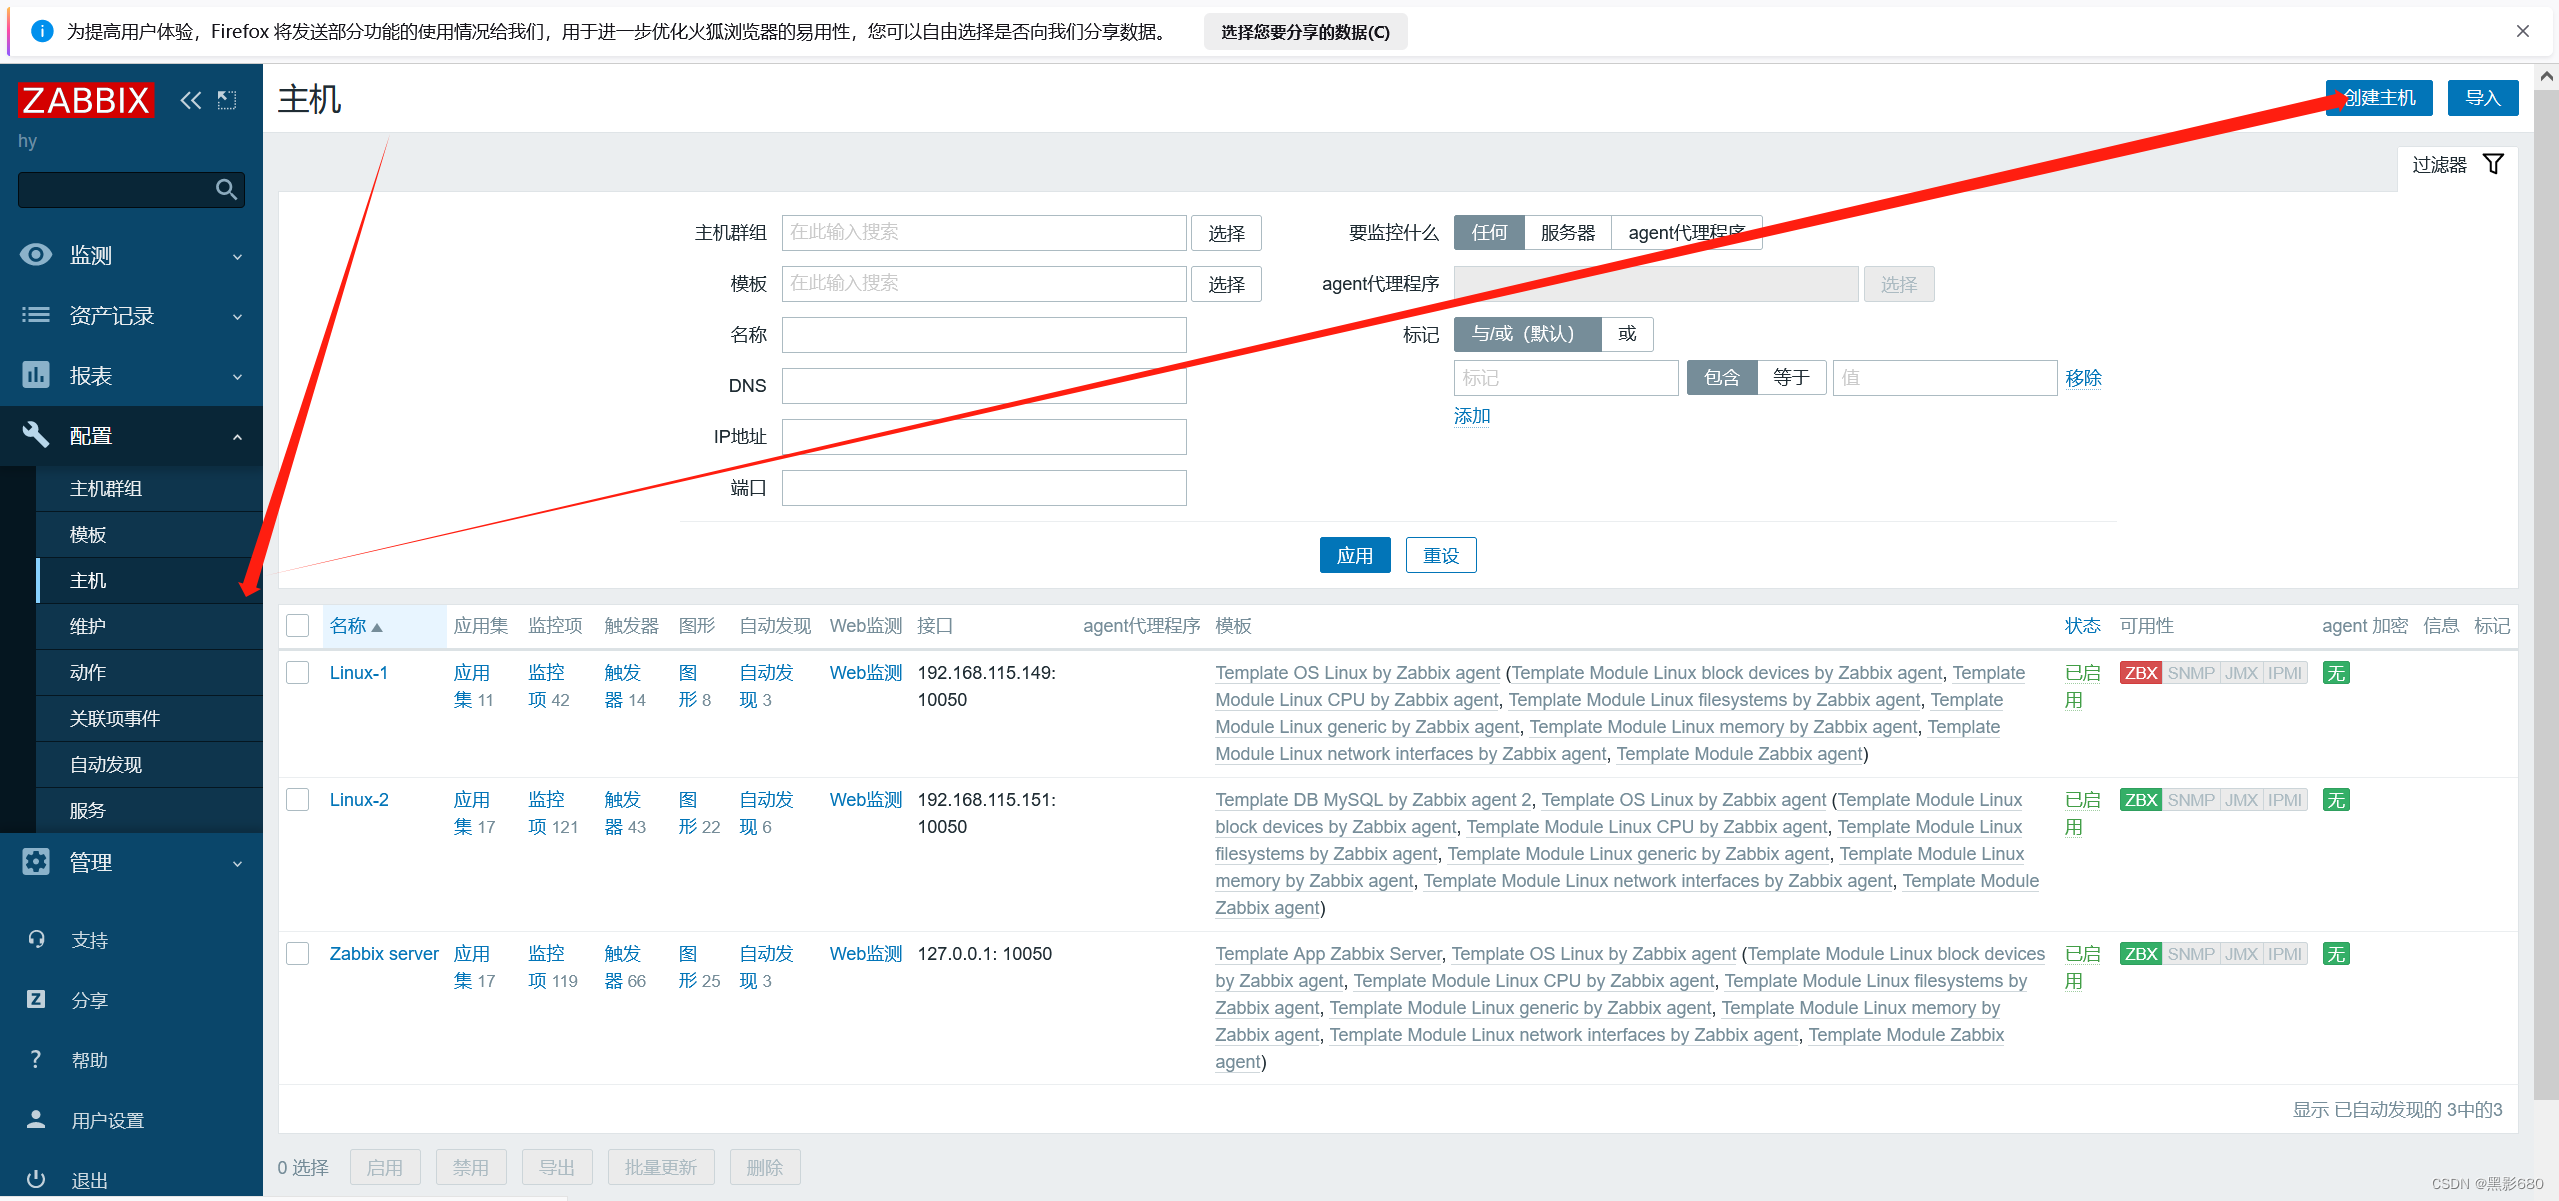
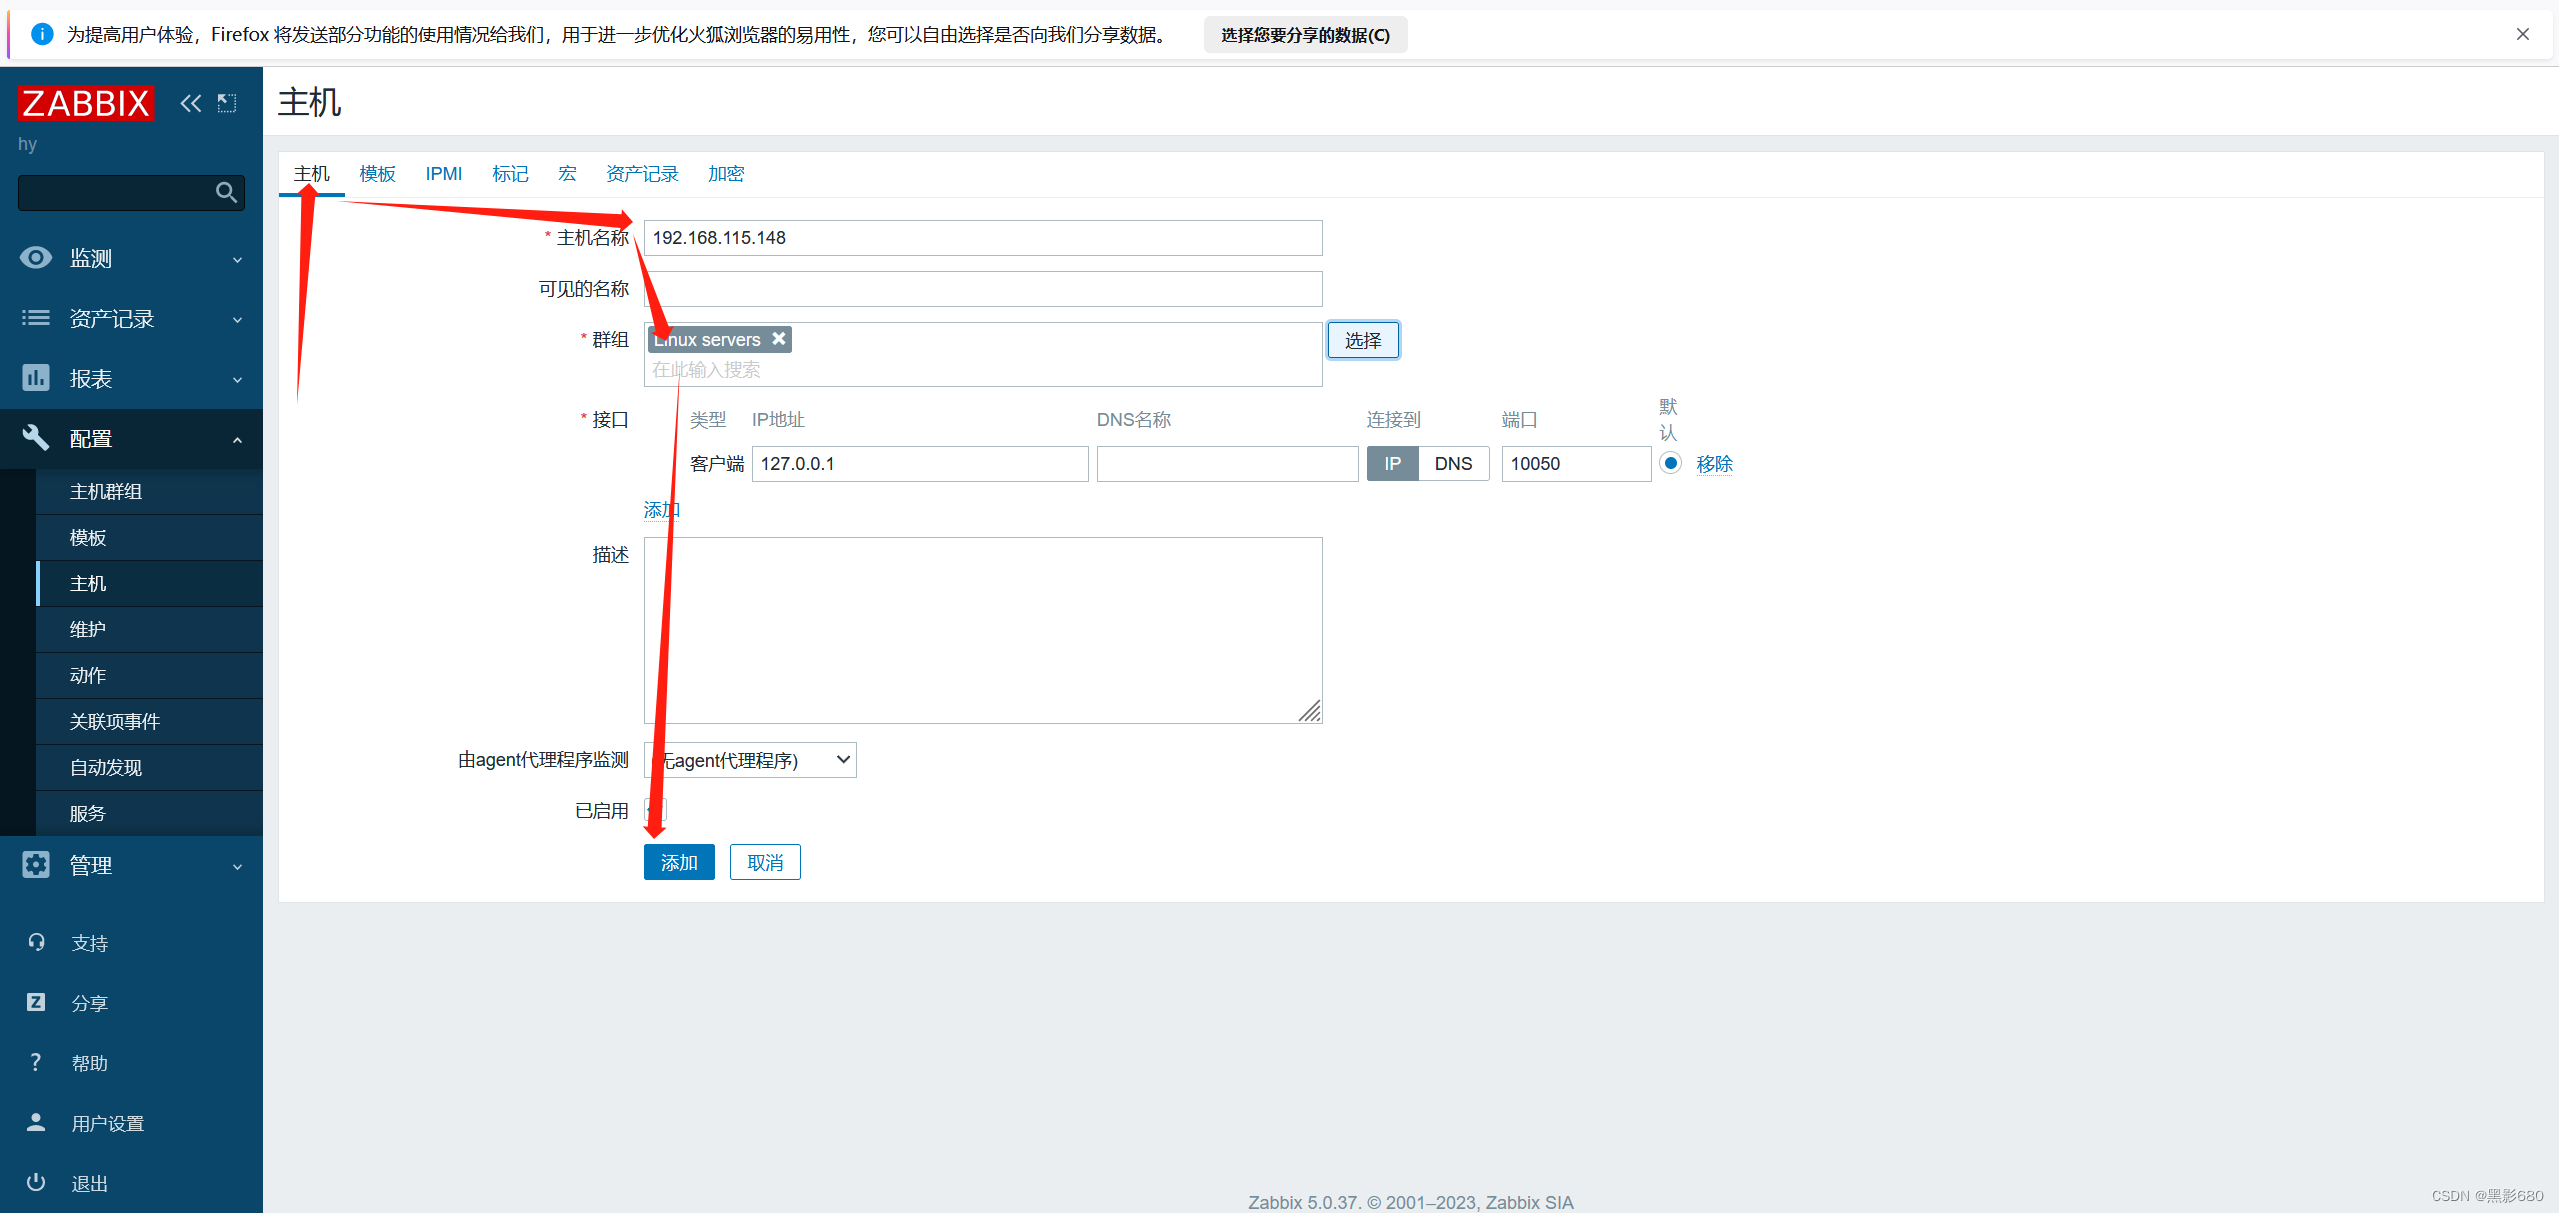


同理添加192.168.115.151


四、添加自定义监控项
在192.168.115.151上添加自定义的监控项:监控当前登录用户的个数
vim /etc/zabbix/zabbix_agentd.d/user-login.conf
########定义键
########格式:UserParameter=key,shell命令(脚本也可)
UserParameter=user_login,who|wc -lvim /etc/zabbix/zabbix_agentd.conf
###解开注释,启用
UnsafeUserParameters=1systemctl restart zabbix-agent
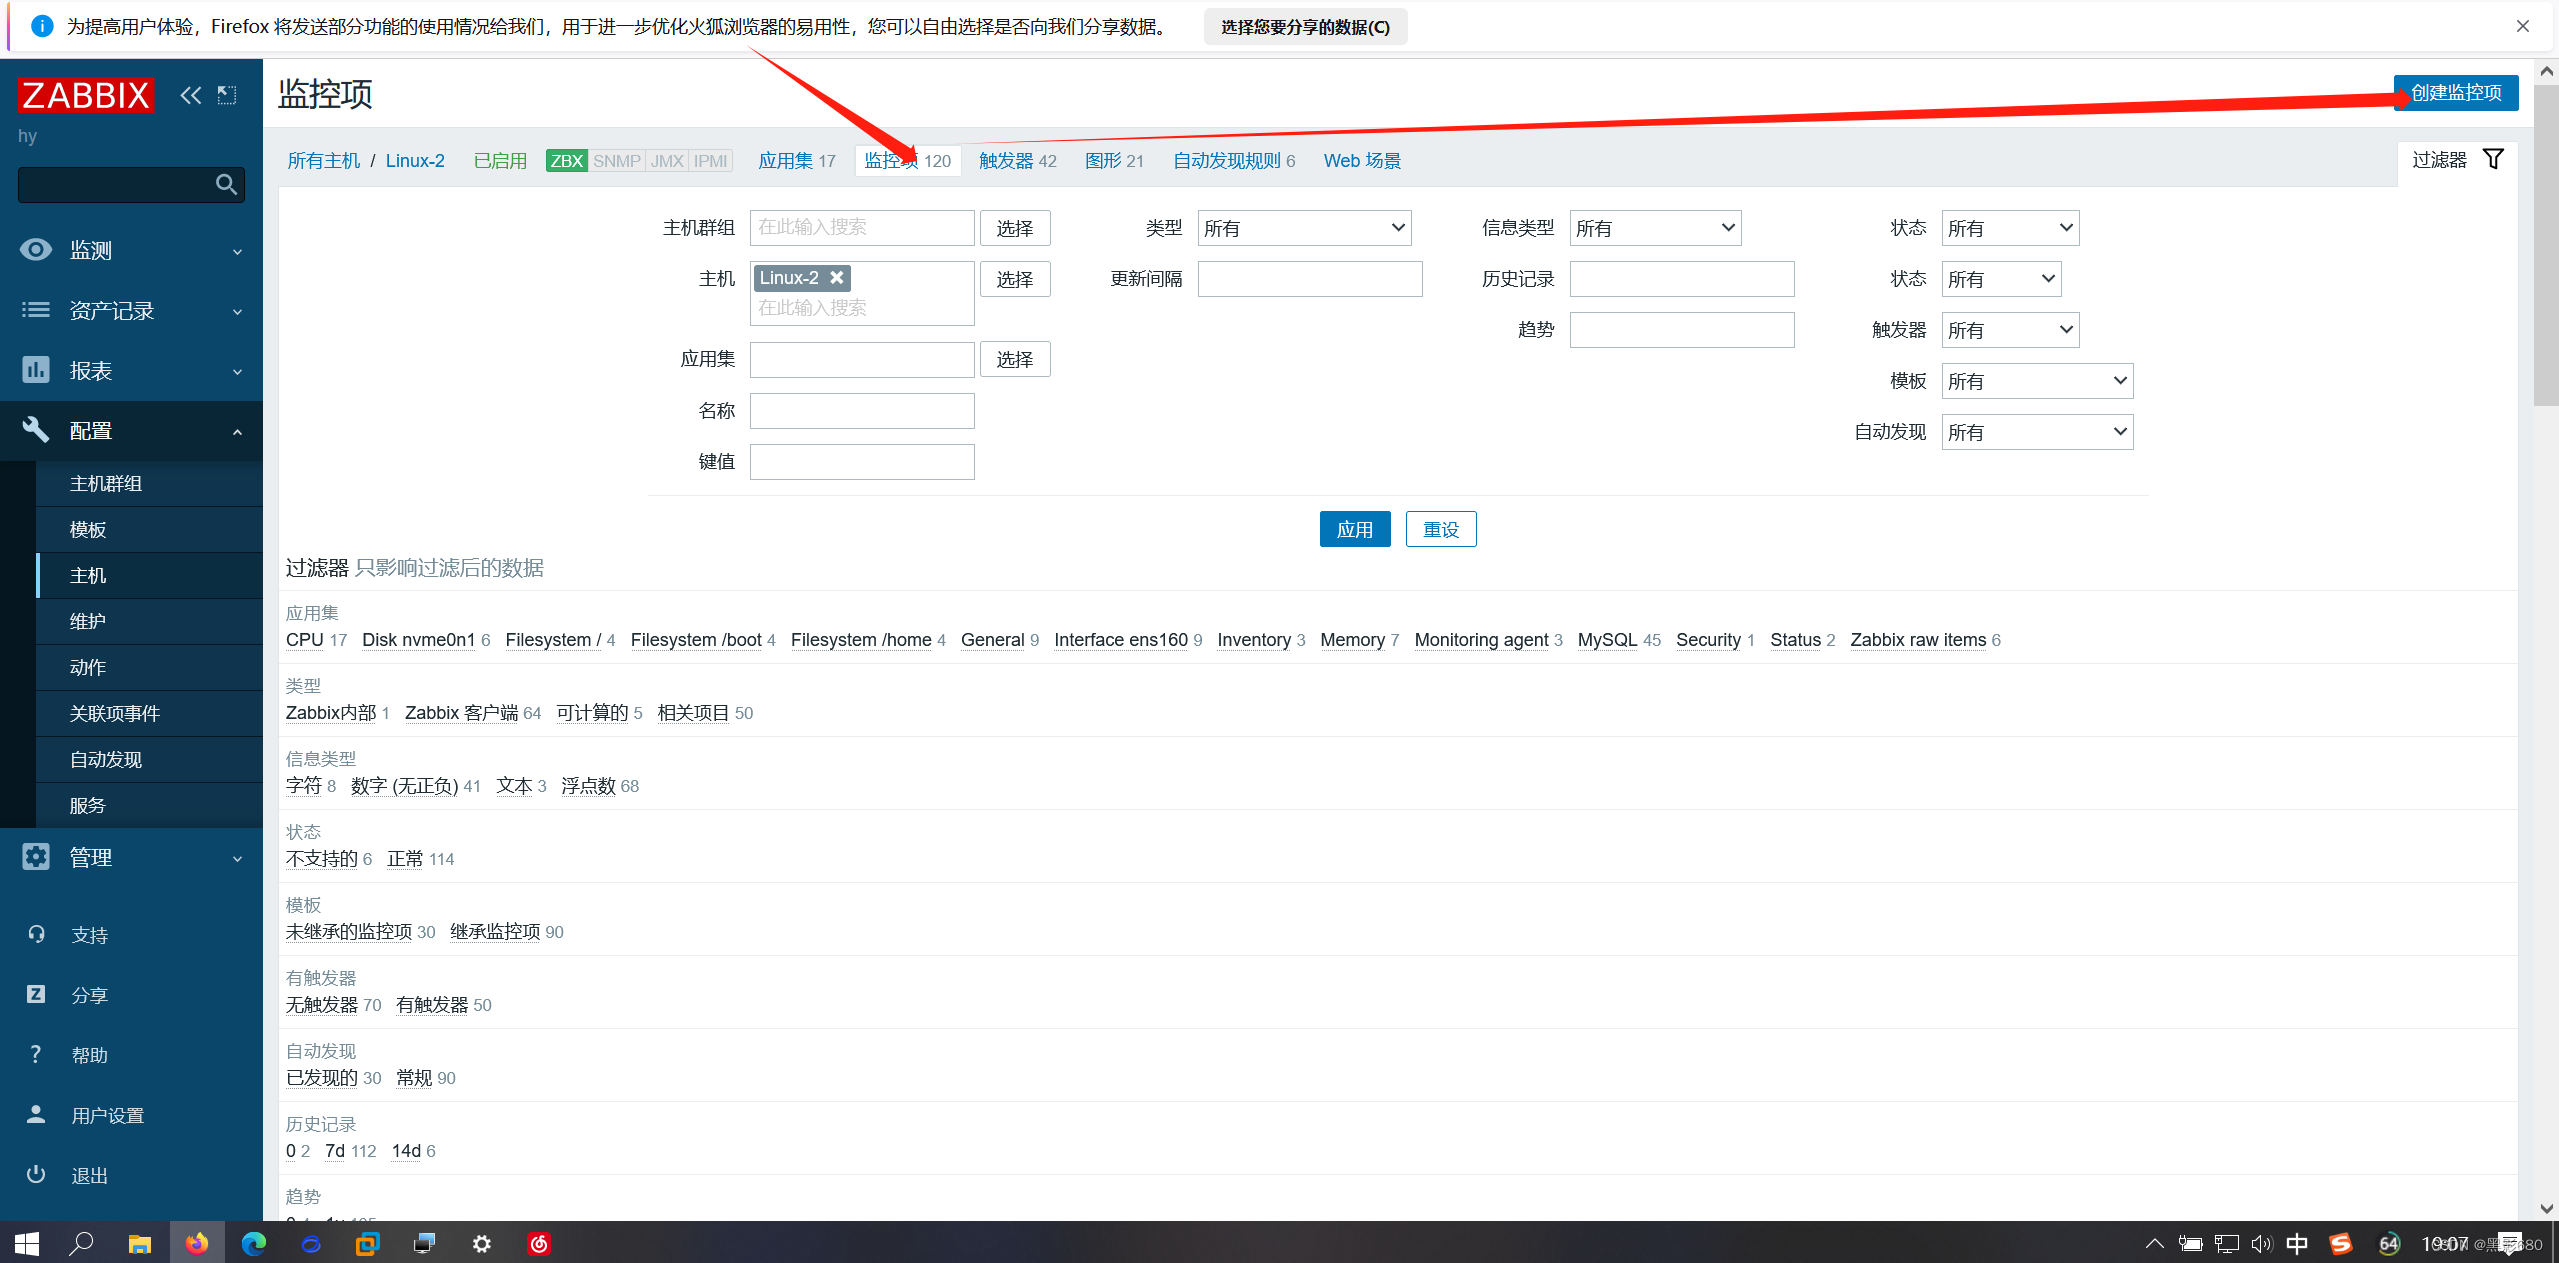
在web端添加自定义监控项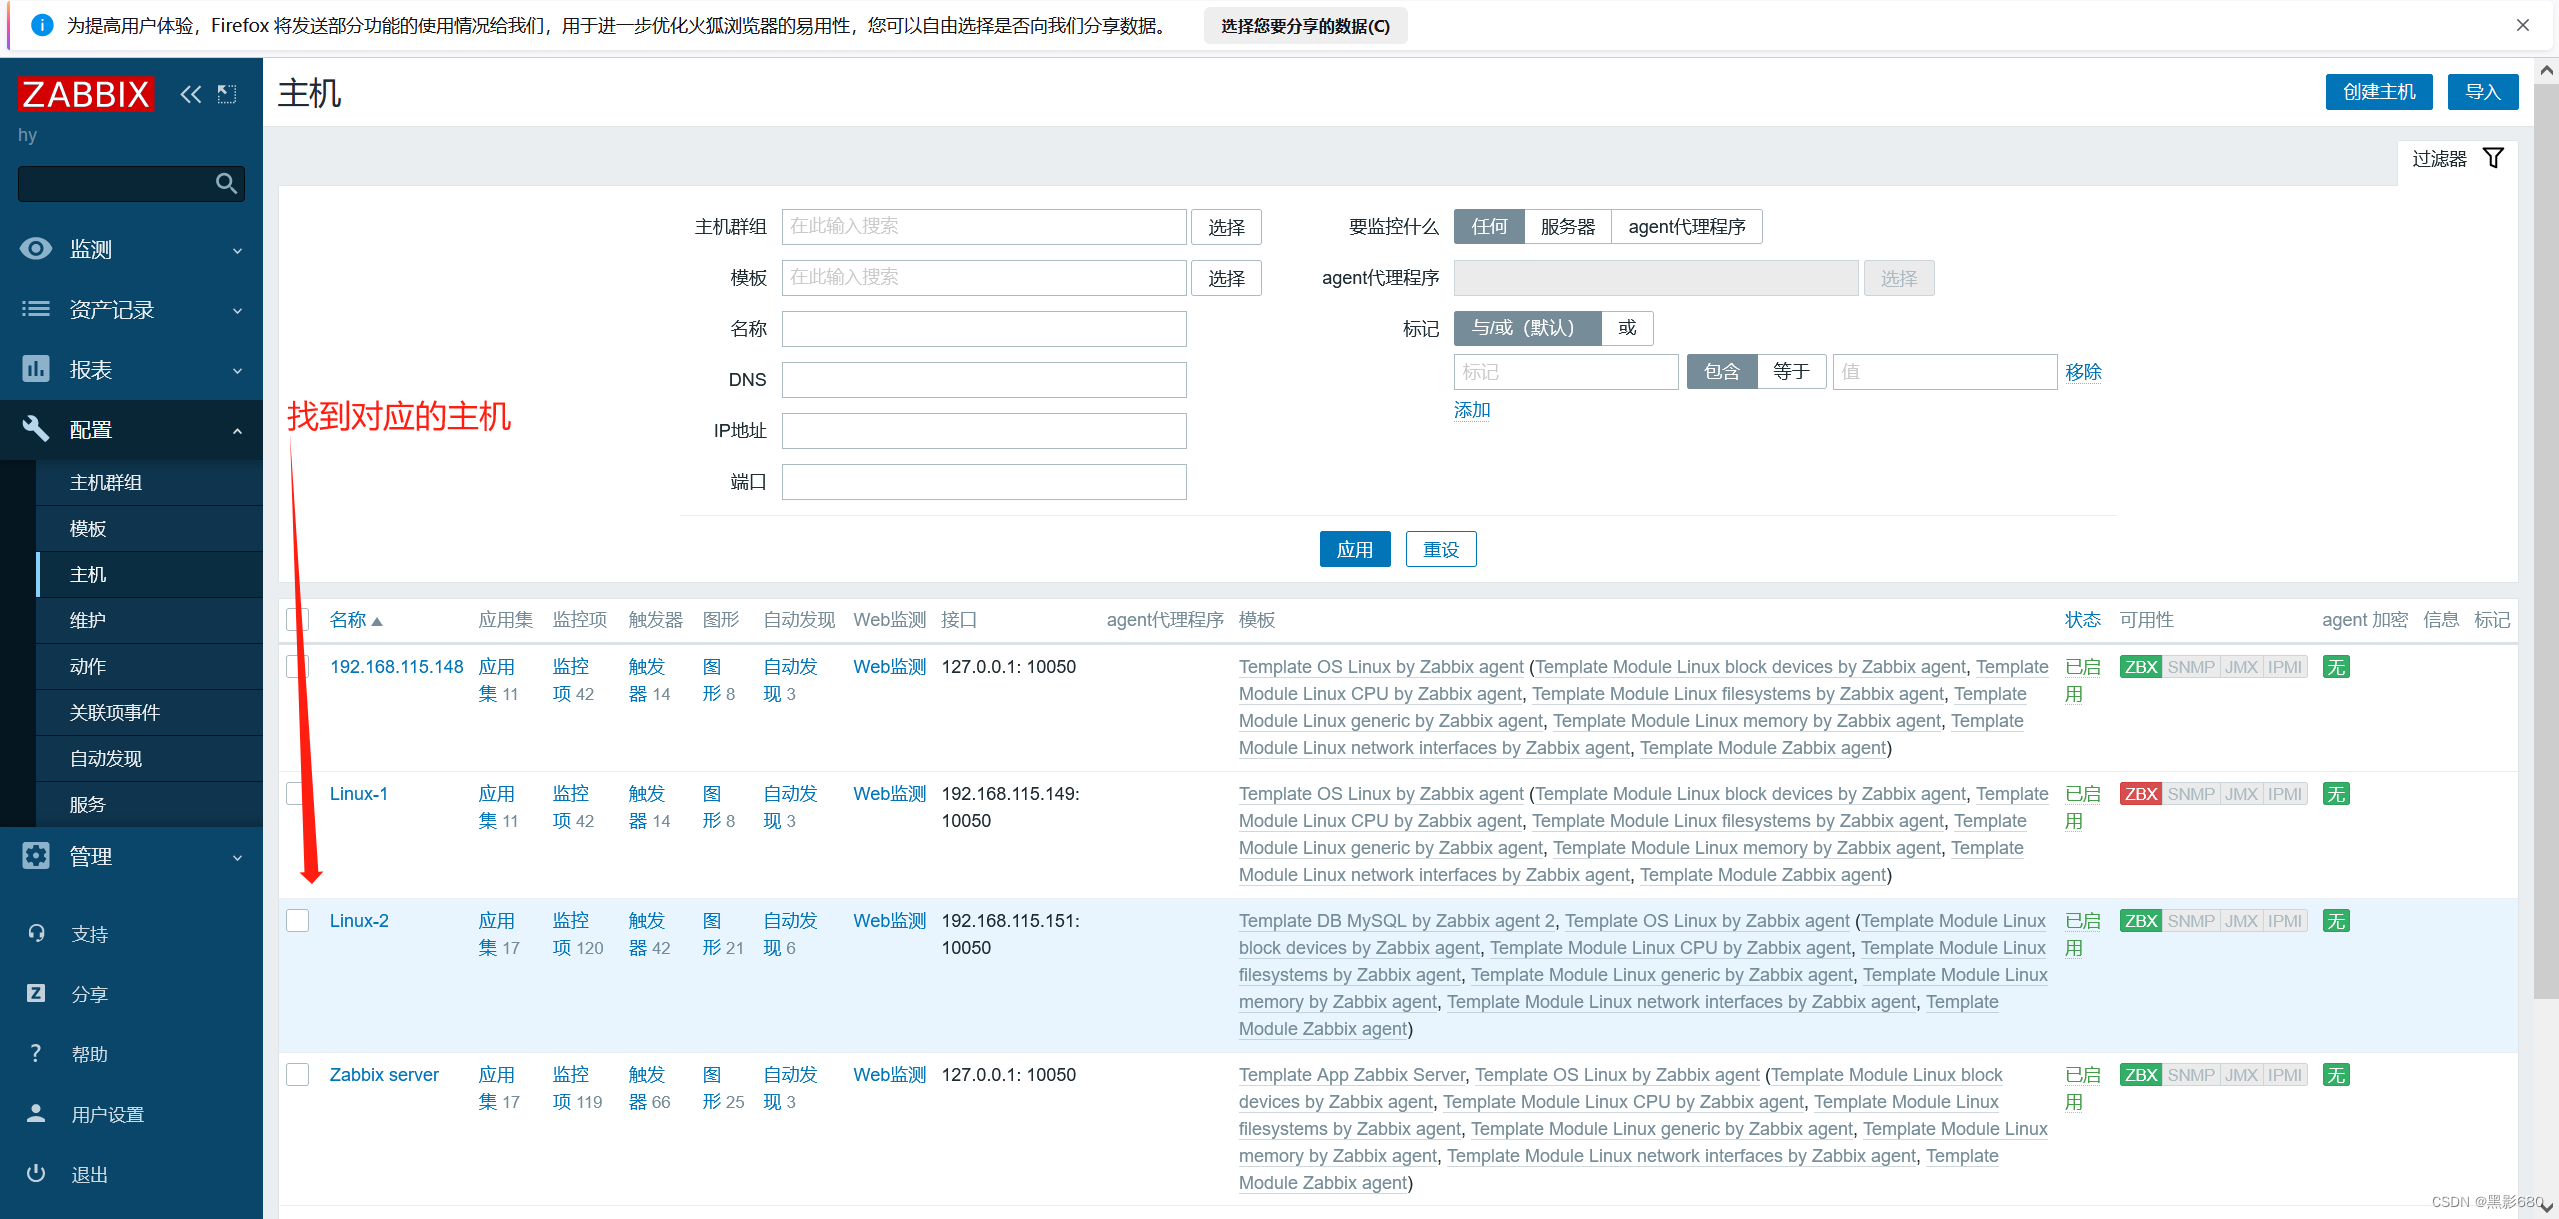


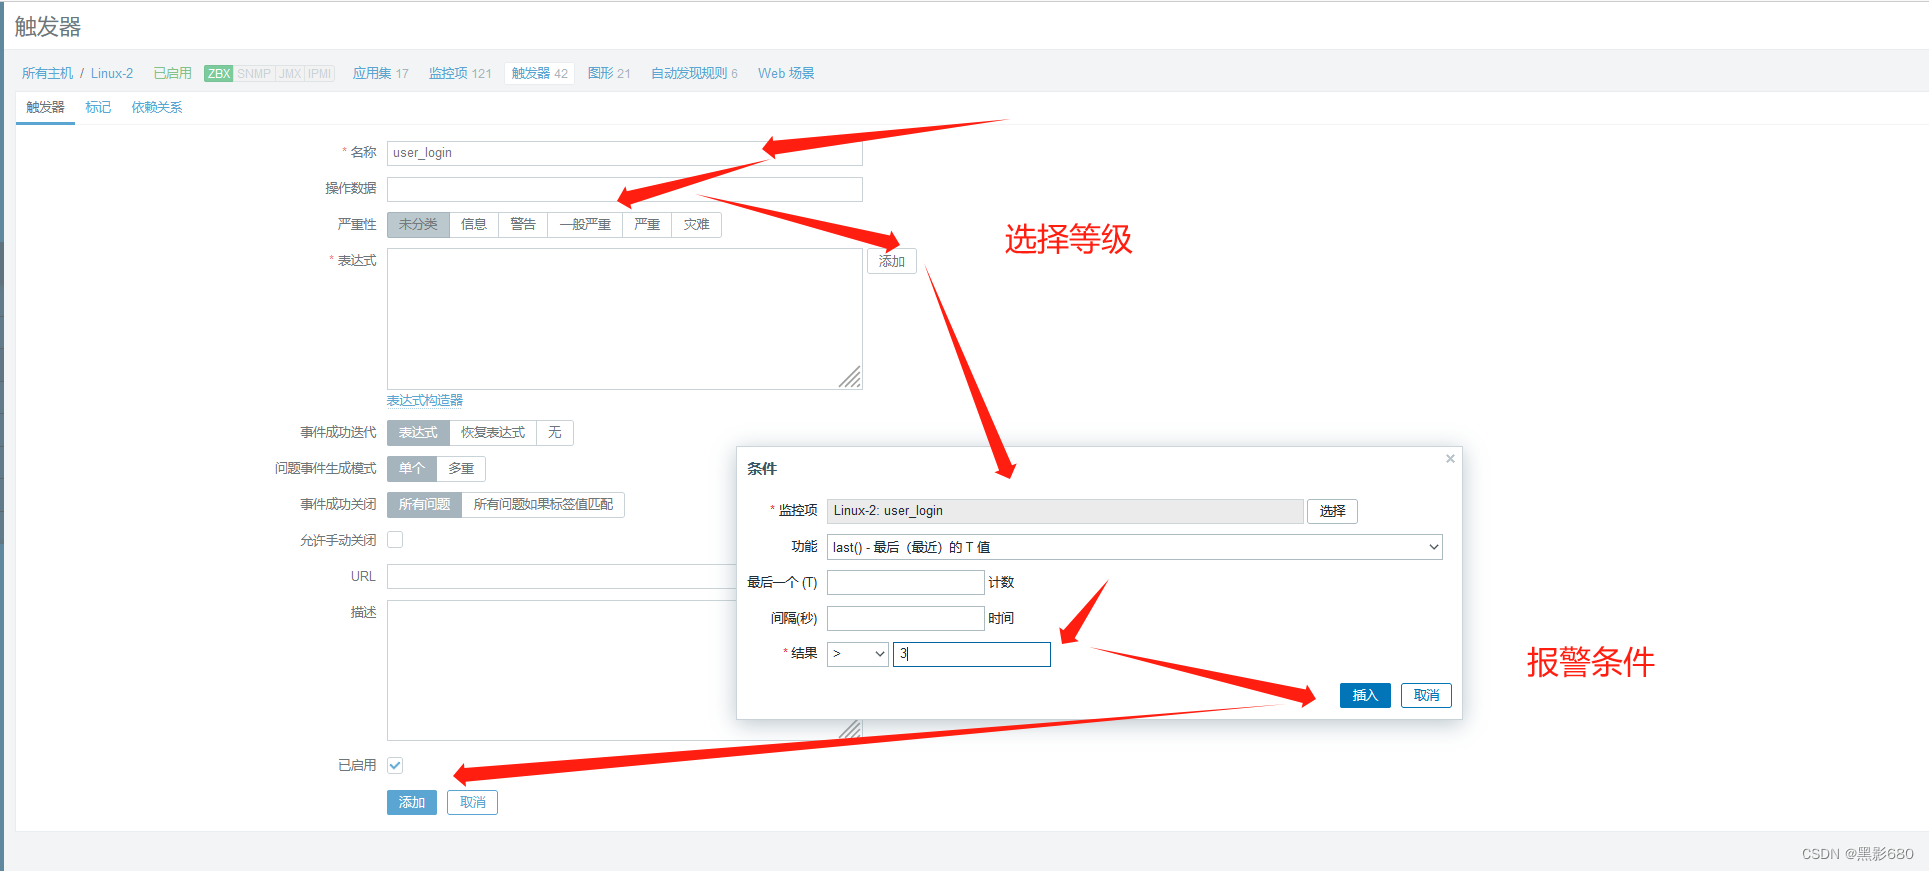
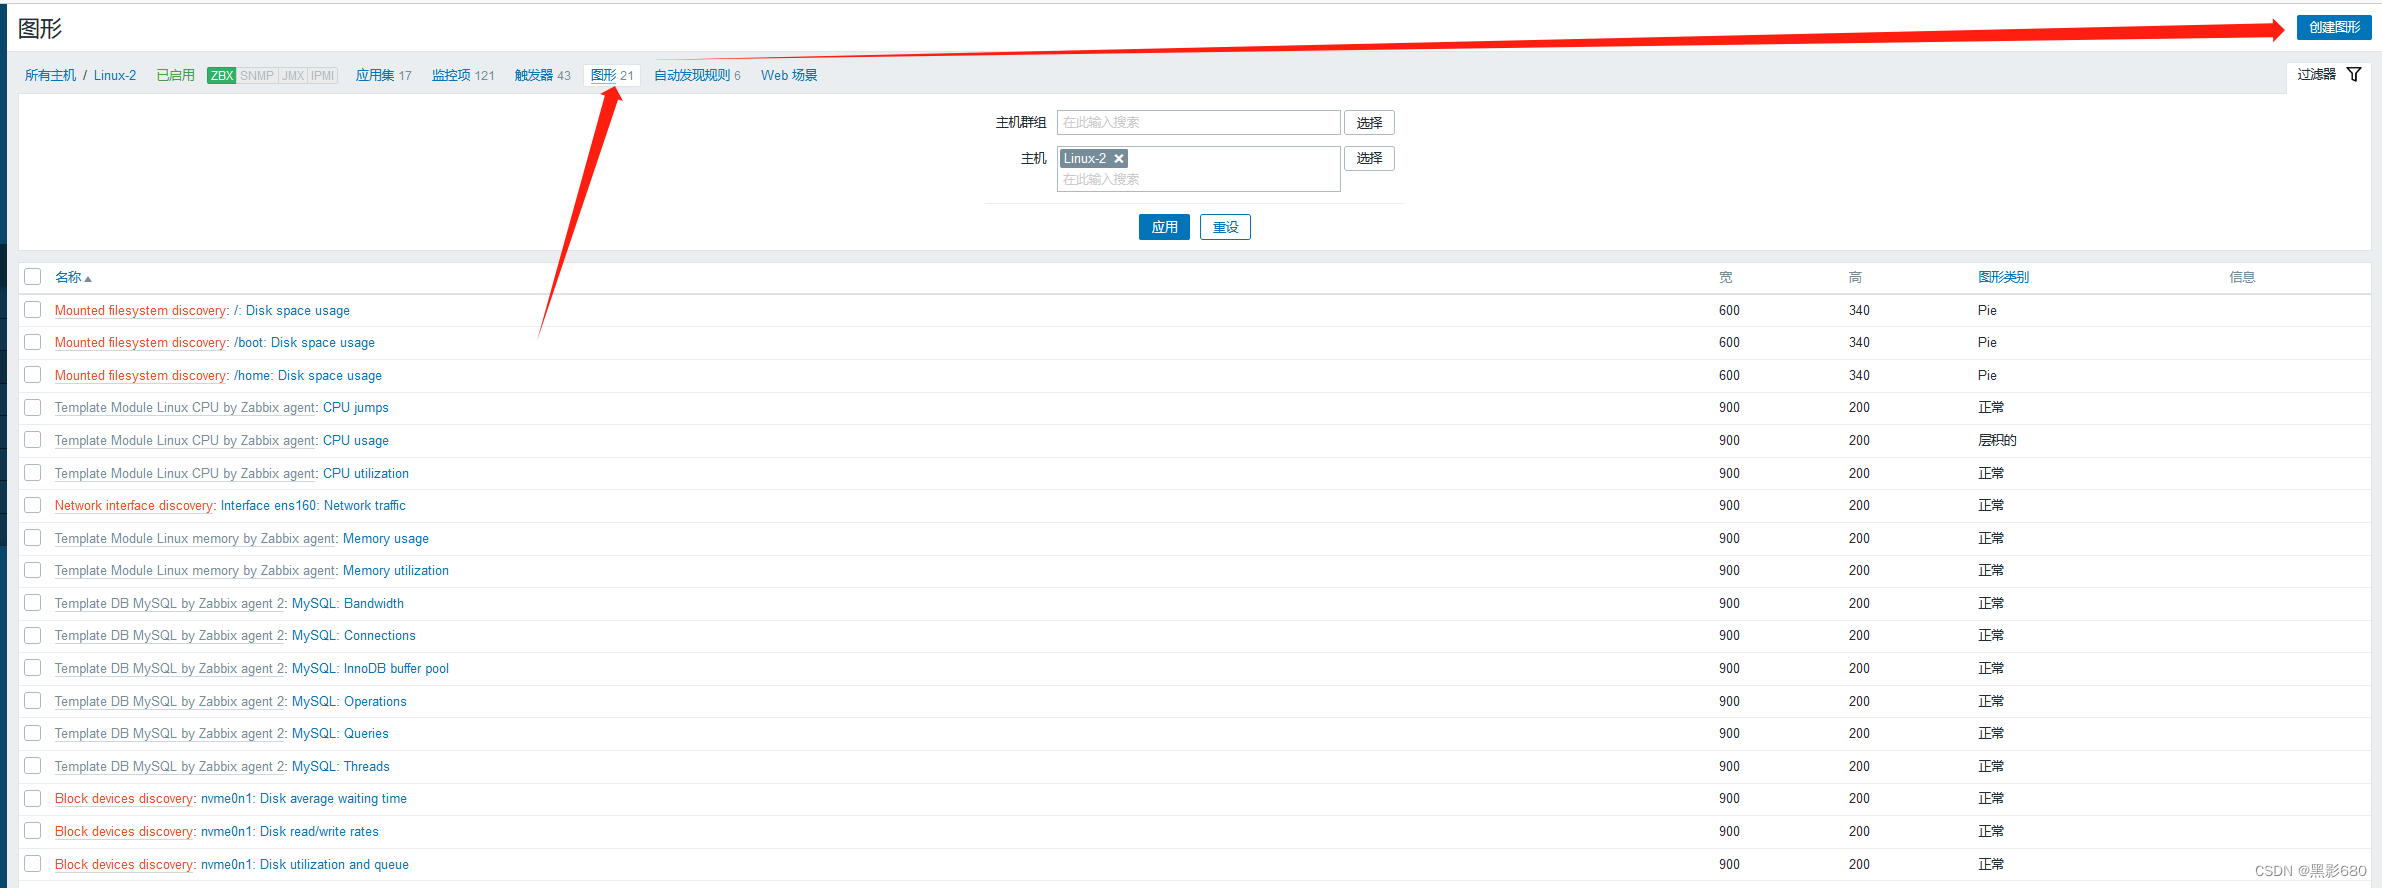
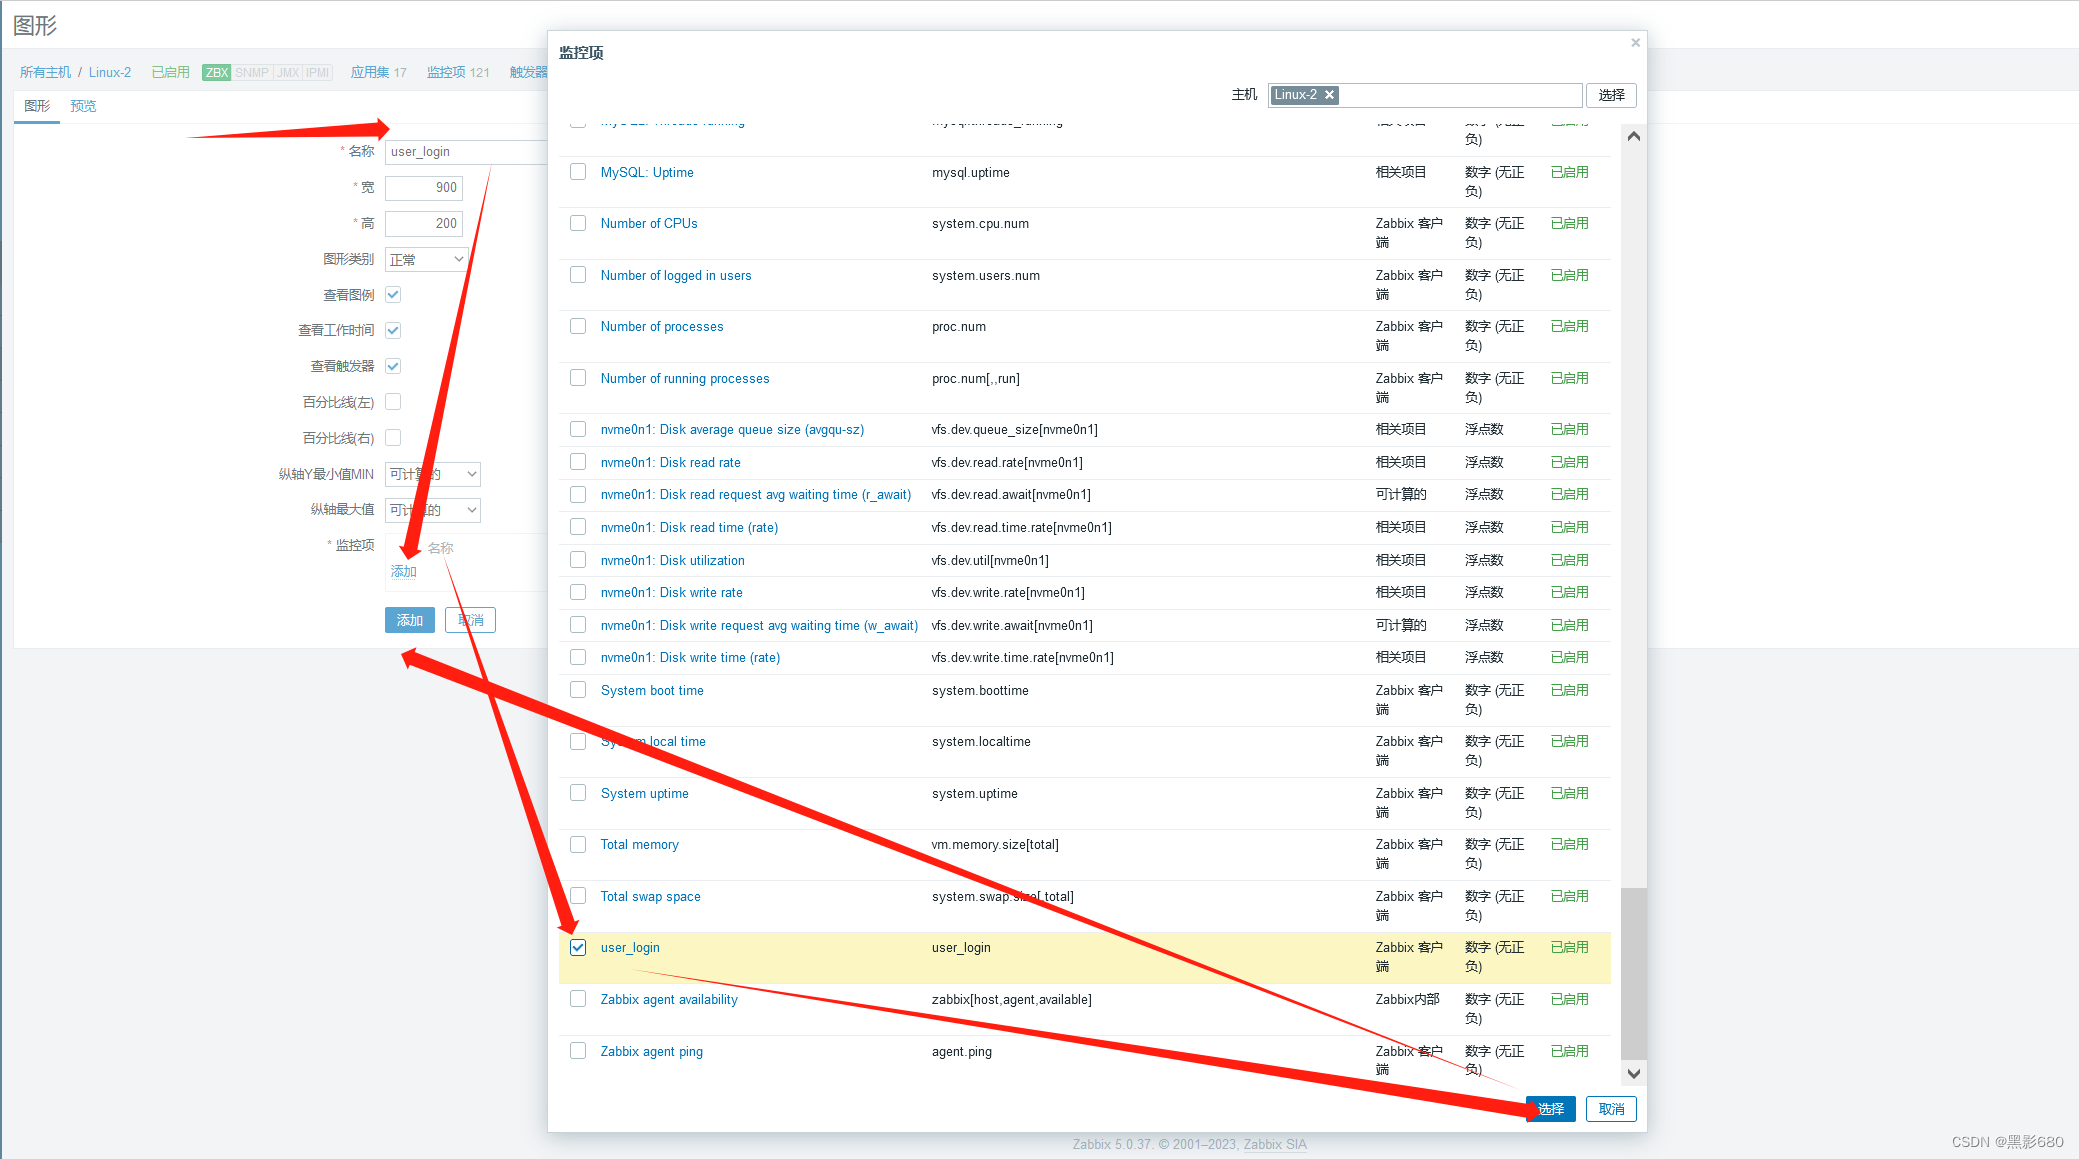
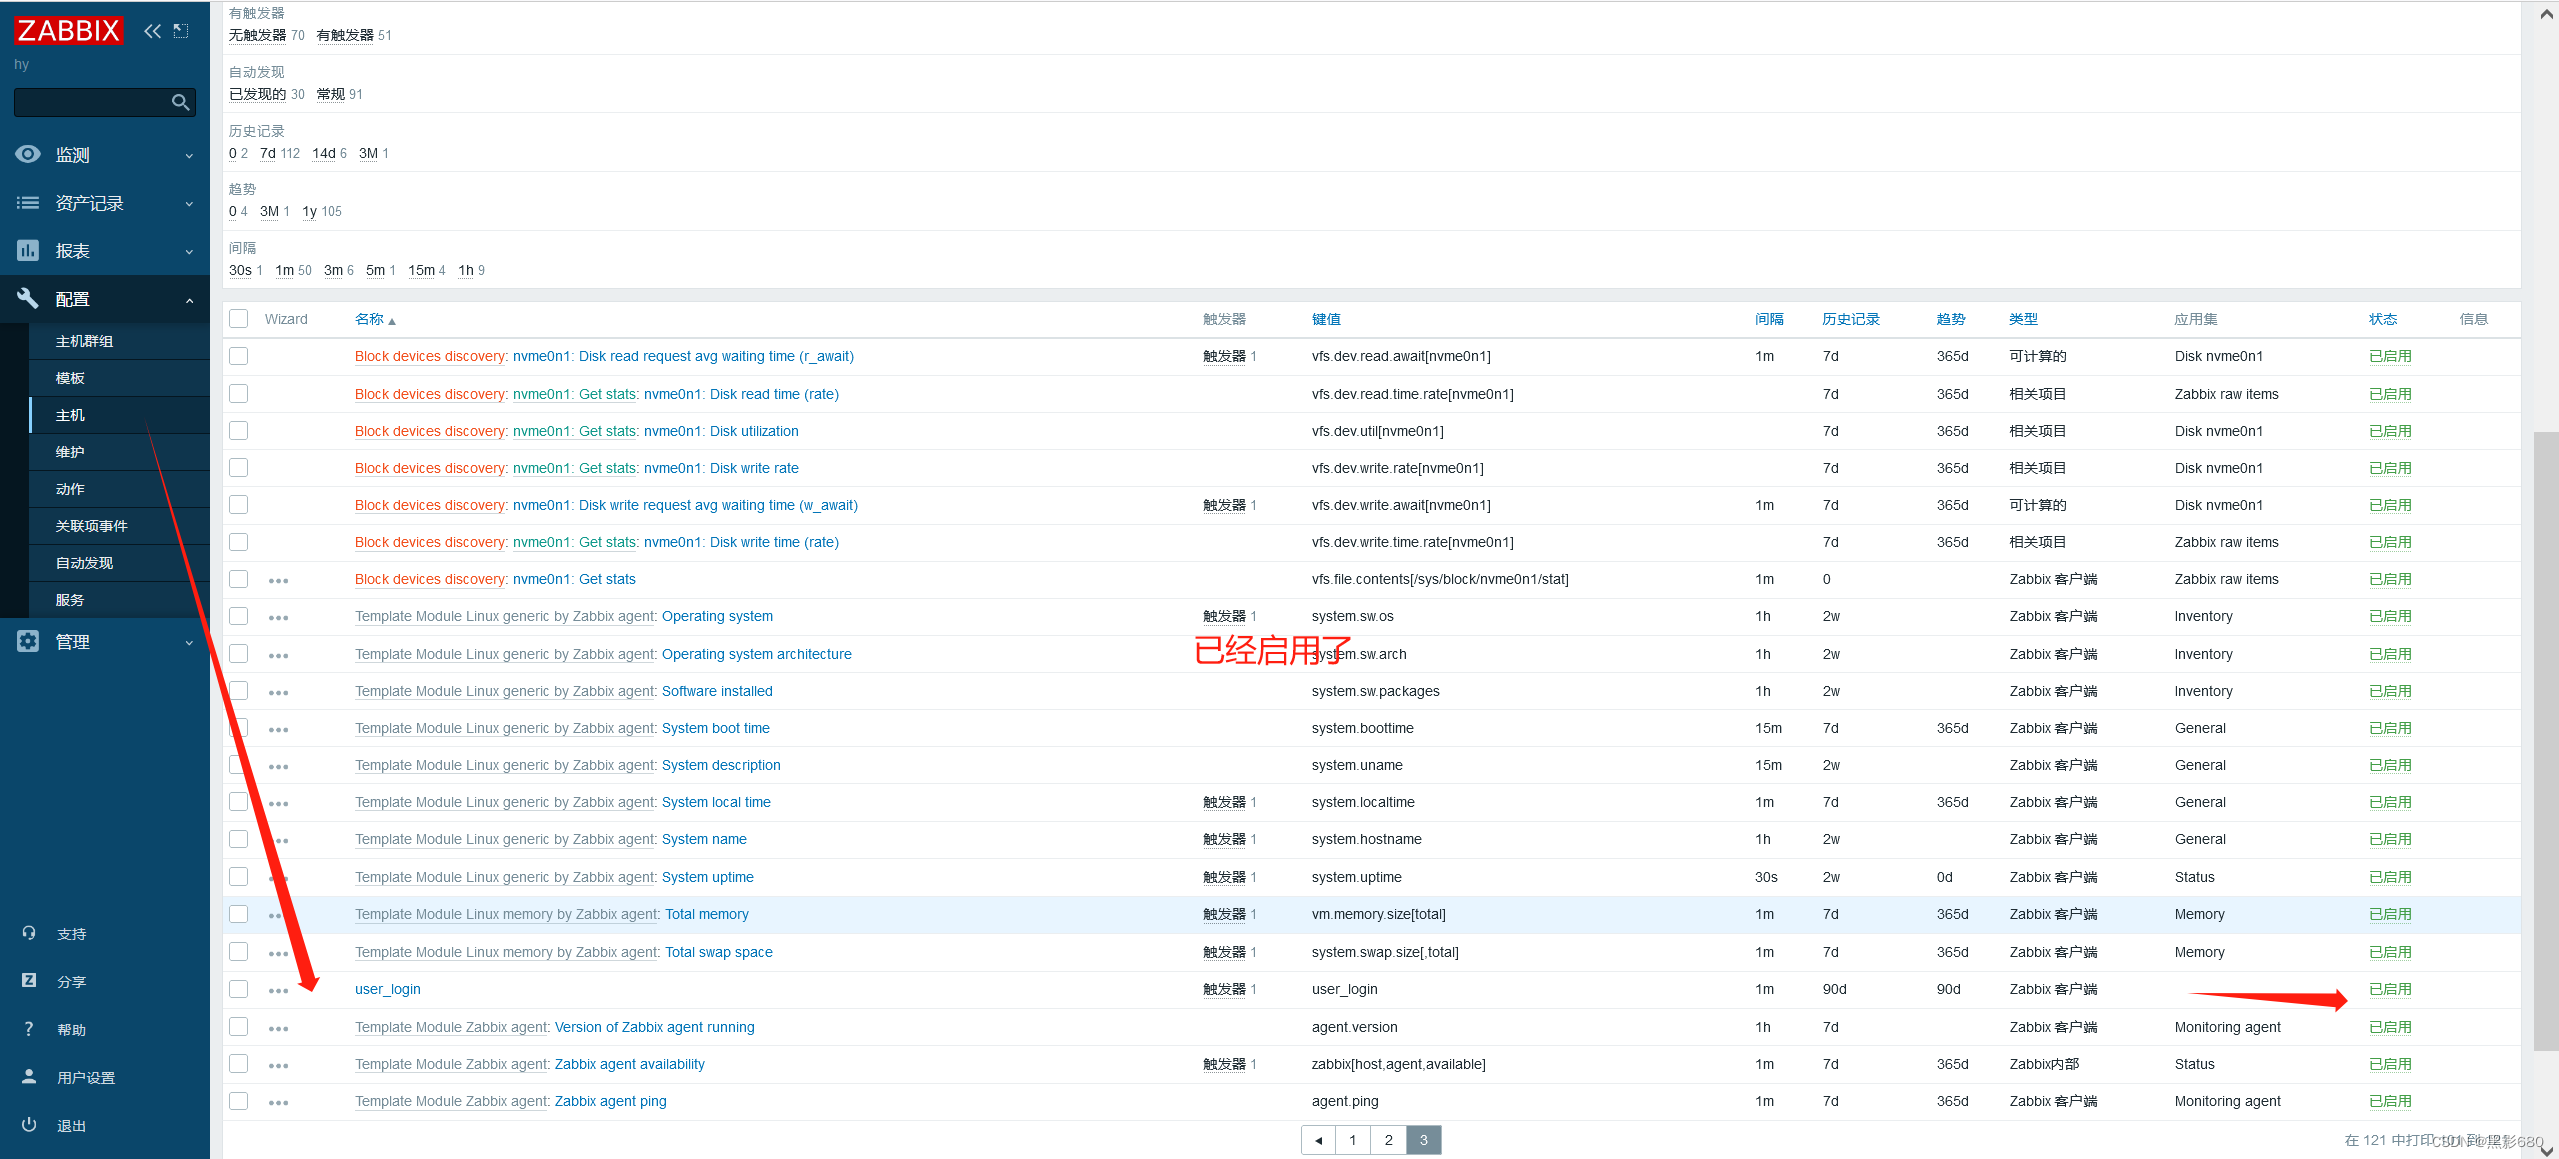
验证,使用ssh登录192.168.115.151,让登录用户大于3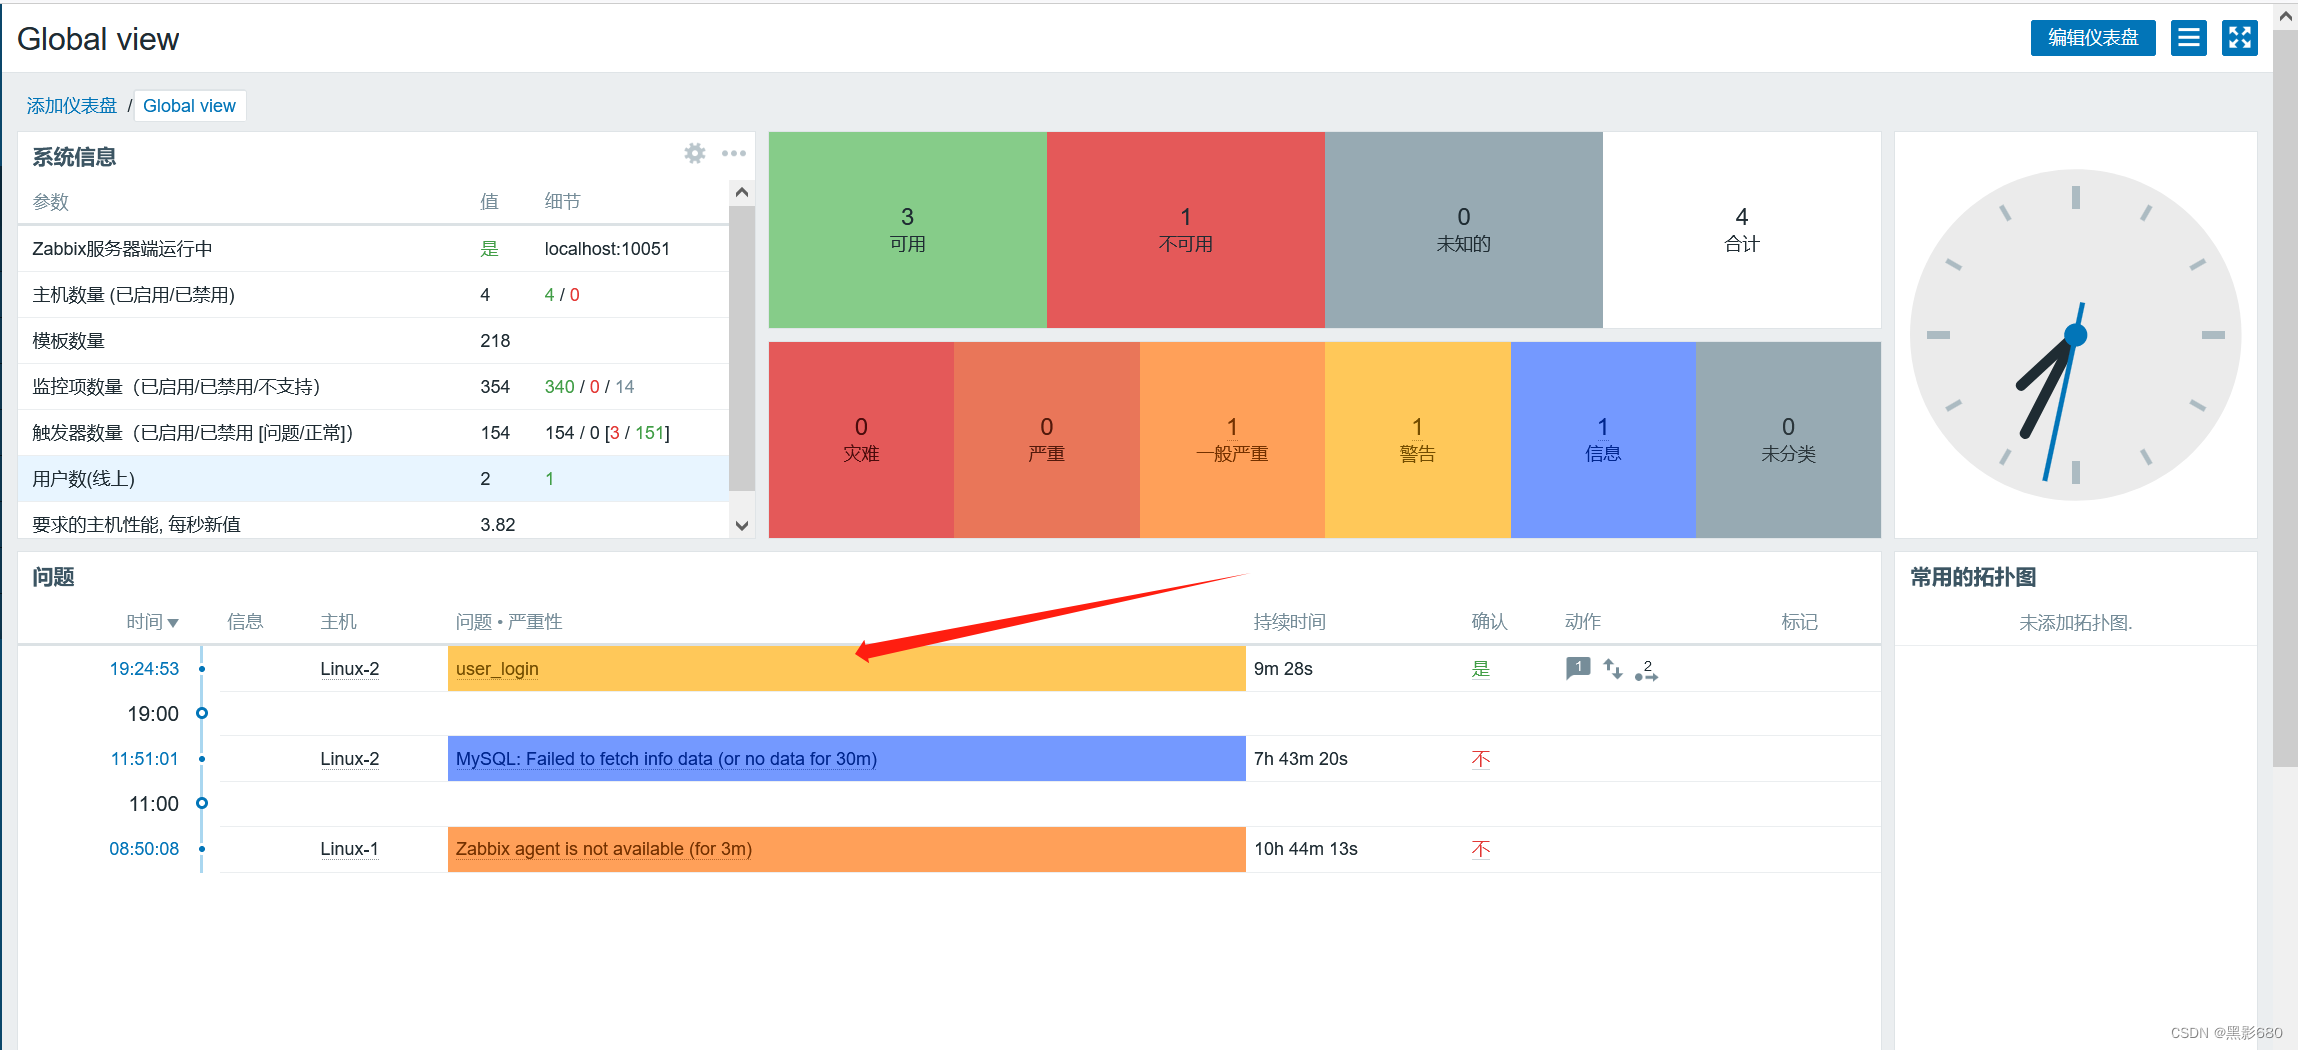
五、监控mariadb
1、添加模版查看要求
在192.168.115.151上先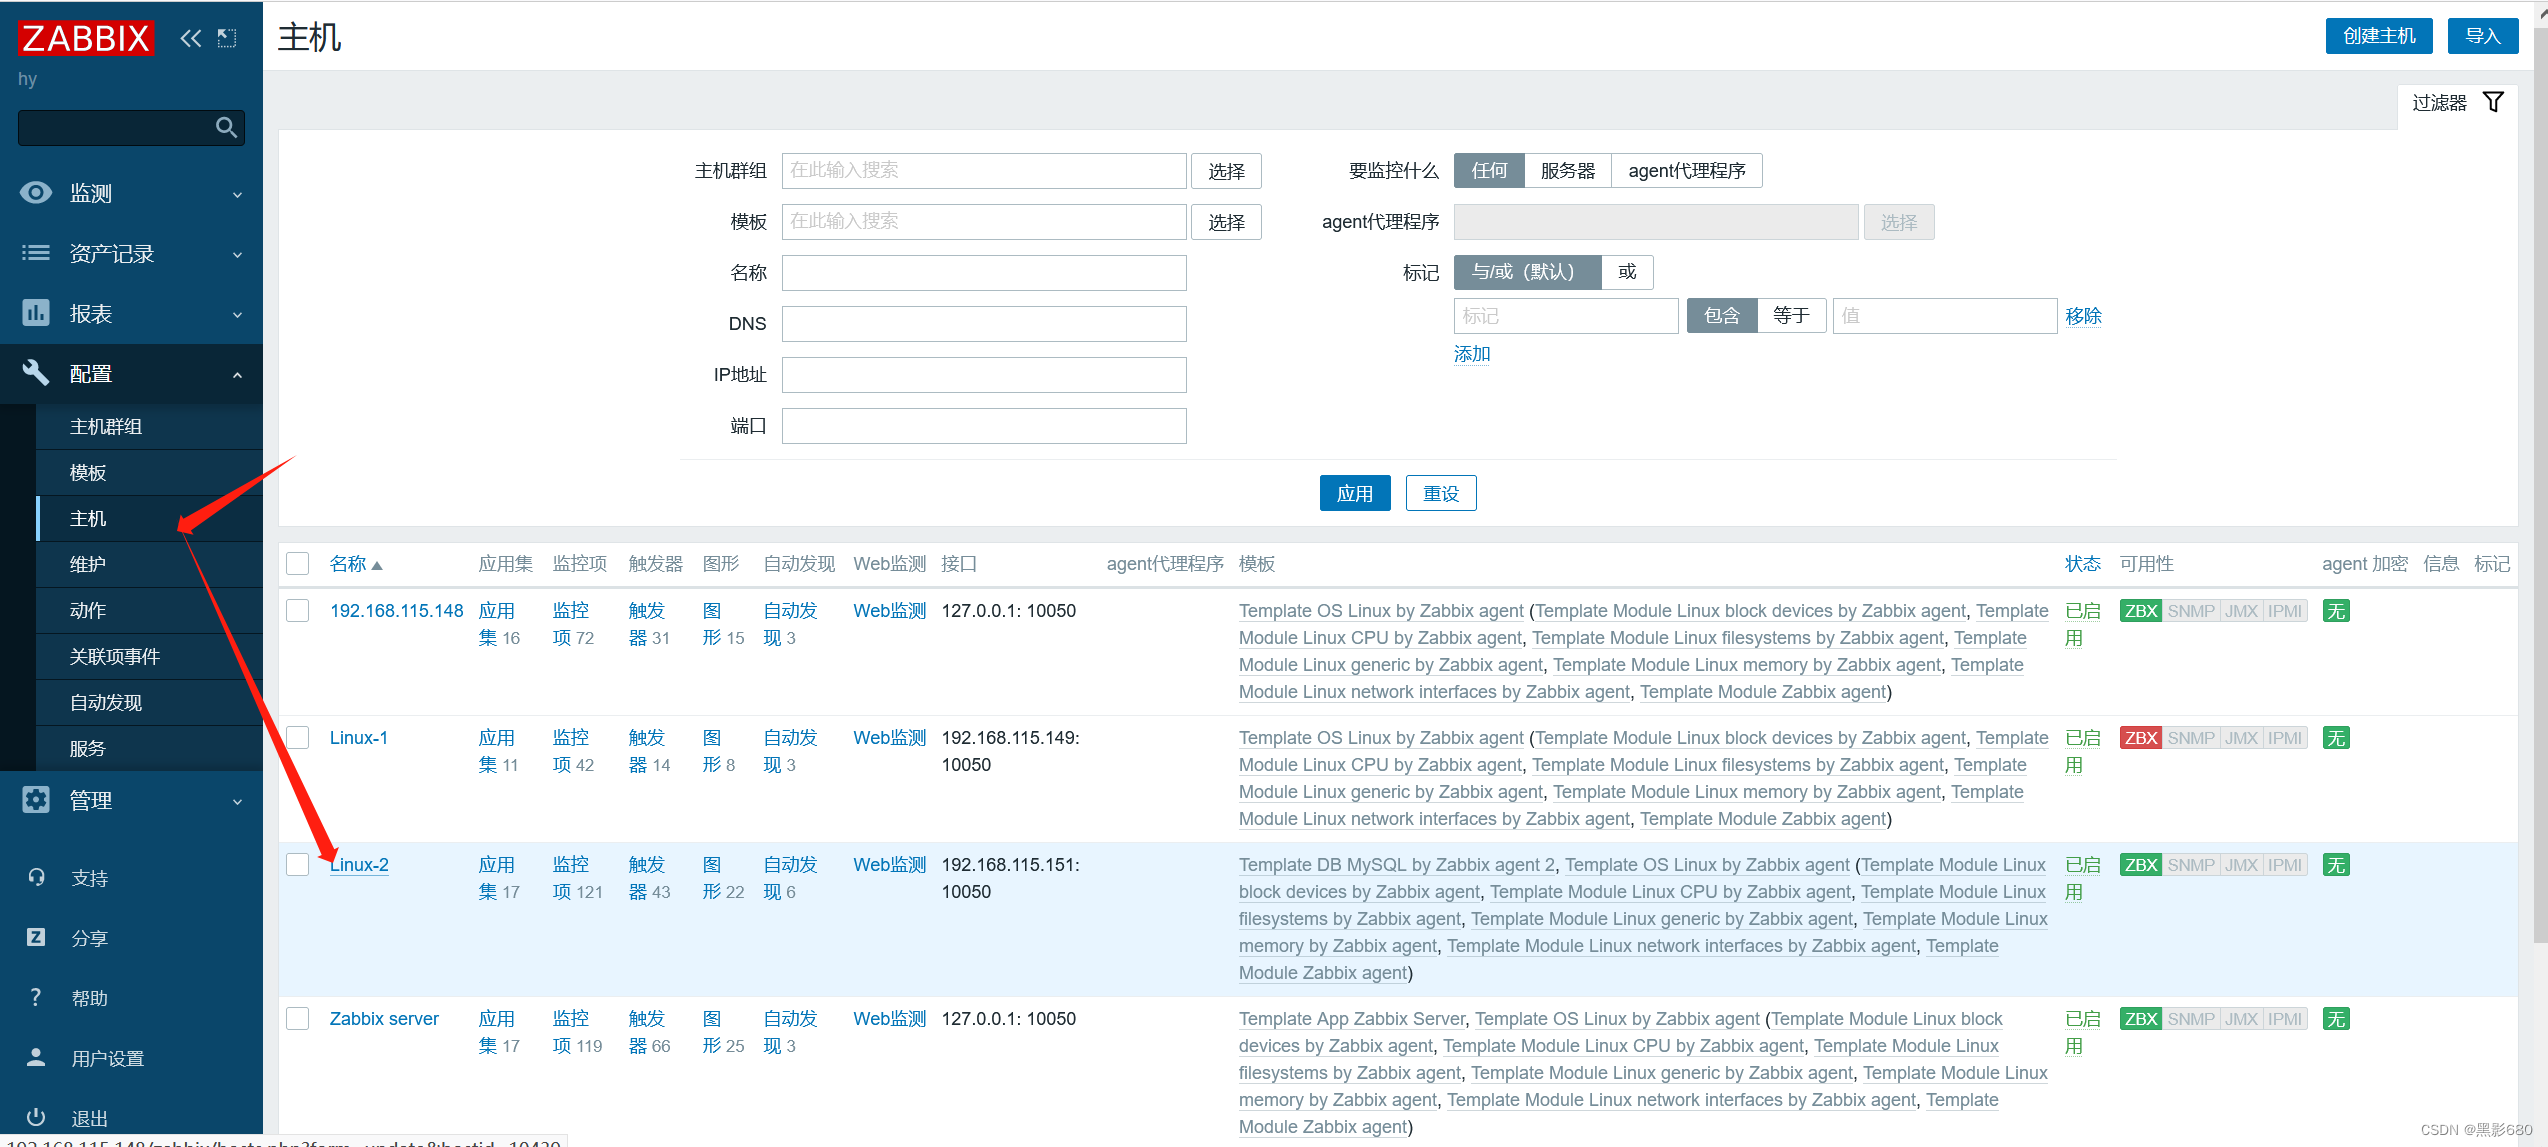

查看说明
Requirements for template operation:
1.Install Zabbix agent and MySQL client.
2.Copy template_db_mysql.conf into folder with Zabbix agent configuration (/etc/zabbix/zabbix_agentd.d/ by default). Don't forget to restart zabbix-agent.
3.Create MySQL user for monitoring. For example:
CREATE USER 'zbx_monitor'@'%' IDENTIFIED BY '<password>';
GRANT REPLICATION CLIENT,PROCESS,SHOW DATABASES,SHOW VIEW ON *.* TO 'zbx_monitor'@'%';
For more information read the MySQL documentation https://dev.mysql.com/doc/refman/8.0/en/grant.html , please.
4.Create .my.cnf in home directory of Zabbix agent for Linux (/var/lib/zabbix by default) or my.cnf in c:\ for Windows. For example:
[client]
user='zbx_monitor'
password='<password>'You can discuss this template or leave feedback on our forum https://www.zabbix.com/forum/zabbix-suggestions-and-feedback/384189-discussion-thread-for-official-zabbix-template-db-mysqlTemplate tooling version used: 0.39#########################################################################################
模板操作的要求如下:根据提供的信息,模板操作的要求包括:安装Zabbix agent和MySQL客户端。将template_db_mysql.conf复制到Zabbix agent配置文件夹中(默认为/etc/zabbix/zabbix_agentd.d/)。不要忘记重新启动zabbix-agent。为监控创建MySQL用户。例如:
CREATE USER 'zbx_monitor'@'%' IDENTIFIED BY '';
GRANT REPLICATION CLIENT,PROCESS,SHOW DATABASES,SHOW VIEW ON . TO 'zbx_monitor'@'%';
更多信息请阅读MySQL文档 https://dev.mysql.com/doc/refman/8.0/en/grant.html。在Linux的Zabbix agent主目录(默认为/var/lib/zabbix)中创建.my.cnf文件,或在Windows的c:\目录中创建my.cnf文件。例如:
[client]
user='zbx_monitor'
password=''您可以在我们的论坛上讨论此模板或提供反馈意见 https://www.zabbix.com/forum/zabbix-suggestions-and-feedback/384189-discussion-thread-for-official-zabbix-template-db-mysql使用的模板工具版本为0.39
2、安装mariadb、创建用户
###安装、启动
yum -y install mariadb-server
systemctl start mariadb
#######创建用户
CREATE USER 'zabbix'@'%' IDENTIFIED BY '123456';
GRANT REPLICATION CLIENT,PROCESS,SHOW DATABASES,SHOW VIEW ON . TO 'zabbix'@'%';
3、创建用户文件
vim /etc/zabbix/.my.cnf[client]
user='zabbix'
password='123456'# #####################
4、修改监控模版
cd /etc/zabbix/zabbix_agentd.dcp /usr/share/doc/zabbix-agent-5.0.37/userparameter_mysql.conf .就是这家伙

5、在上述文件中配置路径
#替换
:%s/,/,HOME=\/etc\/zabbix\//g

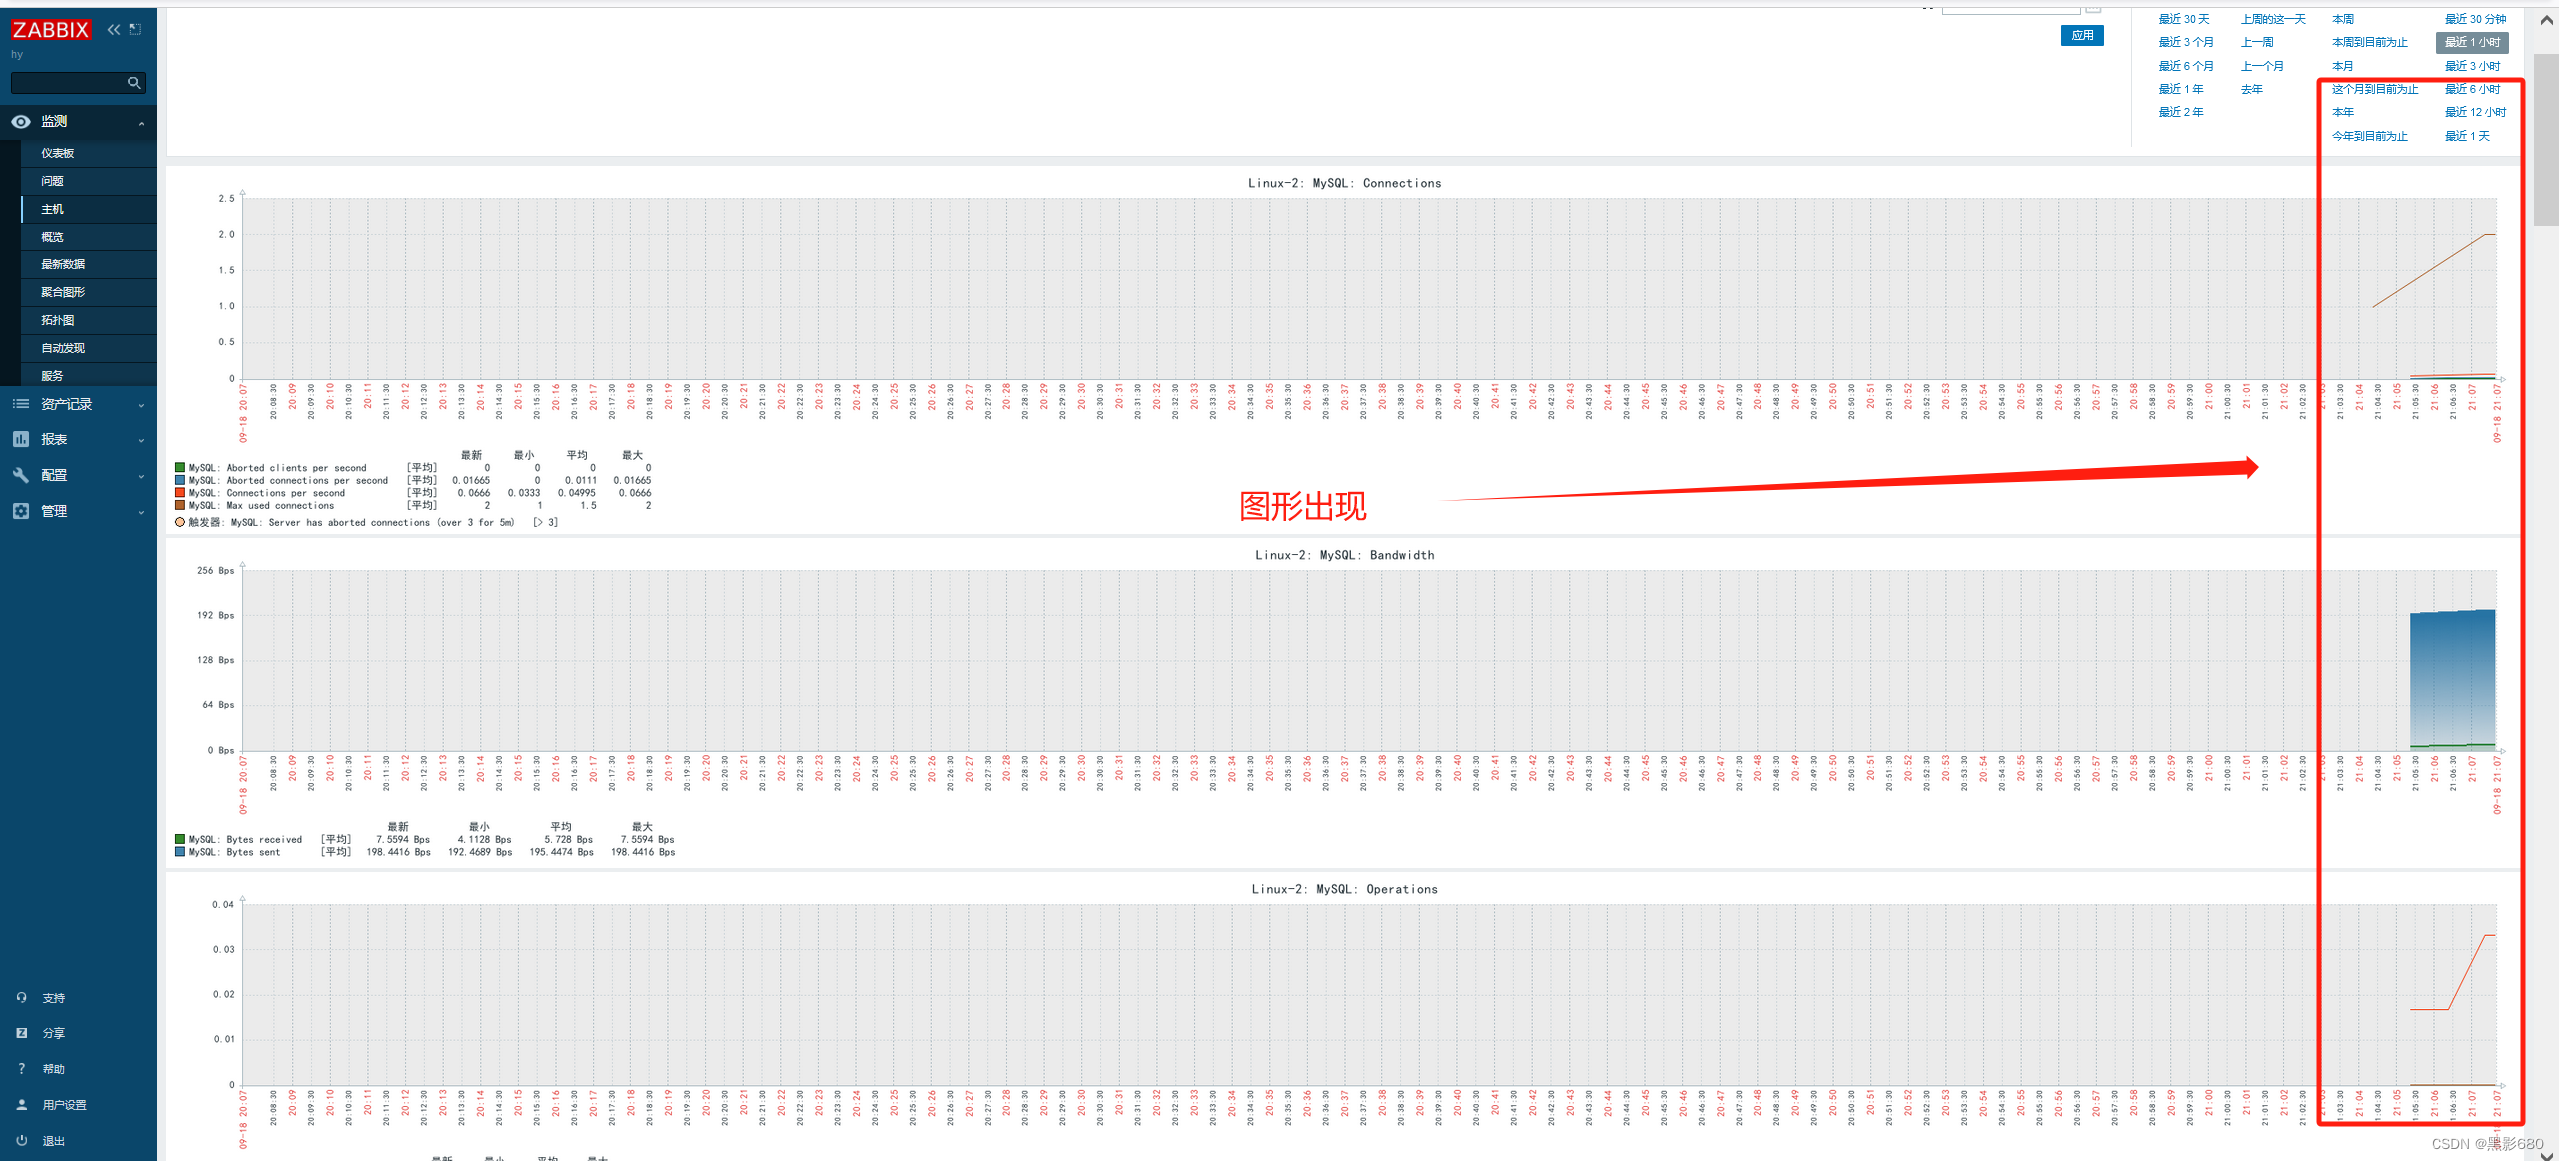
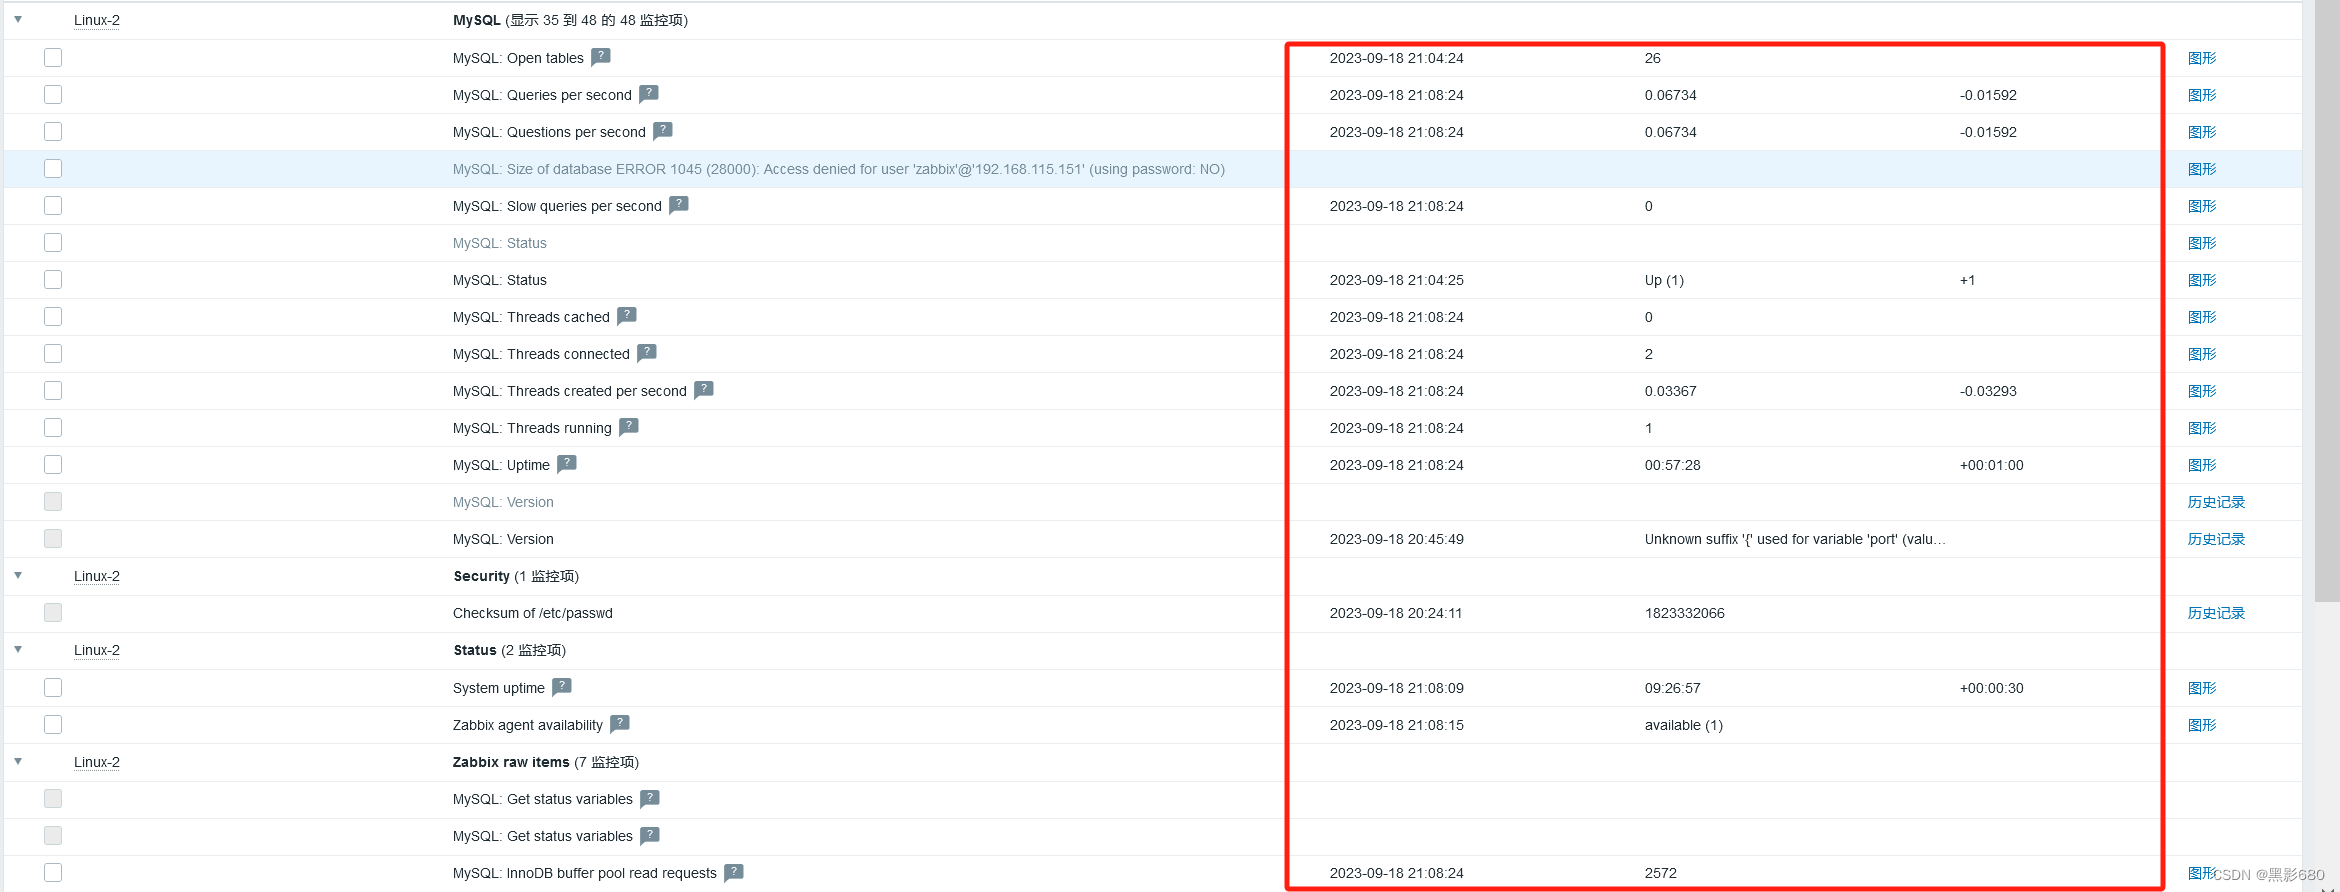
6、重启zabbix-agent验证
systemctl restart zabbix-agent


六、监控NGINX
1、安装NGINX,开启status模块
yum -y install epel-release
yum -y install nginx
systemctl start nginx
nginx -V #查看模块
vim /etc/nginx/nginx.conf
###server或者location下插入
location / {
}
location /status {                   #定义运行状态页面名称,页面为statusstub_status on;              #开启模块access_log off;              #不开启访问日志记录allow 192.168.115.0/24;      #允许此网段的主机访问此网页deny all;                    #其余网段主机不允许访问}##重启
systemctl restart nginx
验证此模块
curl 192.168.115.151/status

Active connections: 1
- 这表示当前服务器上有1个活跃连接。Server accepts handled requests: 2 2 2
- 这个部分显示了服务器已经接受和处理的请求数目。具体来说,服务器已经接受了2个请求,并成功处理了这2个请求。Reading: 0 Writing: 1 Waiting: 0
- 这个部分显示了服务器当前的连接状态。其中,Reading表示正在读取的连接数目为0,Writing表示正在写入的连接数目为1,Waiting表示等待的连接数目为0。
2、编写脚本、设置key并验证
参考大佬Zabbix5.0之监控Nginx_zabbix监控nginx失败请求_傻笑zz的博客-CSDN博客
vim /etc/zabbix/script/ngx_status.sh
#!/bin/bash
#定义Nginx status页面
ngx_status="192.168.115.151/status"#判断status页面是否存活
ngx_status_code() {http_code=`curl -o /dev/null -s -w %{http_code} ${ngx_status}`if [ ${http_code} == "200" ];thenreturn 1elseecho "Nginx status is not running."fi
}#获取当前活动的客户端连接数
active() {ngx_status_code || curl -s ${ngx_status} | grep "Active" | awk '{print $NF}'
}#获取接收客户端连接的总数量
accepts() {ngx_status_code || curl -s ${ngx_status} | awk NR==3 | awk '{print $1}'
}#获取已处理的连接总数量
handled() {ngx_status_code || curl -s ${ngx_status} | awk NR==3 | awk '{print $2}'
}#获取客户端请求总数量
requests() {ngx_status_code || curl -s ${ngx_status} | awk NR==3 | awk '{print $3}'
}#获取正在读取请求标头的当前连接数量
reading() {ngx_status_code || curl -s ${ngx_status} | grep "Reading" | awk '{print $2}'
}#获取正在将响应写回到客户端的当前连接数量
writing() {ngx_status_code || curl -s ${ngx_status} | grep "Writing" | awk '{print $2}'
}#获取当前正在等待响应的客户端连接数量
waiting() {ngx_status_code || curl -s ${ngx_status} | grep "Waiting" | awk '{print $2}'
}#使用位置变量控制脚本输出
case $1 inactive)active;;accepts)accepts;;handled)handled;;requests)requests;;reading)reading;;writing)writing;;waiting)waiting;;*)echo "Unknown options"
esac
配置Zabbix Agentvim /etc/zabbix/zabbix_agentd.confPidFile=/var/run/zabbix/zabbix_agentd.pid
LogFile=/var/log/zabbix/zabbix_agentd.log
LogFileSize=0
DenyKey=system.run[*]
EnableRemoteCommands=1
Server=10.1.1.1
ServerActive=10.1.1.1
Hostname=nginx
Timeout=10
Include=/etc/zabbix/zabbix_agentd.d/*.conf
UnsafeUserParameters=1
创建自定义监控项vim /etc/zabbix/zabbix_agentd.d/userparameter_nginx.confUserParameter=nginx.active,bash /etc/zabbix/script/ngx_status.sh active
UserParameter=nginx.accepts,bash /etc/zabbix/script/ngx_status.sh accepts
UserParameter=nginx.handled,bash /etc/zabbix/script/ngx_status.sh handled
UserParameter=nginx.requests,bash /etc/zabbix/script/ngx_status.sh requests
UserParameter=nginx.reading,bash /etc/zabbix/script/ngx_status.sh reading
UserParameter=nginx.writing,bash /etc/zabbix/script/ngx_status.sh writing
UserParameter=nginx.waiting,bash /etc/zabbix/script/ngx_status.sh waiting
重启zabbix-agent
systemctl start zabbix-agent数值获取测试
zabbix_get -s 192.168.115.151 -k nginx.activezabbix_get -s 192.168.115.151 -k nginx.reading####取到数值说明正确
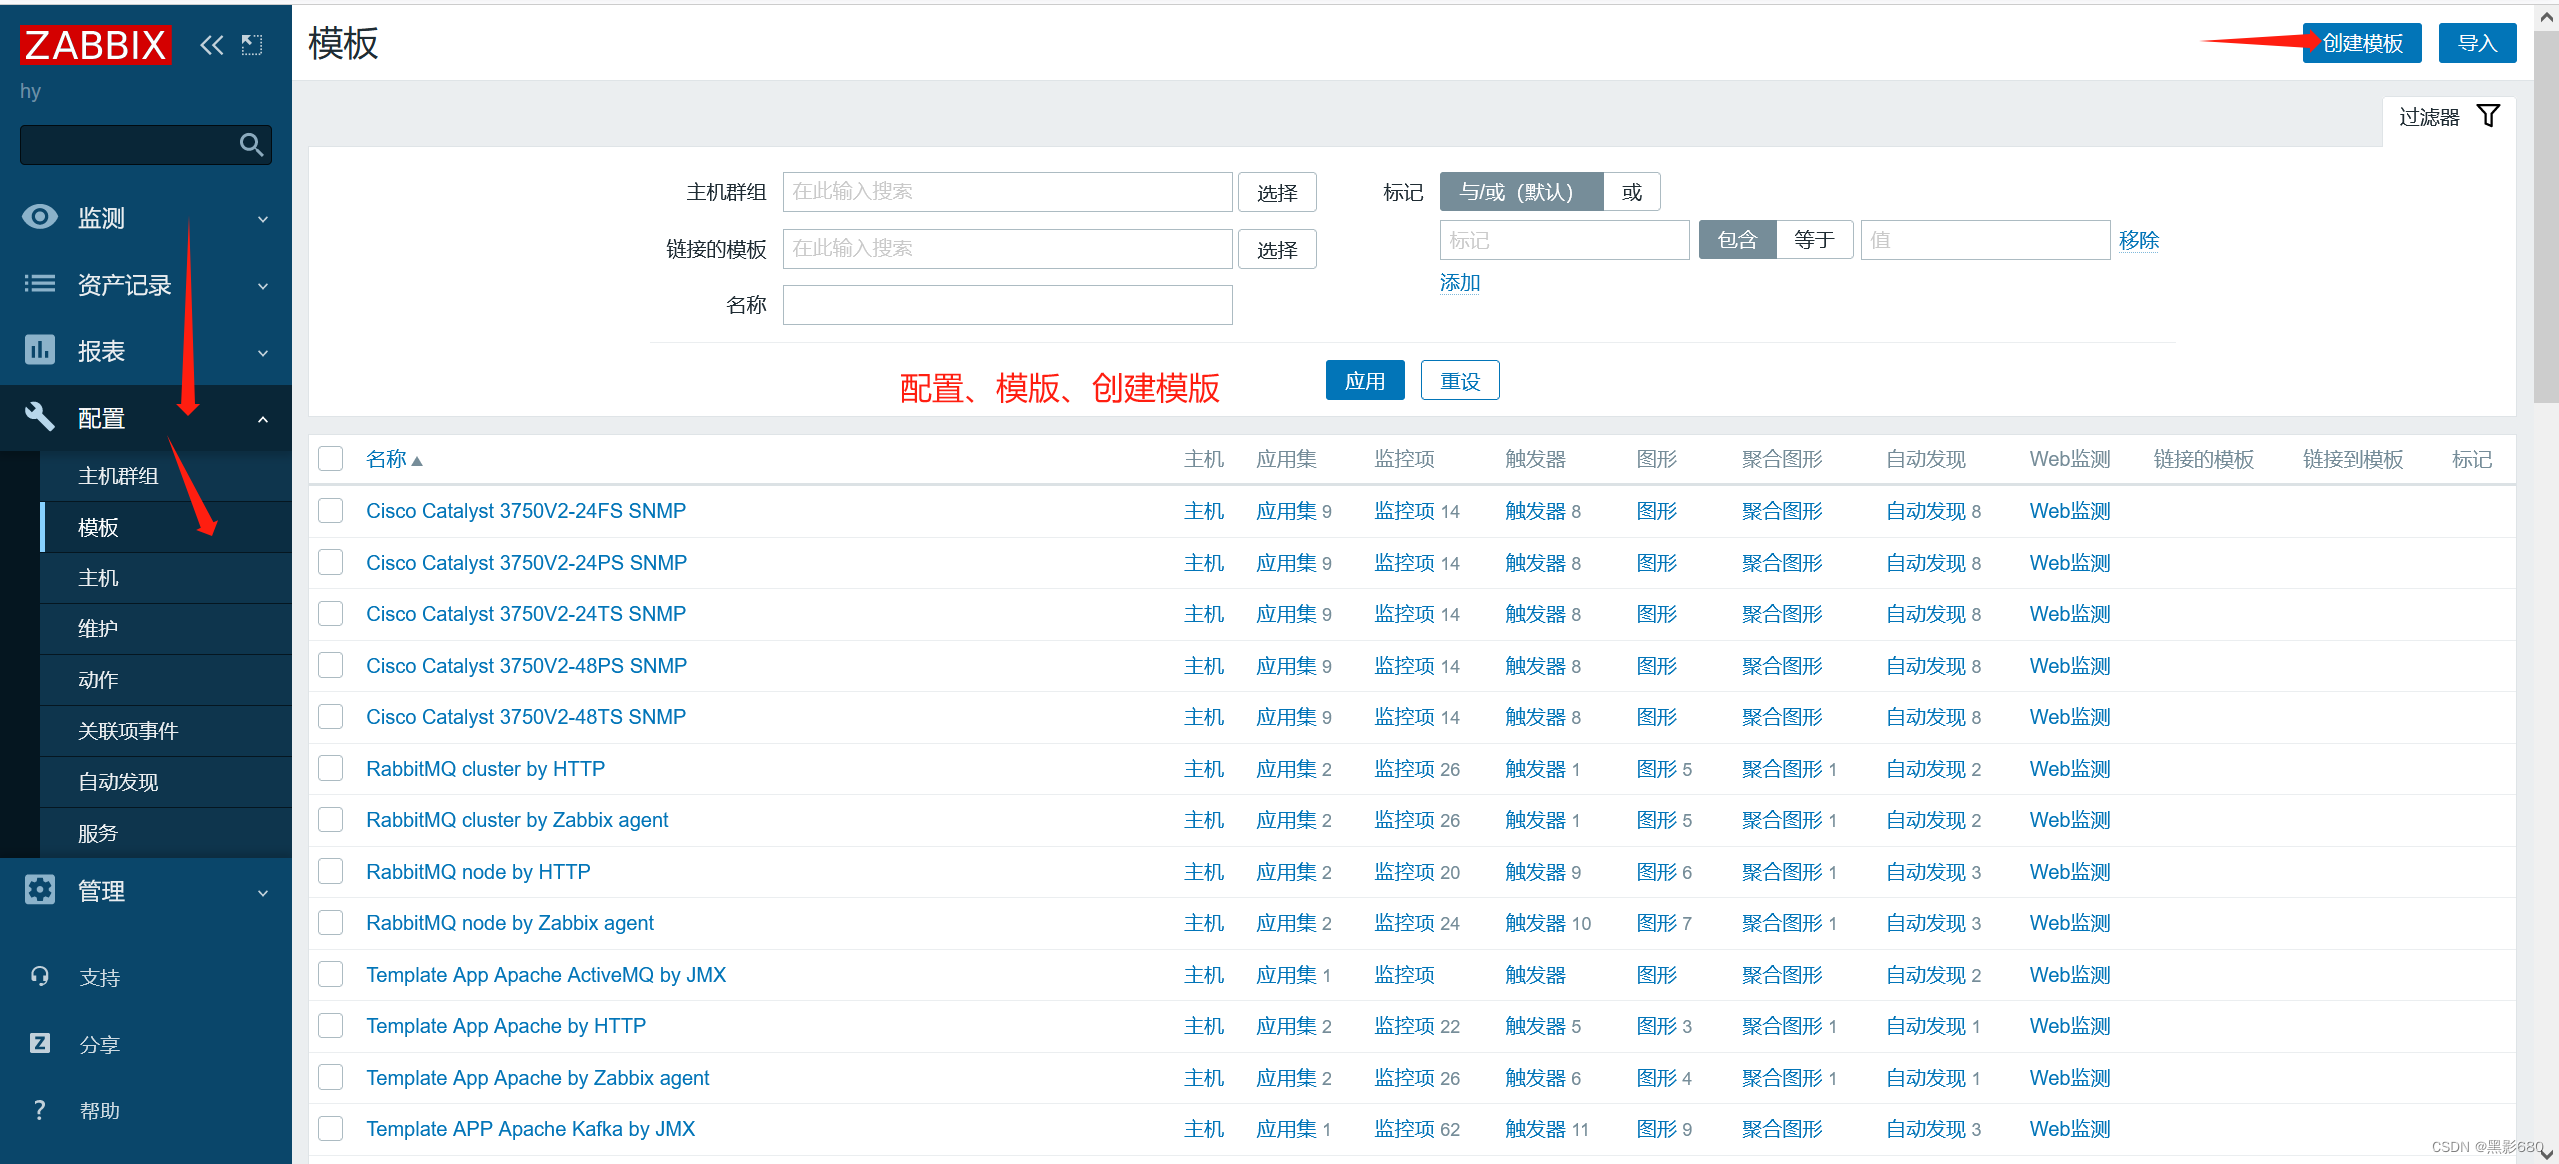
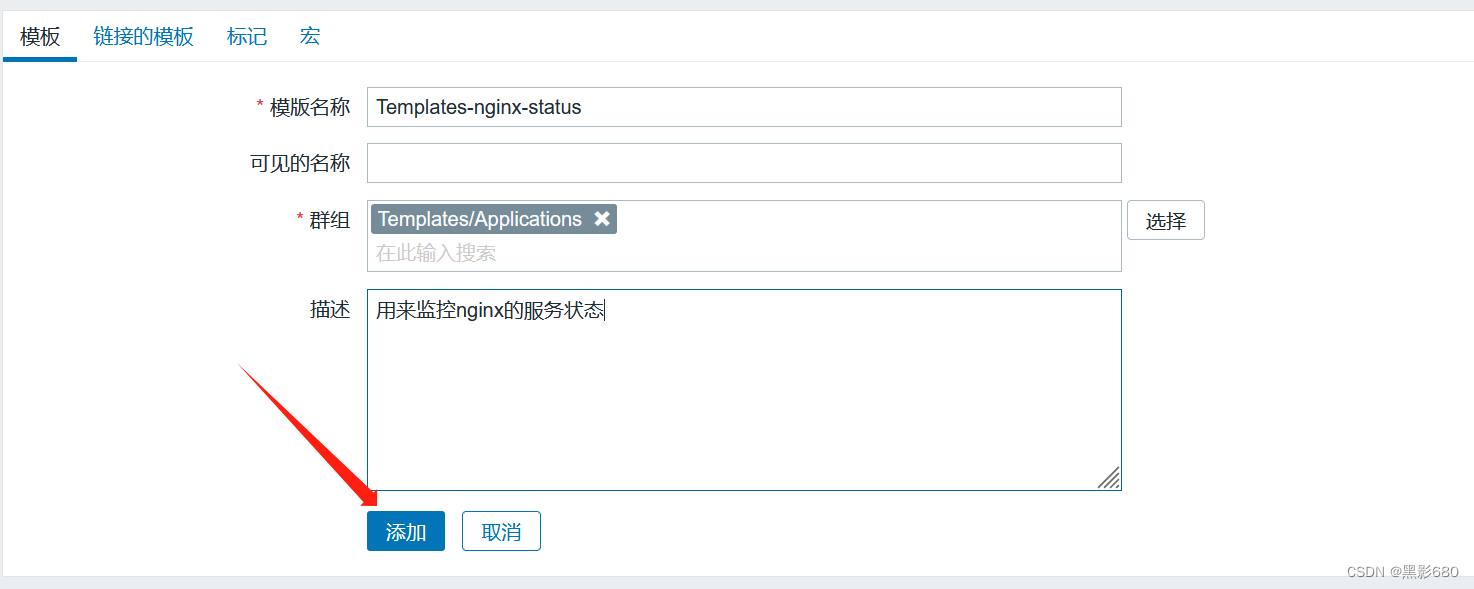
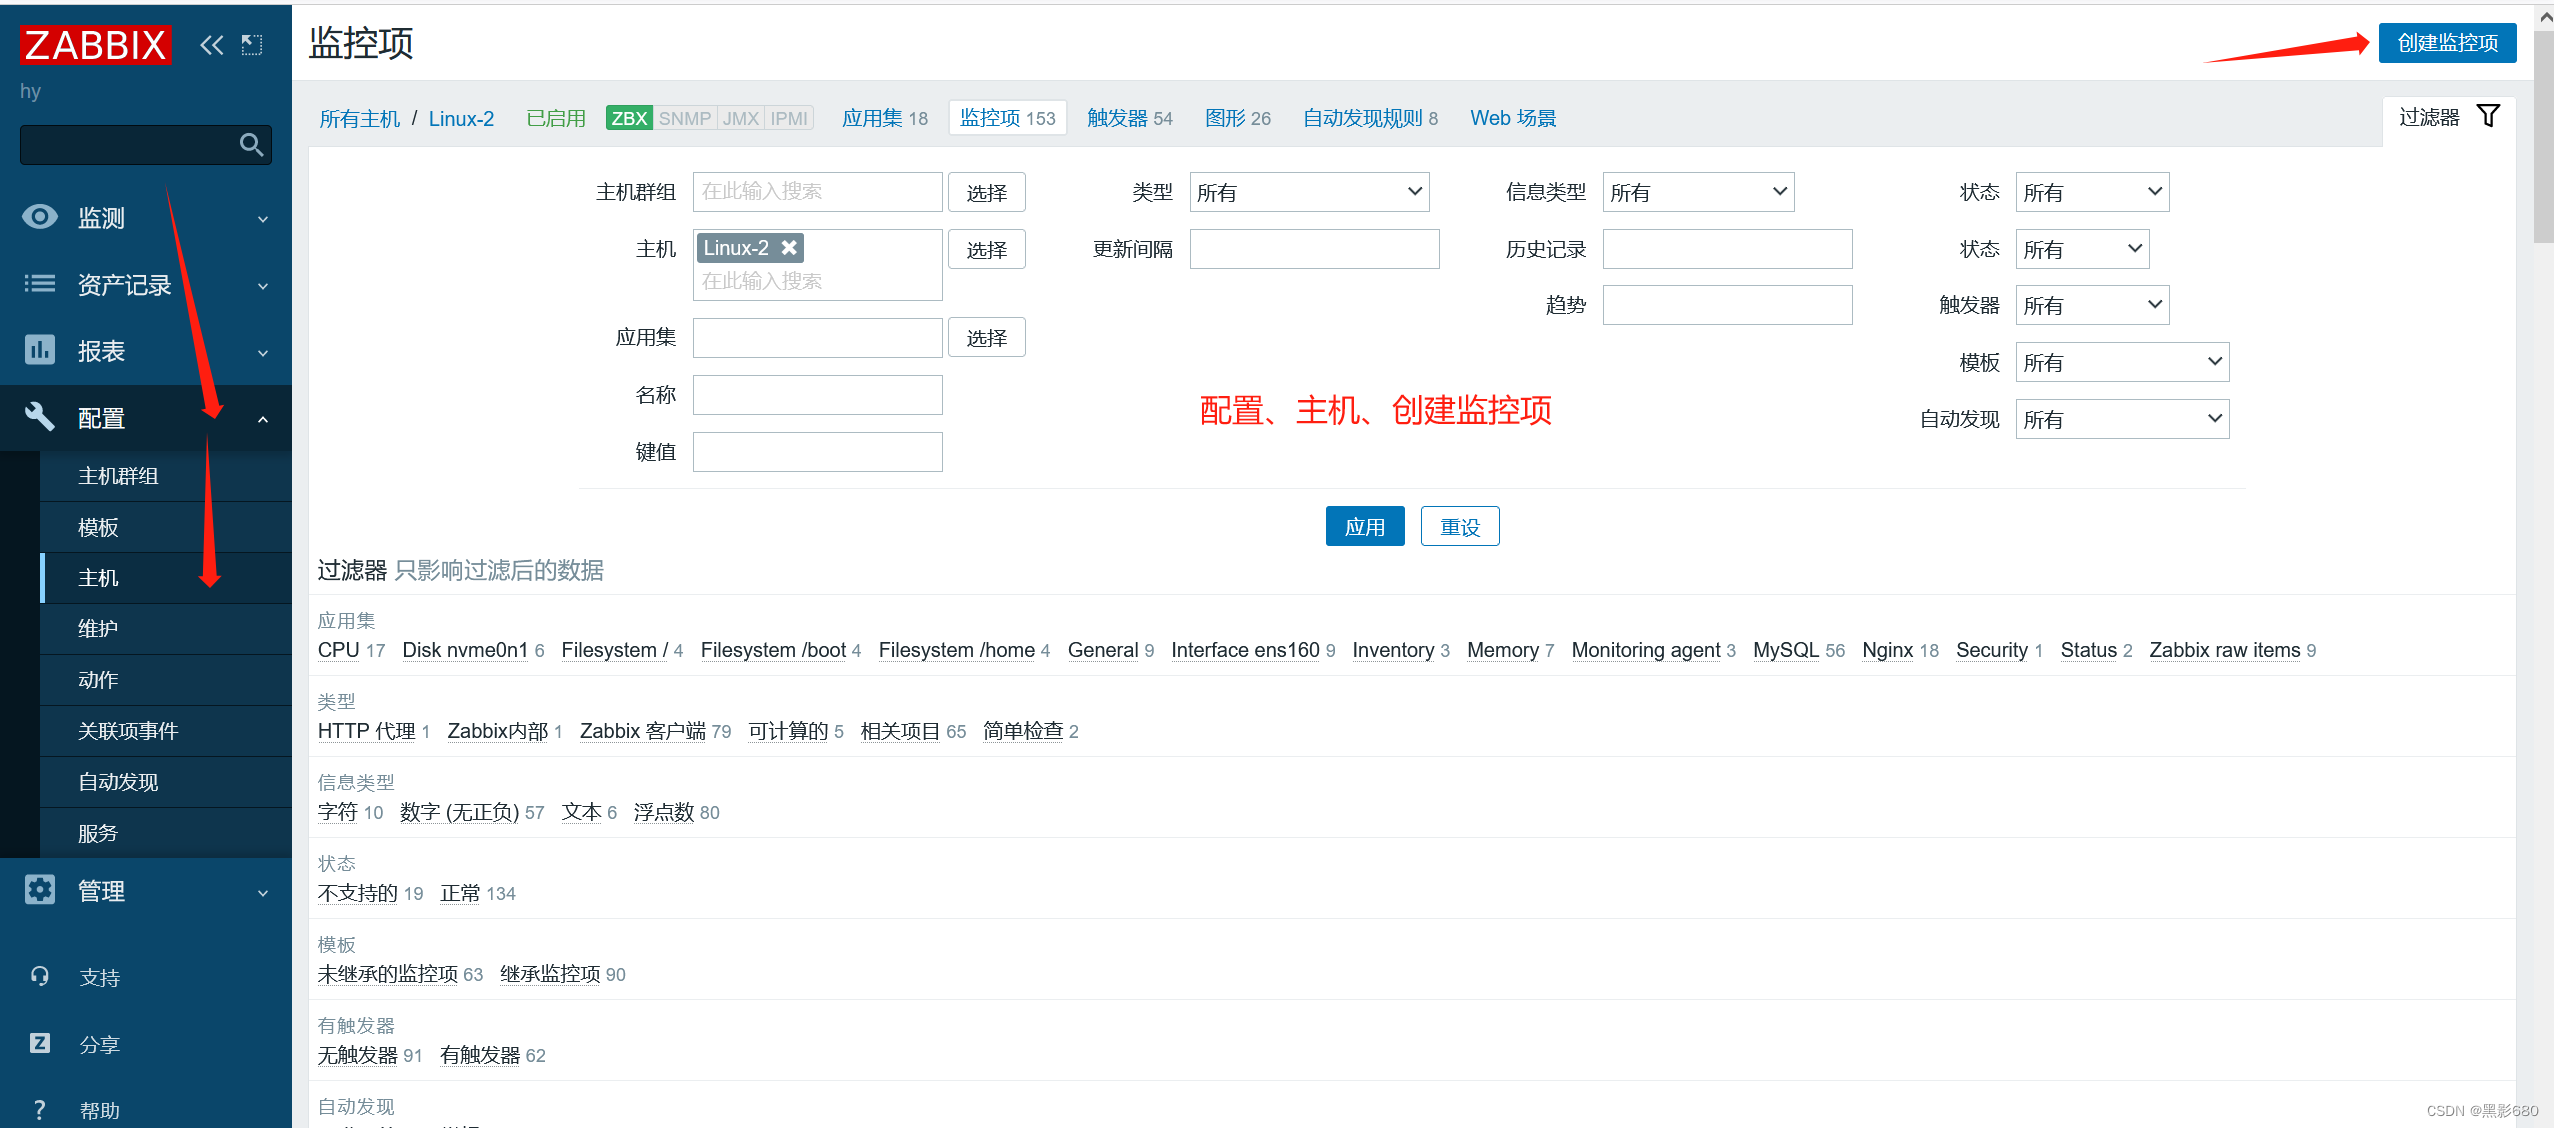
3、添加自定义监控项


 创建图形化
创建图形化

七、钉钉报警设置
下载钉钉
1、创建群组、添加机器人


)


)


)


