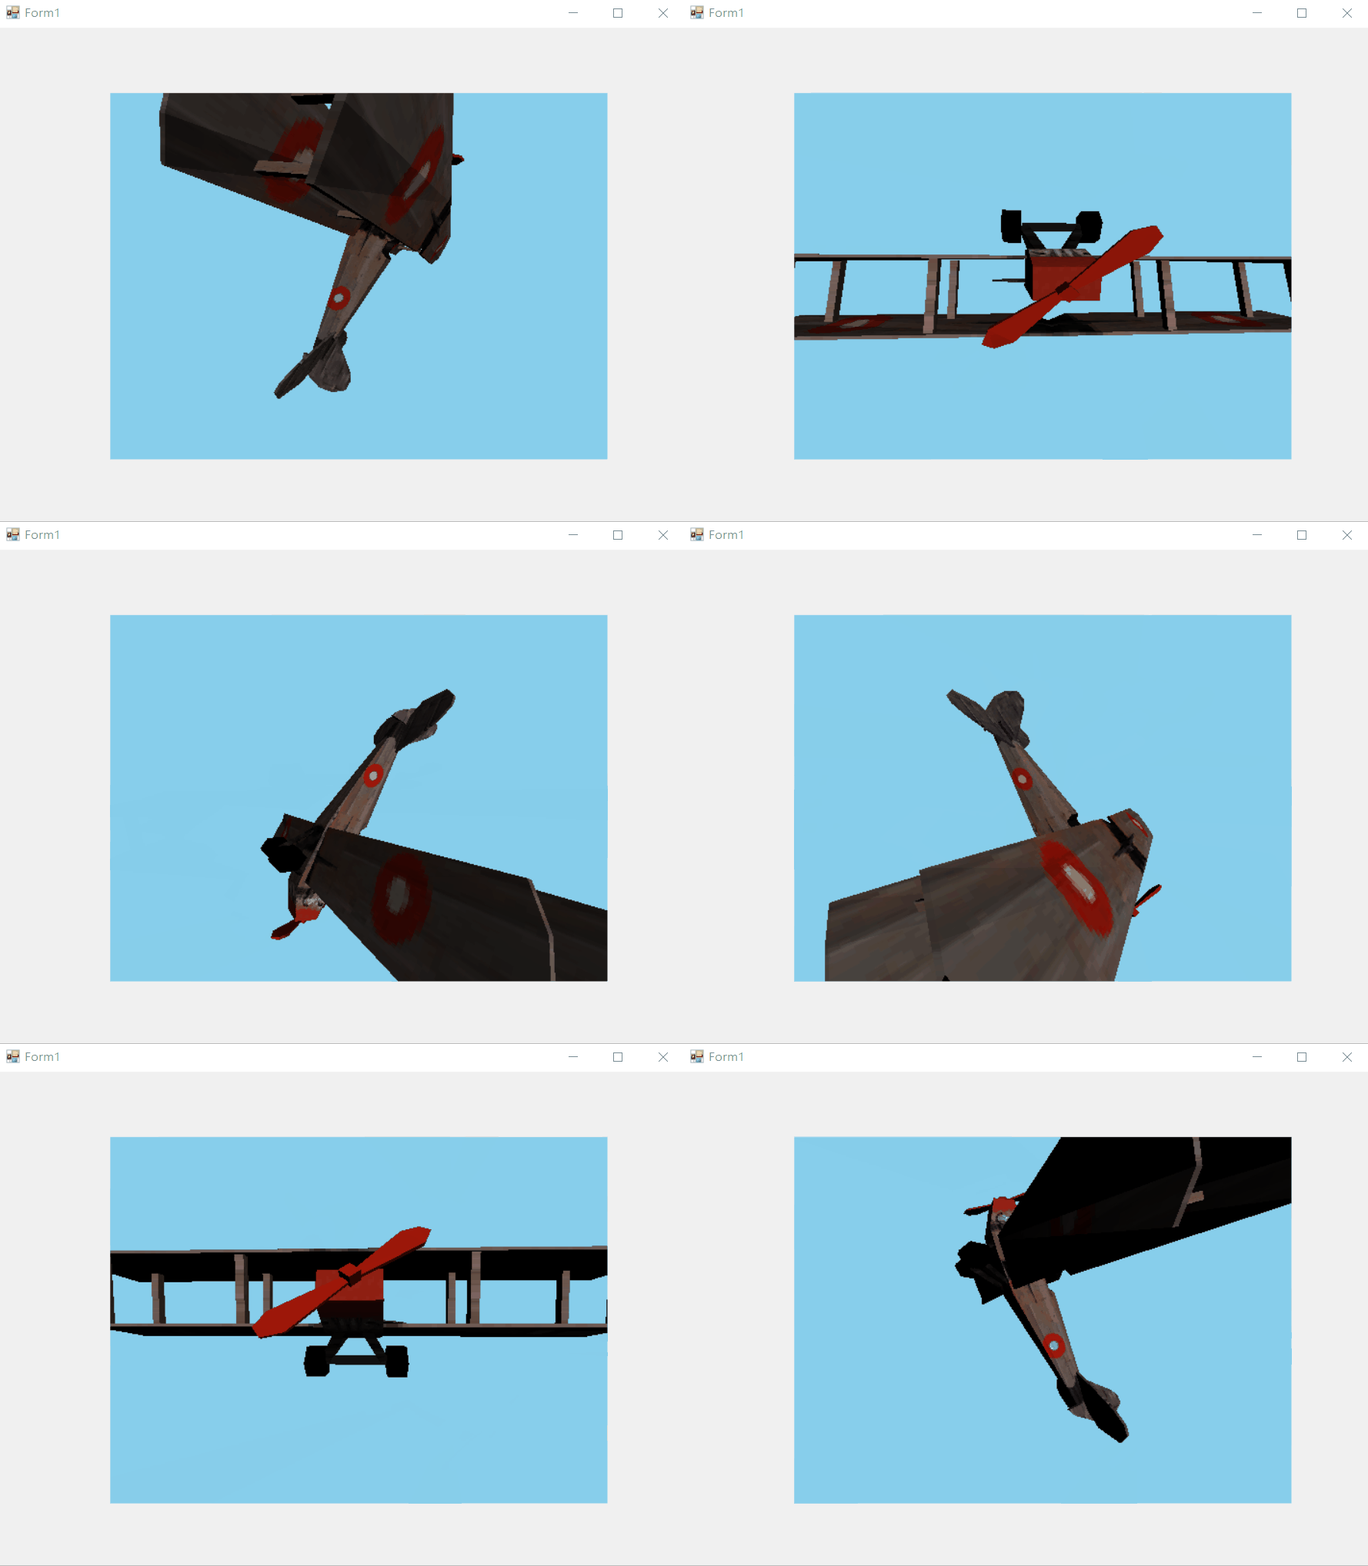
最近因为项目要做显示一个三维模型,所以研究了下如何在Winform中加载并显示三维模型。在Windows平台巨硬公司提供了DirectX SDK用于渲染图形,参考了几篇文章做了个demo记录下,以便日后温习只用。这个SDK涉及到了计算机图形学的一些基础知识,需要掌握一点基础,推荐可以看看OpenGL初学手册。
创建项目
我们开始返回正题,首先使用Visual Studio 2019创建一个Winform项目,然后添加DirectX 三个dll库的引用,路径是:C:\Windows\Microsoft.NET\DirectX for Managed Code\1.0.2902.0, 主要是前3个dll,后面的可用可不用。

添加控件
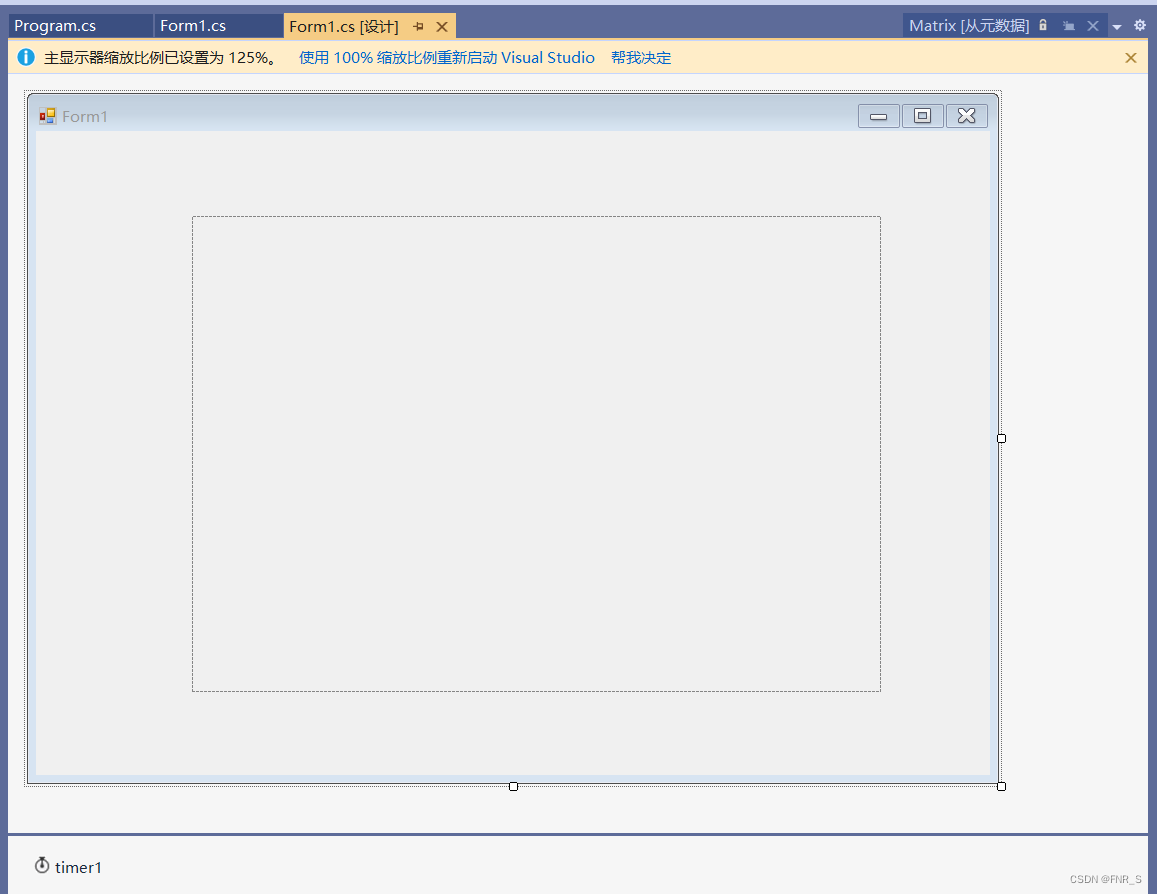
通过工具箱添加timer和panel控件,panel用于显示三位模型(也可不添加这个,直接用form显示),timer用于实时渲染。
代码实现
/*--------成员变量声明-----------*/
//设备
private Device device;
//显示参数
private PresentParameters pres;
//保存3D文件
private Mesh mesh;
//渲染材质
private Material[] materials;
private Texture[] textures;/*--------方法实现-----------*/
public bool InitializeGraphics()
{pres = new PresentParameters();pres.Windowed = true;pres.SwapEffect = SwapEffect.Discard;pres.EnableAutoDepthStencil = true;pres.AutoDepthStencilFormat = DepthFormat.D16;device = new Device(0, DeviceType.Hardware, panel1, CreateFlags.SoftwareVertexProcessing,pres);device.RenderState.CullMode = Cull.None;CreateMesh(@"airplane 2.x");//CreateMesh(@"lobby_skybox.x");return true;
}
public void CreateMesh(string path)
{ExtendedMaterial[] exMaterials;mesh = Mesh.FromFile(path, MeshFlags.SystemMemory, device, out exMaterials);if (textures != null){DisposeTextures();}textures = new Texture[exMaterials.Length];materials = new Material[exMaterials.Length];for (int i = 0; i< exMaterials.Length; ++i){if (exMaterials[i].TextureFilename != null){string texturePath = Path.Combine(Path.GetDirectoryName(path), exMaterials[i].TextureFilename);textures[i] = TextureLoader.FromFile(device, texturePath);}materials[i] = exMaterials[i].Material3D;materials[i].Ambient = materials[i].Diffuse;}
}
public void DisposeTextures()
{if (textures == null){return;}foreach (Texture t in textures){if (t != null){t.Dispose();}}
}public void SetupMatrices()
{float yaw = Environment.TickCount / 500.0F;float pitch = Environment.TickCount / 500.0F;device.Transform.World = Matrix.RotationYawPitchRoll(yaw, pitch, 0);device.Transform.View = Matrix.LookAtLH(new Vector3(0, 0, -6), new Vector3(0, 0, 0), new Vector3(0, 1, 0));device.Transform.Projection = Matrix.PerspectiveFovLH((float)Math.PI / 2.0F, 1.0F, 1.0F, 10.0F);
}public void SetupLights()
{device.RenderState.Lighting = true;device.Lights[0].Diffuse = Color.White;device.Lights[0].Specular = Color.White;device.Lights[0].Type = LightType.Directional;device.Lights[0].Direction = new Vector3(-1, -1, 3);device.Lights[0].Enabled = true;device.RenderState.Ambient = Color.FromArgb(0x00, 0x00, 0x00);
}public void RenderMesh()
{for (int i = 0; i< materials.Length; ++i){if (textures[i] != null){device.SetTexture(0, textures[i]);}device.Material = materials[i];mesh.DrawSubset(i);}
}public void Render()
{device.Clear(ClearFlags.Target | ClearFlags.ZBuffer, Color.SkyBlue, 1.0F, 0);device.BeginScene();SetupMatrices();SetupLights();RenderMesh();device.EndScene();device.Present();
}public void DisposeGraphics()
{DisposeTextures();device.Dispose();
}
渲染实现
在Form1_Load事件中调用初始化函数,然后在timer的timer1_Tick事件中调用Render函数实时渲染
private void Form1_Load(object sender, EventArgs e)
{InitializeGraphics();
}private void timer1_Tick(object sender, EventArgs e)
{Render();
}
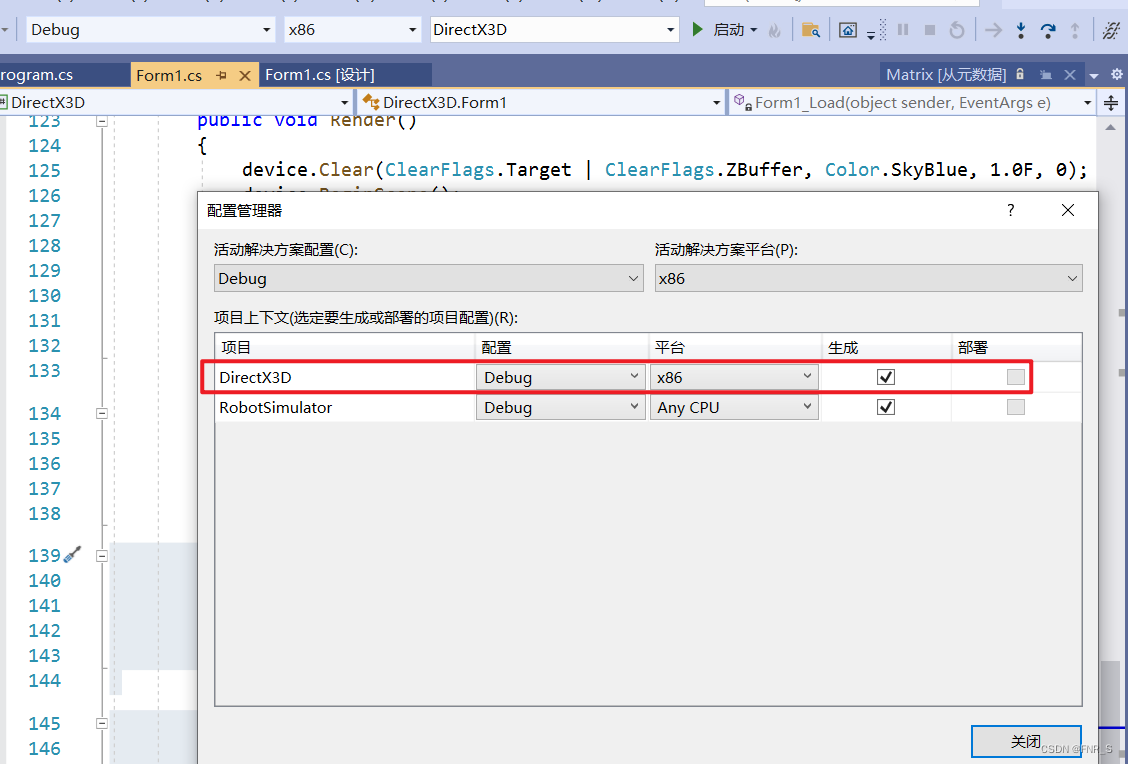
编译程序,编译之前设置32位模式,需要自己新建一个32位的编译模式

准备素材
需要安装为微软的DirectX SDK,链接: https://www.microsoft.com/zh-cn/download/details.aspx?id=6812
到这个路径下C:\Program Files (x86)\Microsoft DirectX SDK (June 2010)\Samples\Media\Airplane复制三个资源文件到本地的的exe文件目录 RobotSimulator\DirectX3D\bin\x86\Debug

运行程序

PS:
如遇“托管调试助手 “LoaderLock”报错“Message=托管调试助手 “LoaderLock”:“正尝试在 OS 加载程序锁内执行托管代码。不要尝试在 DllMain 或映像初始化函数内运行托管代码,这样做会导致应用程序挂起。””,可以快捷键Ctrl+Alt+E,改动Managed Debuggin Assistants->LoaderLock 的选中状态去掉。
>>实时动态差分定位)


)


--audio - 多媒体音频)


:协程任务的同步/异步等待)


)