1, 获取llvm 仓库
从github上获取:
$ git clone --recursive https://github.com/llvm/llvm-project.git2, 检出 llvmorg-3.4.0 tag
针对llvm 3.4.0版本,检出
$ cd llvm-project
$ git tag
$ git checkout llvmorg-3.4.0![]()
3, 配置并编译llvm
使用 Makefile 编译 llvm 时 没有发现问题
先做配置:
$ cd llvm
$ /bin/bash ./configure --prefix=/home/hipper/llvm_3_4_0_ex/local  --cache-file=/dev/null --srcdir=.
若编译debug版本,则做如下配置:
/bin/bash ./configure --prefix=/home/hipper/llvm_3_4_0_ex/browse/local  			\
--cache-file=/dev/null --srcdir=. --enable-debug-runtime --enable-debug-symbols    	\--enable-keep-symbols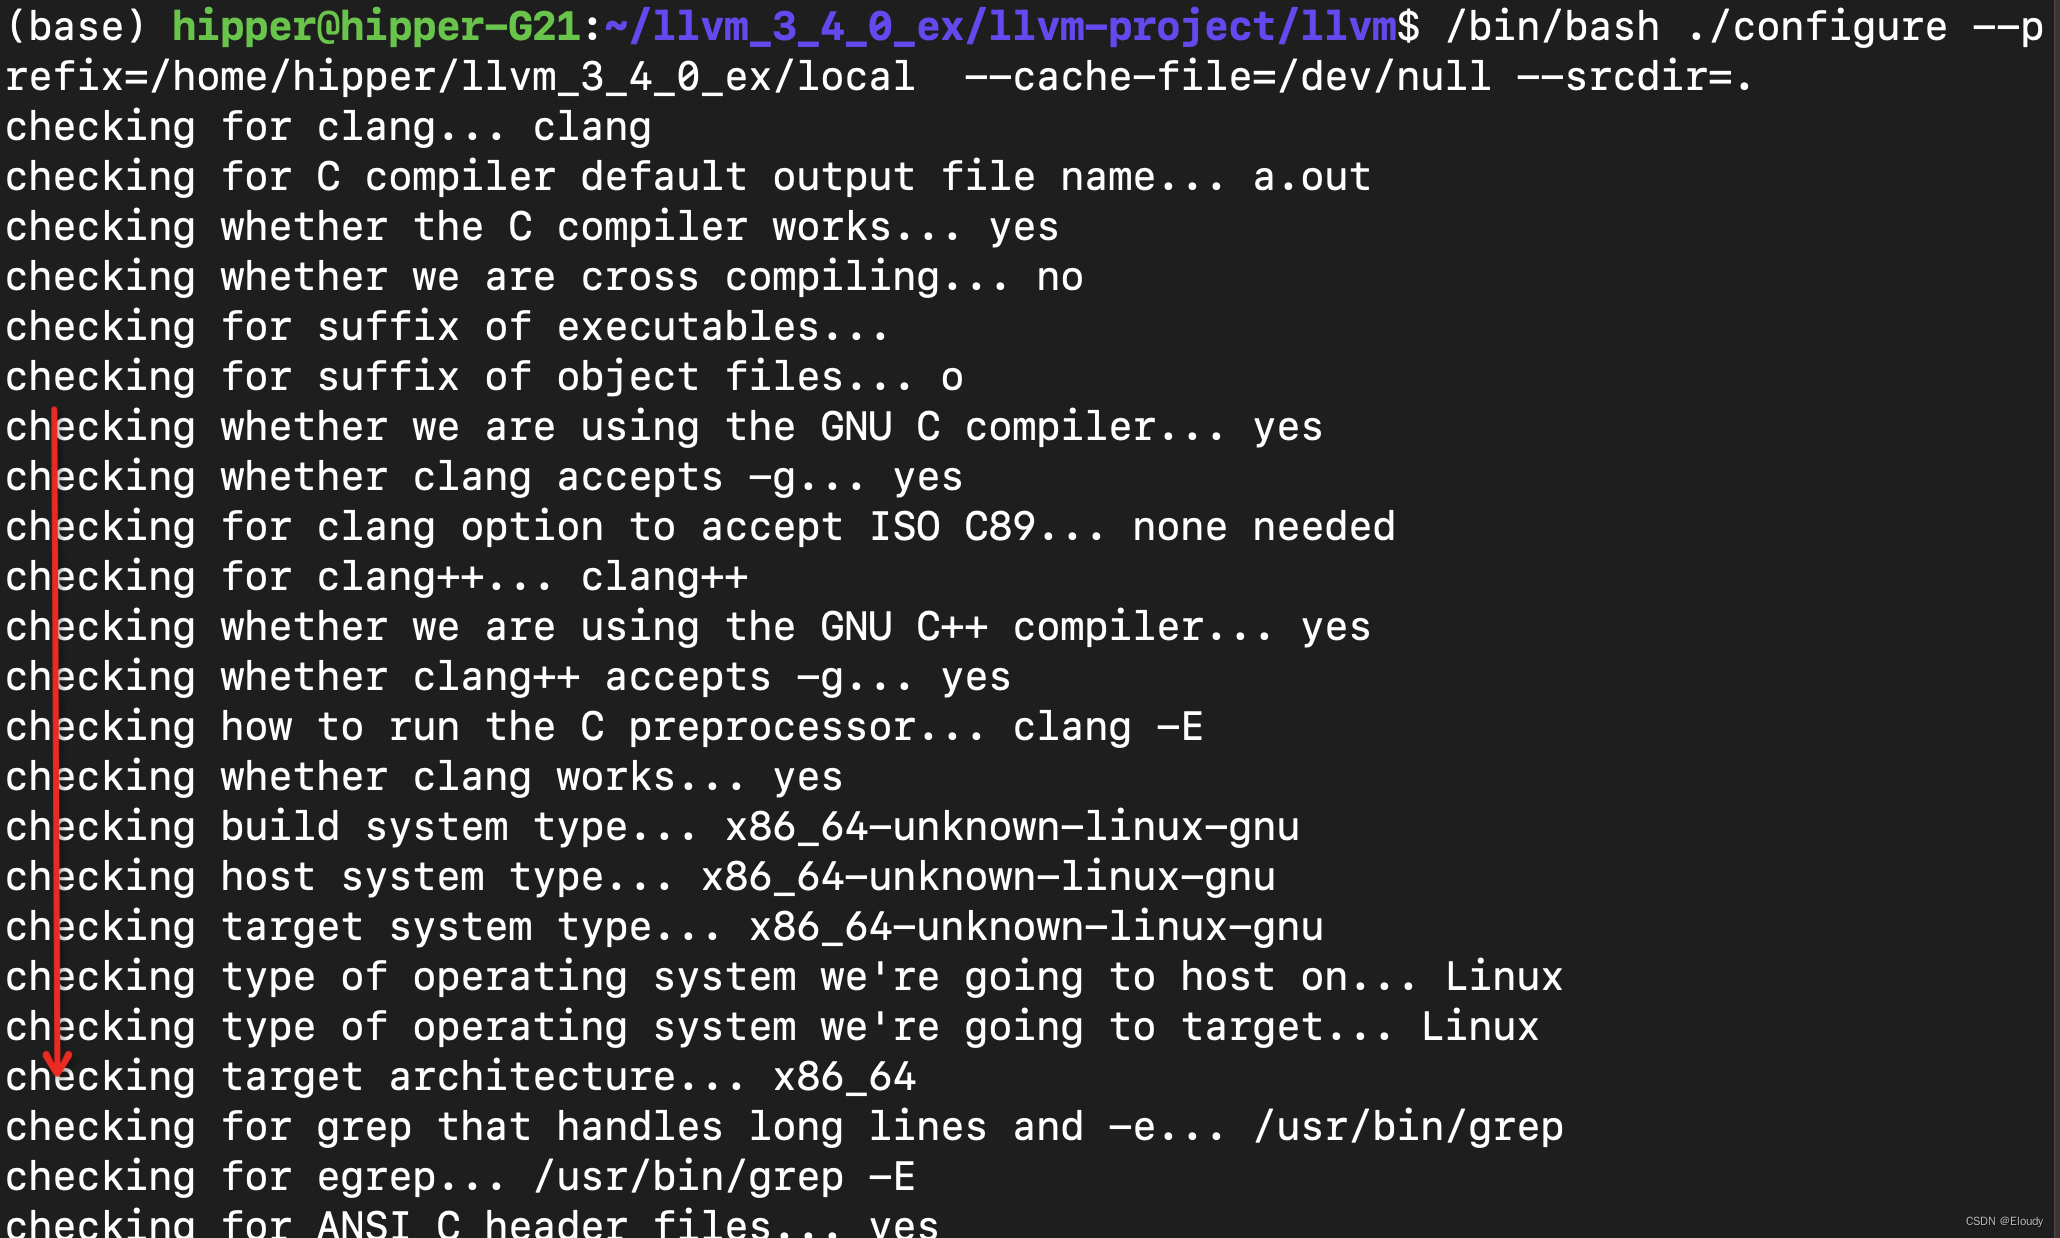
然后开始编译:
$ make -j install
#大概几分钟
$ ls /home/hipper/llvm_3_4_0_ex/local/lib/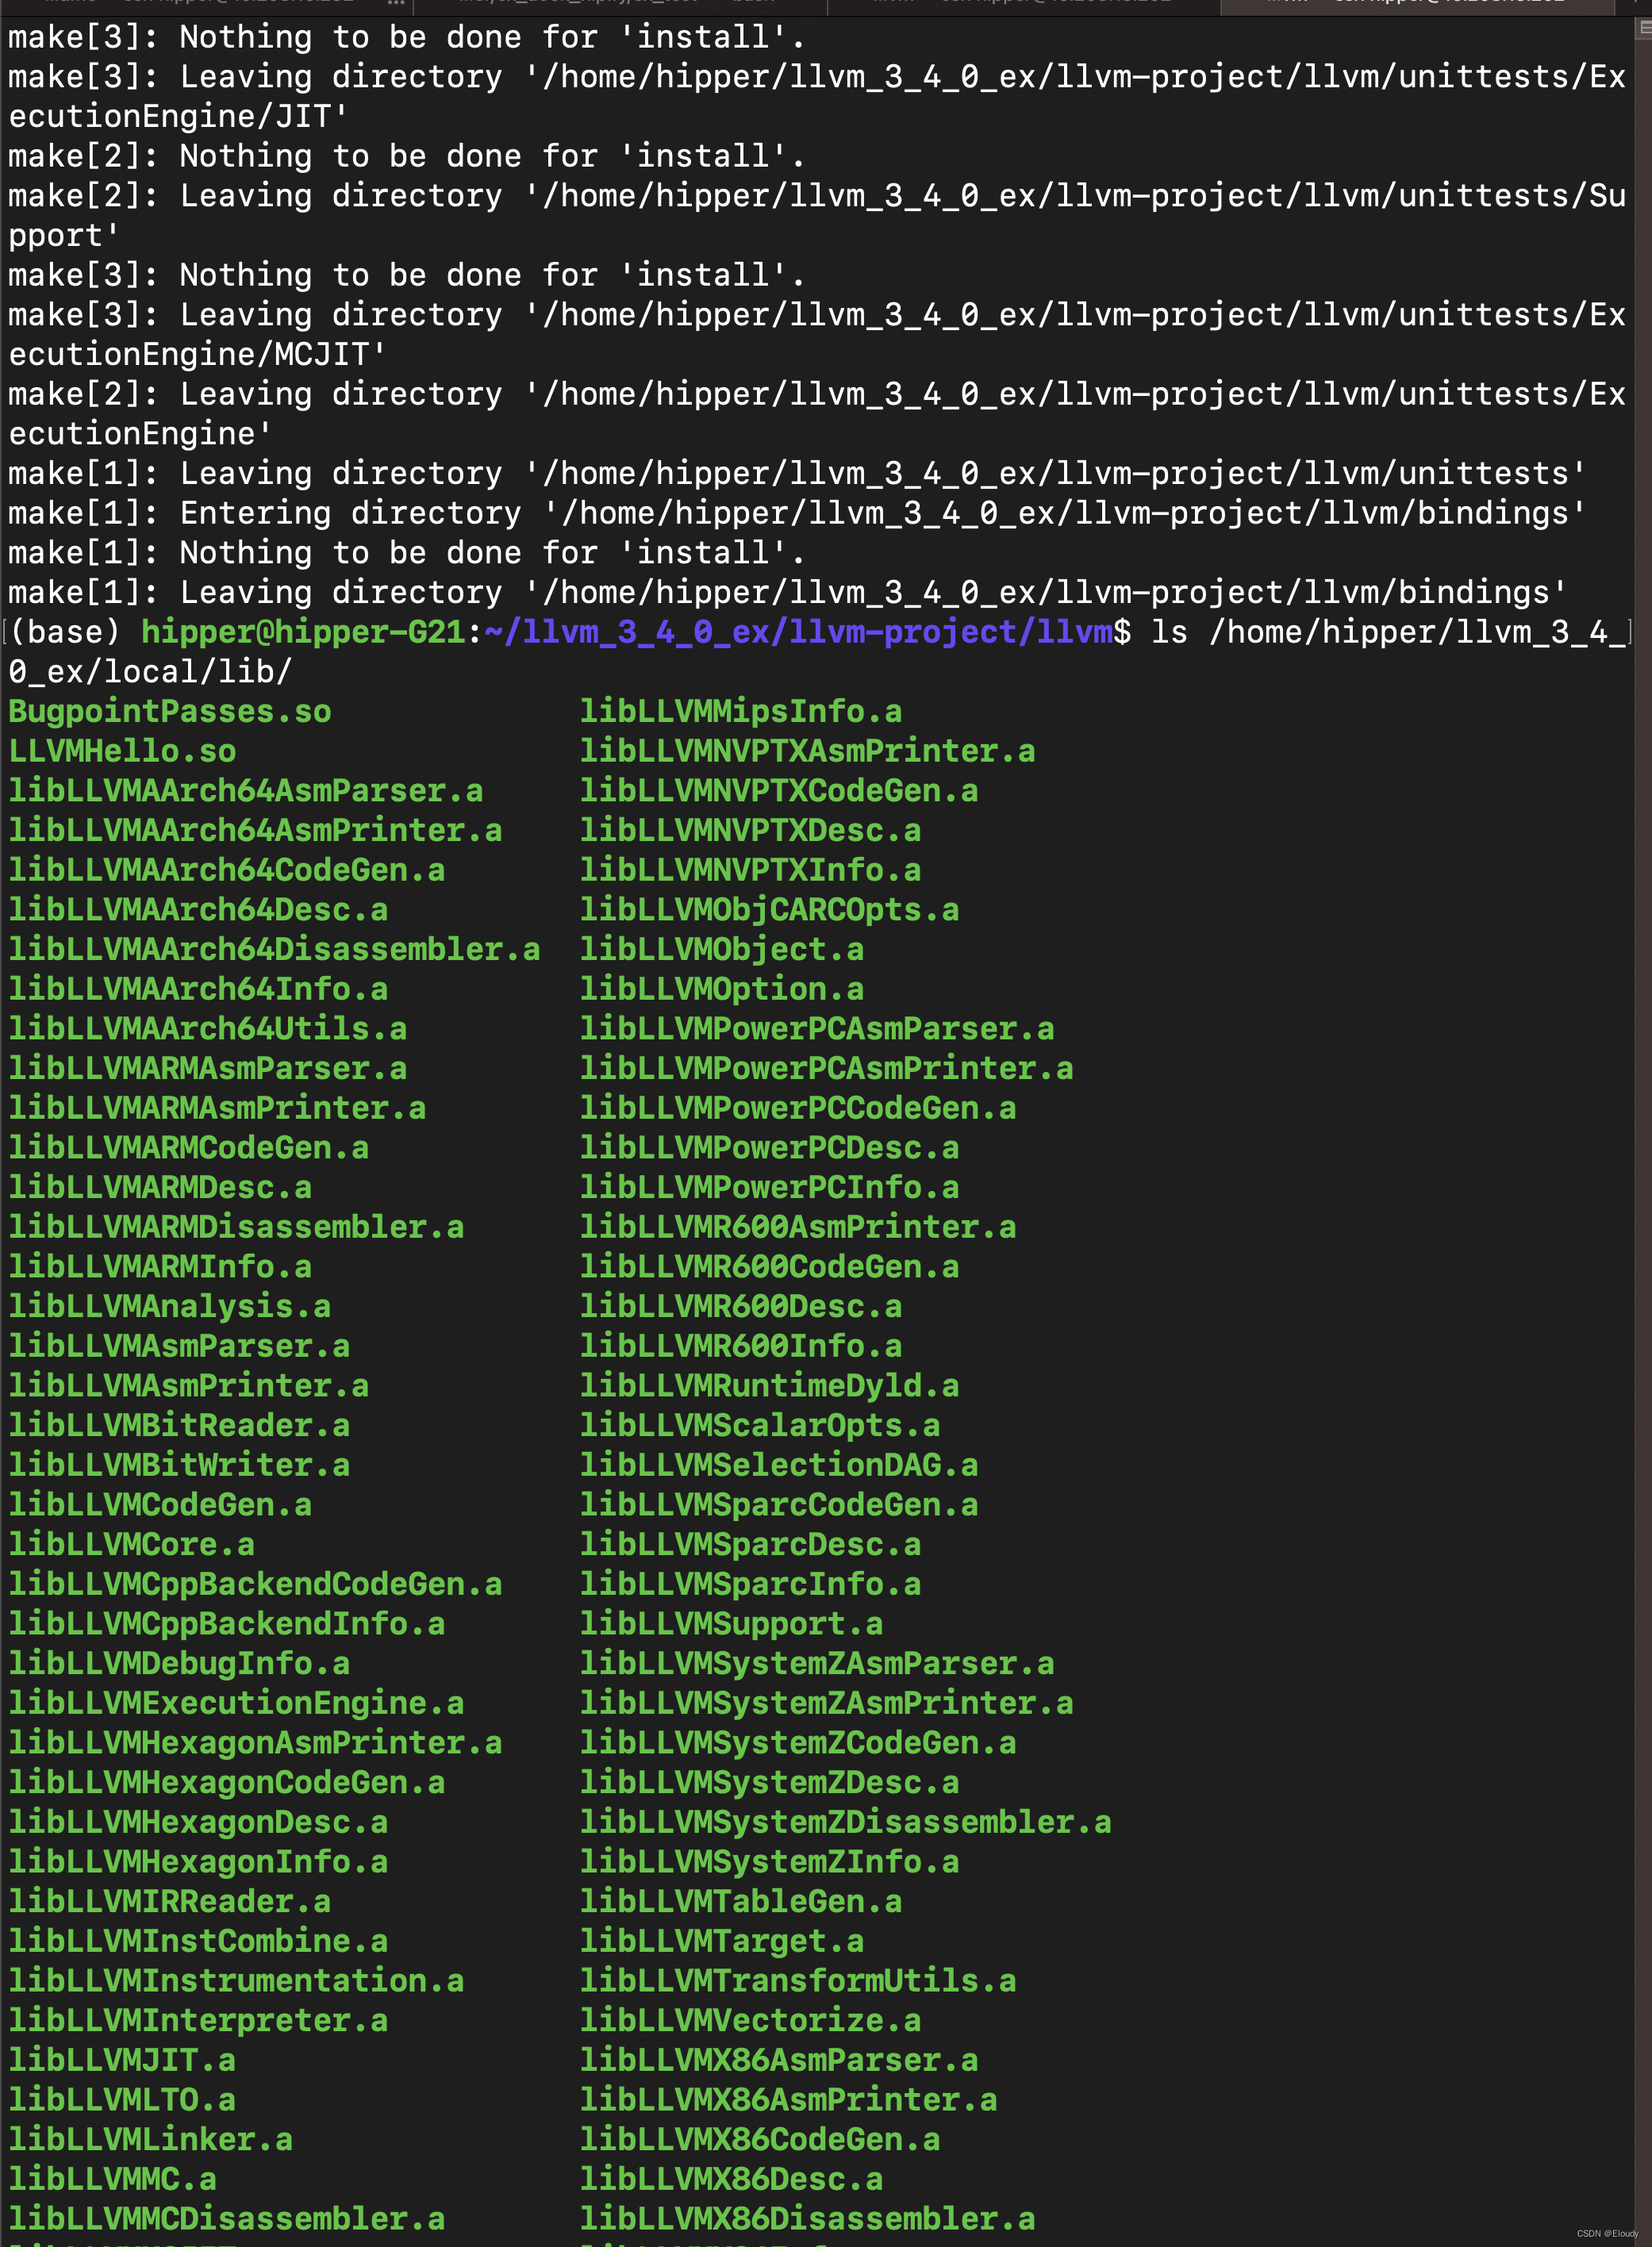
4, 拷贝并编译clang
在做完第3步编译llvm之前,不要做第4步(拷贝与编译clang),否则在编译llvm时会把clang一起编译,但是会发生问题。
拷贝
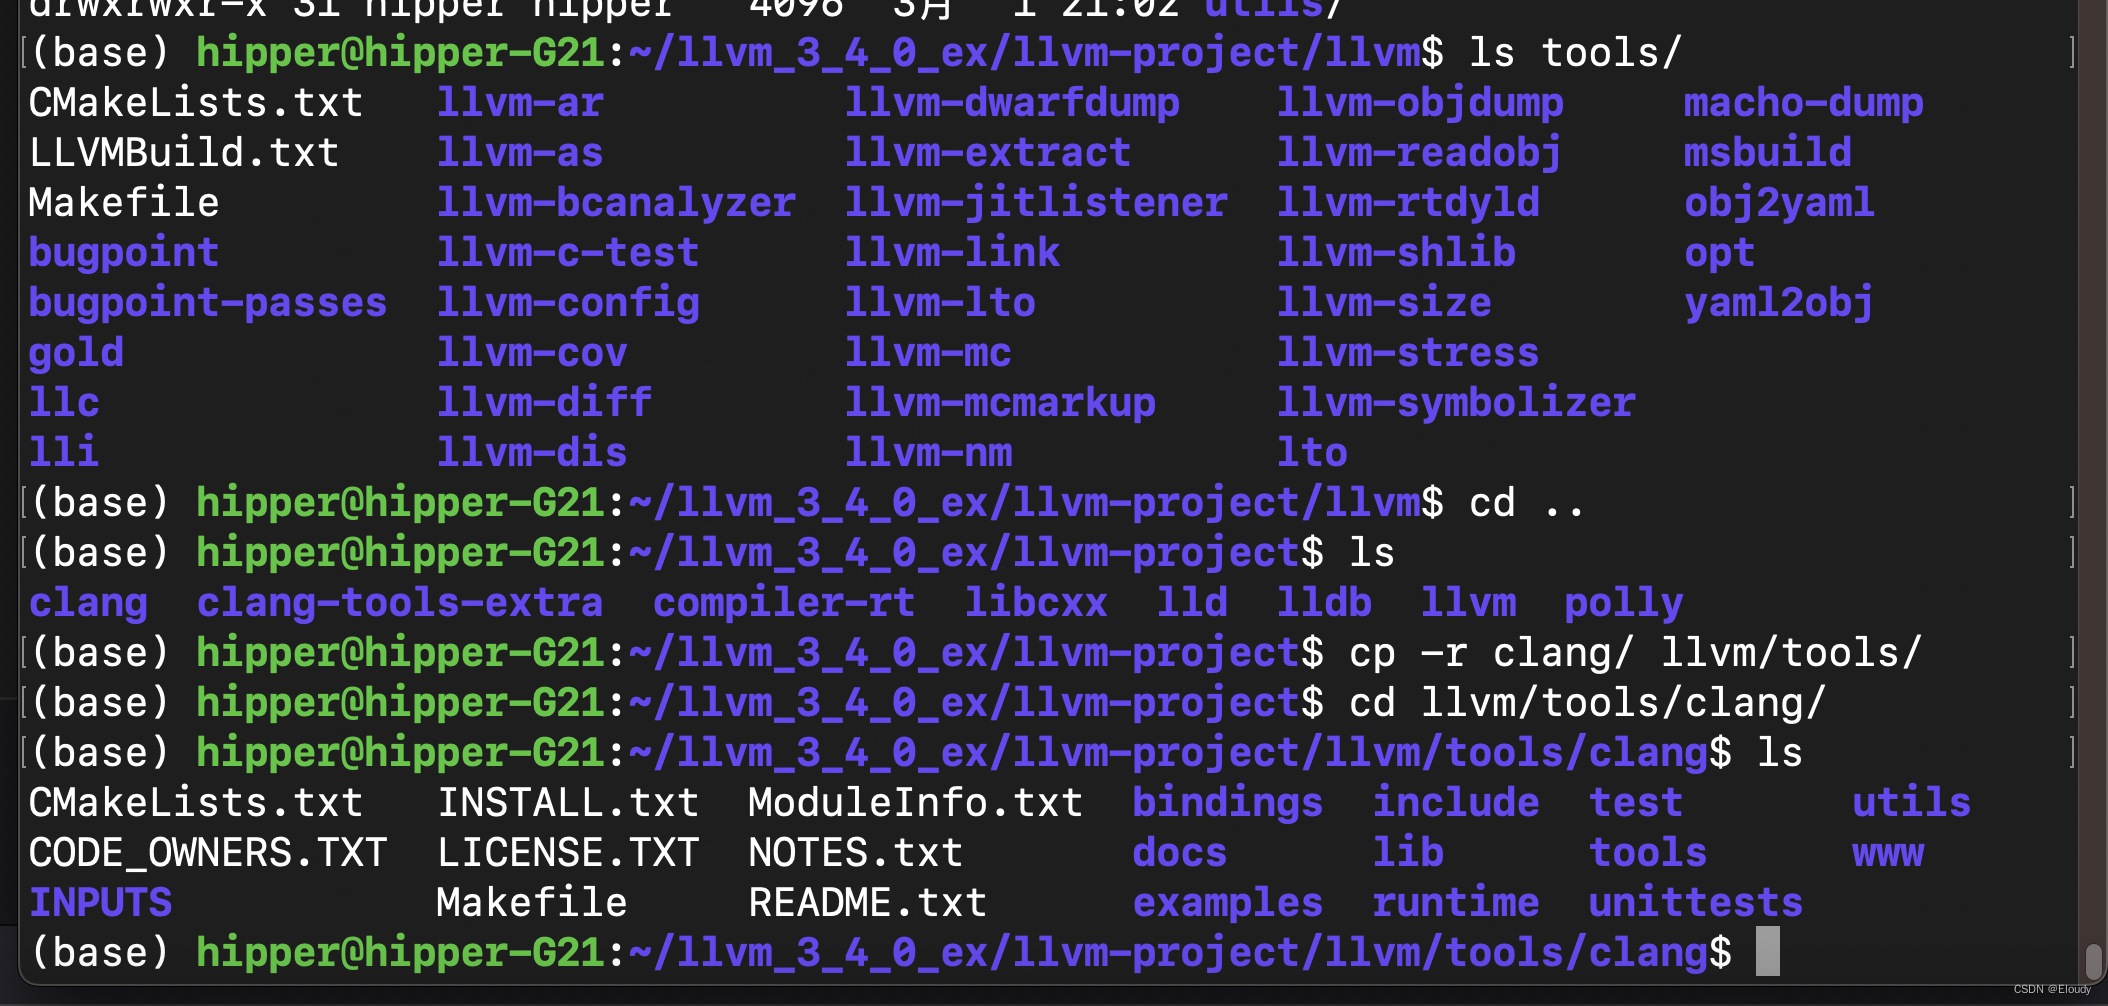
编译,不需要配置,llvm之前的配置会映射进来
但依然会发生找不到头文件的问题:
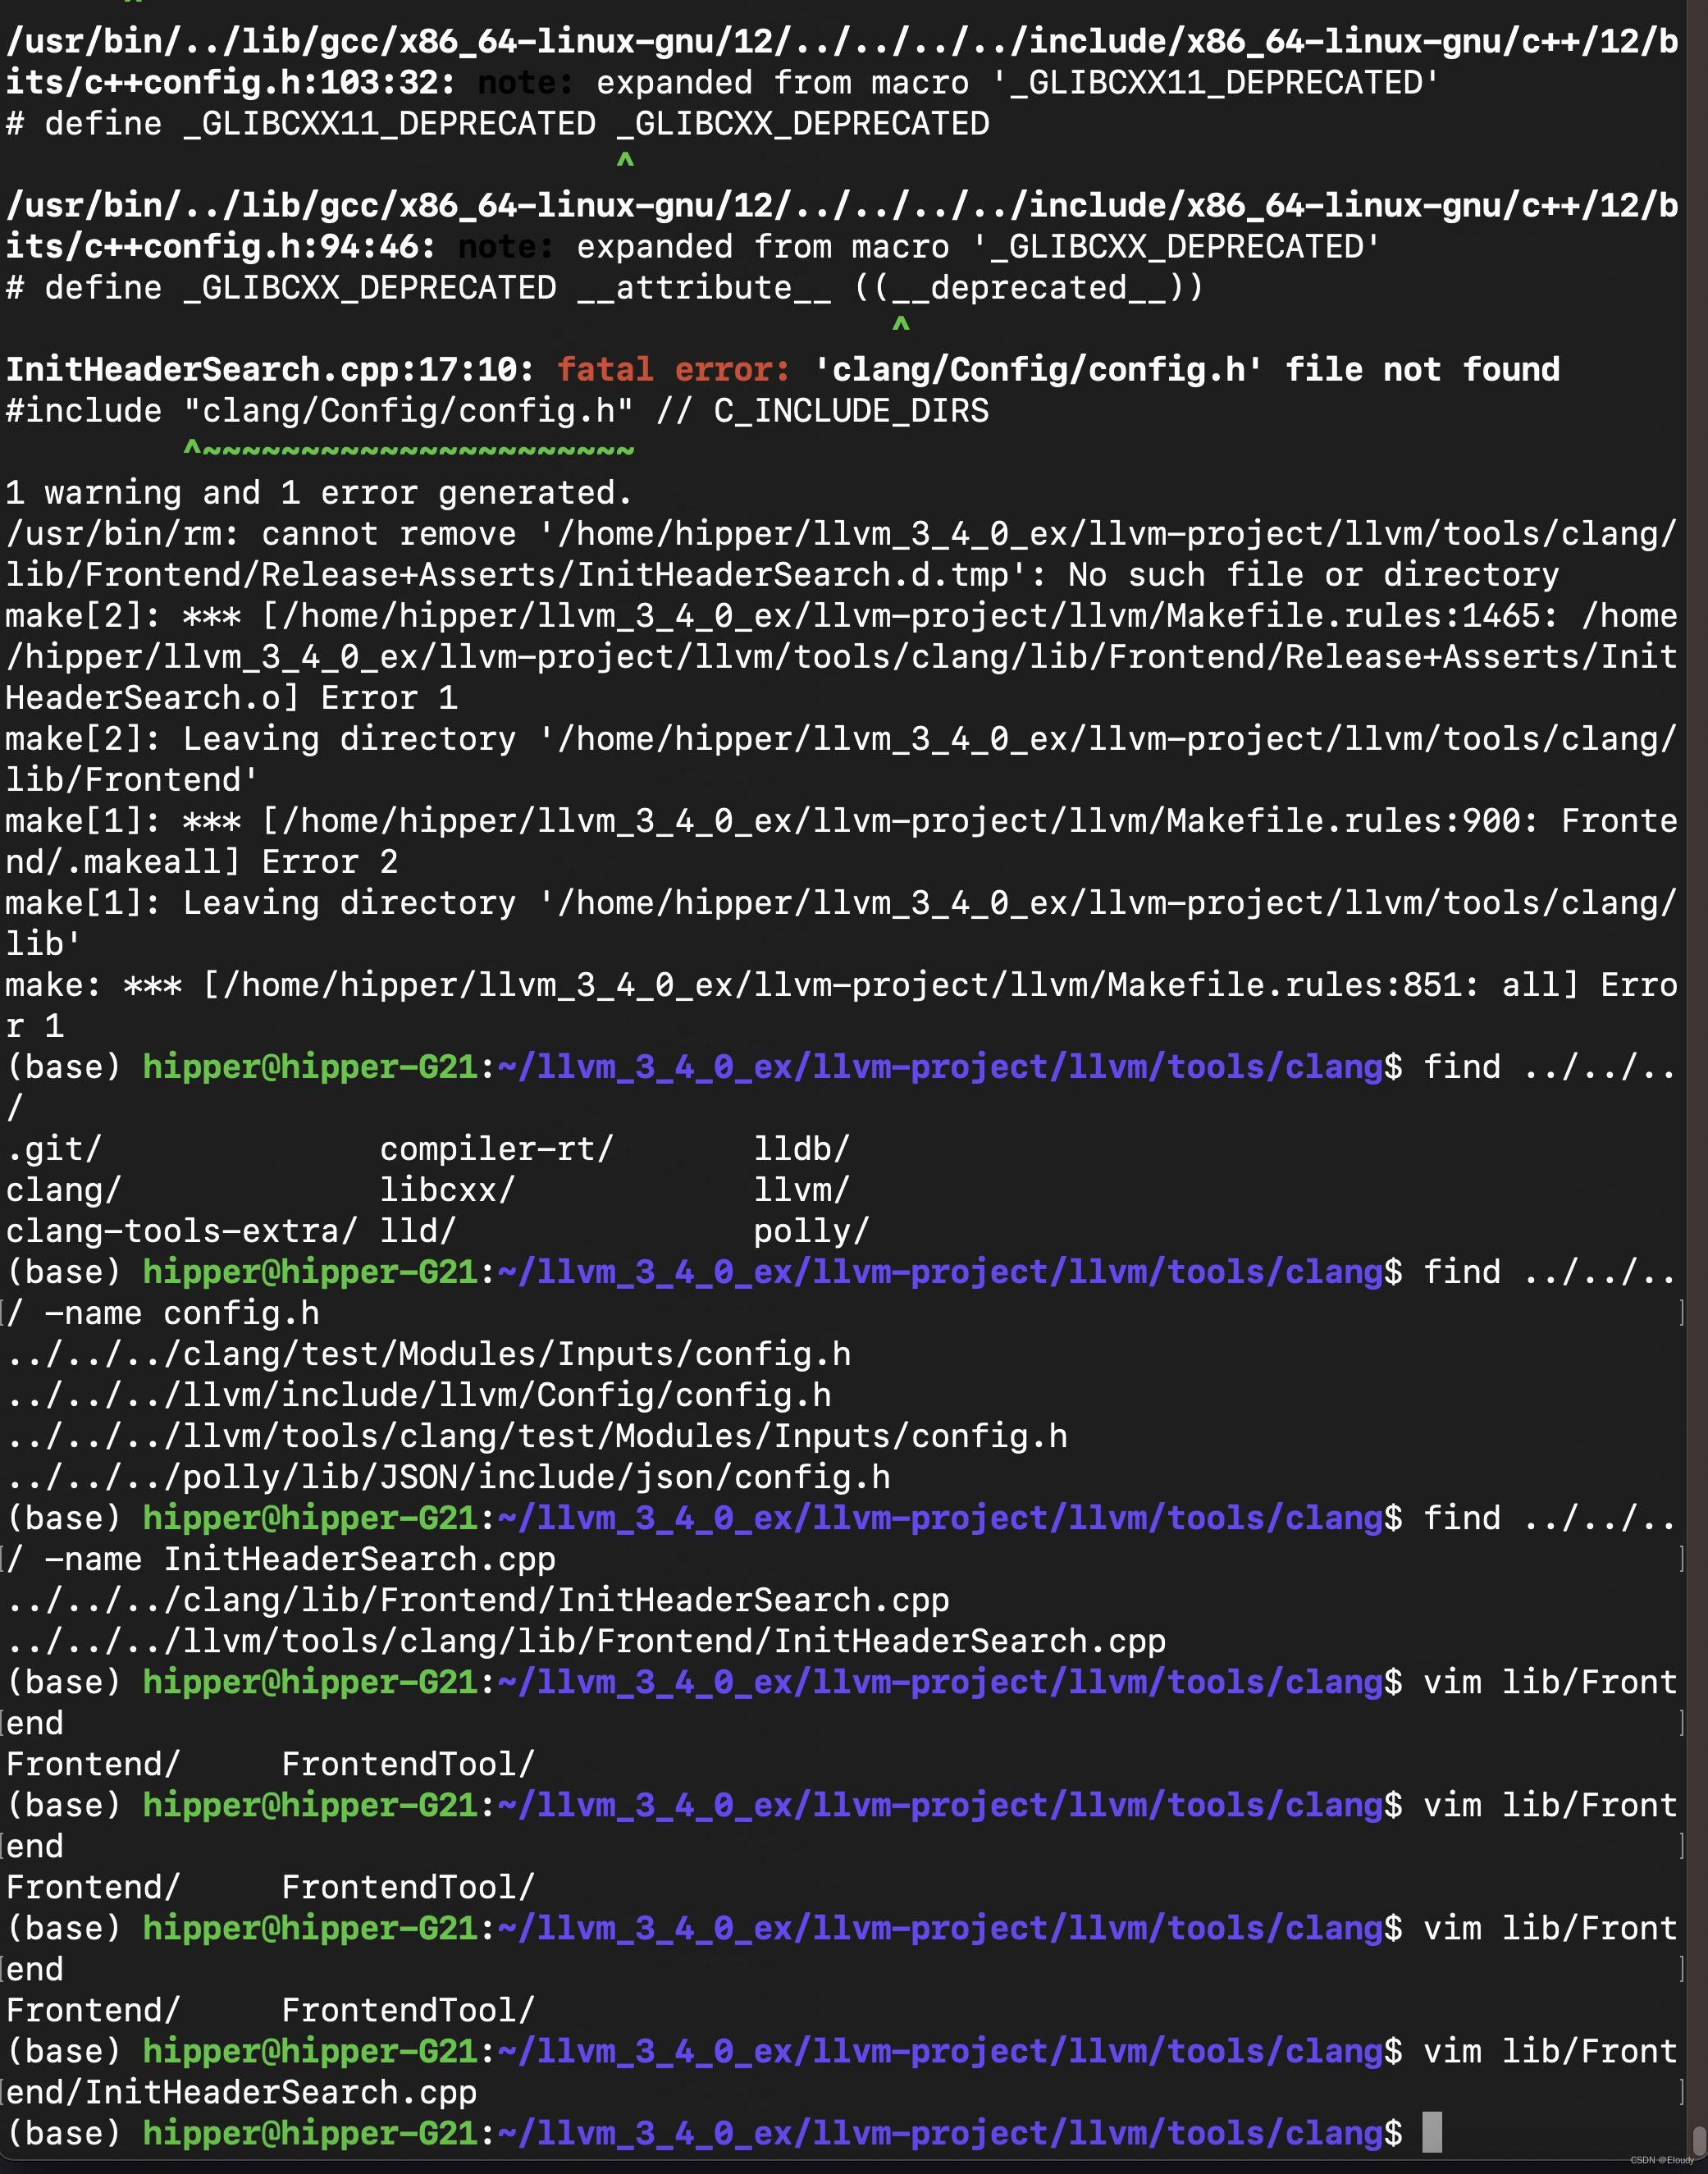
将 找不到头文件的地方改成 llvm/Config/config.h
然后执行make,还会出现几次同样的问题,都是改成 llvm/Config/config.h :

make
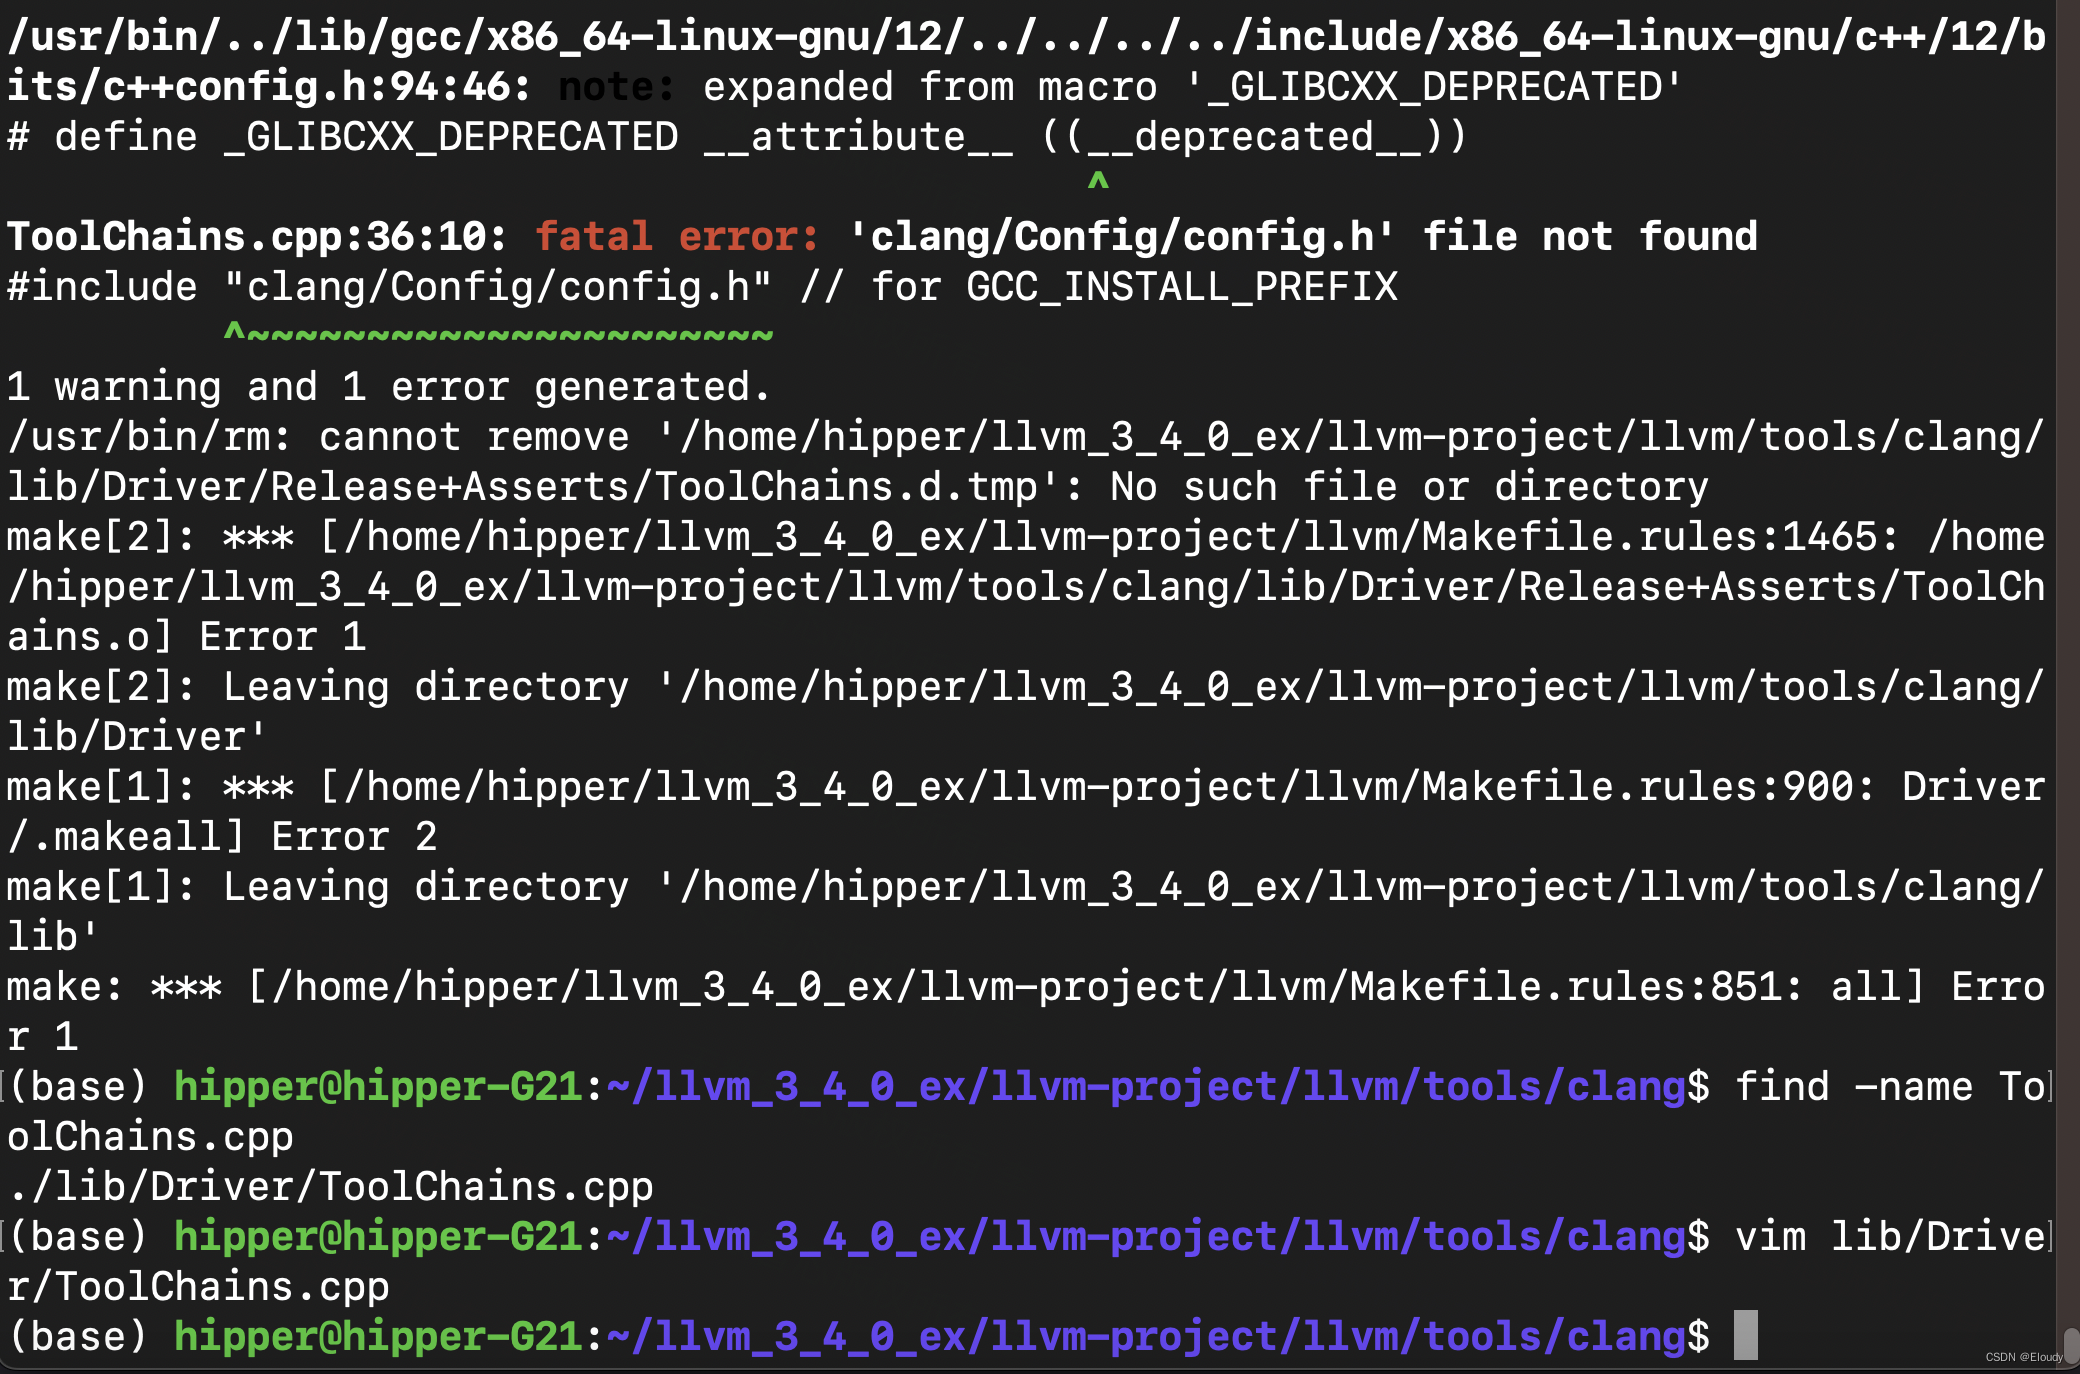
make
最后编译成功:

安装:
make -j install

至此, llvm + clang 3.4.0 开发环境已经准备好了。
5, llvm library 调用示例
将add.c 源文件编译成为 add.bc 文件,作为输入 input;
使用 llvm lib 的 app: helloworld 程序,读入 add.bc 源文件,分辨出 add.bc 中的函数名,并打印出来。
helloworld.cpp
#include "llvm/Bitcode/BitCodes.h"
#include "llvm/Bitcode/ReaderWriter.h"
//#include "llvm/Bitcode/BitcodeReader.h"
//#include "llvm/Bitcode/BitcodeWriter.h"
#include "llvm/Bitcode/BitstreamReader.h"
#include "llvm/Bitcode/BitstreamWriter.h"
#include "llvm/Bitcode/LLVMBitCodes.h"
#include "llvm/IR/Function.h"
#include "llvm/IR/Module.h"
#include "llvm/IR/LLVMContext.h"
#include "llvm/Support/CommandLine.h"
#include "llvm/Support/MemoryBuffer.h"
#include "llvm/Support/raw_os_ostream.h"
#include "llvm/Support/system_error.h"
#include <iostream>using namespace llvm;static cl::opt<std::string> FileName(cl::Positional, cl::desc("Bitcode file"), cl::Required);int main(int argc, char** argv)
{cl::ParseCommandLineOptions(argc, argv, "LLVM hello world\n");LLVMContext context;std::string error;OwningPtr<MemoryBuffer>mb;MemoryBuffer::getFile(FileName, mb);Module *m = ParseBitcodeFile(mb.get(), context, &error);if(m==0){std::cerr<<"Error reading bitcode:" << error << std::endl;return -1;}raw_os_ostream O(std::cout);for(Module::const_iterator i = m->getFunctionList().begin(), e=m->getFunctionList().end(); i!=e; ++i){if(!i->isDeclaration()){O<<i->getName() << " has "<<i->size() << "basic block(s).\n";}}}
构建 上边的 helloworld.cpp 的Makefile:
LLVM_CONFIG ?= llvm-configifndef VERBOSE
QUIET:=@
endifSRC_DIR ?= $(PWD)
LD_FLAGS+=$(shell $(LLVM_CONFIG) --ldflags)
COMMON_FLAGS=-Wall -Wextra
CXXFLAGS+=$(COMMON_FLAGS) $(shell $(LLVM_CONFIG) --cxxflags)
CPPFLAGS+=$(shell $(LLVM_CONFIG) --cppflags) -I$(SRC_DIR)HELLO = helloworld
HELLO_OBJECTS=hello.o
default: $(HELLO)%.o : $(SRC_DIR)/%.cpp@echo Compiling $*.cpp$(QUIET)$(CXX) -c $(CPPFLAGS) $(CXXFLAGS) $<$(HELLO) : $(HELLO_OBJECTS)@echo Linking $@$(QUIET)$(CXX) -o $@ $(CXXFLAGS) $(LD_FLAGS) $^ `$(LLVM_CONFIG) --libs bitreader core support` -ltinfo.PHONY: clean
clean:${RM} $(HELLO) $(HELLO_OBJECTS)
6, 示例的输入示例
add.c
#include <stdio.h>int add_int_type(int x, int y){return x+y;
}float float_add_3(float a, float b, float c){return a+b+c;
}double d_add(double s, double t)
{return s + t;
}int main()
{int a =1, b= 2;float c =3.0f, d = 4.0f, e = 5.0f;double f = 6.0, g = 7.0;printf("%d\n", add_int_type(a, b));printf("%f", float_add_3(c, d, e));printf("%f", d_add(f, g));return 0;
}
编译生成 add.bc 字节码文件:
$ clang -emit-llvm -c add.c -o add.bc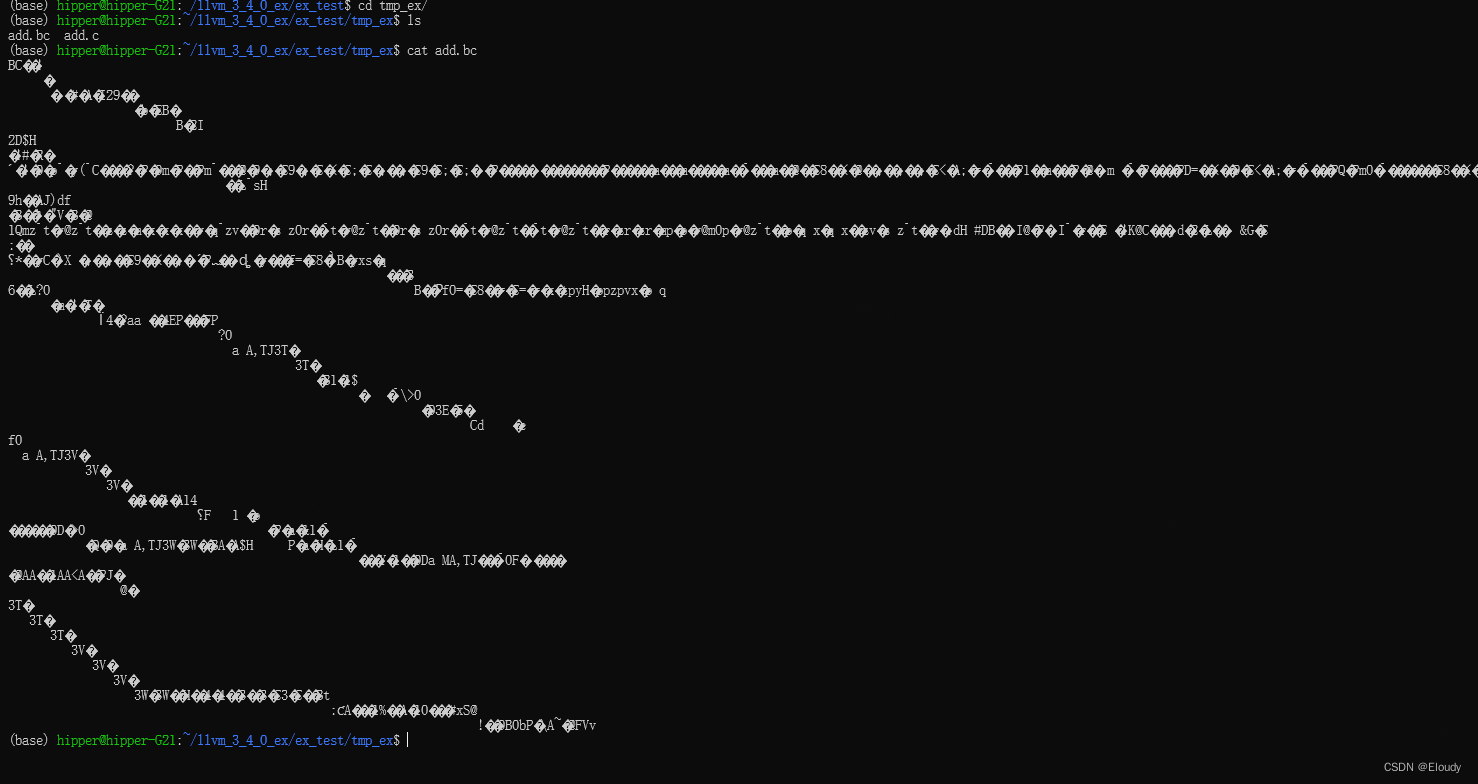
7, 用helloworld 分析 add.bc
$ ./helloworld tmp_ex/add.bc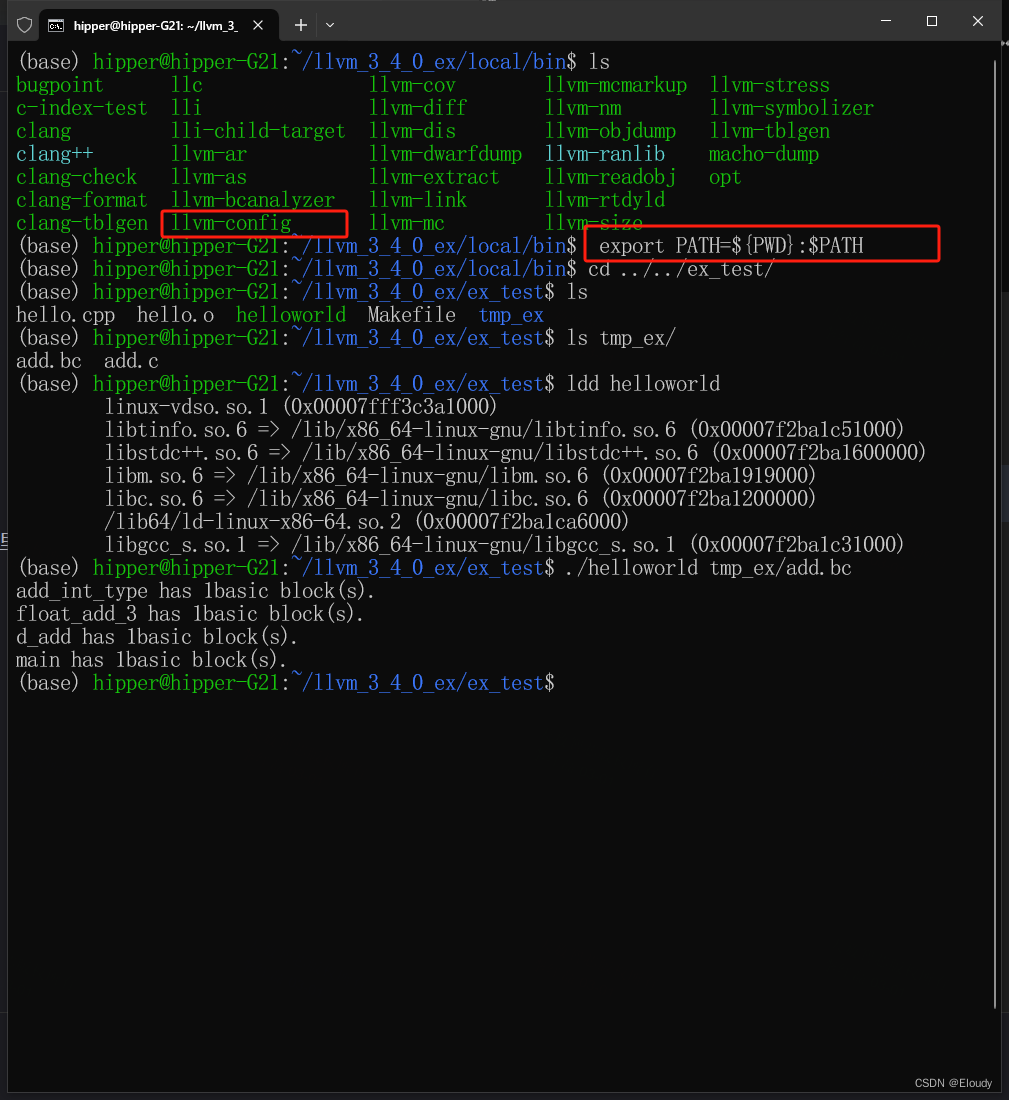
构建llvm 的app helloworld时,会使用到 llvm-config 程序,故需要设置 PATH 环境变量。
程序输出了 add.c 中的函数名,测试成功。
以上helloworld.c 代码,针对 llvm-project 3.4.0 的编译安装结果进行了调整,主要是Bitcode/ 中的头文件。
——探索心灵的深海,用智能的语言照亮情感的迷雾。)


![[C#]winform部署yolov9的onnx模型](http://pic.xiahunao.cn/[C#]winform部署yolov9的onnx模型)

、IPC)


)

【Jmeter】取样器(Sampler)之测试活动(Test Action))
