文章目录
- 1、受控组件
- 1.1 认识受控组件
- 1.2 checkout
- 1.3 selected
- 1.4 非受控组件
- 2、高阶组件
- 2.1 认识高阶组件
- 2.2 应用1-props增强的基本使用
- 2.3 对象增强的应用场景-context共享
- 2.4 应用2-鉴权
- 2.5 应用3 – 生命周期劫持
- 2.6、高阶组件的意义
- 3、Portals
- 4、fragment
- 5、StrictMode
- 6、React过渡动画实现
- 6.1 CSSTransition
- 6.2 SwitchTransition
- 6.3 TransitionGroup
1、受控组件
1.1 认识受控组件
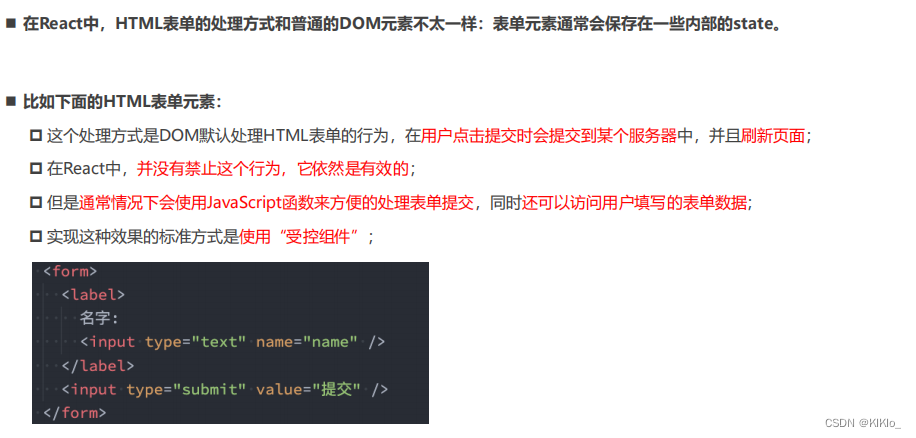
import React, { PureComponent } from "react";export class App extends PureComponent {constructor() {super();this.state = {userName: "",};}inputChange(e) {const value = e.target.value;this.setState({ userName: value });}submitChange(e) {// 1.阻止表单的默认事件 表单默认会被刷新e.preventDefault();// 2.在这里修改表单数据console.log(e);// 3.发送网络请求}render() {const { userName } = this.state;return (<div><form onSubmit={(e) => this.submitChange(e)}><label htmlFor="userName">用户:<inputid="userName"type="text"name="userName"value={userName}onChange={(e) => this.inputChange(e)}></input></label><button type="submit">注册</button></form></div>);}
}export default App;
1.2 checkout

import React, { PureComponent } from "react";export class App extends PureComponent {constructor() {super();this.state = {userName: "",password: "",isAgree: false,hobbies: [{ value: "sing", text: "唱", isChecked: false },{ value: "dance", text: "跳", isChecked: false },{ value: "rap", text: "rap", isChecked: false },],};}handleAgreeChange(e) {this.setState({ isAgree: e.target.checked });}handleHobbiesChange(e, index) {const hobbies = [...this.state.hobbies];hobbies[index].isChecked = e.target.checked;this.setState({ hobbies });}submitChange(e) {// 1.阻止表单的默认事件 表单默认会被刷新e.preventDefault();// 2.在这里修改表单数据console.log(e);const hobbies = this.state.hobbies.filter((item) => item.isChecked);console.log(hobbies);// 3.发送网络请求}render() {const { isAgree, hobbies } = this.state;return (<div><form onSubmit={(e) => this.submitChange(e)}>{/* 单选 */}<label htmlFor="agree"><inputtype="checkbox"id="agree"checked={isAgree}onChange={(e) => this.handleAgreeChange(e)}/>单选</label>{/* 多选 */}<div>{hobbies.map((item, index) => {return (<label htmlFor={item.value} key={index}><inputtype="checkbox"id={item.value}checked={item.isChecked}onChange={(e) => this.handleHobbiesChange(e, index)}/>{item.text}</label>);})}</div><button type="submit">注册</button></form></div>);}
}export default App;
1.3 selected

import React, { PureComponent } from "react";export class App extends PureComponent {constructor() {super();this.state = {fruit: "orange",fruits: ["orange", "apple"],};}submitChange(e) {// 1.阻止表单的默认事件 表单默认会被刷新e.preventDefault();// 2.在这里修改表单数据console.log(e);// 3.发送网络请求}// 单选fruitChange(e) {console.log(e.target.value);this.setState({ fruit: e.target.value });}//  多选fruitsChange(event) {// event.target.selectedOptions 获取到的不是数组 HTMLCollection [option]// 方法1// const options = Array.from(event.target.selectedOptions);// const values = options.map((item) => item.value);// this.setState({ fruits: values });// 额外补充: Array.from(可迭代对象)// Array.from(arguments,()=>{})// 方法2const values = Array.from(event.target.selectedOptions,(item) => item.value);this.setState({ fruits: values });}render() {const { fruit, fruits } = this.state;return (<div><form onSubmit={(e) => this.submitChange(e)}>{/* select单选 */}<select value={fruit} onChange={(e) => this.fruitChange(e)}><option value="apple">苹果</option><option value="orange">橘子</option><option value="banana">香蕉</option></select>{/* select多选 */}<selectvalue={fruits}multipleonChange={(e) => this.fruitsChange(e)}><option value="apple">苹果</option><option value="orange">橘子</option><option value="banana">香蕉</option></select><button type="submit">注册</button></form></div>);}
}export default App;
1.4 非受控组件
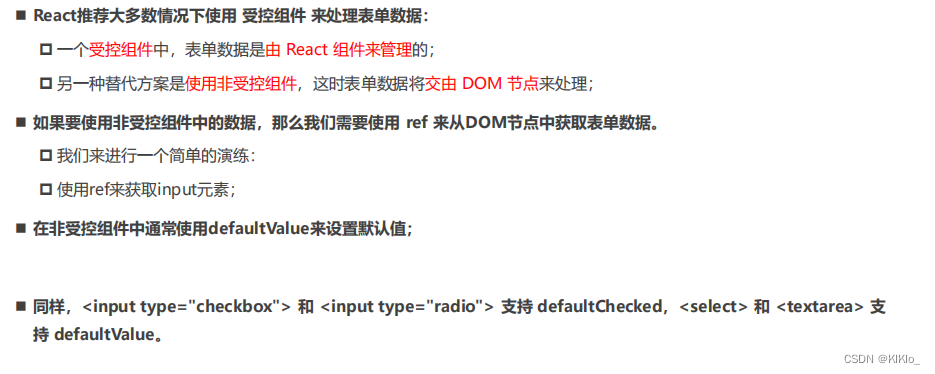
import React, { PureComponent, createRef } from "react";export class App extends PureComponent {constructor() {super();this.state = { intro: "kiki" };this.introRef = createRef();}submitChange(e) {// 1.阻止表单的默认事件 表单默认会被刷新e.preventDefault();// 2.在这里修改表单数据console.log(e);console.log(this.introRef.current.value);// 3.发送网络请求}render() {const { intro } = this.state;return (<div><form onSubmit={(e) => this.submitChange(e)}><input type="text" defaultValue={intro} ref={this.introRef}></input><button type="submit">注册</button></form></div>);}
}export default App;
2、高阶组件
2.1 认识高阶组件

import React, { PureComponent } from "react";// 普通类组件
class HelloWorld extends PureComponent {constructor(props) {super(props);}render() {const { name } = this.props;return (<div><span>普通的类组件-{name}</span></div>);}
}// 高阶组件
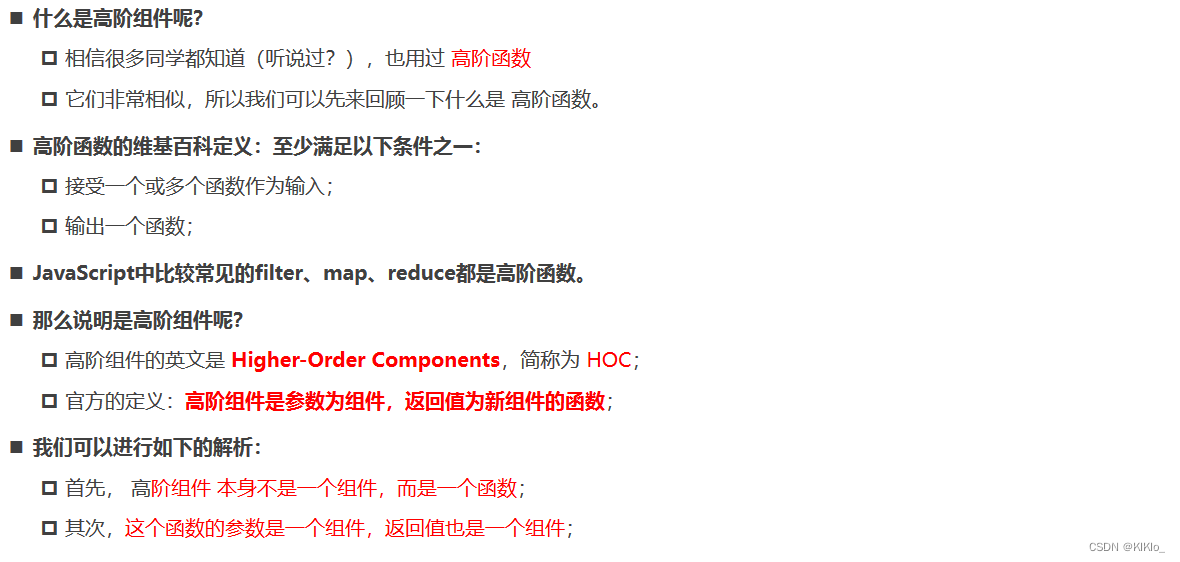
const Hoc = (Comp) => {class NewCpn extends PureComponent {render() {return (<div><h1>我是高阶组件</h1>{/* 高阶组件传递参数给子组件 */}<Comp name="kiki" /></div>);}}return NewCpn;
};// 调用高阶组件
const HelloWorldHOC = Hoc(HelloWorld);class componentName extends PureComponent {render() {return (<div>{/* 对高阶组件的使用 */}<HelloWorldHOC /></div>);}
}export default componentName;
2.2 应用1-props增强的基本使用

- enhanced_props.js
import React, { PureComponent } from "react";const enhancedUserInfo = (OriginComponent) => {class NewComponent extends PureComponent {constructor(props) {super(props);this.state = {userInfo: {name: "kiki",age: "18",},};}render() {// 1.将state.userInfo的内容全部传递给子组件// 2.将OriginComponents 原本的props也给注入return <OriginComponent {...this.props} {...this.state.userInfo} />;}}return NewComponent;
};export default enhancedUserInfo;- about.jsx
import React, { PureComponent } from 'react'
import enhancedUserInfo from '../hoc/enhanced_props'export class About extends PureComponent {render() {return (<div>About: {this.props.name}</div>)}
}export default enhancedUserInfo(About)- App.jsx
import React, { PureComponent } from "react";
import enhancedUserInfo from "./hoc/enhanced_props";
import About from "./pages/About";const Home = enhancedUserInfo((props) => {// 通过enhancedUserInfo 将它本身的state传递给该函数组件return (<h1>{props.name}-{props.age}</h1>);
});const HelloWord = enhancedUserInfo((props) => {return (<h1>{/* 调用组件的时候传递的参数也可以拿到 */}{props.name}-{props.age}-{props.banner}</h1>);
});export class App extends PureComponent {render() {return (<div><Home />{/* 给高阶函数传递props */}<HelloWord banner="['a','b']" />{/* 调用已经注入enhancedUserInfo的组件 */}<About /></div>);}
}export default App;
2.3 对象增强的应用场景-context共享
-
使用高阶组件来跨组件传参

-
theme_context.js (创建context)
import { createContext } from "react";const themeContext = createContext();export default themeContext;- with_theme.js(props增强
import ThemeContext from "../context/theme_context";const withTheme = (OriginComp) => {return (props) => {return (// 将共享context传递给子组件 把传递给高阶函数的props也传递给子组件<ThemeContext.Consumer>{(value) => {return <OriginComp {...value} {...props} />;}}</ThemeContext.Consumer>);};
};export default withTheme;- procuct组件
import React, { PureComponent } from "react";
import ThemeContext from "../context/theme_context";
import withTheme from "../hoc/with_theme";// export class Product extends PureComponent {
//   render() {
//     return (
//       <div>
//         Product:
//         <ThemeContext.Consumer>
//           {
//             value => {
//               return <h2>theme:{value.color}-{value.size}</h2>
//             }
//           }
//         </ThemeContext.Consumer>
//       </div>
//     )
//   }
// }// export default Productexport class Product extends PureComponent {render() {const { color, size, name } = this.props;return (<div><h2>context注入的参数: {color}-{size}</h2><div>传递给product的参数:{name}</div></div>);}
}// 将context的参数注入给product
export default withTheme(Product);- App.jsx
import React, { PureComponent } from "react";
import ThemeContext from "./context/theme_context";
import Product from "./pages/Product";export class App extends PureComponent {render() {return (<div><ThemeContext.Provider value={{ color: "red", size: 30 }}><Product name="kiki" /></ThemeContext.Provider></div>);}
}export default App;
2.4 应用2-鉴权
- login_auth
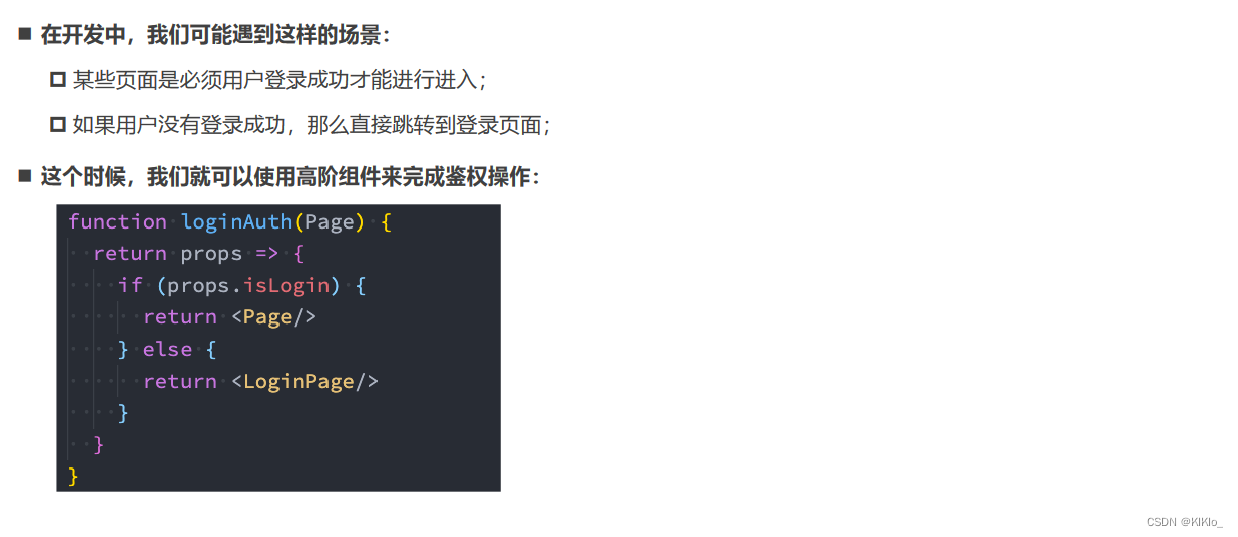
const loginAuth = (OriginComp) => {return (props) => {const token = localStorage.getItem("token");return token ? <OriginComp {...props} /> : "请先登录";};
};export default loginAuth;- card.jsx
import React, { PureComponent } from 'react'
import loginAuth from '../hoc/login_auth'export class Cart extends PureComponent {render() {return (<h2>Cart Page</h2>)}
}export default loginAuth(Cart)
- app.jsx
import React, { PureComponent } from "react";
import Cart from "./pages/Cart";export class App extends PureComponent {handleClick() {localStorage.setItem("token", "kiki");// 修改本地缓存并不会发生界面刷新 所以需要强制刷新// 强制刷新在一般情况下部推荐 so 请使用 statethis.forceUpdate();}render() {return (<div><button onClick={(e) => this.handleClick()}>点击登录</button><Cart /></div>);}
}export default App;
2.5 应用3 – 生命周期劫持
- log_render_time
import { PureComponent } from "react";function logRenderTime(OriginComponent) {return class extends PureComponent {UNSAFE_componentWillMount() {this.beginTime = new Date().getTime()}componentDidMount() {this.endTime = new Date().getTime()const interval = this.endTime - this.beginTimeconsole.log(`当前${OriginComponent.name}页面花费了${interval}ms渲染完成!`)}render() {return <OriginComponent {...this.props}/>}}
}export default logRenderTime- detail.jsx
import React, { PureComponent } from 'react'
import logRenderTime from '../hoc/log_render_time'export class Detail extends PureComponent {// UNSAFE_componentWillMount() {//   this.beginTime = new Date().getTime()// }// componentDidMount() {//   this.endTime = new Date().getTime()//   const interval = this.endTime - this.beginTime//   console.log(`当前页面花费了${interval}ms渲染完成!`)// }render() {return (<div><h2>Detail Page</h2><ul><li>数据列表1</li><li>数据列表2</li><li>数据列表3</li><li>数据列表4</li><li>数据列表5</li><li>数据列表6</li><li>数据列表7</li><li>数据列表8</li><li>数据列表9</li><li>数据列表10</li></ul></div>)}
}export default logRenderTime(Detail)
- App.jsx
import React, { PureComponent } from 'react'
import Detail from './pages/Detail'export class App extends PureComponent {render() {return (<div><Detail/></div>)}
}export default App
2.6、高阶组件的意义

3、Portals
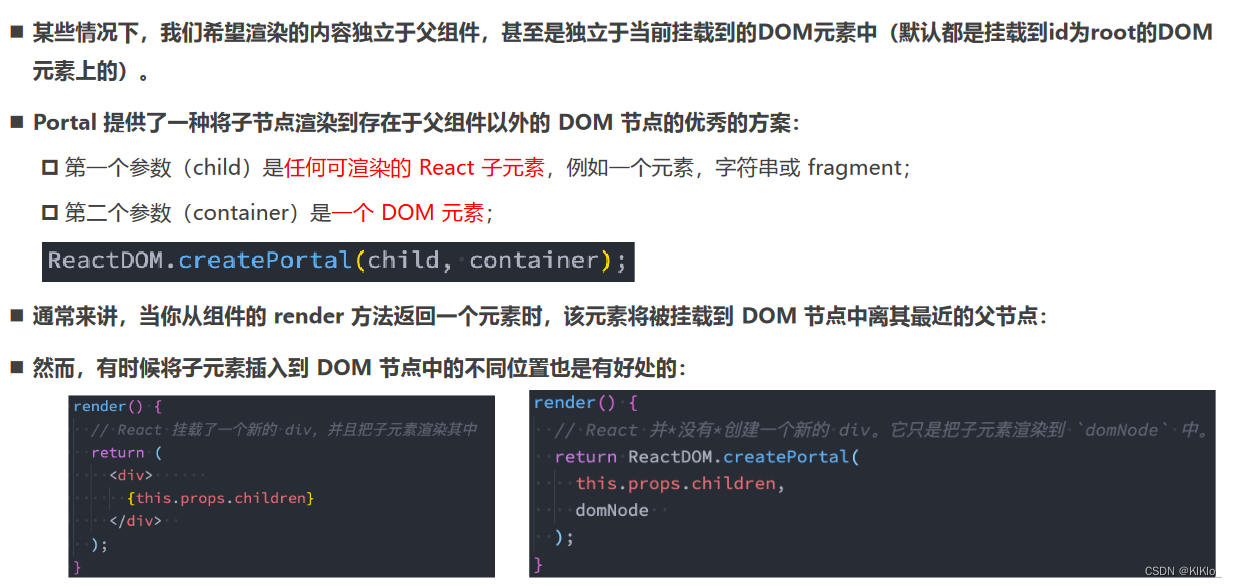
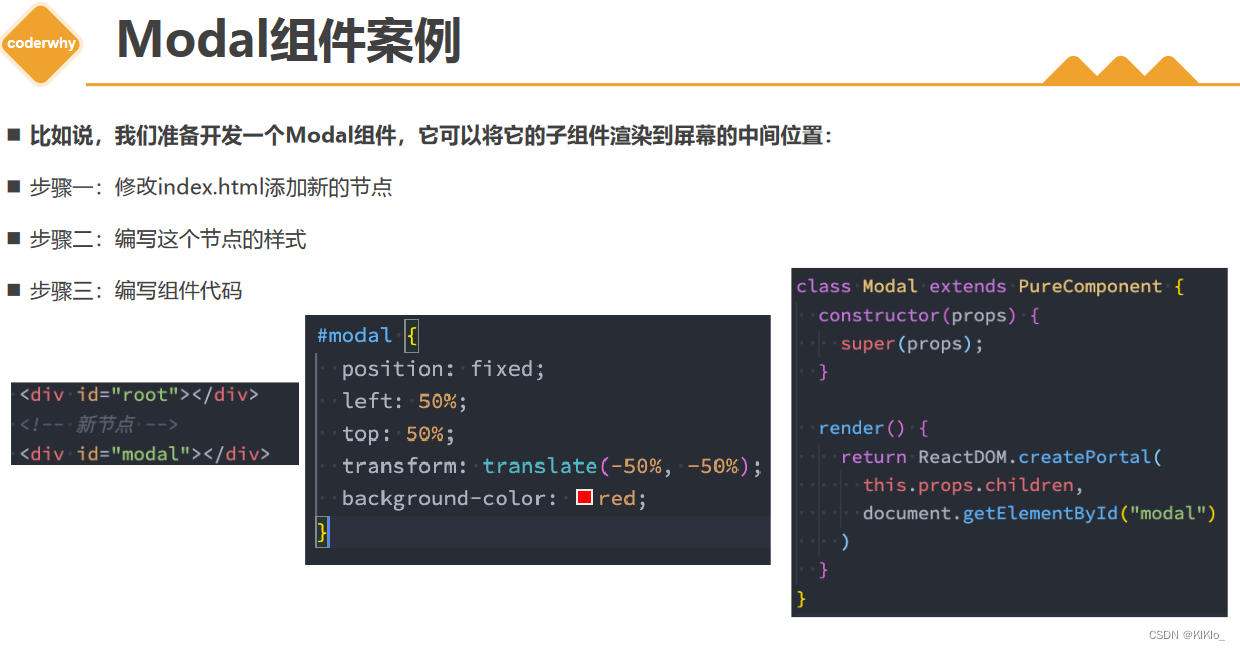
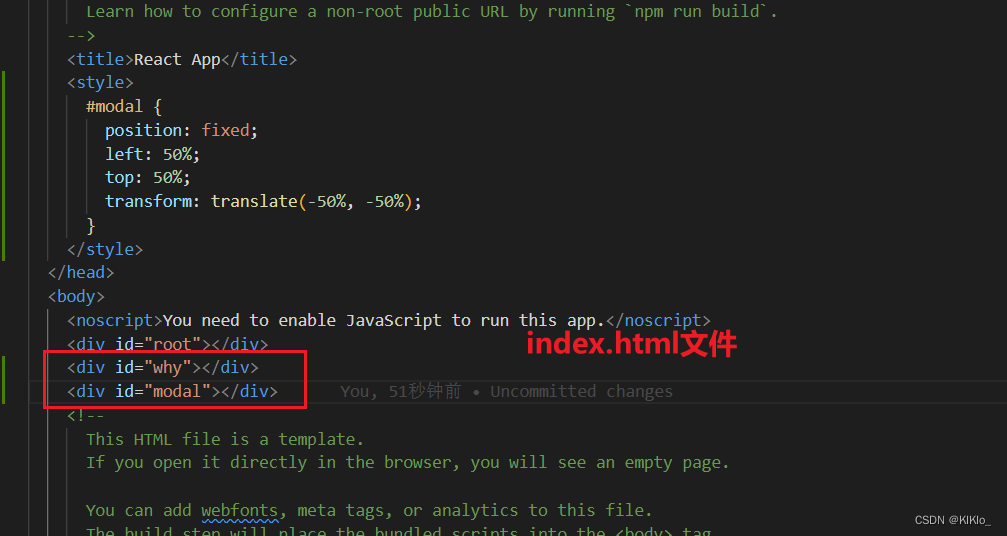
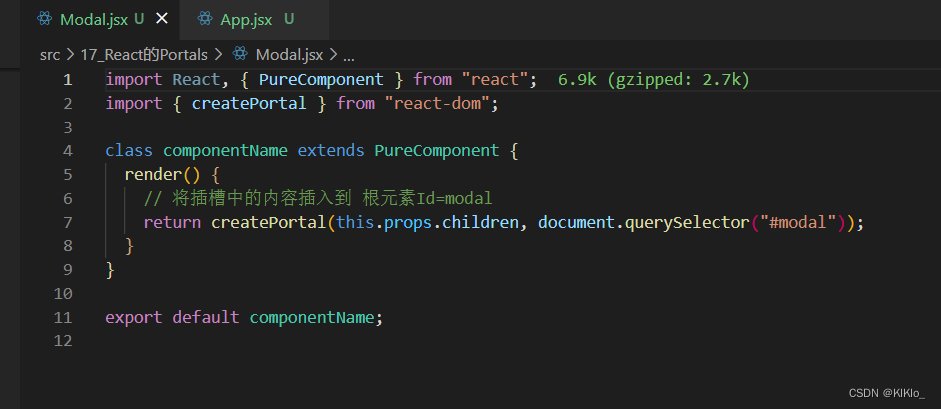
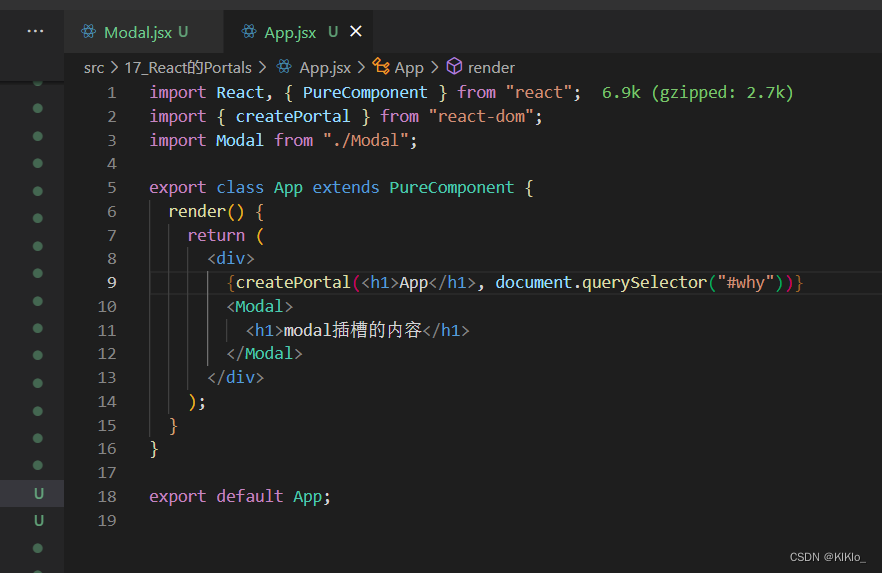
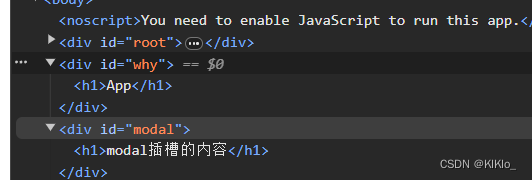
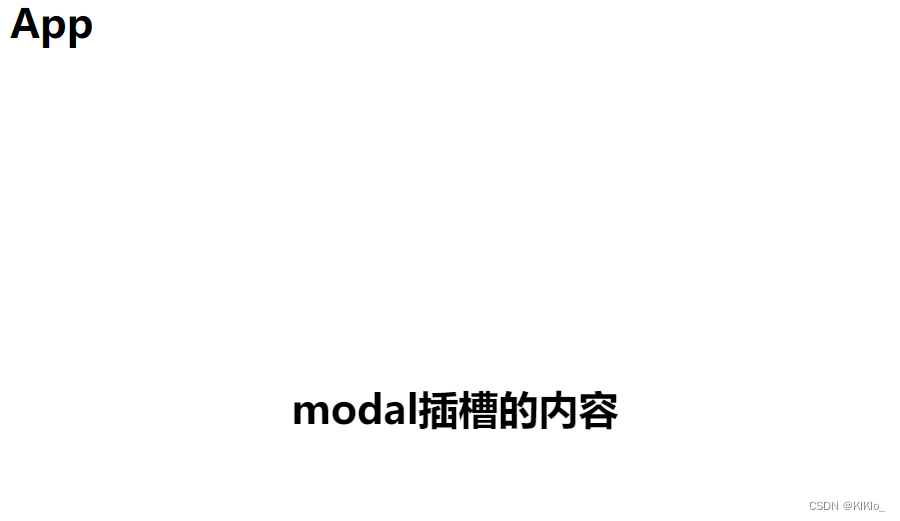
4、fragment
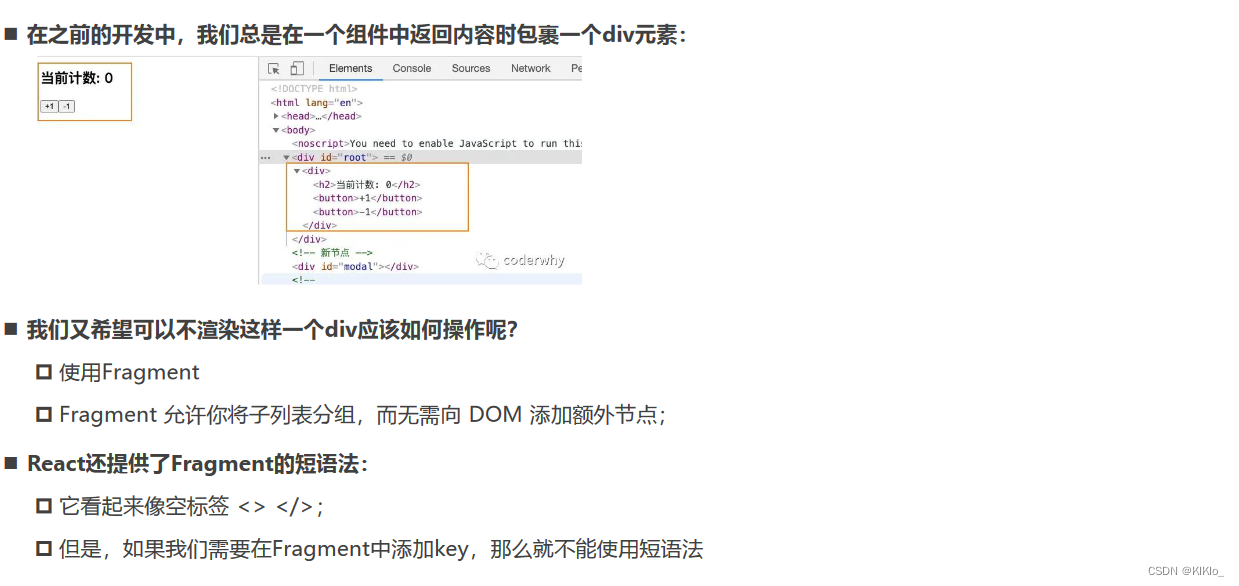
import React, { PureComponent, Fragment } from 'react'export class App extends PureComponent {constructor() {super() this.state = {sections: [{ title: "哈哈哈", content: "我是内容, 哈哈哈" },{ title: "呵呵呵", content: "我是内容, 呵呵呵" },{ title: "嘿嘿嘿", content: "我是内容, 嘿嘿嘿" },{ title: "嘻嘻嘻", content: "我是内容, 嘻嘻嘻" },]}}render() {const { sections } = this.statereturn (<><h2>我是App的标题</h2><p>我是App的内容, 哈哈哈哈</p><hr />{sections.map(item => {return (<Fragment key={item.title}><h2>{item.title}</h2><p>{item.content}</p></Fragment>)})}</>)}
}export default App
5、StrictMode
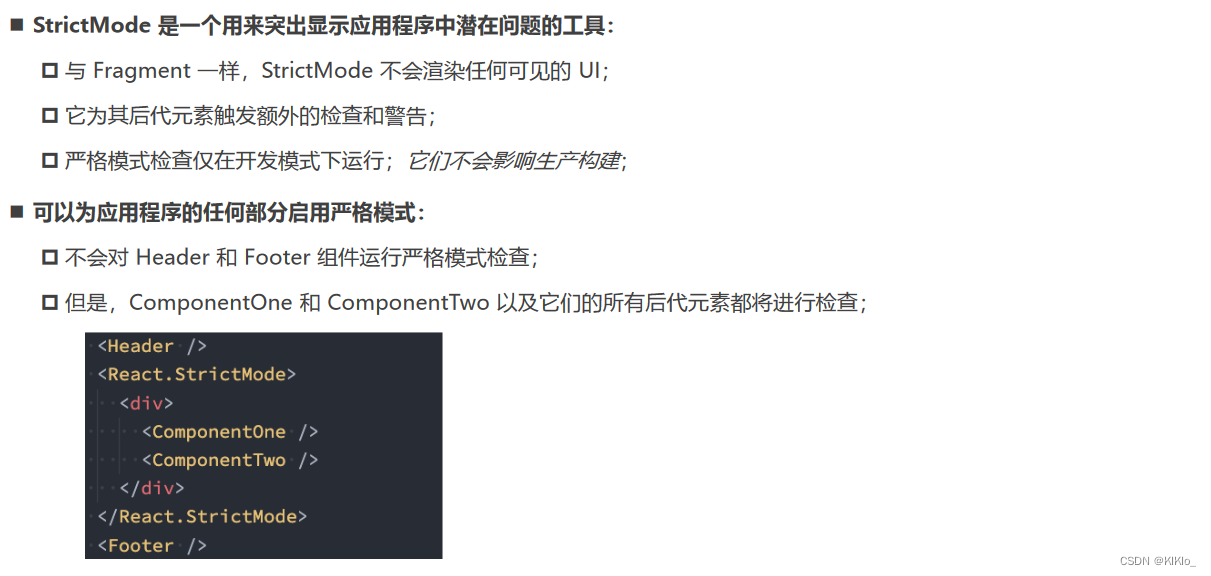
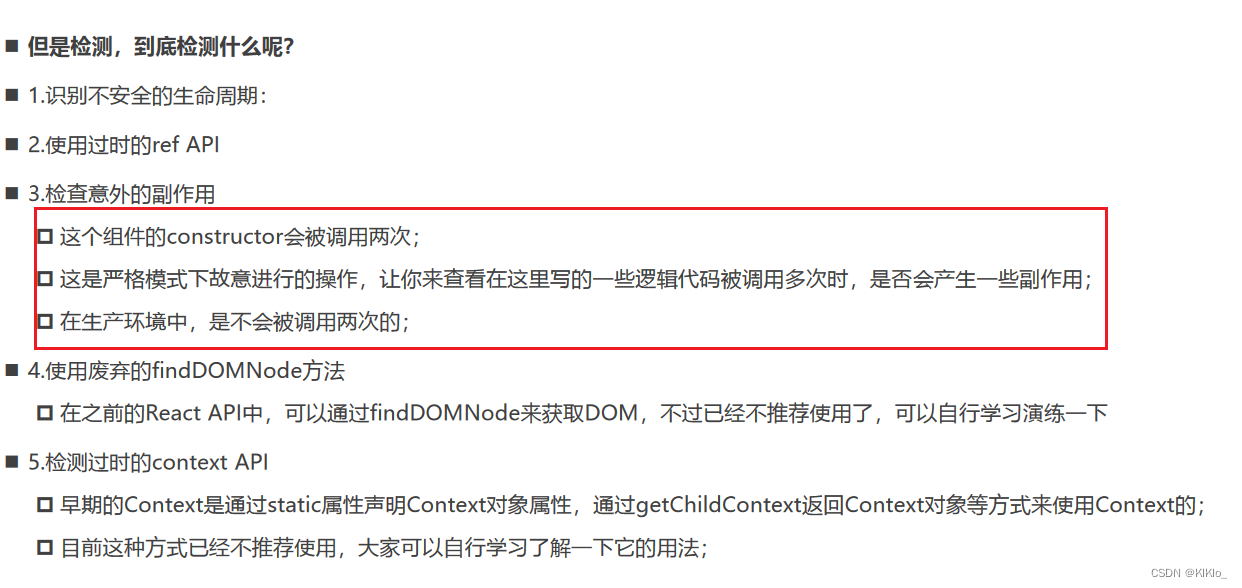
6、React过渡动画实现
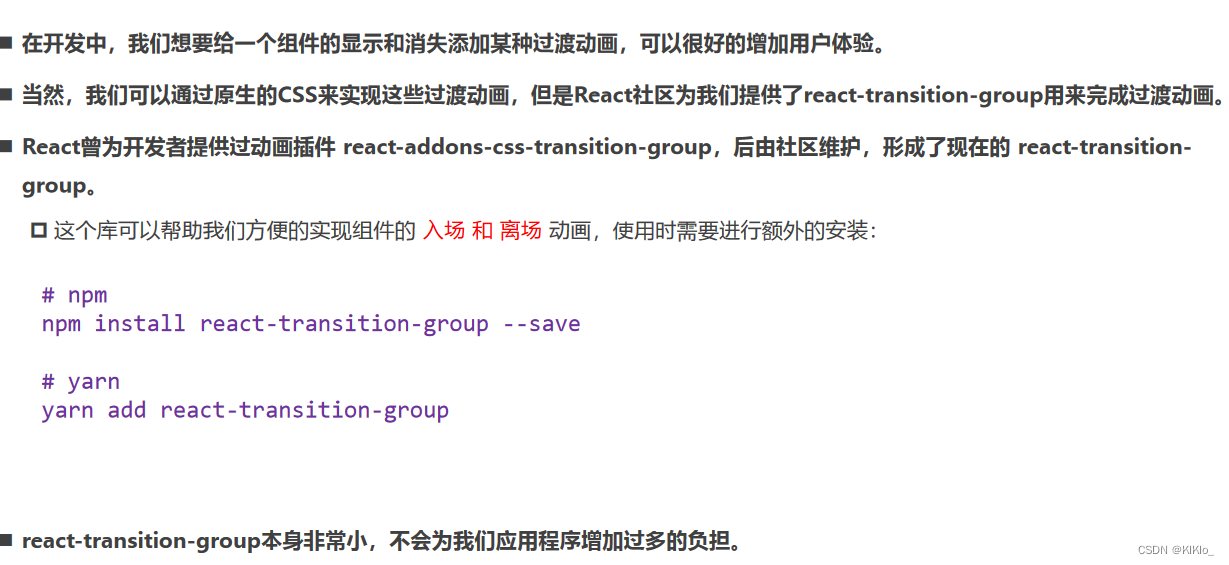
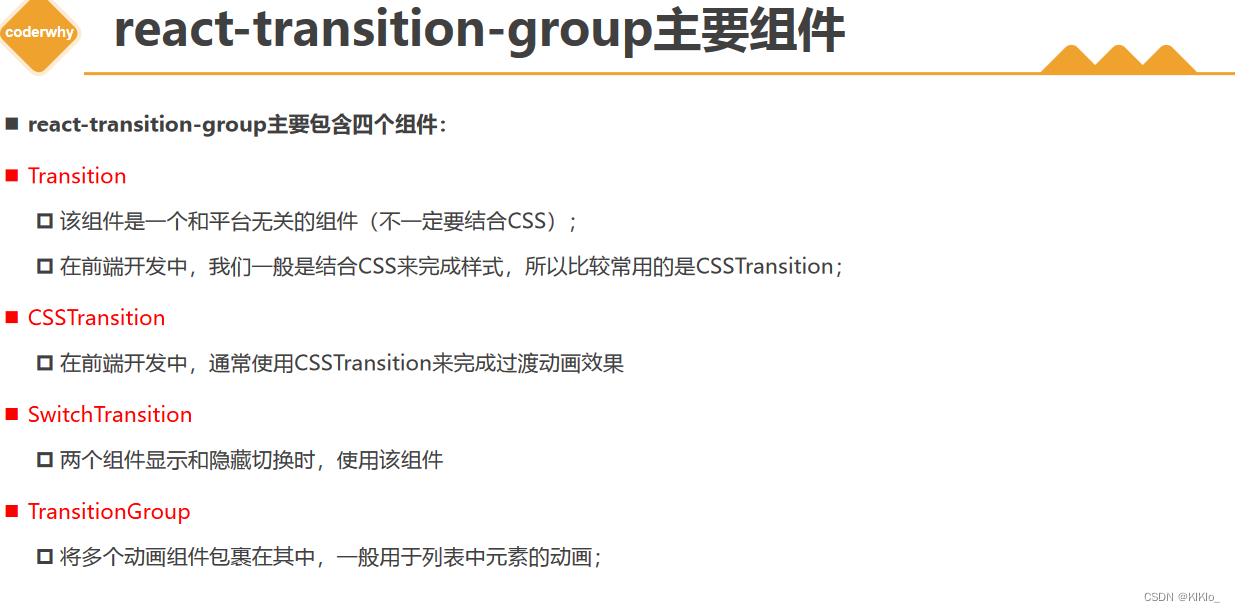
6.1 CSSTransition
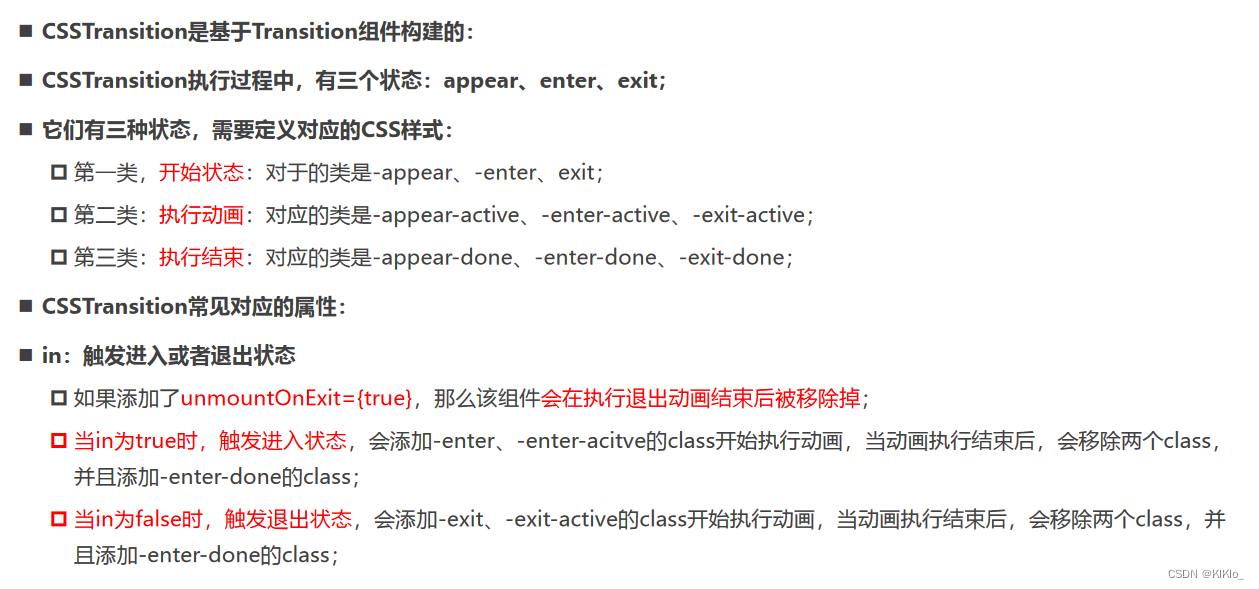
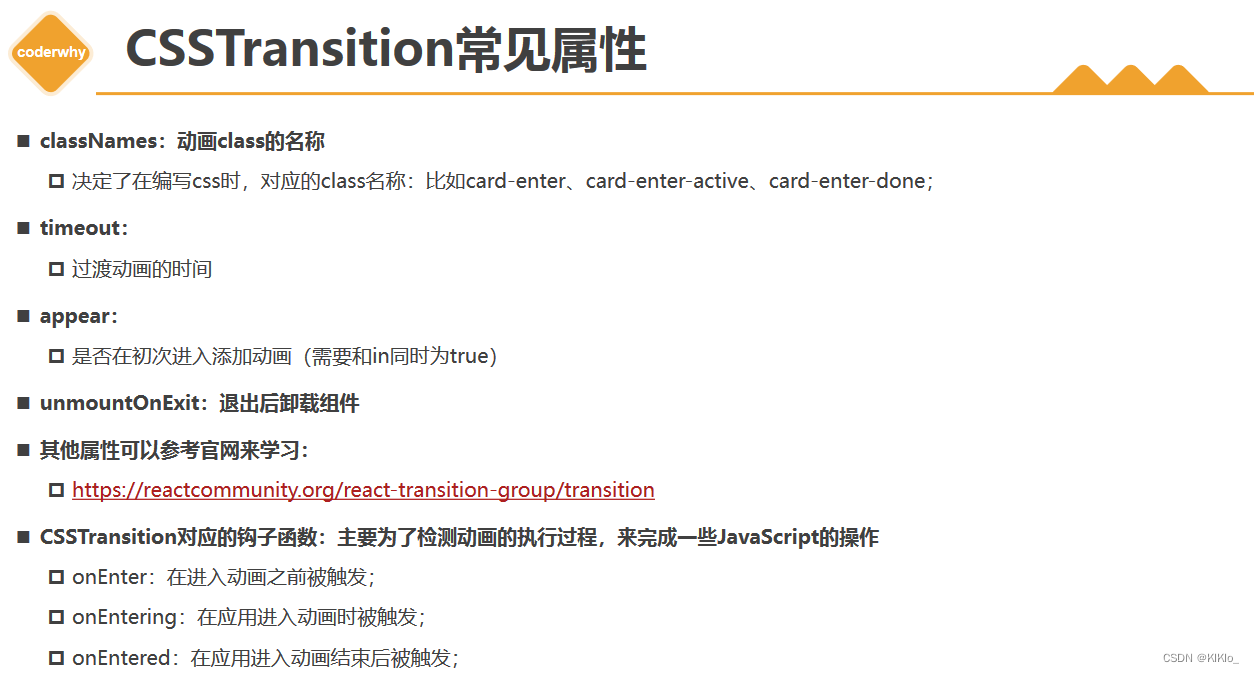
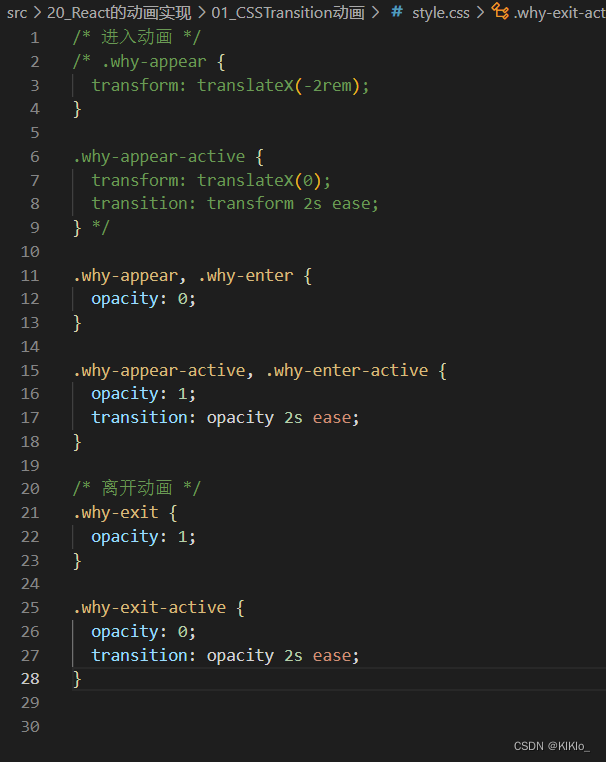
npm install react-transition-group --save
import React, { createRef, PureComponent } from "react";
import { CSSTransition } from "react-transition-group";
import "./style.css";export class App extends PureComponent {constructor(props) {super(props);this.state = {isShow: true,};// 在严格模式下会报错 所以需要绑定refthis.sectionRef = createRef();}render() {const { isShow } = this.state;return (<div><button onClick={(e) => this.setState({ isShow: !isShow })}>切换</button>{/* { isShow && <h2>哈哈哈</h2> } */}{/* timeout是必须要设置的,他是控制类的移出事件 动画时间还是由CSS控制 */}{/* unmountOnExit:用来决定是否移除组件 */}{/* appear:刚挂载的时候是否有动画 */}<CSSTransitionnodeRef={this.sectionRef}in={isShow}unmountOnExit={true}classNames="why"timeout={2000}appearonEnter={(e) => console.log("开始进入动画")}onEntering={(e) => console.log("执行进入动画")}onEntered={(e) => console.log("执行进入结束")}onExit={(e) => console.log("开始离开动画")}onExiting={(e) => console.log("执行离开动画")}onExited={(e) => console.log("执行离开结束")}><div className="section" ref={this.sectionRef}><h2>哈哈哈</h2><p>我是内容, 哈哈哈</p></div></CSSTransition></div>);}
}export default App;
6.2 SwitchTransition
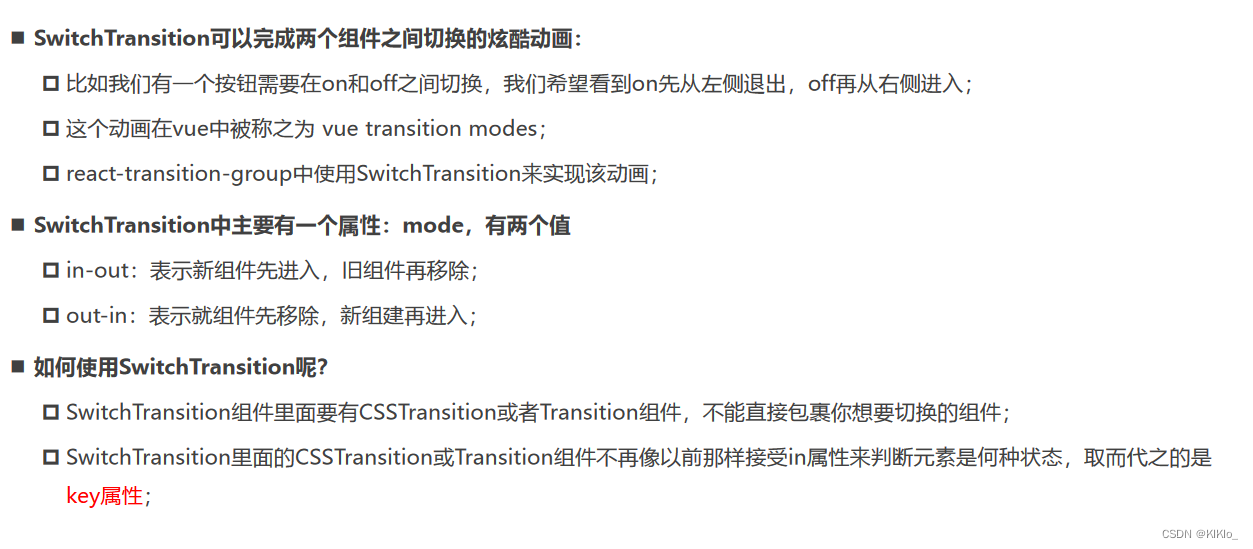
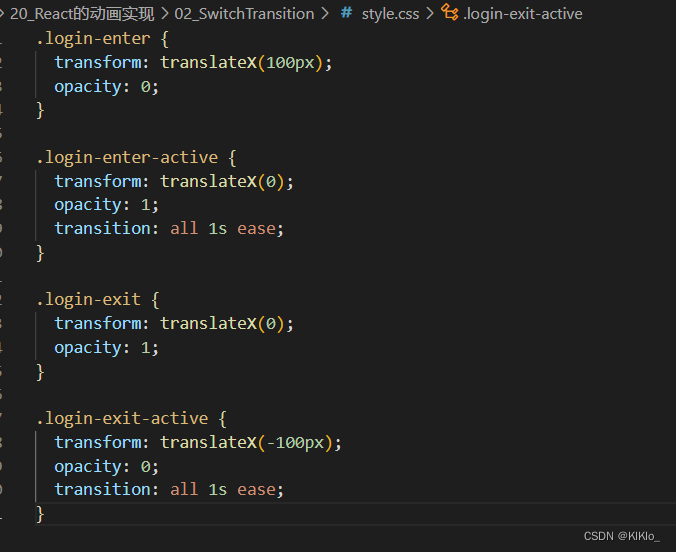
- App.jsx
import React, { PureComponent } from "react";
import { SwitchTransition, CSSTransition } from "react-transition-group";
import "./style.css";export class App extends PureComponent {constructor() {super();this.state = {isLogin: true,};}render() {const { isLogin } = this.state;return (<div><SwitchTransition mode="out-in"><CSSTransition// 在切换组件的时候用的是key 显示和隐藏key={isLogin ? "exit" : "login"}classNames="login"timeout={1000}><button onClick={(e) => this.setState({ isLogin: !isLogin })}>{isLogin ? "退出" : "登录"}</button></CSSTransition></SwitchTransition></div>);}
}export default App;
6.3 TransitionGroup
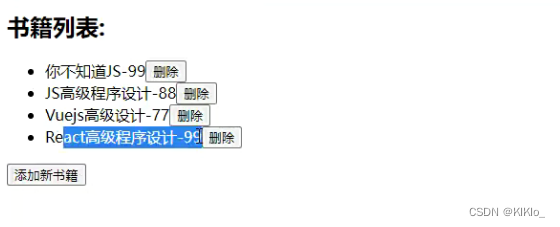
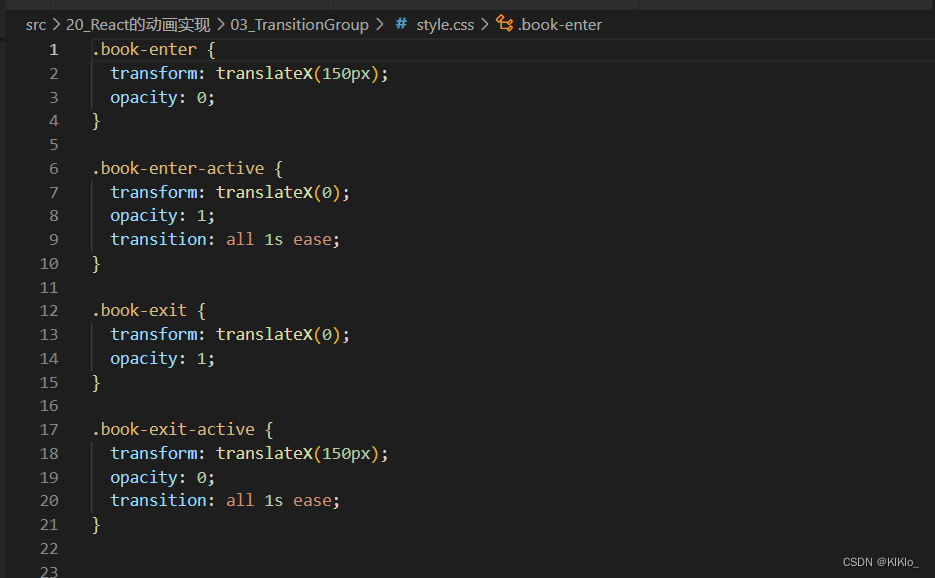
import React, { PureComponent } from "react";
import { TransitionGroup, CSSTransition } from "react-transition-group";
import "./style.css";export class App extends PureComponent {constructor() {super();this.state = {books: [{ id: 111, name: "你不知道JS", price: 99 },{ id: 222, name: "JS高级程序设计", price: 88 },{ id: 333, name: "Vuejs高级设计", price: 77 },],};}addNewBook() {const books = [...this.state.books];books.push({id: new Date().getTime(),name: "React高级程序设计",price: 99,});this.setState({ books });}removeBook(index) {const books = [...this.state.books];books.splice(index, 1);this.setState({ books });}render() {const { books } = this.state;return (<div><h2>书籍列表:</h2><TransitionGroup component="ul">{books.map((item, index) => {return (// 这里不用index作为key是因为在删除的时候Index是动态变化的会发生错乱<CSSTransition key={item.id} classNames="book" timeout={1000}><li><span>{item.name}-{item.price}</span><button onClick={(e) => this.removeBook(index)}>删除</button></li></CSSTransition>);})}</TransitionGroup><button onClick={(e) => this.addNewBook()}>添加新书籍</button></div>);}
}export default App;
)


)
-数据库备份与恢复策略)


 #学习方法#微信#微信)