通常我们因为安装docker出现许多错误,使用解压版安装方便快捷,并且增加加速器的配置,以及可视化界面的配置,让我们的成长更近了一步
1. 虚拟机网络配置
虚拟机使用nat模式,配置ens33如下:
TYPE=Ethernet
PROXY_METHOD=none
BROWSER_ONLY=no
BOOTPROTO=static
IPADDR="192.168.30.30"        # 设置的静态IP地址
NETMASK="255.255.255.0"         # 子网掩码
GATEWAY="192.168.30.2"         # 网关地址
DNS1="192.168.30.2"            # DNS服务器
DEFROUTE=yes
IPV4_FAILURE_FATAL=no
IPV6INIT=yes
IPV6_AUTOCONF=yes
IPV6_DEFROUTE=yes
IPV6_FAILURE_FATAL=no
IPV6_ADDR_GEN_MODE=stable-privacy
UUID=9396fbde-1f43-4a53-9f73-26ec0588eb77
NAME=ens33
DEVICE=ens33
ONBOOT=yes
ZONE=public
2. docker安装
参考资料:
全网最新最全最详细 linux安装docker方式 - 知乎
docker国内镜像库地址 docker镜像仓库地址_mob6454cc74c0fc的技术博客_51CTO博客
国内加速地址
Docker中国区官方镜像 https://registry.docker-cn.com
网易 http://hub-mirror.c.163.com
ustc https://docker.mirrors.ustc.edu.cn
中国科技大学 https://docker.mirrors.ustc.edu.cn
阿里云容器 服务 https://cr.console.aliyun.com/
#下载二进制安装包(因为我可以连接互联网,不能连接互联网的可以在自己电脑下载好在上传)
[root@localhost ~]# wget https://download.docker.com/linux/static/stable/x86_64/docker-20.10.9.tgz
#解压压缩包
[root@localhost ~]# tar -zxvf docker-20.10.9.tgz
[root@localhost ~]# ls
anaconda-ks.cfg docker docker-20.10.9.tgz
#将解压docker目录下的所有文件移动到/usr/bin下
[root@localhost ~]# mv docker/* /usr/bin
#以systemd的方式管理docker
cat > /usr/lib/systemd/system/docker.service << EOF
[Unit]
Description=Docker Application Container Engine
Documentation=https://docs.docker.com
After=network-online.target firewalld.service
Wants=network-online.target
[Service]
Type=notify
ExecStart=/usr/bin/dockerd
ExecReload=/bin/kill -s HUP $MAINPID
LimitNOFILE=infinity
LimitNPROC=infinity
LimitCORE=infinity
TimeoutStartSec=0
Delegate=yes
KillMode=process
Restart=on-failure
StartLimitBurst=3
StartLimitInterval=60s
[Install]
WantedBy=multi-user.target
EOF
#配置镜像加速器,Docker中国区官方镜像 https://registry.docker-cn.com
sudo mkdir -p /etc/docker
sudo tee /etc/docker/daemon.json <<-'EOF'
{
"registry-mirrors": ["https://registry.docker-cn.com"]
}
EOF
#启动docker并设置开机自启
systemctl daemon-reload
systemctl start docker
systemctl enable docker
#检查docker是否安装成功
[root@localhost ~]# docker run hello-world
Hello from Docker!
This message shows that your installation appears to be working correctly.
To generate this message, Docker took the following steps:
1. The Docker client contacted the Docker daemon.
2. The Docker daemon pulled the "hello-world" image from the Docker Hub.
(amd64)
3. The Docker daemon created a new container from that image which runs the
executable that produces the output you are currently reading.
4. The Docker daemon streamed that output to the Docker client, which sent it
to your terminal.
To try something more ambitious, you can run an Ubuntu container with:
$ docker run -it ubuntu bash
Share images, automate workflows, and more with a free Docker ID:
https://hub.docker.com/
For more examples and ideas, visit:
https://docs.docker.com/get-started/
#直到出现以上才证明安装成功!!
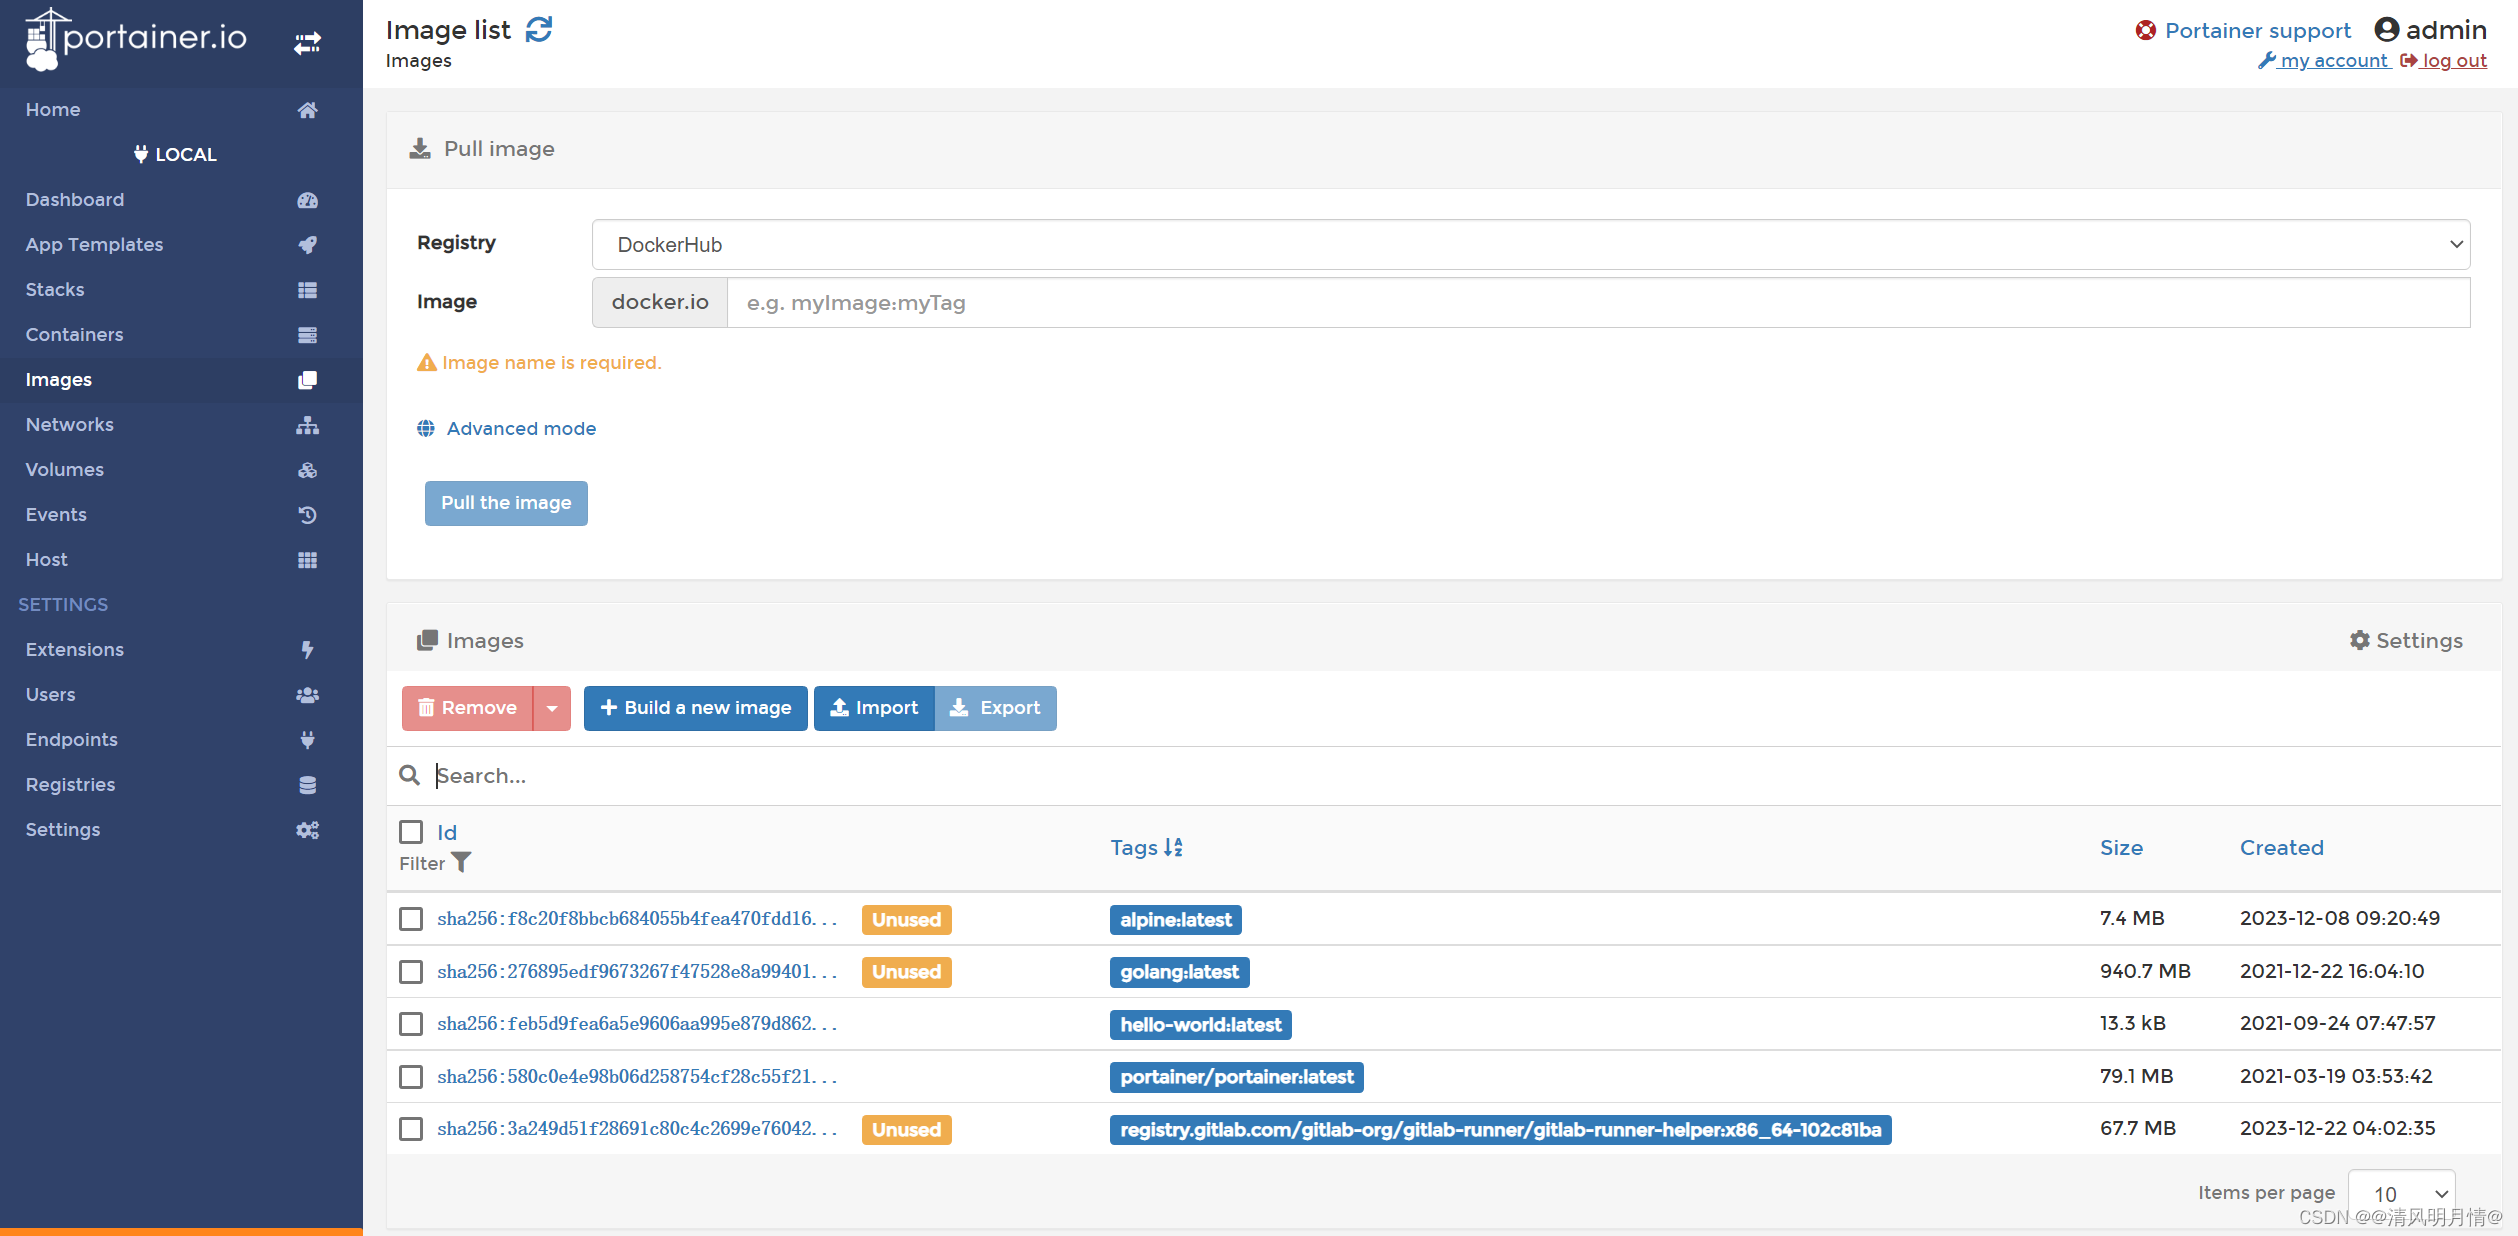
3. portainer 安装
参考资料:
Docker 的可视化界面_docker可视化面板-CSDN博客
docker pull portainer/portainer
docker run -d -p 9000:9000 --name portainer --restart=always --privileged=true -v /var/run/docker.sock:/var/run/docker.sock -v portainer_data:/data portainer/portainer
4. 验证


)

)


)
——代码随想录算法训练营Day03)


