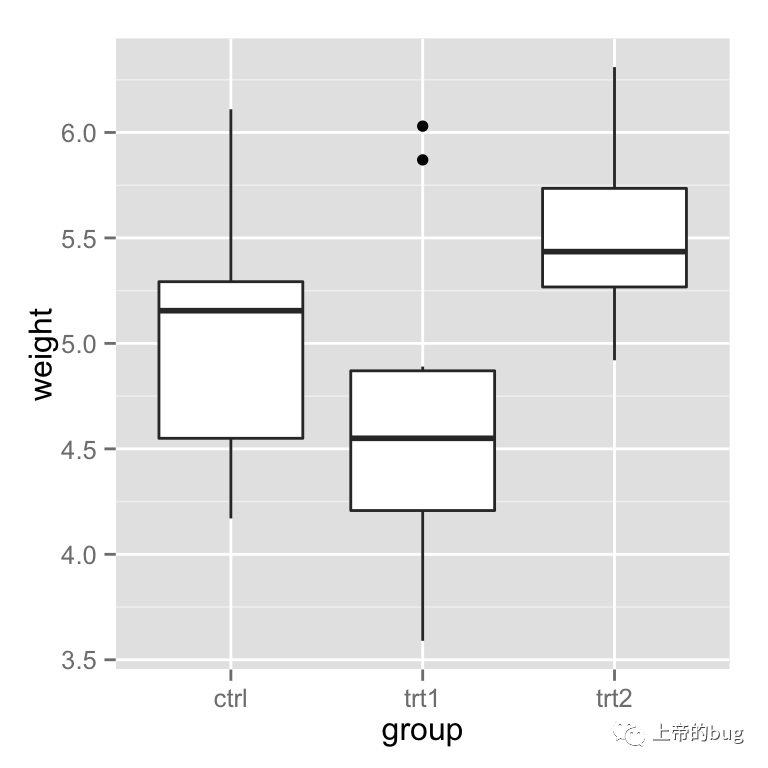
基本箱线图
library(ggplot2)
bp ggplot(PlantGrowth, aes(x=group, y=weight)) +
geom_boxplot()
bp
反转 x轴 与 y轴
bp + coord_flip()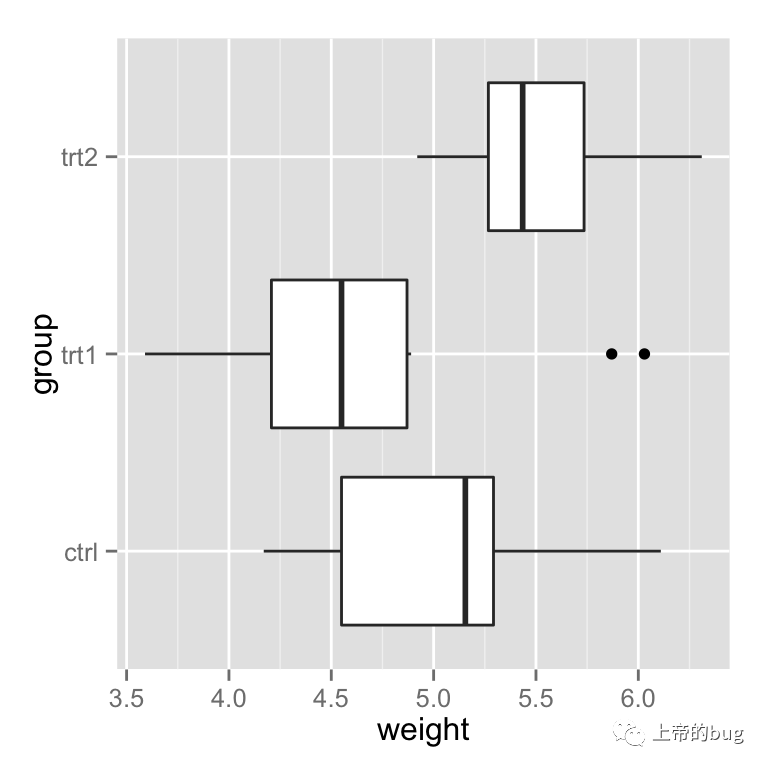
离散型数据的坐标轴
改变坐标轴中各项目的顺序 > 特别注意, 离散数据的坐标轴中数据做为 factor 变量处理,他的位置取决于 level的顺序
# 手动设置x轴的位置
bp + scale_x_discrete(limits=c("trt1","trt2","ctrl"))
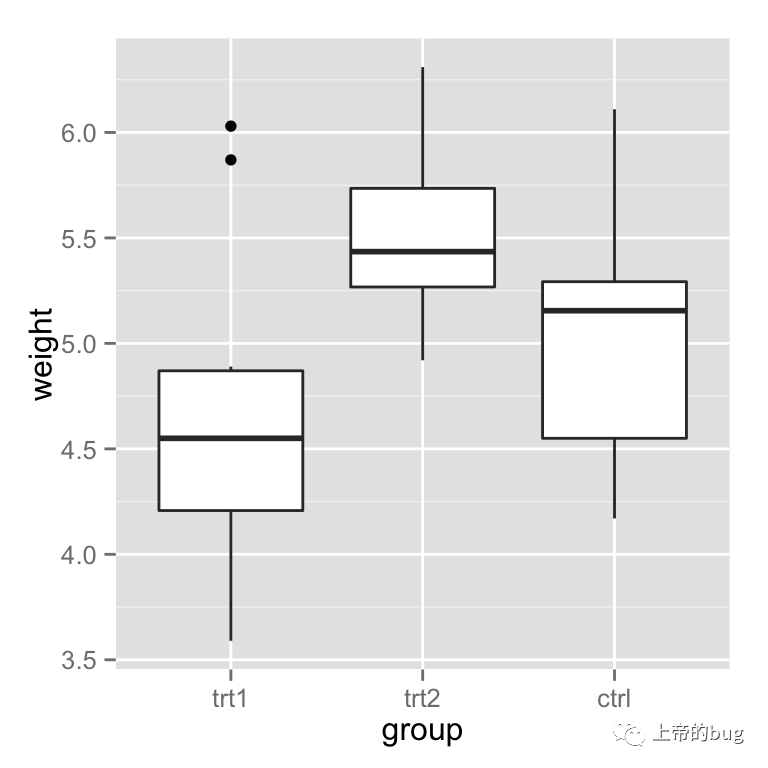
# 逆转顺序
# 得到 factor 变量的 level
flevels levels(PlantGrowth$group)
flevels
## [1] "ctrl" "trt1" "trt2"# 逆转了 level 的顺序
flevels rev(flevels)
flevels
## [1] "trt2" "trt1" "ctrl"bp + scale_x_discrete(limits=flevels)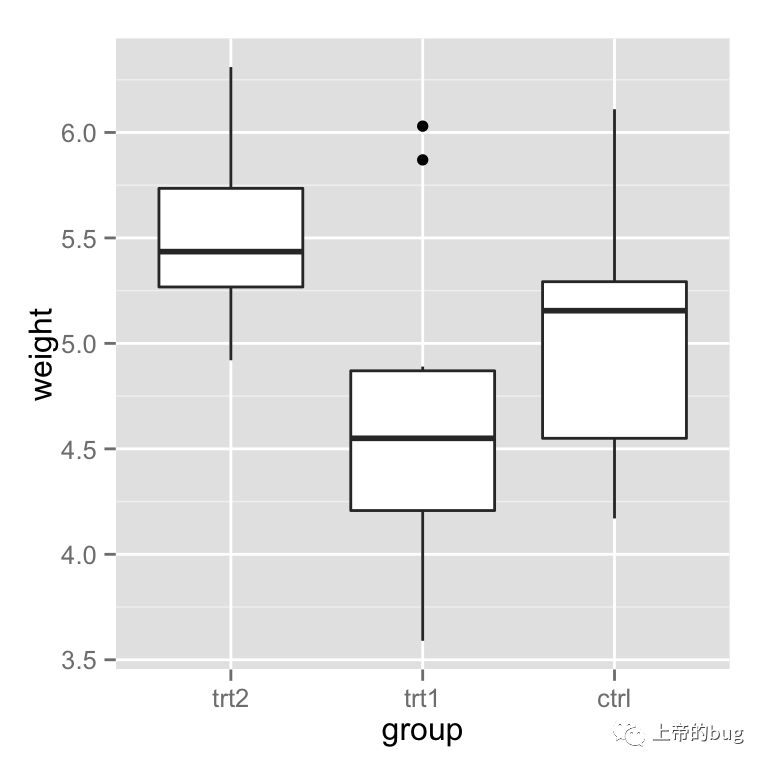
# 或者写到一行里面
bp + scale_x_discrete(limits = rev(levels(PlantGrowth$group)))

scale_x_discrete 可以设置离散型(discrete)数据, 中间的 x 表示处理x轴,如果是 fill 则可以修改填充颜色, color 修改边框颜色, shape 修改形状……
设置坐标轴的标签
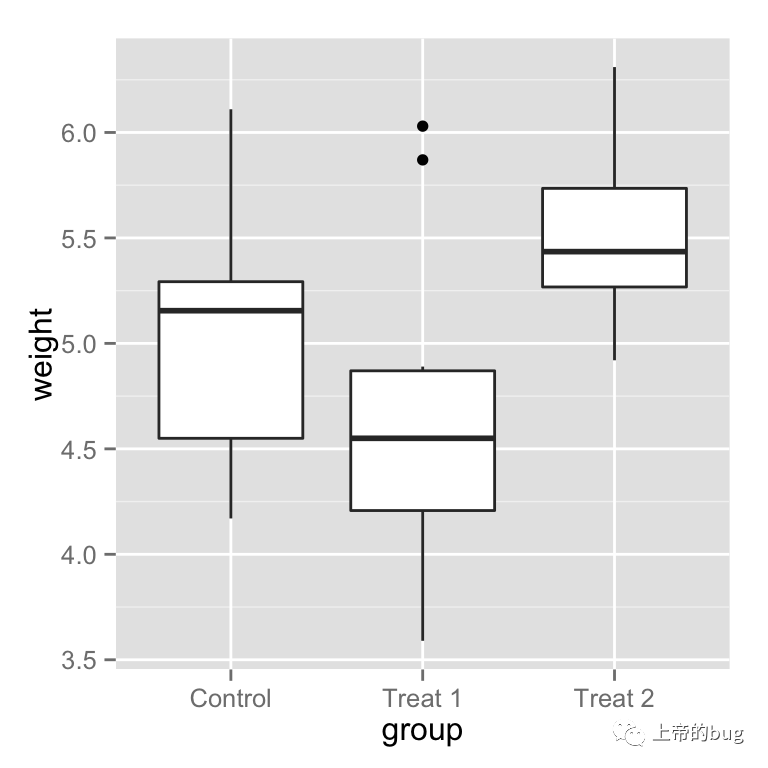
# 将原有的 "ctrl", "trt1", "trt2" 修改为 "Control", "Treat 1", "Treat 2"
bp + scale_x_discrete(breaks=c("ctrl", "trt1", "trt2"),
labels=c("Control", "Treat 1", "Treat 2"))
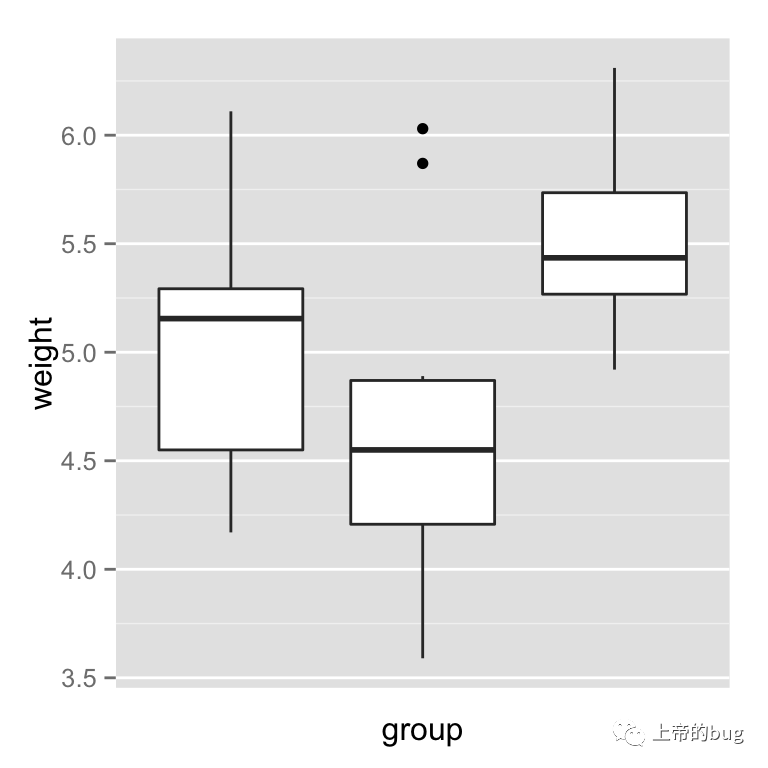
# 隐藏
bp + scale_x_discrete(breaks=NULL)
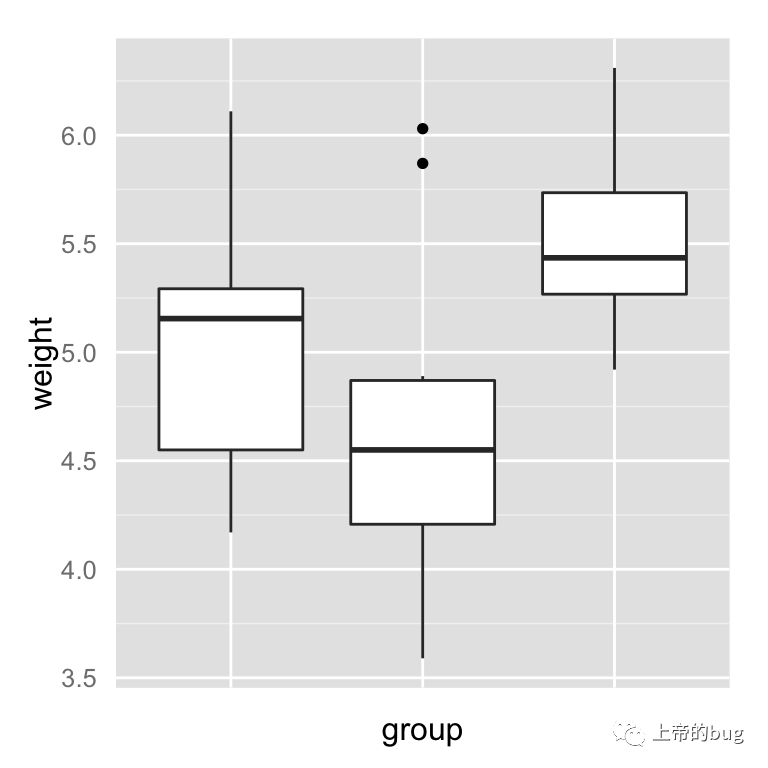
# 也可以这样通过设置 theme 实现
bp + theme(axis.ticks = element_blank(), axis.text.x = element_blank())
连续型数据的坐标轴
设置坐标轴的范围和颠倒
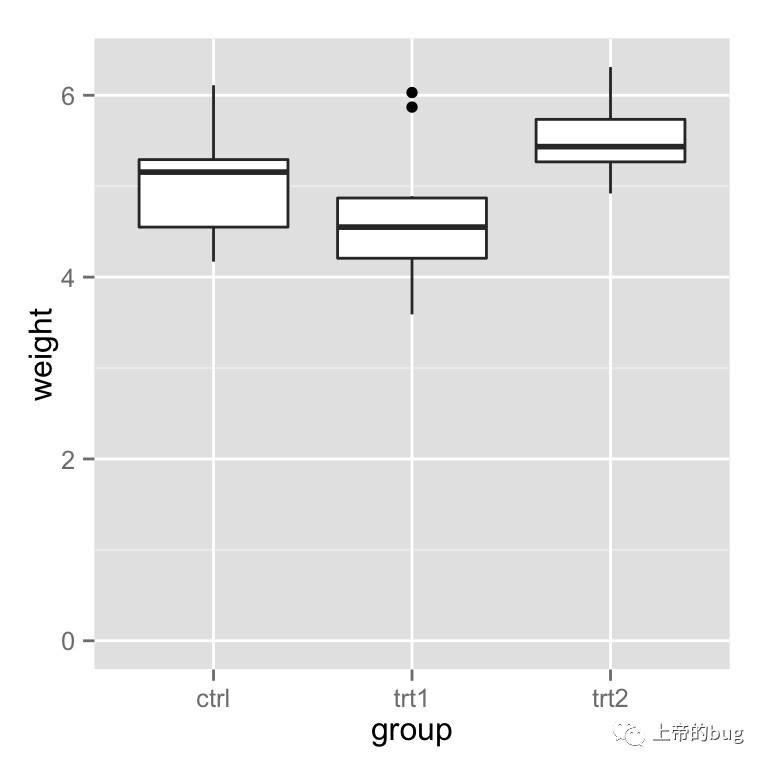
# Make sure to include 0 in the y axis
bp + expand_limits(y=0) # y轴从0开始
# 设置y轴的范围
bp + expand_limits(y=c(0,8))
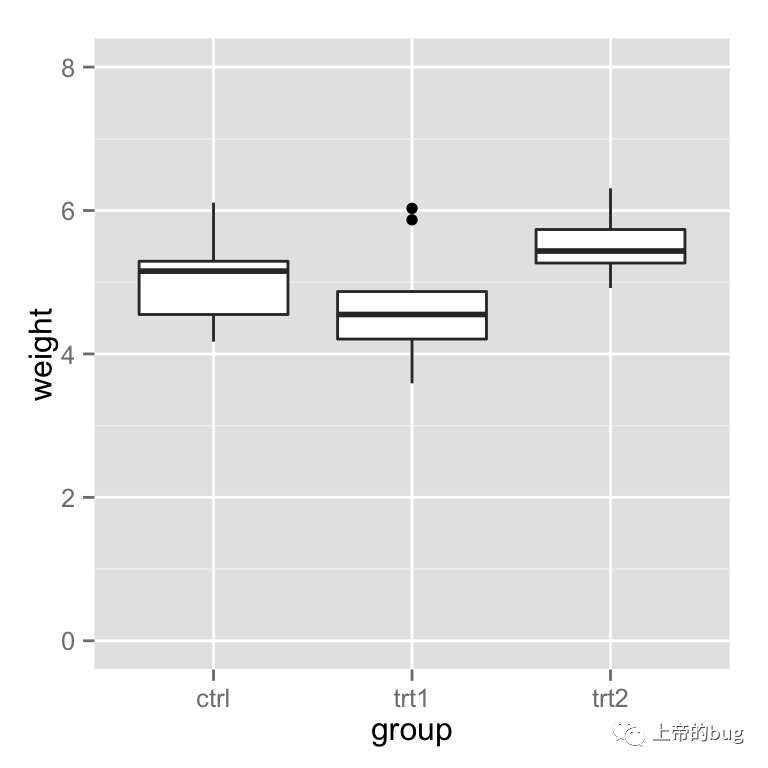
我们可以通过
expand_limits设置坐标轴的范围, 但是如果scale_y_continuous被使用, 那么就会覆盖ylim的设置.
# 设置y轴的范围
bp + ylim(0, 8)

# 同样可以这样
bp + scale_y_continuous(limits=c(0, 8))

# 如果同时设置 scale_y_continuous 和 ylim那么ylim会被覆盖,首先执行scale_y_continuous
bp + scale_y_continuous(limits=c(0, 8))+
ylim(0,10)
## Scale for 'y' is already present. Adding another scale for 'y', which will replace the existing scale.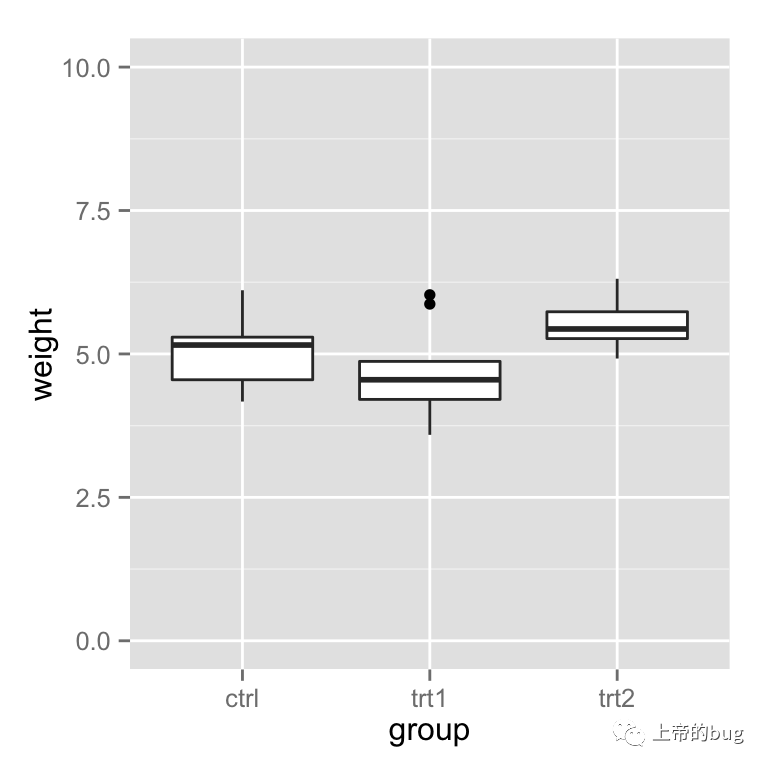
如果 y 的范围使用上面的方法被截取, 那么这个范围以外的数据会被忽略,原始数据中的数据同样会被忽略,比如设置了ylim(5,8),那么小于5和大于8的原始数据同样会被忽略,当然散点图没有问题,但是箱线图会出错.
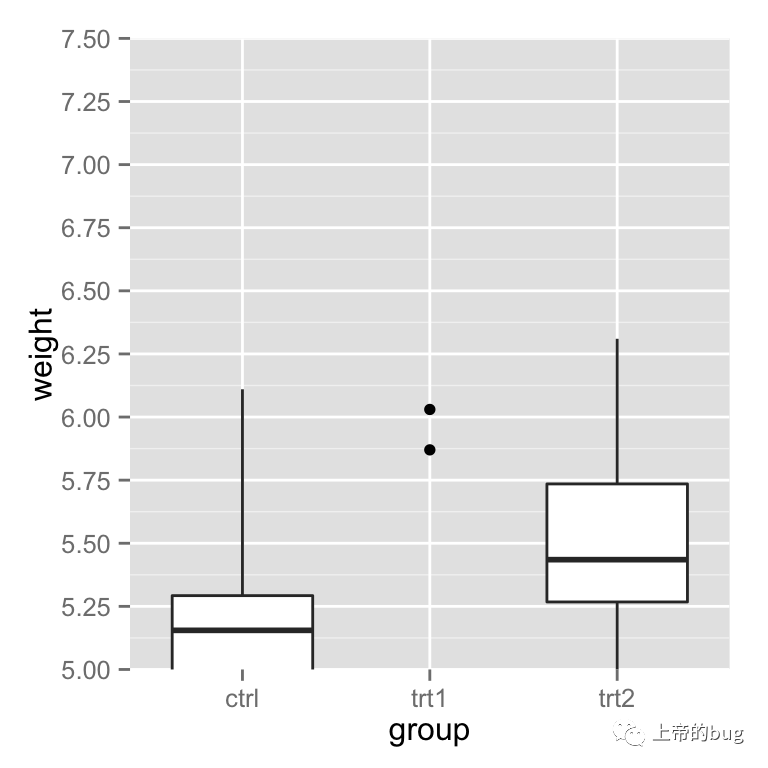
为了避免这个问题可以使用coord_cartesian来设置范围.
可以看下面的例子, 第一个出错了, 第二个使用了coord_cartesian得到了正确的绘图.
# These two do the same thing; all data points outside the graphing range are
# dropped, resulting in a misleading box plot
bp + ylim(5, 7.5)
## Warning: Removed 13 rows containing non-finite values (stat_boxplot).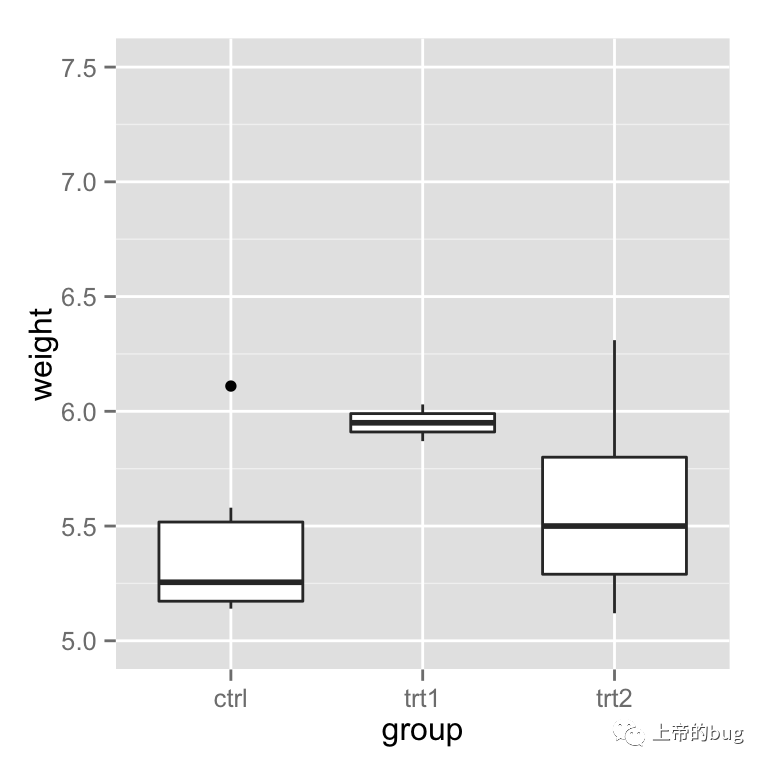
# bp + scale_y_continuous(limits=c(5, 7.5))
# Using coord_cartesian "zooms" into the area
bp + coord_cartesian(ylim=c(5, 7.5))
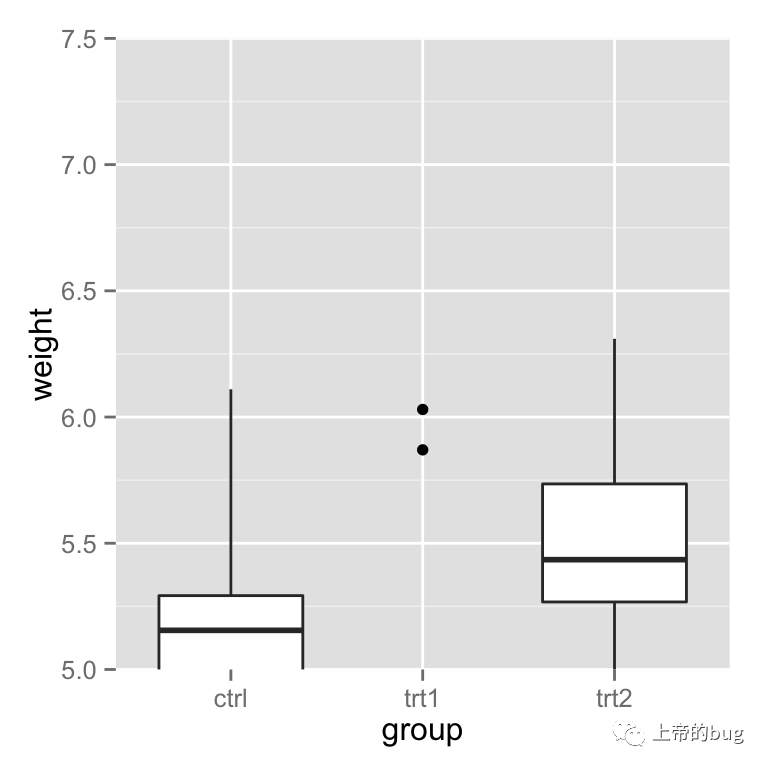
# Specify tick marks directly
bp + coord_cartesian(ylim=c(5, 7.5)) +
scale_y_continuous(breaks=seq(0, 10, 0.25)) # Ticks from 0-10, every .25
 ### 点到坐标轴的方向
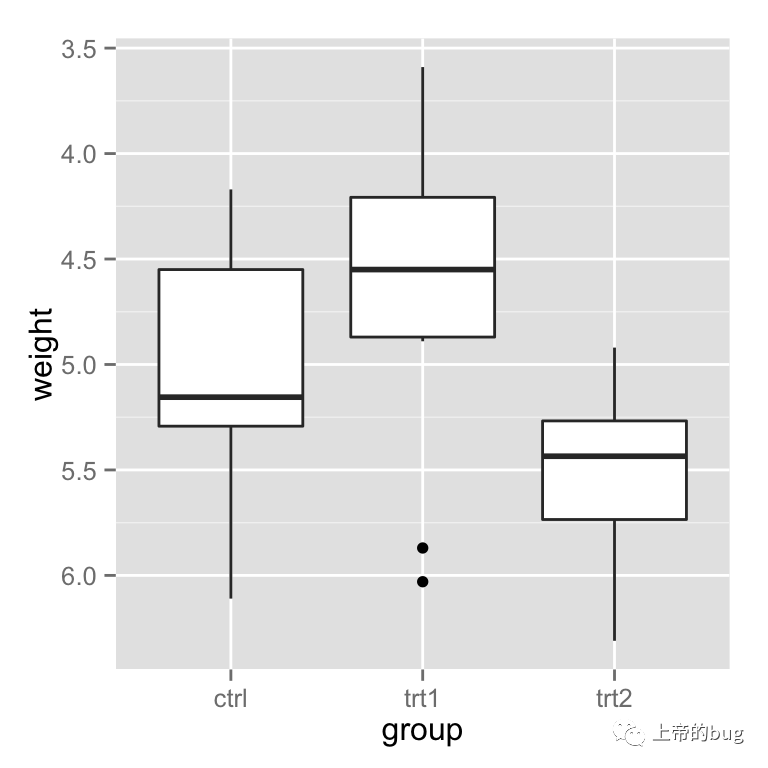
# Reverse order of a continuous-valued axis
bp + scale_y_reverse()
设置和隐藏坐标轴的刻度
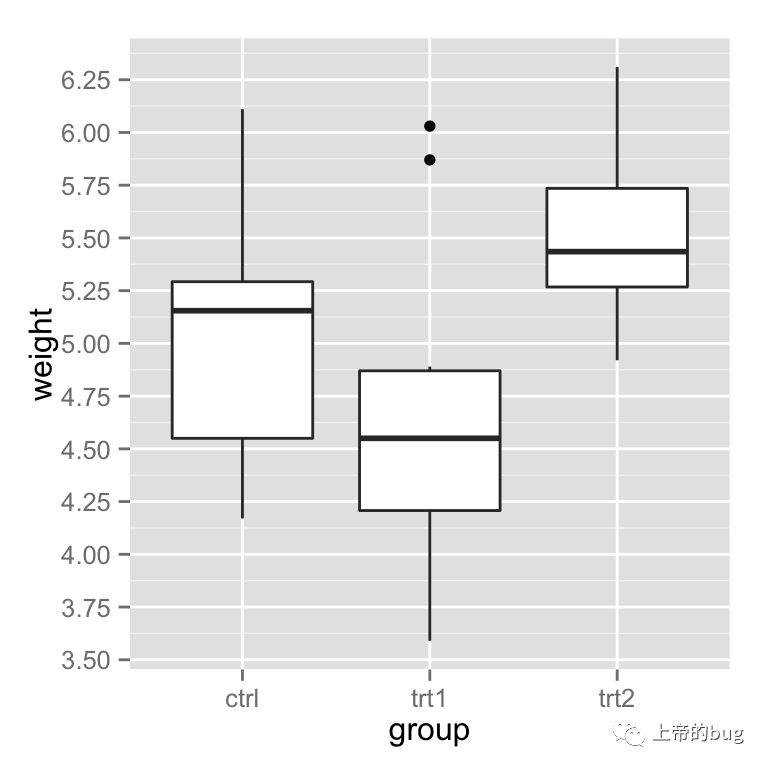
# Setting the tick marks on an axis
# 显示刻度从1到10,间隔为0.25
# The scale will show only the ones that are within range (3.50-6.25 in this case)
bp + scale_y_continuous(breaks=seq(1,10,1/4))
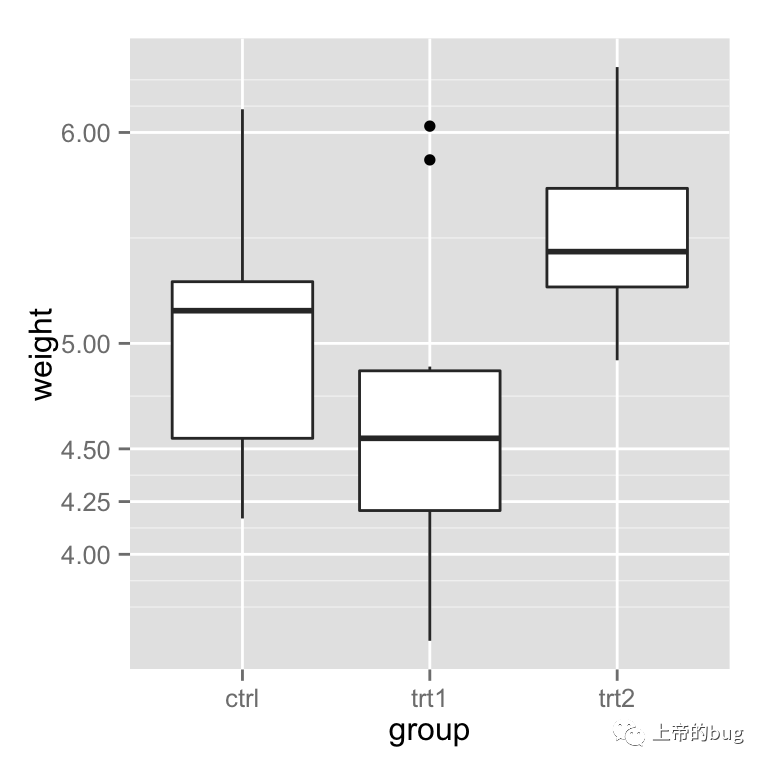
# 未设置刻度的地方会出现空白
bp + scale_y_continuous(breaks=c(4, 4.25, 4.5, 5, 6,8))
# 隐藏刻度
bp + scale_y_continuous(breaks=NULL)
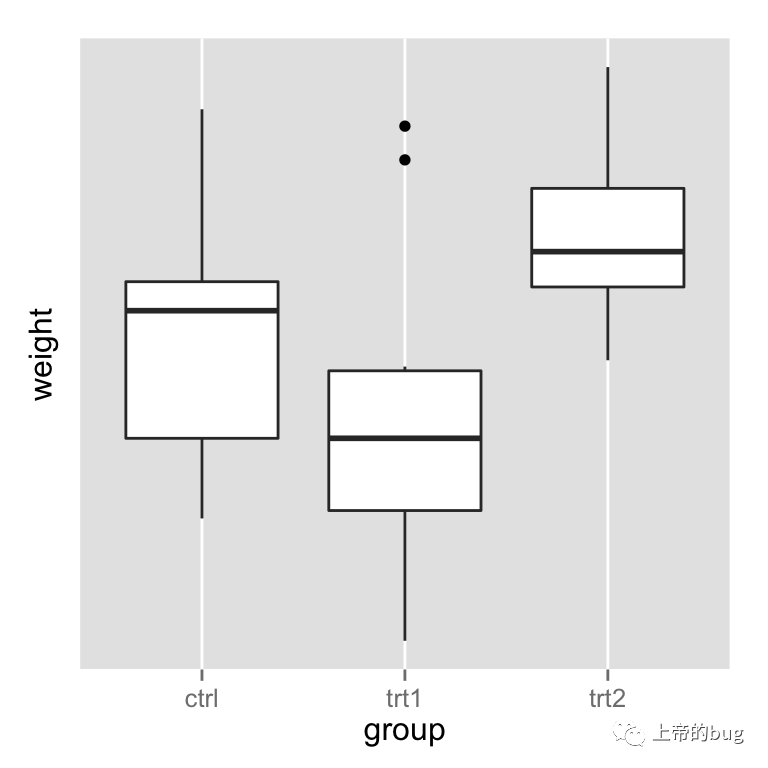
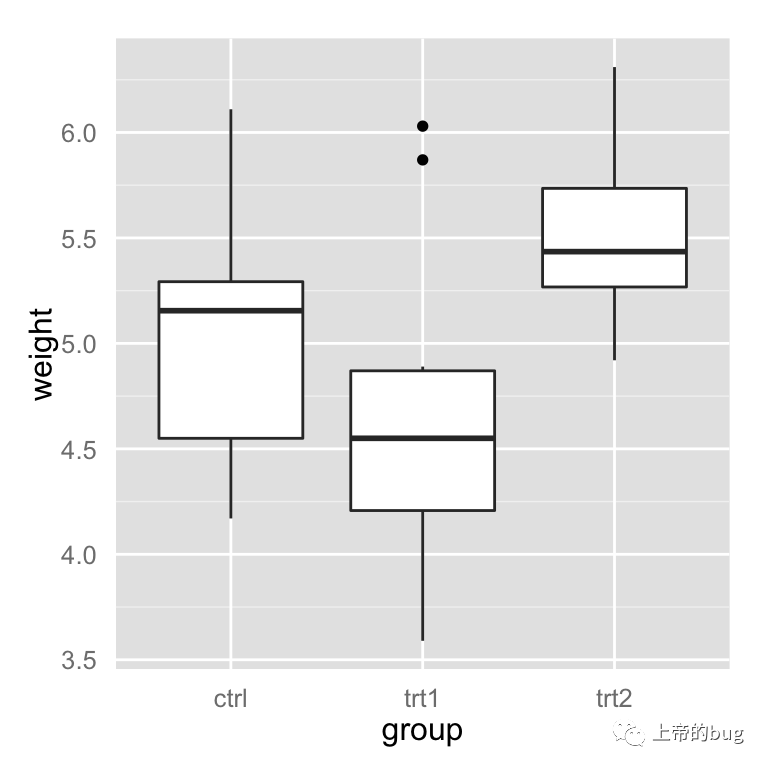
# 隐藏刻度但是显示标签
bp + theme(axis.ticks = element_blank())
坐标轴的数据转换(log, sqrt, etc.)
坐标轴可以进行线性变换,比如 log, power, roots 等等
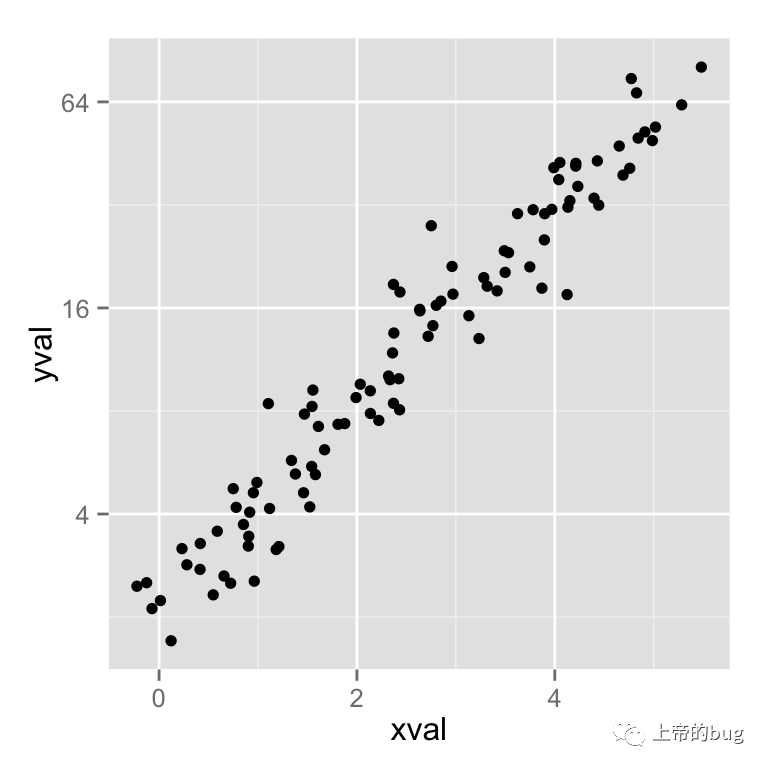
这里有两种方式对数据进行转换, 一种是比例转换, 另一种是坐标转换. 对于比例变换, 在坐标轴刻度和范围被决定之前发生变换, 也就是先绘制图形,在标明刻度; 对于坐标变换, 在坐标轴刻度和范围被决定之后发生变换.也就是先标明刻度再绘制图形.
具体的理解可以看下面的例子.
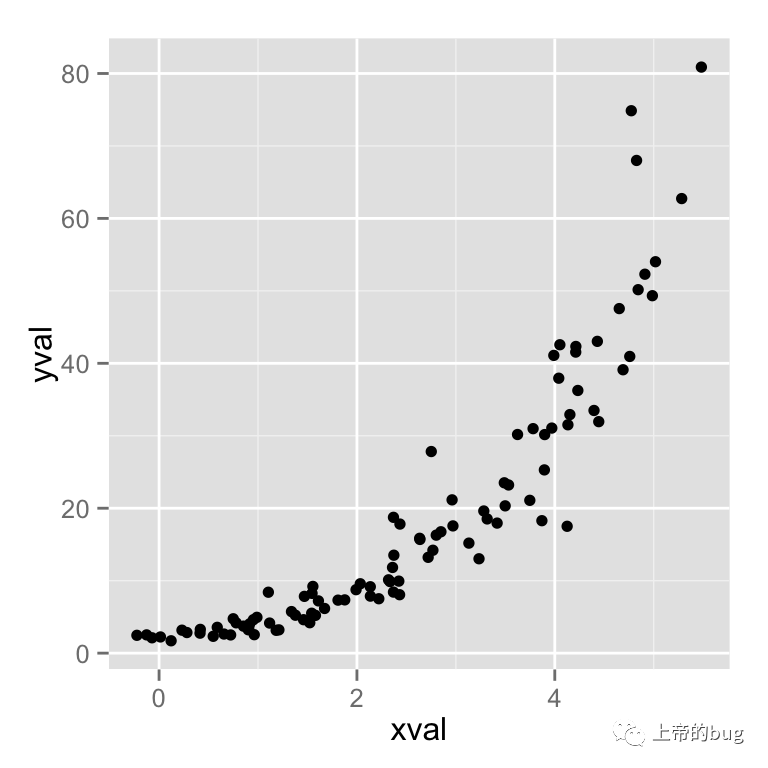
# 指数分布的数据
set.seed(201)
n 100
dat data.frame(
xval = (1:n+rnorm(n,sd=5))/20,
yval = 2*2^((1:n+rnorm(n,sd=5))/20)
)
# 散点图
sp ggplot(dat, aes(xval, yval)) + geom_point()
sp
# log2 scaling of the y axis (with visually-equal spacing)
library(scales) # Need the scales package
##
## Attaching package: 'scales'
## The following objects are masked from 'package:readr':
##
## col_factor, col_numeric
# 比例变换 scale transformation
sp + scale_y_continuous(trans=log2_trans())
# 坐标变换
sp + coord_trans(y="log2")
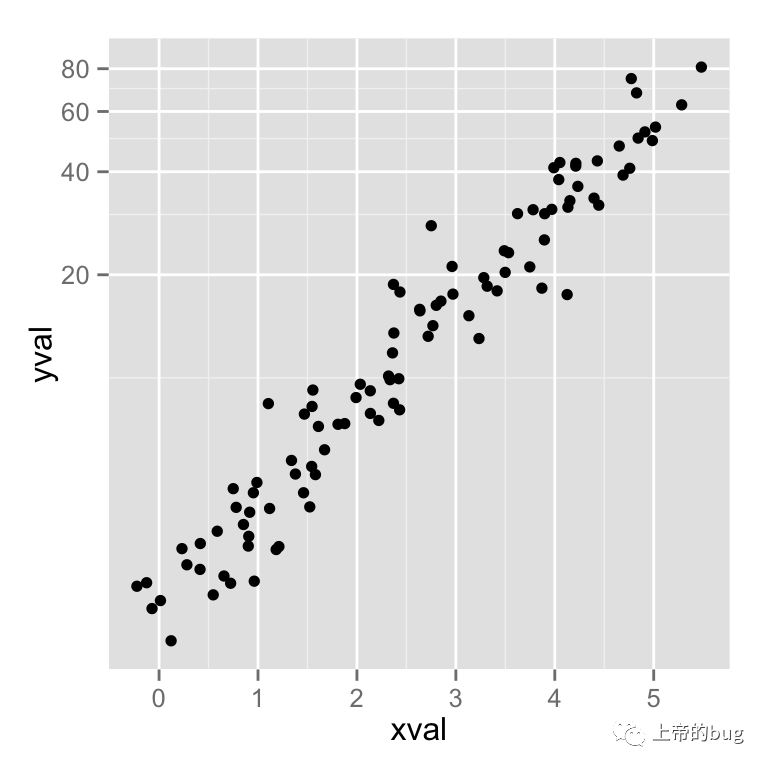
# 设置刻度和标签
sp + scale_y_continuous(trans = log2_trans(),
breaks = trans_breaks("log2", function(x) 2^x), # 这里很有意思,可以着重看一下帮助文档
labels = trans_format("log2", math_format(2^.x)))
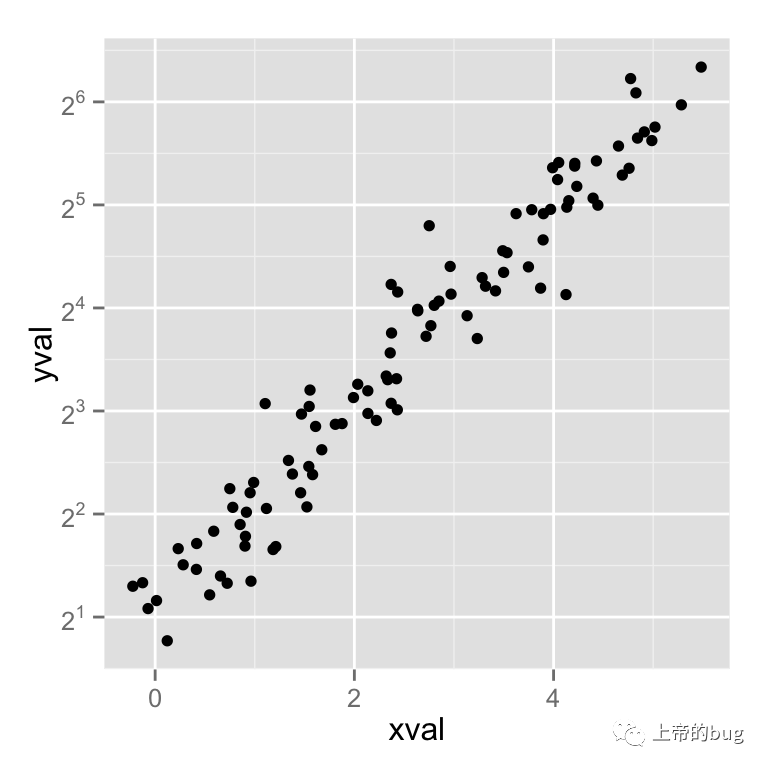
这里还有很多其他的变换, 可以 ?trans_new 查看帮助
set.seed(205)
n 100
dat10 data.frame(
xval = (1:n+rnorm(n,sd=5))/20,
yval = 10*10^((1:n+rnorm(n,sd=5))/20)
)
sp10 ggplot(dat10, aes(xval, yval)) + geom_point()
# log10
sp10 + scale_y_log10()
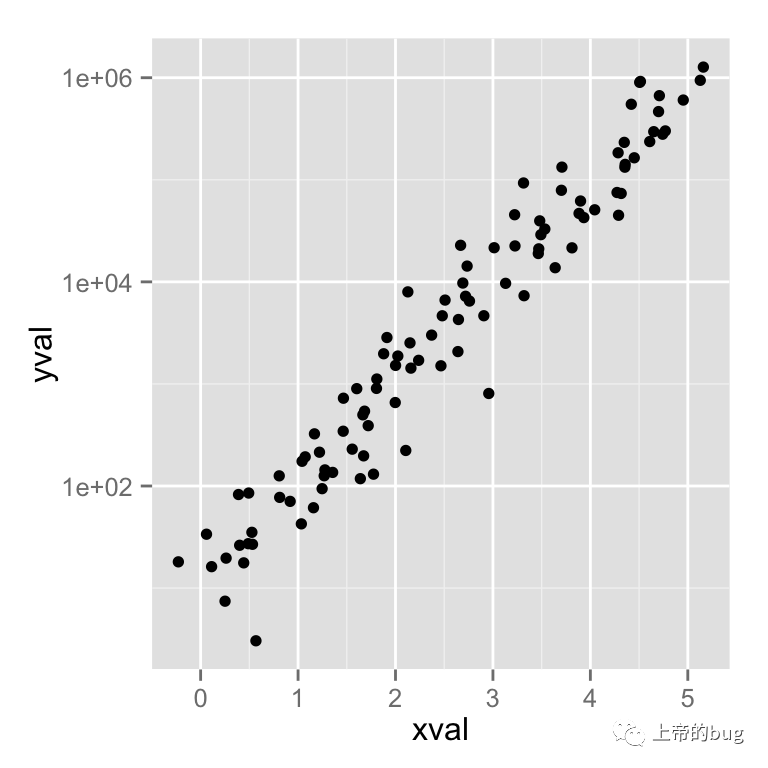
# 根据 log10 设置 刻度
sp10 + scale_y_log10(breaks = trans_breaks("log10", function(x) 10^x),
labels = trans_format("log10", math_format(10^.x)))
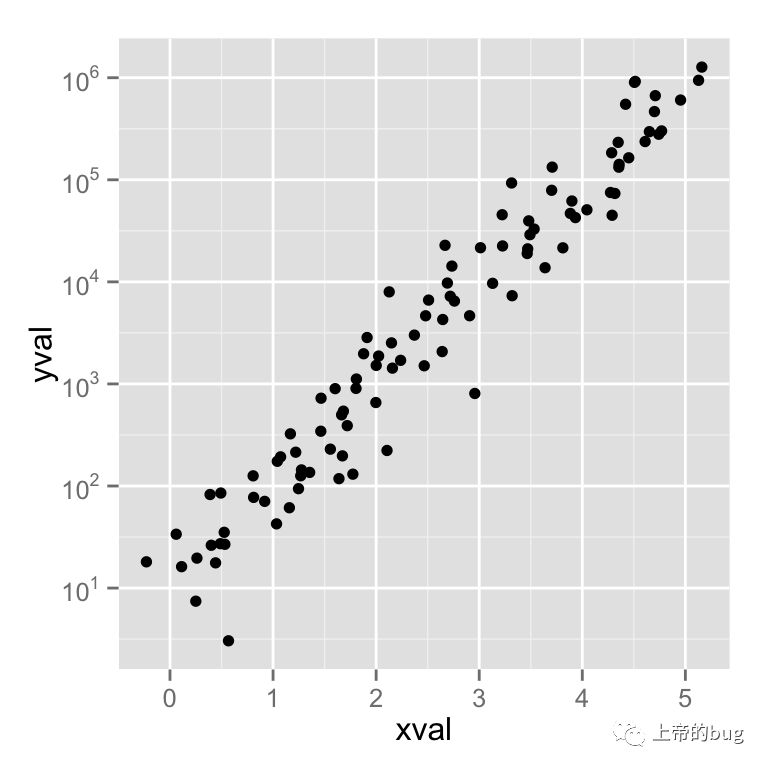
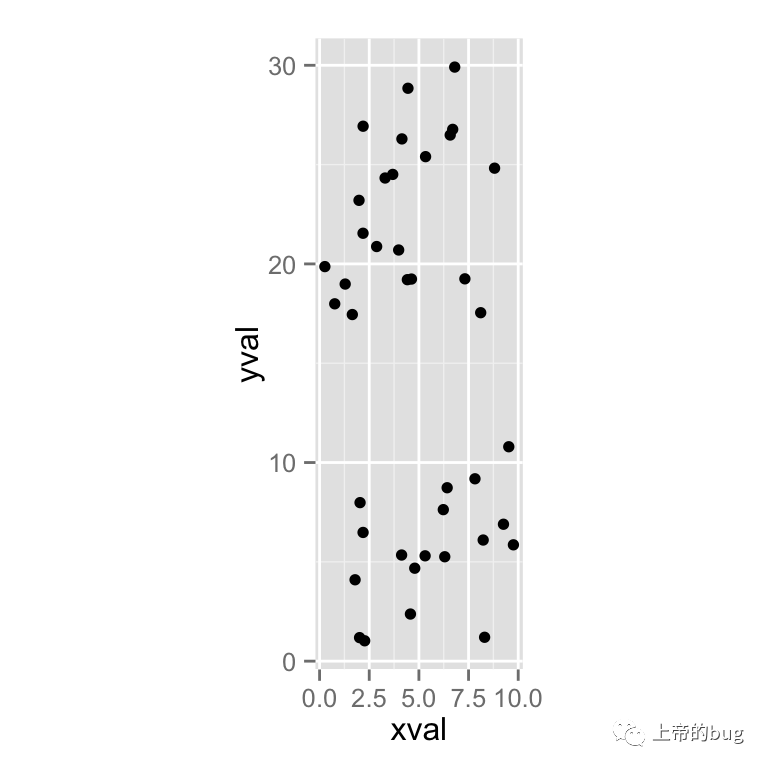
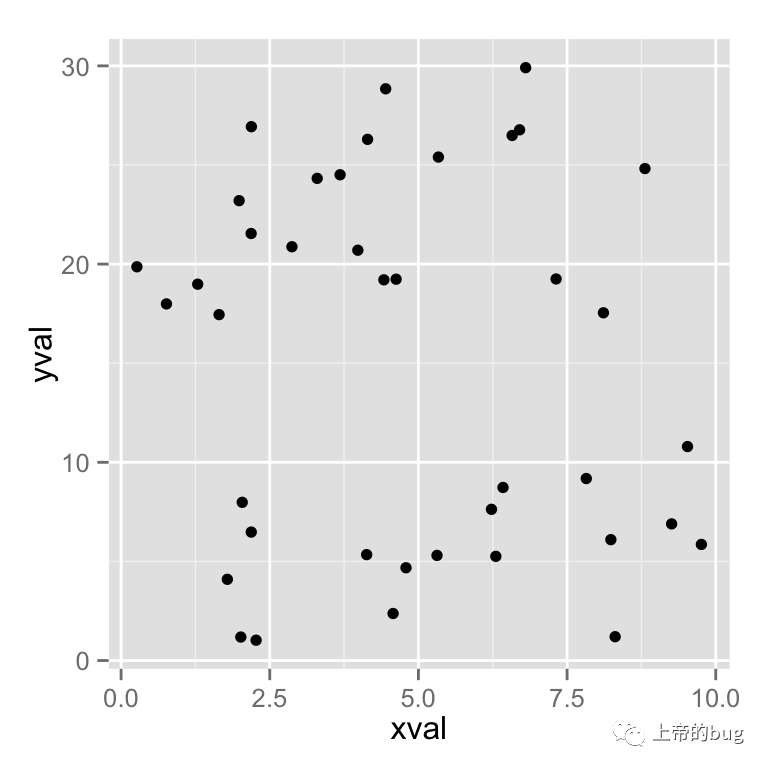
Fixed ratio between x and y axes ### 修改 x 和 y 的比例
# Data where x ranges from 0-10, y ranges from 0-30
set.seed(202)
dat data.frame(
xval = runif(40,0,10),
yval = runif(40,0,30)
)
sp ggplot(dat, aes(xval, yval)) + geom_point()
# 设置为x:y = 1:1
sp + coord_fixed()
# x:y = 1:3
sp + coord_fixed(ratio=1/3)
坐标轴标签的格式
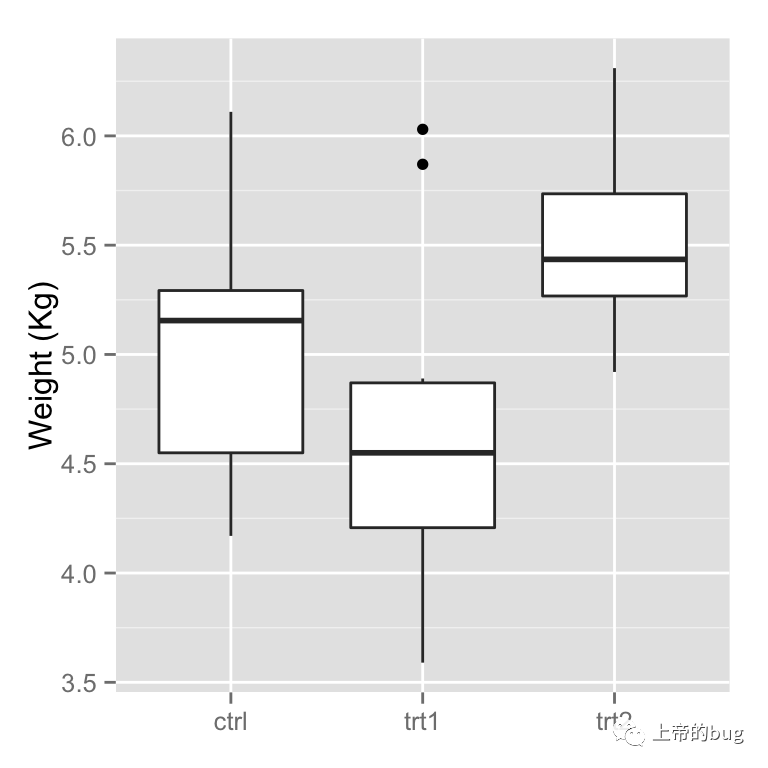
设置和隐藏坐标标题
bp + theme(axis.title.x = element_blank()) + # Remove x-axis label
ylab("Weight (Kg)") # Set y-axis label
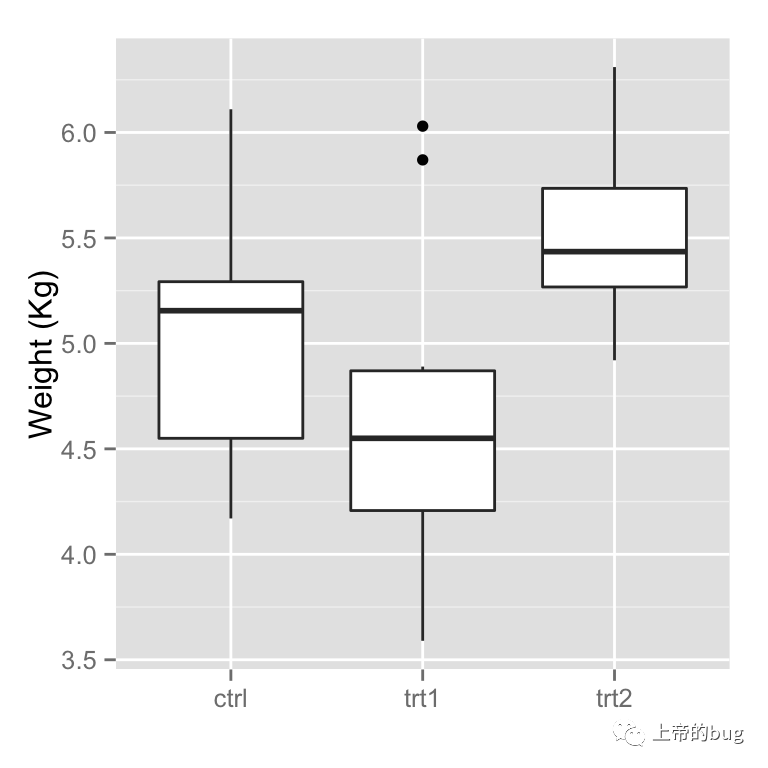
# 另一种方法
bp + scale_x_discrete(name="") +
scale_y_continuous(name="Weight (Kg)")
改变字体和旋转 刻度标签
element_text 可以设置文本的格式
# Change font options:
# X-axis label: bold, red, and 20 points
# X-axis tick marks: rotate 90 degrees CCW, move to the left a bit (using vjust,
# since the labels are rotated), and 16 points
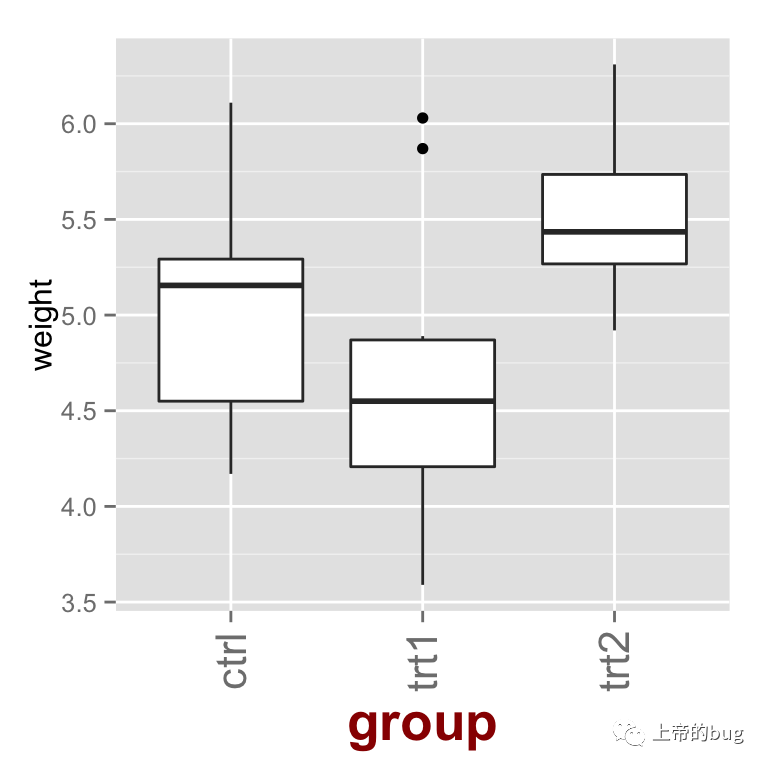
bp + theme(axis.title.x = element_text(face="bold", colour="#990000", size=20),
axis.text.x = element_text(angle=90,# 设置旋转的角度
vjust=0.5,# 设置纵向便宜距离 hjust为横向偏移距离
size=16) # 字体的大小
)
刻度标签的格式化
# Label formatters
library(scales) # Need the scales package
bp + scale_y_continuous(labels=percent) + # 显示百分比
scale_x_discrete(labels=abbreviate) #没有效果
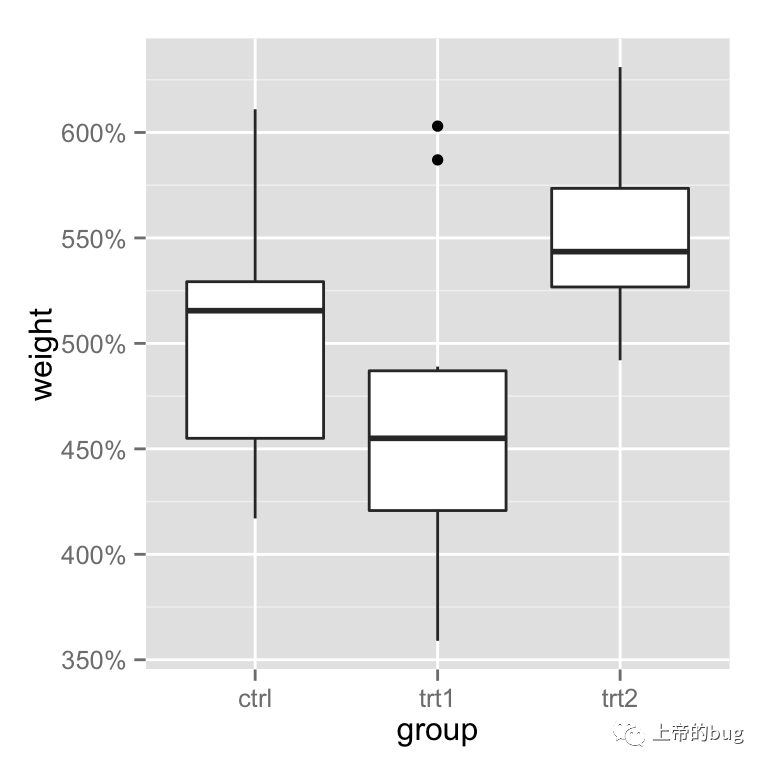
对于连续型数据的格式化包括 comma, percent, dollar 和科学计数法 对于离散型数据的格式化, abbreviate(缩略词) 将会去除元音和空格,对于日期可以使用 date_format
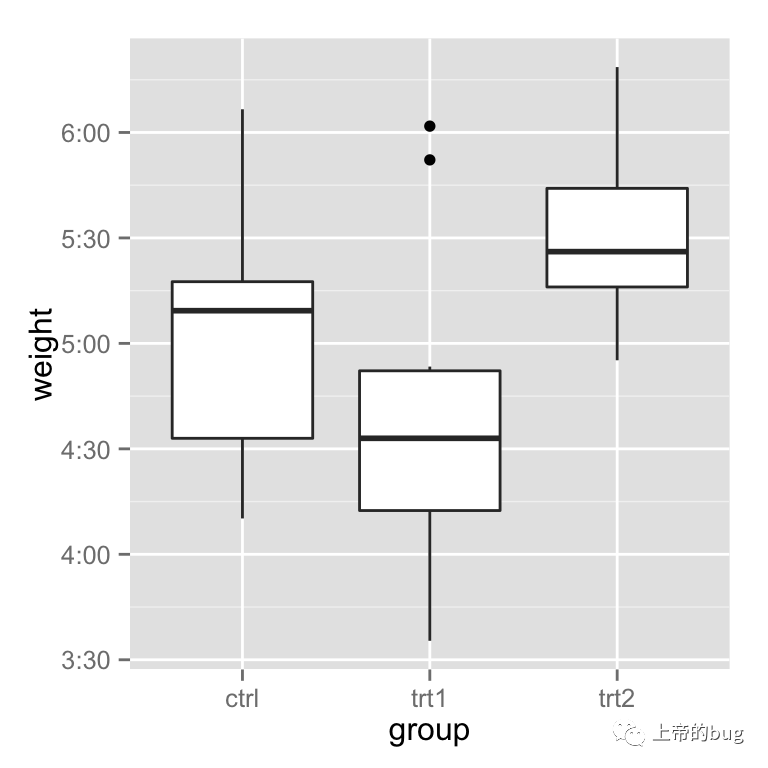
当然也可以创作自己的格式, 比如 HH:MM:SS 时间格式
# Self-defined formatting function for times.
timeHMS_formatter function(x) {
h floor(x/60)
m floor(x %% 60)
s round(60*(x %% 1)) # Round to nearest second
lab sprintf('%02d:%02d:%02d', h, m, s) # Format the strings as HH:MM:SS
lab gsub('^00:', '', lab) # Remove leading 00: if present
lab gsub('^0', '', lab) # Remove leading 0 if present
# 返回 lab
}
bp + scale_y_continuous(label=timeHMS_formatter)
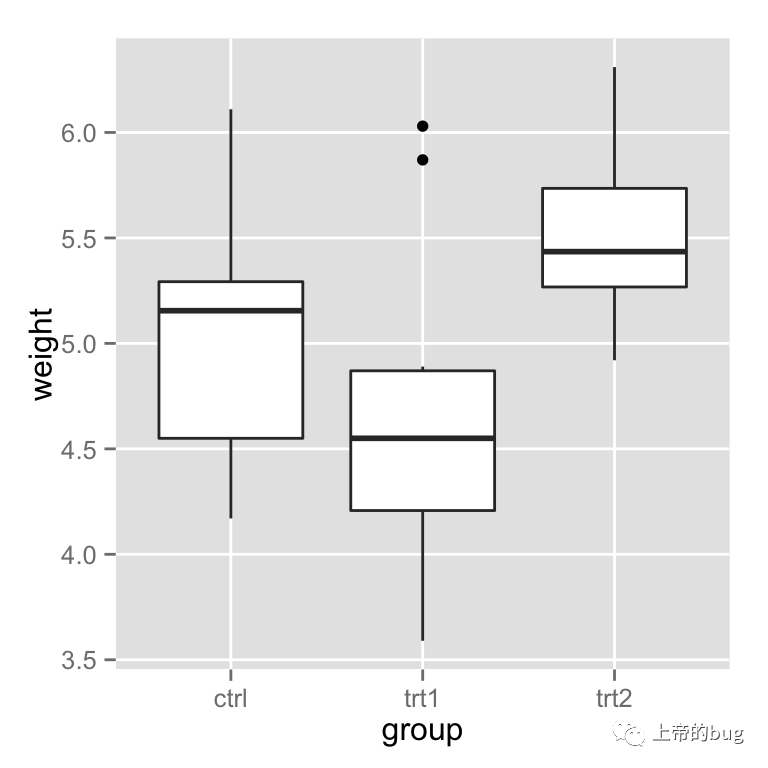
隐藏参考线
# 隐藏所有参考线(minor, major)
bp + theme(panel.grid.minor=element_blank(),
panel.grid.major=element_blank())
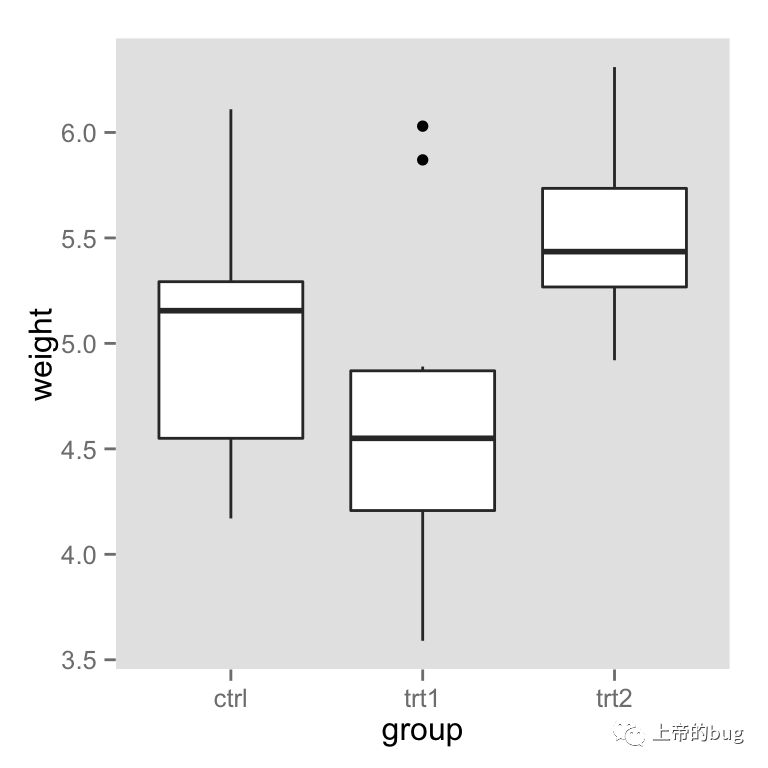
# 隐藏 minor
bp + theme(panel.grid.minor=element_blank())
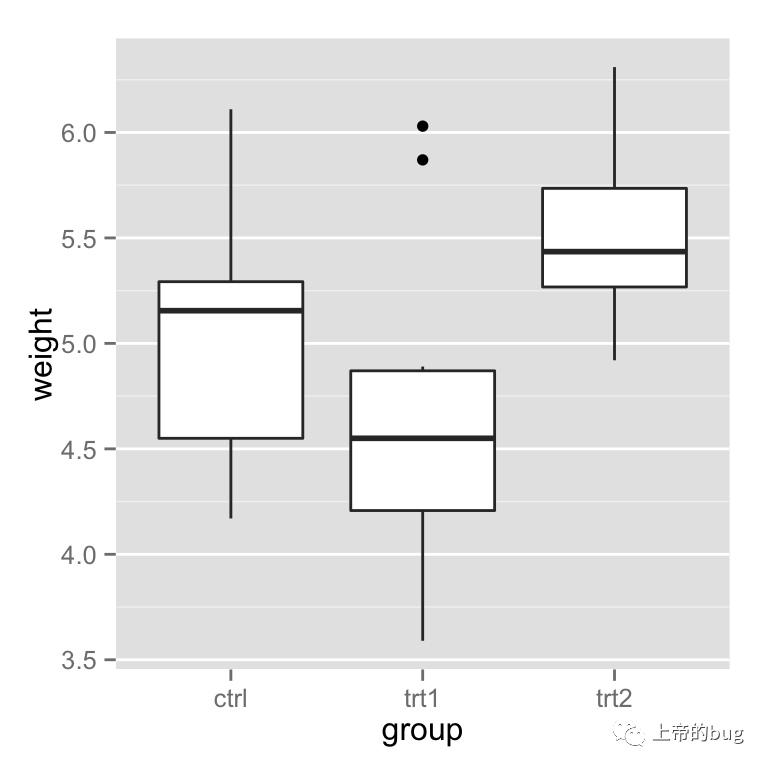
根据坐标轴的方向隐藏
# 隐藏 纵向
bp + theme(panel.grid.minor.x=element_blank(),
panel.grid.major.x=element_blank())
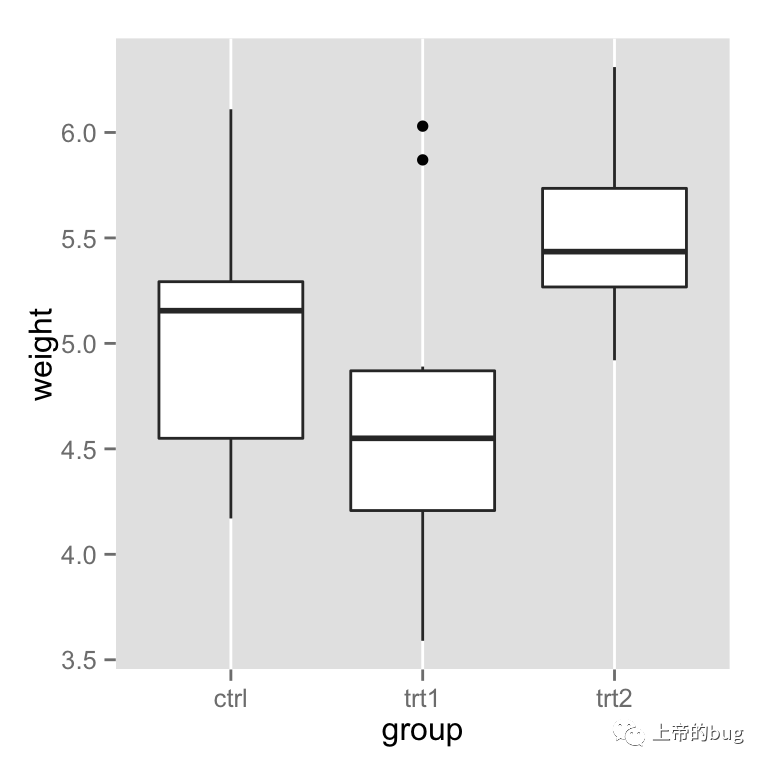
# 隐藏 横向
bp + theme(panel.grid.minor.y=element_blank(),
panel.grid.major.y=element_blank())


)
--egg之定义公共的中间件判断用户是否登录以及去结算页面制作...)


-Binary system)


...)
