
涉及到计算机科学离不开 Linux 系统,当然,也离不开Windows。但是,二者从操作到核心的不同,貌似让鱼和熊掌不可兼得。
但是!微软已经拿出了一款让鱼和熊掌兼得的方案 WSL (Windows Subsystem for Linux),也就是 Windows 系统中自带 Linux 子系统。

这比其他方案的优势在于:
- 不会产生传统虚拟机或双启动设置开销
- 实现 Windows 系统与 Linux 系统磁盘资源的共享
- 相对其他 Bash,更接近原生 Linux 系统
- 网络设置等配置与 Windows 系统保持一致,减少维护
- 等等
下面我们从几个方面来安装并使用:
- 命令行界面安装
- 图形化界面安装
- 其他技巧
一、命令行界面安装
1、win+S,搜索 PowerShell,右键管理员身份运行
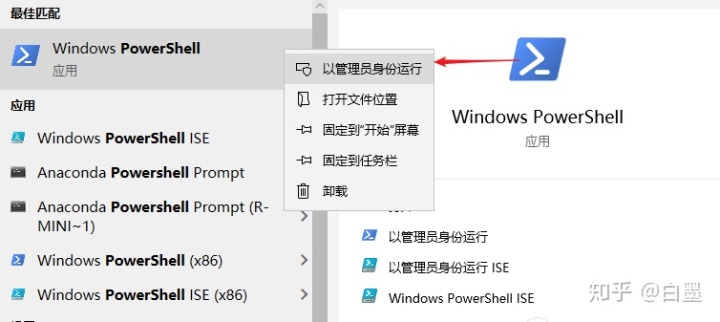
2、输入命令,启用 适用于 Linux 的 Windows 子系统 功能
dism.exe /online /enable-feature /featurename:Microsoft-Windows-Subsystem-Linux /all /norestart

这一步完成启用“适用于 Linux 的 Windows 子系统”可选功能
3、选择中意的Linux分发版:
网址:https://aka.ms/wslstore
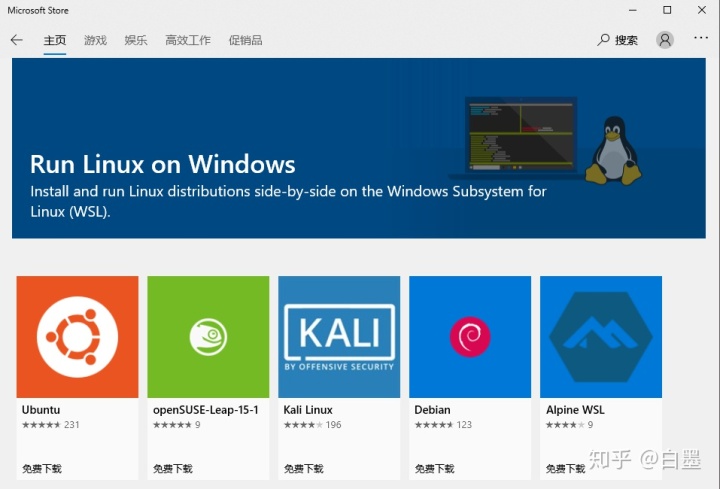
4、这里以 Ubuntu 18 为例来进行下一步安装
https://www.microsoft.com/zh-cn/p/ubuntu-1804-lts/9n9tngvndl3q?rtc=1#activetab=pivot:overviewtab
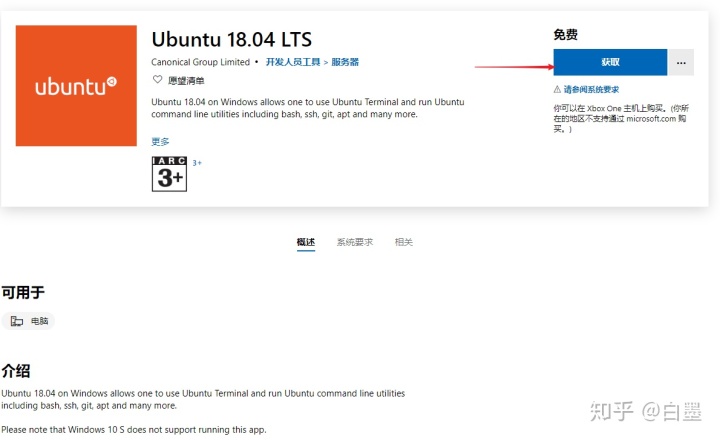
5、自动安装中...
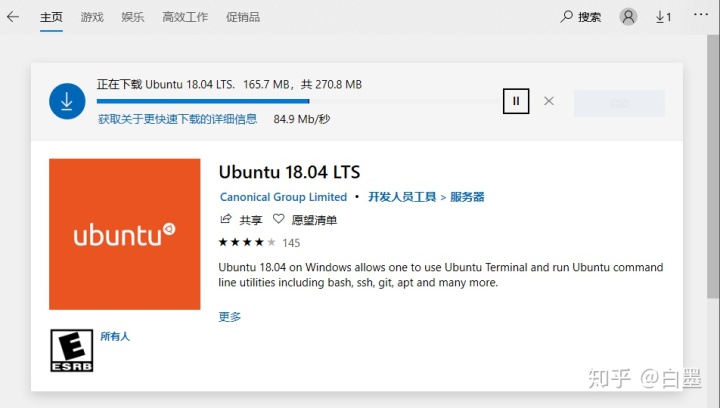
6、按win,打开 Ubuntu
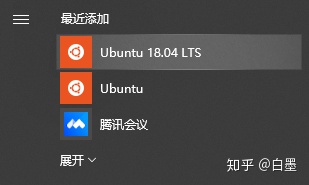
7、设置好用户和密码
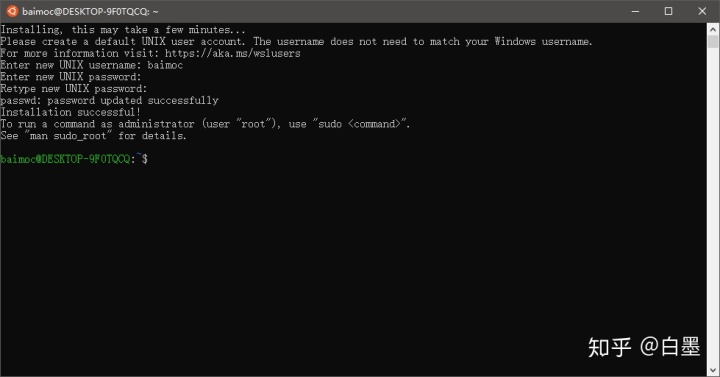
8、设置初始 root 密码
sudo passwd
9、配置软件源,加速国内访问速度
备份配置文件
cp /etc/apt/sources.list /etc/apt/sources_bk.list
修改配置文件
# 默认注释了源码镜像以提高 apt update 速度,如有需要可自行取消注释
deb https://mirrors.tuna.tsinghua.edu.cn/ubuntu/ bionic main restricted universe multiverse
# deb-src https://mirrors.tuna.tsinghua.edu.cn/ubuntu/ bionic main restricted universe multiverse
deb https://mirrors.tuna.tsinghua.edu.cn/ubuntu/ bionic-updates main restricted universe multiverse
# deb-src https://mirrors.tuna.tsinghua.edu.cn/ubuntu/ bionic-updates main restricted universe multiverse
deb https://mirrors.tuna.tsinghua.edu.cn/ubuntu/ bionic-backports main restricted universe multiverse
# deb-src https://mirrors.tuna.tsinghua.edu.cn/ubuntu/ bionic-backports main restricted universe multiverse
deb https://mirrors.tuna.tsinghua.edu.cn/ubuntu/ bionic-security main restricted universe multiverse
# deb-src https://mirrors.tuna.tsinghua.edu.cn/ubuntu/ bionic-security main restricted universe multiverse# 预发布软件源,不建议启用
# deb https://mirrors.tuna.tsinghua.edu.cn/ubuntu/ bionic-proposed main restricted universe multiverse
# deb-src https://mirrors.tuna.tsinghua.edu.cn/ubuntu/ bionic-proposed main restricted universe multiverse
参考:https://mirrors.tuna.tsinghua.edu.cn/help/ubuntu/
二、安装图形化界面
在 Ubuntu 端的配置
1、安装 xorg
sudo apt-get install xorg
xorg是xfce桌面需要的一个基础依赖,开机时提供登陆界面
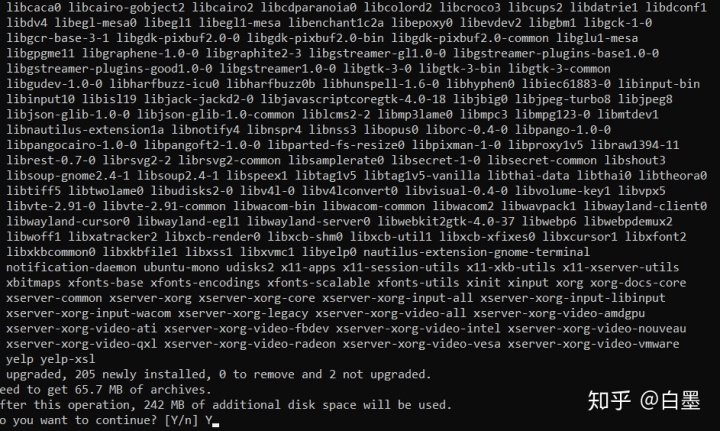
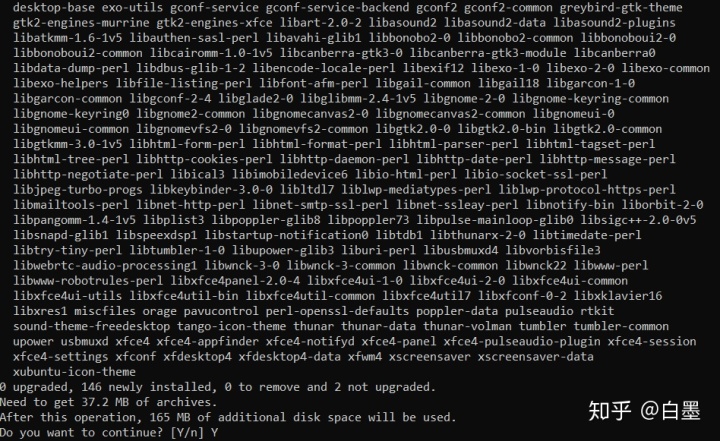
2、安装xfce4
sudo apt-get install xfce4
3、安装并配置xrdp
Xrdp 通过远程桌面的方式来访问另外一台主机
sudo apt-get install xrdp
4、设置使用3390端口
sudo sed -i 's/port=3389/port=3390/g' /etc/xrdp/xrdp.ini
5、向xsession中写入xfce4-session
sudo echo xfce4-session >~/.xsession
6、重启xrdp服务
sudo service xrdp restart
在 Windows 端配置
1、win+S,搜索 远程桌面
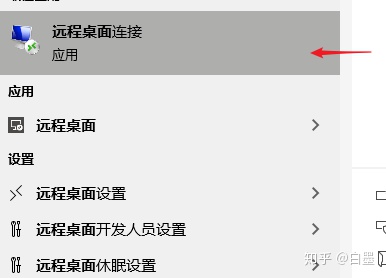
2、配置连接信息
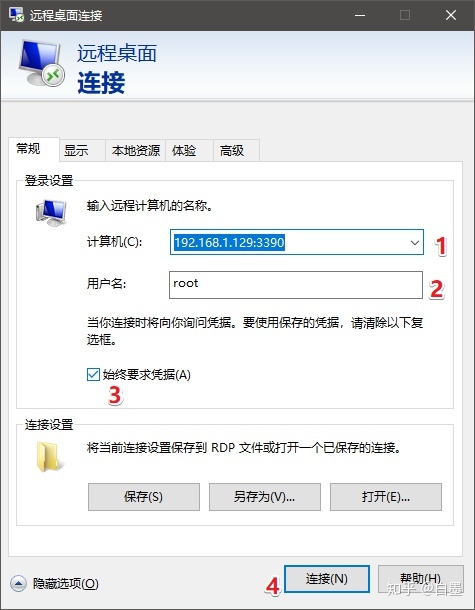
3、运行连接,过程会有防火墙,同样允许就行
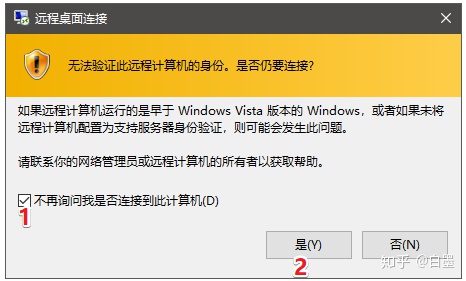
4、连接到 Ubuntu
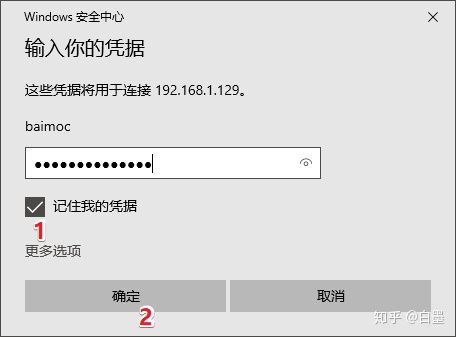
5、登录到 Ubuntu
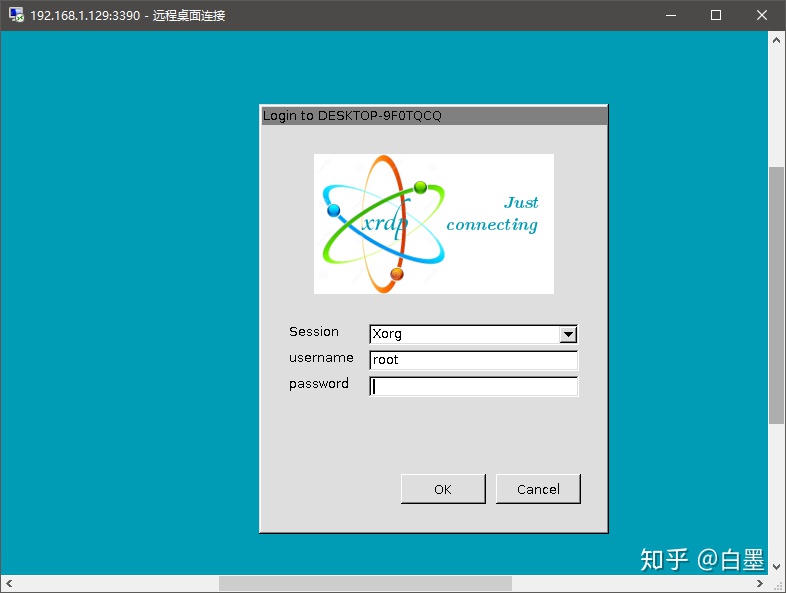
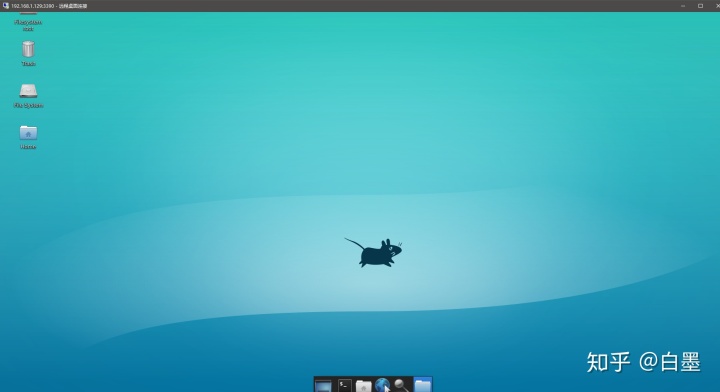
6、登录后看到桌面,有那味儿了
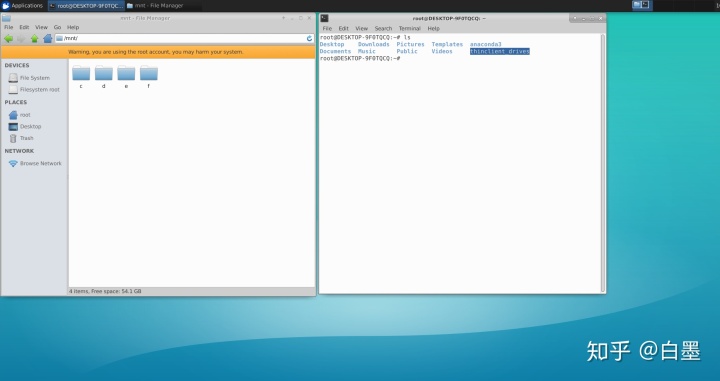
7、打开本地的 windows 盘符,和终端看看
三、其他技巧
1、windows 的盘符在哪?
window 磁盘放在mnt目录下,比如,进入 win10 的 C 盘:
cd /mnt/c
两个系统原本是使用不同的文件系统,但是微软为了让两种系统文件可以相互访问,使用WSL解决方案。一般情况下,可以在两种系统间随意复制文件,但是也有一些问题:
最常见的一个问题就是,Linux系统是大小写严格的,Window则对大小写不敏感。这就导致在一些Linux软件在window系统的盘符安装时,会出报错,后面会提到。
2、系统间复制文本
在一个系统复制文本后,在另一个系统右键即可粘贴文本
3、安装 anaconda 报错
Exception: dst exists: '/mnt/f/Ubuntu/anaconda3/share/terminfo/e/eterm'
/mnt是不区分大小写的文件系统(WSL下的都不区分文件系统),所以必须将程序安装到区分大小写的文件系统上。两种解决方案:
- 保持默认设置,会自动安装到为家目录下
- 设置安装 anaconda3 的目录区分大小写
sudo apt install attr setfattr -n system.wsl_case_sensitive -v 1 /mnt/f/Ubuntu/anaconda3
4、修改命令行界面字体及颜色
右键最上端的框,选择属性
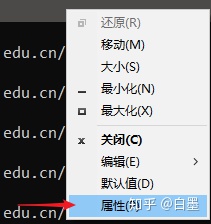
)


)


...)


