接上一篇:SpringBoot入门到精通_第5篇 _SpringBoot Actuator监控
https://blog.csdn.net/weixin_40816738/article/details/101097428

文章目录
- 一、SpringBoot 配置管理
- 1. 配置管理3种方式
- 1.1. 以.properties为后缀名
- 1.2. 以.yml/.yaml为后缀名(建议使用)
- 2. Spring Boot配置管理17种姿势
- 2.1. 配置文件
- 2.2. 环境变量
- 2.3. 启动项目访问:
- 3. 启动项目第2种形式:
- 4. 外部配置文件_优先级
- 5. 命令行参数
- 5.1. idea中配置
- 5.2. 命令行配置启动
- 6. 必知必会 Profile
- 6.1 如何实现不同环境配置
- 6.2 以.properties形式,采用多配置文件实现
- 7. 最佳实战总结
一、SpringBoot 配置管理
1. 配置管理3种方式
支持的配置格式
1.1. 以.properties为后缀名
#springboot全局配置文件
management.endpoint.health.show-details=always
#激活所有的actuator端点
#management.endpoints.web.exposure.include=*
#激活指定端点
management.endpoints.web.exposure.include=metrics,health
#info 显示应用信息
#格式:info.x=y key values 形式
info.app.name=spring-boot-demo
info.author=actuator
info.email=gblfy@email.com
1.2. 以.yml/.yaml为后缀名(建议使用)
#Yet Anther Markup Language(.yml/.yaml)==>>JSON子集
#激活指定端点
management:endpoint:health:show-details: alwaysendpoints:web:exposure:include: metrics,health
#info 显示应用信息
#格式:info.x=y key values 形式
info:app-name: spring-boot-demoauthor: actuatoremail: gblfy@email.com
2. Spring Boot配置管理17种姿势
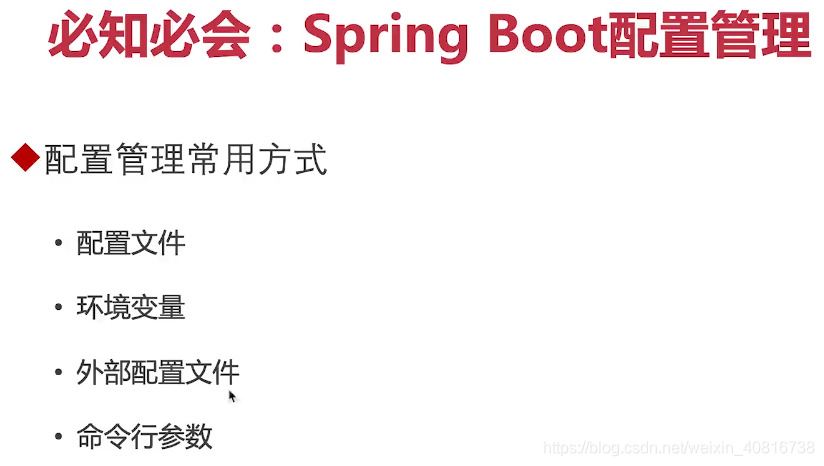
配置管理常用方式
2.1. 配置文件
2.2. 环境变量


2.3. 启动项目访问:
http://localhost:8080/actuator/health

3. 启动项目第2种形式:
构建跳过单元测试
mvn clean install -DskipTests
启动项目带参数
java -jar spring-boot-actuator-0.0.1-SNAPSHOT.jar --SOME_ENV=always
4. 外部配置文件_优先级
- 新建一个test文件夹做演示
- 把构建后的jar包和appilication.yml文件复制到test目录中

- 将${SOME_ENV}参数修改为nerver
- 启动项目,验证
java -jar spring-boot-actuator-0.0.1-SNAPSHOT.jar

5. 发现/actuator/health端点不显示详情了
说明SpringBoot可以读取jar相同目录下的配置文件,并且这个配置文件比jar里面配置文件的优先级更高

5. 命令行参数
5.1. idea中配置
比如想改变tomcat启动时端口号,又不想写到配置文件中?


验证
http://localhost:8082/actuator/health

5.2. 命令行配置启动
java -jar spring-boot-actuator-0.0.1-SNAPSHOT.jar --server.port=8082


6. 必知必会 Profile
6.1 如何实现不同环境配置
- .yml配置文件采用3段形式
公共配置
---
开发环境配置
---
生产环境配置
---
默认激活环境配置添加设置如下:
spring:profiles:active: dev
- 举个栗子
#所有环境公用的配置属性
#Yet Anther Markup Language(.yml/.yaml)==>>JSON子集
#激活指定端点
management:endpoint:health:show-details: ${SOME_ENV}endpoints:web:exposure:include: "*"
#info 显示应用信息
#格式:info.x=y key values 形式
info:app-name: spring-boot-demoauthor: actuatoremail: gblfy@email.com
spring:profiles:active: dev
---
#profile=y的专用属性,也就是某个环境下的专用属性
#开发环境
spring:profiles: dev
server:tomcat:max-threads: 500max-connections: 800
---
#profile=y的专用属性,也就是某个环境下的专用属性
#生产环境
spring:profiles: prod
server:tomcat:max-threads: 300max-connections: 1000
调用端点查看配置是是否生效:
http://localhost:8080/actuator/configprops

6.2 以.properties形式,采用多配置文件实现
- 一个环境一个配置文件,如下图所示:
- 有一个公共的配置文件
- 一个开发环境的配置文件
- 一个生产环境的配置文件
默认激活环境设置如下:
#spring.profiles.active=环境
spring.profiles.active=prod

application.properties
#springboot全局配置文件
#actuator监控
management.endpoint.health.show-details=always
#激活所有的actuator端点
management.endpoints.web.exposure.include=*#info 显示应用信息
#格式:info.x=y key values 形式
info.app-name=springboot-actuator
info.author=gblfy
info.email=gblfy@email.com#spring.profiles.active=环境
spring.profiles.active=prod
application-dev.properties
server.tomcat.max-threads=300
server.tomcat.max-connections=800
application-prod.properties
server.tomcat.max-threads=500
server.tomcat.max-connections=1000

查看配置端点:
http://localhost:8080/actuator/configprops

7. 最佳实战总结
把公共的配置抽取出来,放在共有的配置文件中,把各个环境独有的配置信息,写到独有的配置文件中
Gitlab下载地址:https://gitlab.com/gb-heima/empowerment
zip包下载:
https://gitlab.com/gb-heima/empowerment/-/archive/master/empowerment-master.zip
下一篇:
SpringBoot入门到精通_第7篇 _必知必会总结
https://blog.csdn.net/weixin_40816738/article/details/98472265


