文章目录
- 一、软件安装部署
- 1. 安装jdk
- 2. mysql8安装部署
- 3. redis安装
- 4. nginx 安装部署
- 5. Tomcat10 下载和配置 Linux 环境
- 6. 克隆项目
- 二、后端项目
- 2.1. 修改数据库连接
- 2.2. 修改Redis连接信息
- 2.3. 文件路径
- 2.4. 日志存储路径调整
- 2.5. 修改war打包
- 2.6. 编译打包
- 三、前端项目
- 3.1. 安装依赖
- 3.2. 构建生产环境
- 四、项目部署
- 4.1.创建目录
- 4.2. 后端文件上传
- 4.3. 前端文件上传
- 五、nginx配置启动
- 5.1. nginx配置
- 5.2. 重新启动nginx
- 六、服务启动
- 6.1. redis启动
- 6.2. 创建ry-vue数据库
- 6.3. 后端项目启动
- 6.4. 登录
- 6.5. 效果图
一、软件安装部署
1. 安装jdk
https://gblfy.blog.csdn.net/article/details/103435776
2. mysql8安装部署
https://blog.csdn.net/weixin_40816738/article/details/119544641
3. redis安装
https://gblfy.blog.csdn.net/article/details/114371657
4. nginx 安装部署
https://gblfy.blog.csdn.net/article/details/119536779
5. Tomcat10 下载和配置 Linux 环境
https://blog.csdn.net/weixin_40816738/article/details/90391526
- 效果图

6. 克隆项目
git clone git@gitee.com:y_project/RuoYi-Vue.git

二、后端项目
2.1. 修改数据库连接

# 进入后端项目目录
cd RuoYi-Vue\ruoyi-admin\src\main\resources\bin

2.2. 修改Redis连接信息


2.3. 文件路径
application.yml中的profile需要改为服务器存在的真实路径,根据实际情况调整

2.4. 日志存储路径调整
logback.xml文件中的路径建议改为./logs,根据实际情况调整

2.5. 修改war打包


2.6. 编译打包
# 进入后端项目目录
cd RuoYi-Vue\bin
先清理

再编译打包


注:执行完成后在RuoYi-Vue\ruoyi\target\文件夹下面会生成一个ruoyi-admin.war文件
三、前端项目
3.1. 安装依赖
# 进入前端项目
cd RuoYi-Vue\ruoyi-ui# 安装依赖
npm install --registry=https://registry.npm.taobao.org
3.2. 构建生产环境
# 构建生产环境
npm run build:prod
注:执行完成后在ruoyi-ui文件夹下面会生成一个dist文件夹

四、项目部署
4.1.创建目录
cd /app
mkdir ruoyi ruoyi-ui -p
4.2. 后端文件上传
后端编译的RuoYi-Vue\ruoyi-admin\target\ruoyi-admin.war文件上传至tomcat10的根目录下,ruoyi-admin.war包重命名为ROOT,移动到webapps下


4.3. 前端文件上传
前端编译的RuoYi-Vue\ruoyi-ui\dist下面的文件上传至/app/ruoyi-ui目录下面


五、nginx配置启动
5.1. nginx配置
替换ruoyi-ui的实际存储路径即可
cd /usr/local/nginx/conf
vim nginx.conf
将文件内容清空并添加以下内容:
worker_processes  1;events {worker_connections  1024;
}http {include       mime.types;default_type  application/octet-stream;sendfile        on;keepalive_timeout  65;server {listen       80;server_name  localhost;location / {#root   /home/ruoyi/projects/ruoyi-ui;root   /app/ruoyi-ui;try_files $uri $uri/ /index.html;index  index.html index.htm;}location /prod-api/{proxy_set_header Host $http_host;proxy_set_header X-Real-IP $remote_addr;proxy_set_header REMOTE-HOST $remote_addr;proxy_set_header X-Forwarded-For $proxy_add_x_forwarded_for;proxy_pass http://localhost:8080/;}error_page   500 502 503 504  /50x.html;location = /50x.html {root   html;}}
}
5.2. 重新启动nginx
cd /usr/local/nginx/sbin六、服务启动
6.1. redis启动
[root@node2 redis-6.2.5]# cd /usr/local/redis/bin
[root@node2 bin]# ./redis-server

6.2. 创建ry-vue数据库
初始化数据库脚本

6.3. 后端项目启动
[root@node2 app]# cd /app/ruoyi
[root@node2 ruoyi]# java -jar ruoyi-admin.jar
6.4. 登录

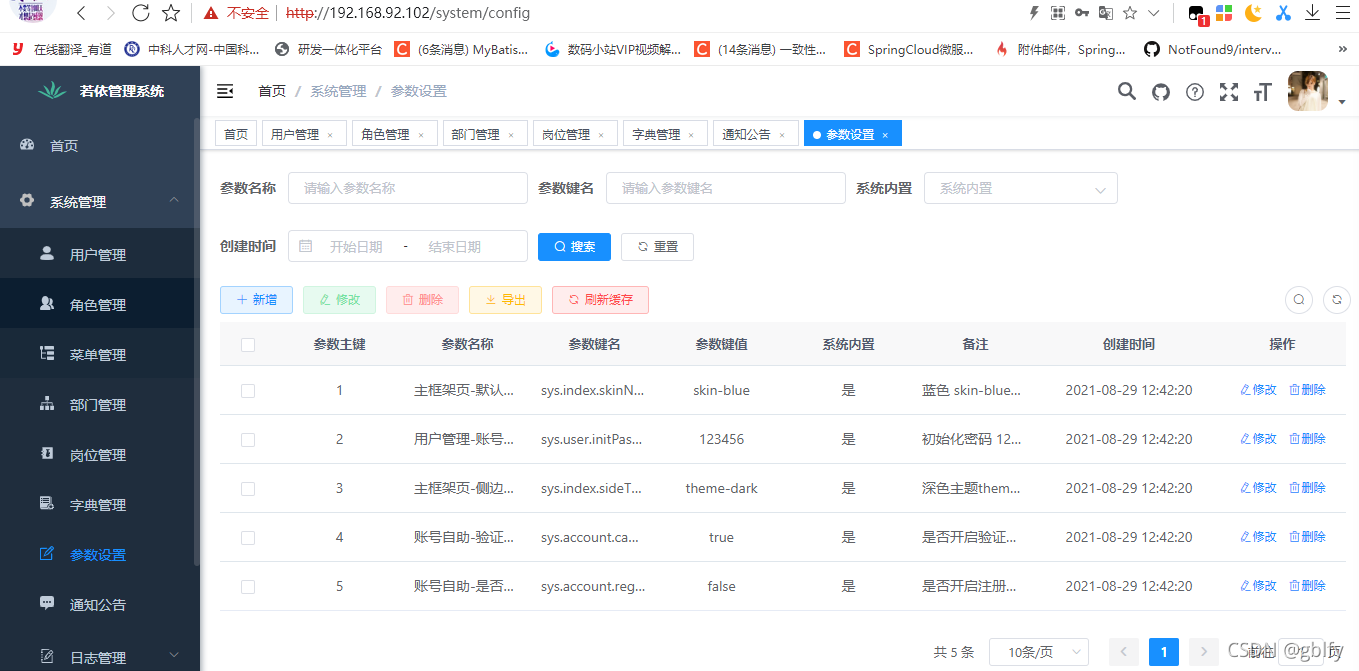
6.5. 效果图


)


)


)

)

)


