模拟登录:爬取基于某些用户的用户信息。
需求1:对人人网进行模拟登录。
- 点击登录按钮之后会发起一个post请求
- post请求中会携带登录之前录入的相关的登录信息(用户名,密码,验证码…)
- 验证码:每次请求都会变化
需求2:爬取当前用户的相关的用户信息(个人主页中显示的用户信息)
http/https协议特性:无状态。
没有请求到对应页面数据的原因:
发起的第二次基于个人主页页面请求的时候,服务器端并不知道该此请求是基于登录状态下的请求。
cookie:用来让服务器端记录客户端的相关状态。
- 手动处理:通过抓包工具获取cookie值,将该值封装到headers中。(不建议)
- 自动处理:
- cookie值的来源是哪里?
- 模拟登录post请求后,由服务器端创建。
session会话对象:
作用:
- 可以进行请求的发送。
- 如果请求过程中产生了cookie,则该cookie会被自动存储/携带在该session对象中。
- 创建一个session对象:session = requests.Session()
- 使用session对象进行模拟登录post请求的发送(cookie就会被存储在session中)
- session对象对个人主页对应的get请求进行发送(携带了cookie)
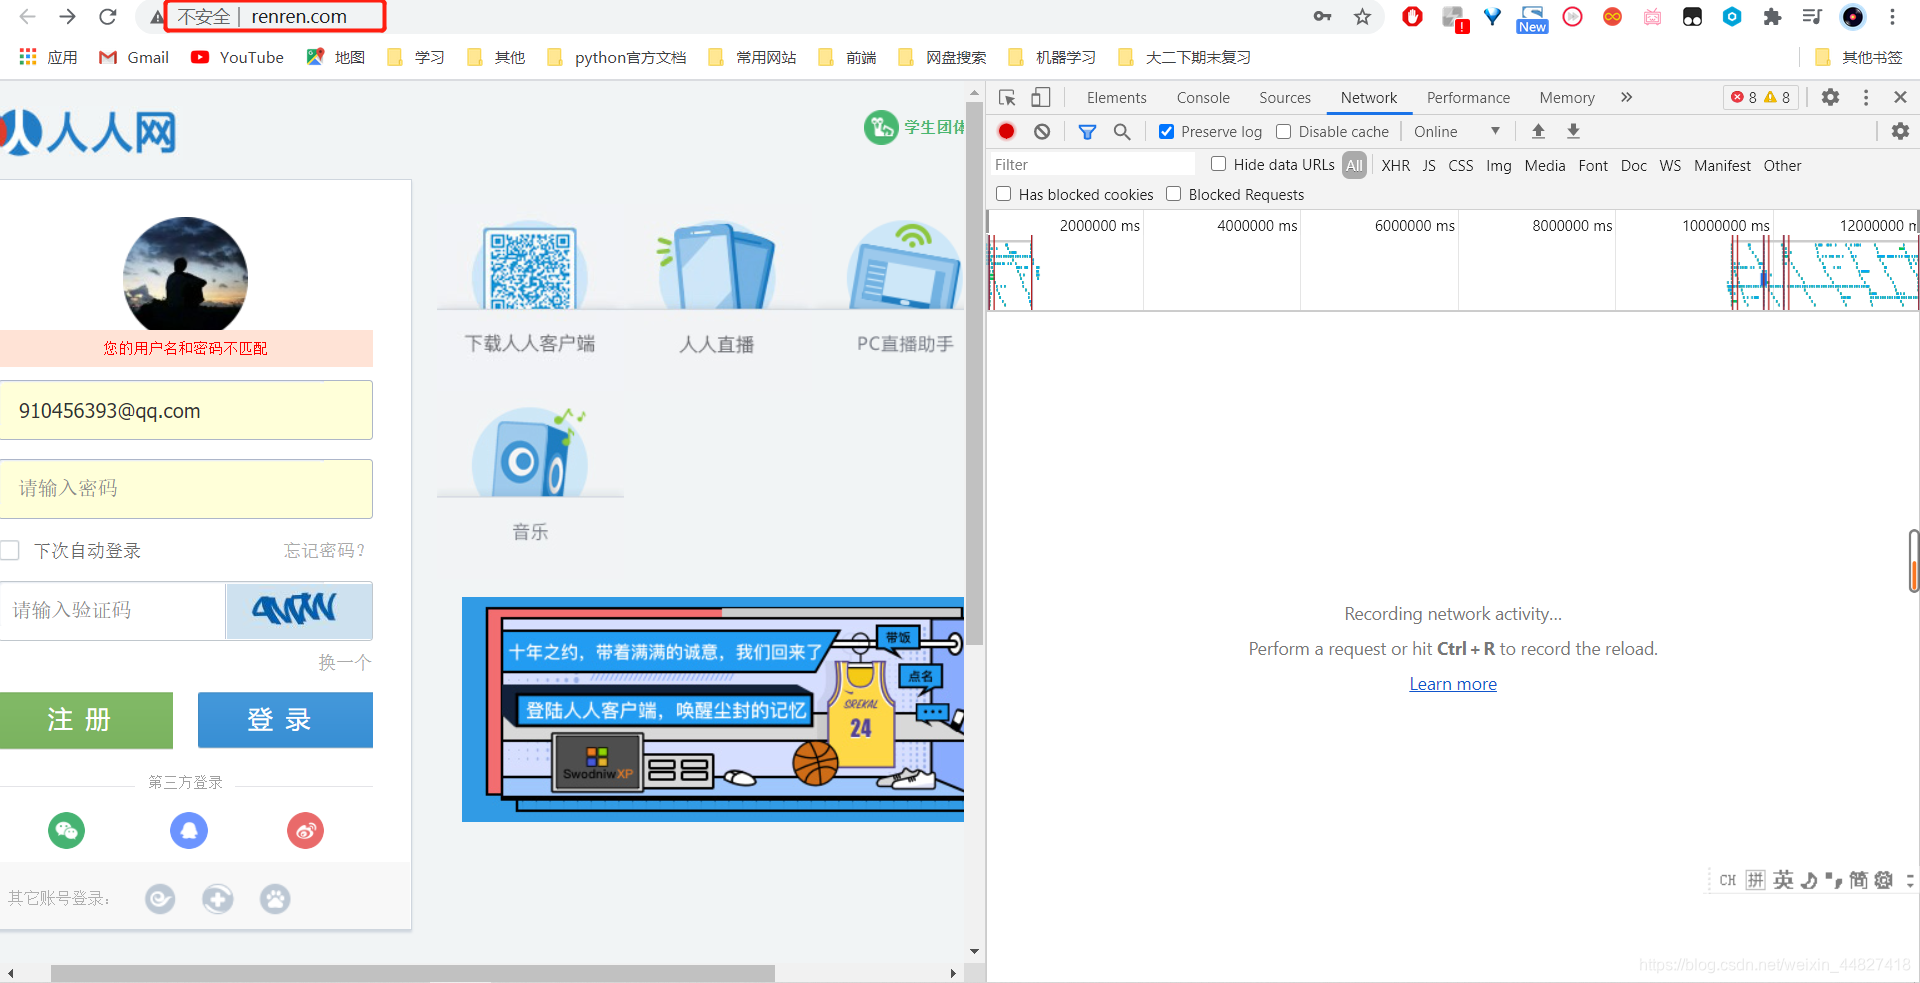
1. 对http://www.renren.com/发送请求,拿到下面这个页面的源码

2. 对页面中的验证码图片进行定位,获取到img标签中的src属性的值,再对src中的网址发送get请求,将验证码图片保存到本地,后面会使用超级鹰打码平台将保存到本地的验证码图片进行识别

3. 点击登录按钮通过浏览器抓包,发现浏览器向服务器发送了一个post请求,请求的url为http://www.renren.com/ajaxLogin/login?1=1&uniqueTimestamp=202112910495,抓取该次请求的数据包,查看响应头信息中是否存在set-cookie,如果有,则证实该次请求时,服务器端给客户端创建了会话对象,且创建了cookie返回给了客户端进行存储。


果然存在set-cookie,因此,我们在使用requests模块进行模拟登陆时,发起的请求也是需要携带cookie的。那么cookie如何被携带到requests的请求中呢?
- requests模块处理cookie的两种方式:
- 将cookie手动从抓包工具中获取,然后封装到requests请求的headers中,将headers作用到请求方法中。(不建议)
headers = {'User-Agent': 'Mozilla/5.0 (Macintosh; Intel Mac OS X 10_12_0) AppleWebKit/537.36 (KHTML, like Gecko) Chrome/72.0.3626.121 Safari/537.36','Cookie':'xxxxxxxxx'
}
- 创建会话对象,使用会话对象进行请求发送。因为会话中会自动携带且处理cookie。(推荐)
#创建会话对象,该会话对象可以调用get和post发起请求
session = requests.Session()
page_text = session.get(url=url,headers=headers).text
......
4. 通过对网站登录的抓包,发现了请求的url为:http://www.renren.com/974713149,响应回来的就是我们所需要的登录成功之后的首页。所以对这个url发送请求,并注意模拟请求头User-Agent、Referer、Cookie


5. 对http://www.renren.com/974713149/profile发送get请求拿到下面个人主页的源码:

代码演示:
- 将cookie手动从抓包工具中获取,然后封装到requests请求的headers中,将headers作用到请求方法中。(不建议)
# 编码流程:
#     1.验证码的识别,获取验证码图片的文字数据
#     2.对get请求进行发送
#     3.对响应数据进行持久化存储import requests
from lxml import etree
from hashlib import md5# 封装识别验证码图片的函数
def getCodeText(userName, password, appId, imgUrl):class Chaojiying_Client(object):def __init__(self, username, password, soft_id):self.username = usernamepassword = password.encode('utf8')self.password = md5(password).hexdigest()self.soft_id = soft_idself.base_params = {'user': self.username,'pass2': self.password,'softid': self.soft_id,}self.headers = {'Connection': 'Keep-Alive','User-Agent': 'Mozilla/4.0 (compatible; MSIE 8.0; Windows NT 5.1; Trident/4.0)',}def PostPic(self, im, codetype):"""im: 图片字节codetype: 题目类型 参考 http://www.chaojiying.com/price.html"""params = {'codetype': codetype,}params.update(self.base_params)files = {'userfile': ('ccc.jpg', im)}r = requests.post('http://upload.chaojiying.net/Upload/Processing.php', data=params, files=files,headers=self.headers)return r.json()def ReportError(self, im_id):"""im_id:报错题目的图片ID"""params = {'id': im_id,}params.update(self.base_params)r = requests.post('http://upload.chaojiying.net/Upload/ReportError.php', data=params, headers=self.headers)return r.json()if __name__ == '__main__':chaojiying = Chaojiying_Client(userName, password, appId)  # 用户中心>>软件ID 生成一个替换 96001im = open(imgUrl, 'rb').read()  # 本地图片文件路径 来替换 a.jpg 有时WIN系统须要//# print(chaojiying.PostPic(im, 1902))  # 1902 验证码类型  官方网站>>价格体系 3.4+版 print 后要加()return chaojiying.PostPic(im, 1902)# 1.对验证码图片进行捕获和识别
headers = {'User-Agent': 'Mozilla/5.0 (Macintosh; Intel Mac OS X 10_13_2) AppleWebKit/537.36 (KHTML, like Gecko) Chrome/63.0.3239.84 Safari/537.36','Referer': 'http://www.renren.com/SysHome.do','Cookie': 'anonymid=klgdsqz5n7c6dn; depovince=ZGQT; _r01_=1; JSESSIONID=abcqWHDNhNOVf95ntfjFx; taihe_bi_sdk_uid=926da97ed7bdff5fc3ece47fdd554b0b; taihe_bi_sdk_session=ffa92a5a812142ba8dac302676d881cd; ick_login=426dff64-6952-4319-8c8f-96ea6f498550; first_login_flag=1; ln_uact=910456393@qq.com; ln_hurl=http://hdn.xnimg.cn/photos/hdn421/205/2035/h_main_9aN0_0c1b00037b06195a.jpg; wp_fold=0; jebecookies=c2363801-e587-4f54-8566-24b86aa22659|||||; _de=B3D043F455F38852340E4CEC836F3769696BF75400CE19CC; p=2e69883207d99e253471f621d896037d9; t=1f917c44eaa1178b8bd357e96d7346fc9; societyguester=1f917c44eaa1178b8bd357e96d7346fc9; id=974713149; xnsid=364172ac; loginfrom=syshome'
}
url = 'http://www.renren.com/'
page_text = requests.get(url=url,headers=headers).text
tree = etree.HTML(page_text)
img_url = tree.xpath('//*[@id="verifyPic_login"]/@src')[0]
print(img_url)
img_data = requests.get(img_url,headers=headers).content
print(img_data)
with open('./code.jpg','wb') as fp:fp.write(img_data)# 使用超级鹰打码提供的示例代码对验证码图片进行识别
result = getCodeText('用户名','密码', 'appid', '验证码本地存储的路径')
print(result['pic_str'])# 2.对get请求进行发送login_url = 'http://www.renren.com/9747139'
login_page_text = requests.get(url=login_url, headers=headers).text
with open('renren.html','w',encoding='utf-8') as fp:fp.write(login_page_text)# 爬取当前用户的个人主页对应的页面数据
detail_url = 'http://www.renren.com/974713149/profile'
detail_page_text = requests.get(url=detail_url, headers=headers).text
with open('zep.html','w',encoding='utf-8') as fp:fp.write(detail_page_text)
保存到本地的renren.html:

保存到本地的zep.html:

2. 创建会话对象,使用会话对象进行请求发送。因为会话中会自动携带且处理cookie。(推荐)
# 编码流程:
#     1.验证码的识别,获取验证码图片的文字数据
#     2.对get请求进行发送
#     3.对响应数据进行持久化存储import requests
from lxml import etree
from hashlib import md5# 封装识别验证码图片的函数
def getCodeText(userName, password, appId, imgUrl):class Chaojiying_Client(object):def __init__(self, username, password, soft_id):self.username = usernamepassword = password.encode('utf8')self.password = md5(password).hexdigest()self.soft_id = soft_idself.base_params = {'user': self.username,'pass2': self.password,'softid': self.soft_id,}self.headers = {'Connection': 'Keep-Alive','User-Agent': 'Mozilla/4.0 (compatible; MSIE 8.0; Windows NT 5.1; Trident/4.0)',}def PostPic(self, im, codetype):"""im: 图片字节codetype: 题目类型 参考 http://www.chaojiying.com/price.html"""params = {'codetype': codetype,}params.update(self.base_params)files = {'userfile': ('ccc.jpg', im)}r = requests.post('http://upload.chaojiying.net/Upload/Processing.php', data=params, files=files,headers=self.headers)return r.json()def ReportError(self, im_id):"""im_id:报错题目的图片ID"""params = {'id': im_id,}params.update(self.base_params)r = requests.post('http://upload.chaojiying.net/Upload/ReportError.php', data=params, headers=self.headers)return r.json()if __name__ == '__main__':chaojiying = Chaojiying_Client(userName, password, appId)  # 用户中心>>软件ID 生成一个替换 96001im = open(imgUrl, 'rb').read()  # 本地图片文件路径 来替换 a.jpg 有时WIN系统须要//# print(chaojiying.PostPic(im, 1902))  # 1902 验证码类型  官方网站>>价格体系 3.4+版 print 后要加()return chaojiying.PostPic(im, 1902)#创建会话对象,该会话对象可以调用get和post发起请求
session = requests.Session()# 1.对验证码图片进行捕获和识别
headers = {'User-Agent': 'Mozilla/5.0 (Macintosh; Intel Mac OS X 10_13_2) AppleWebKit/537.36 (KHTML, like Gecko) Chrome/63.0.3239.84 Safari/537.36','Referer': 'http://www.renren.com/SysHome.do',# 'Cookie': 'anonymid=klgdsqz5n7c6dn; depovince=ZGQT; _r01_=1; JSESSIONID=abcqWHDNhNOVf95ntfjFx; taihe_bi_sdk_uid=926da97ed7bdff5fc3ece47fdd554b0b; taihe_bi_sdk_session=ffa92a5a812142ba8dac302676d881cd; ick_login=426dff64-6952-4319-8c8f-96ea6f498550; first_login_flag=1; ln_uact=910456393@qq.com; ln_hurl=http://hdn.xnimg.cn/photos/hdn421/200705/235/h_main_9aN0_0c1b00b06195a.jpg; wp_fold=0; jebecookies=c2363801-e587-4f54-8566-24b86aa22659|||||; _de=B3D043F455F38852340E4CEC836F3769696BF75400CE19CC; p=2e69883207d99e253471f621d896037d9; t=1f917c44eaa1178b8bd357e96d7346fc9; societyguester=1f917c44eaa1b8bd357e96d7346fc9; id=974713149; xnsid=364172ac; loginfrom=syshome'
}
url = 'http://www.renren.com/'
page_text = session.get(url=url,headers=headers).text
tree = etree.HTML(page_text)
img_url = tree.xpath('//*[@id="verifyPic_login"]/@src')[0]
print(img_url)
img_data = session.get(img_url,headers=headers).content
print(img_data)
with open('./code.jpg','wb') as fp:fp.write(img_data)# 使用超级鹰打码提供的示例代码对验证码图片进行识别
result = getCodeText('用户名','密码', 'appid', '验证码图片的路径')
print(result['pic_str'])login_post_url = 'http://www.renren.com/ajaxLogin/login?1=1&uniqueTimestamp=202112910495'
data = {'email': '910451393@qq.com','icode': result['pic_str'],'origURL': 'http://www.renren.com/home','domain': 'renren.com','key_id': '1','captcha_type': 'web_login','password': '346d050fe82d3cfe090210864d73b65b5608bf90173371b3c10e7df6e533','rkey': '3a7cdde0b042c1ba11169c3378fd5b','f': 'http%3A%2F%2Fwww.renren.com%2F974713149%2Fnewsfeed%2Fphoto'
}
response = session.post(url=login_post_url, headers=headers,data=data)
print(response.text)# 2.对get请求进行发送login_url = 'http://www.renren.com/974713149'
login_page_text = session.get(url=login_url, headers=headers).text
with open('renren.html','w',encoding='utf-8') as fp:fp.write(login_page_text)# 爬取当前用户的个人主页对应的页面数据
detail_url = 'http://www.renren.com/974713149/profile'
detail_page_text = session.get(url=detail_url, headers=headers).text
with open('zep.html','w',encoding='utf-8') as fp:fp.write(detail_page_text)
zep.html:


——Attached Property的简单应用)
)

)
)


)

)


)


