1. 轻量级容器管理工具 Containerd
2. Containerd的两种安装方式
3. Containerd容器镜像管理
4. Containerd数据持久化和网络管理
1、Containerd NameSpace管理
containerd中namespace的作用为:隔离运行的容器,可以实现运行多个容器。
查看命令帮助
# ctr namespace --help
......
列出已有namespace
# ctr namespace ls
NAME    LABELS
default查明namespace下的镜像
# ctr -n default images ls
创建namespace
# ctr namespace create kubemsb[root@localhost ~]# ctr namespace ls
NAME    LABELS
default
kubemsb 此命名空间为新添加的
删除namespace,namespace下不能包含静态 动态容器 镜像
# ctr namespace rm kubemsb
kubemsb再次查看是否删除
[root@localhost ~]# ctr namespace ls
NAME    LABELS
default
查看指定namespace中是否有用户进程在运行
# ctr -n kubemsb tasks ls
TASK    PID    STATUS
在指定namespace中下载容器镜像
# ctr -n kubemsb images pull docker.io/library/nginx:latest
在指定namespace中创建静态容器
# ctr -n kubemsb container create docker.io/library/nginx:latest nginxapp
查看在指定namespace中创建的容器
# ctr -n kubemsb container ls
CONTAINER    IMAGE                             RUNTIME
nginxapp     docker.io/library/nginx:latest    io.containerd.runc.v2
2、Containerd Network管理
默认Containerd管理的容器仅有lo网络,无法访问容器之外的网络,可以为其添加网络插件,使用容器可以连接外网。CNI(Container Network Interface)
2.1 创建CNI网络
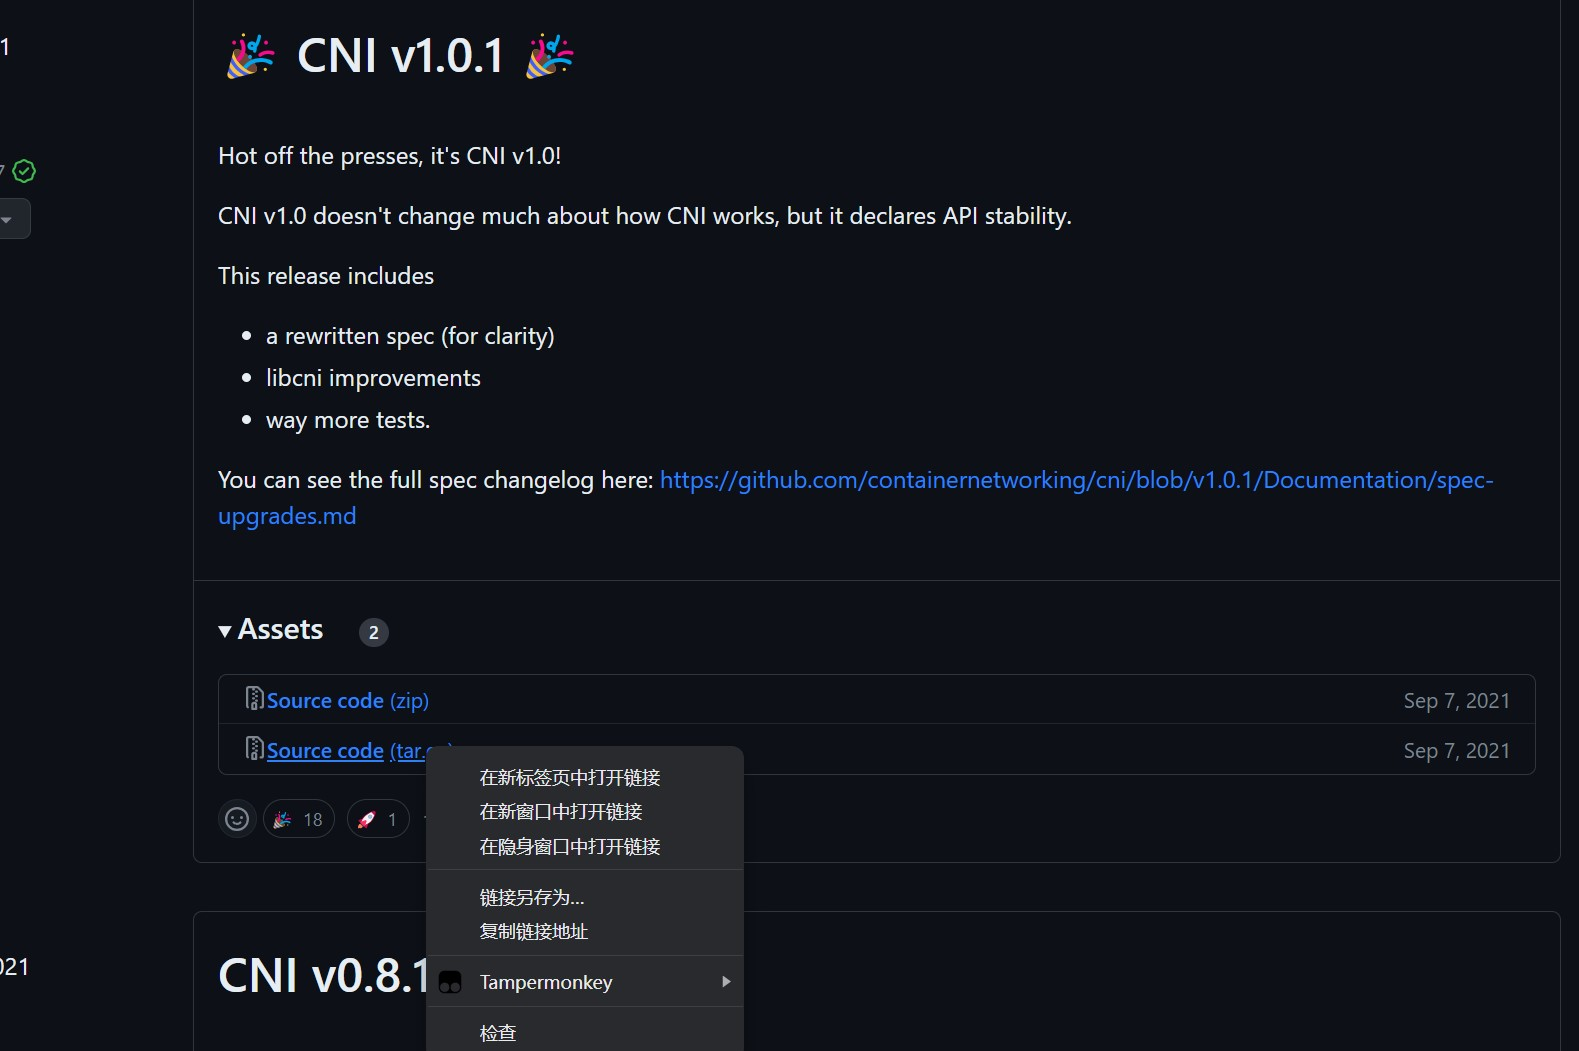
| containernetworking/cni | CNI v1.0.1 |
|---|---|
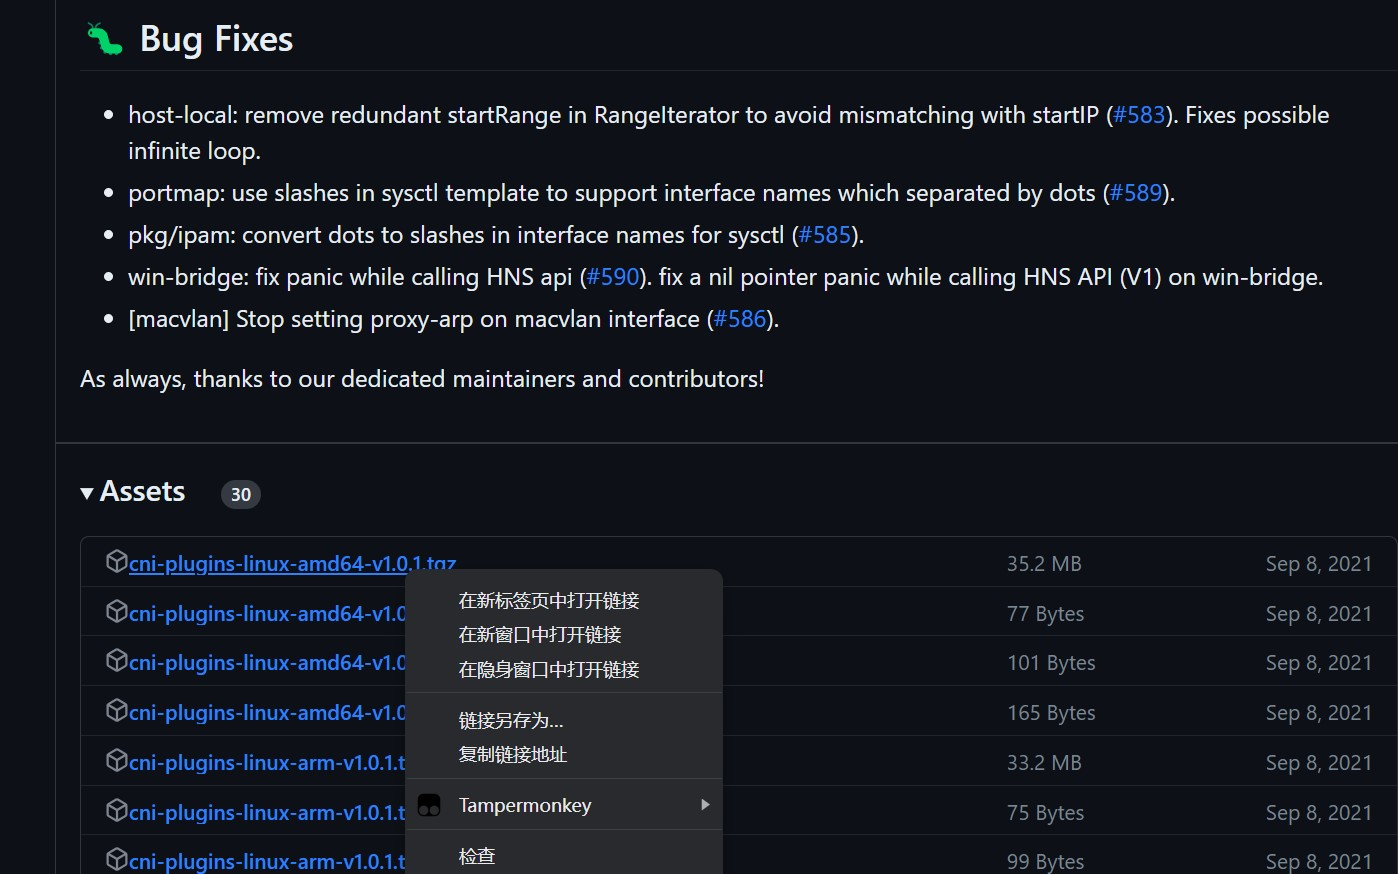
| containernetworking/plugins | CNI Plugins v1.0.1 |
2.1.1 获取CNI工具源码


使用wget下载cni工具源码包
# wget https://github.com/containernetworking/cni/archive/refs/tags/v1.0.1.tar.gz
查看已下载cni工具源码包
# ls
v1.0.1.tar.gz解压已下载cni工具源码包
# tar xf v1.0.1.tar.gz查看解压后已下载cni工具源码包
# ls
cni-1.0.1重命名已下载cni工具源码包目录
# mv cni-1.0.1 cni查看重新命名后目录
# ls
cni查看cni工具目录中包含的文件
# ls cni
cnitool             CONTRIBUTING.md  DCO            go.mod  GOVERNANCE.md  LICENSE   MAINTAINERS  plugins    RELEASING.md  scripts  test.sh
CODE-OF-CONDUCT.md  CONVENTIONS.md   Documentation  go.sum  libcni         logo.png  pkg          README.md  ROADMAP.md    SPEC.md
2.1.2 获取CNI Plugins(CNI插件)


使用wget下载cni插件工具源码包
# wget https://github.com/containernetworking/plugins/releases/download/v1.0.1/cni-plugins-linux-amd64-v1.0.1.tgz
查看已下载cni插件工具源码包
# ls
cni-plugins-linux-amd64-v1.0.1.tgz
cni创建cni插件工具解压目录
# mkdir /home/cni-plugins解压cni插件工具至上述创建的目录中
# tar xf cni-plugins-linux-amd64-v1.0.1.tgz -C /home/cni-plugins查看解压后目录
# ls cni-plugins
bandwidth  bridge  dhcp  firewall  host-device  host-local  ipvlan  loopback  macvlan  portmap  ptp  sbr  static  tuning  vlan  vrf
2.1.3 准备CNI网络配置文件
准备容器网络配置文件,用于为容器提供网关、IP地址等。
创建名为mynet的网络,其中包含名为cni0的网桥
# vim /etc/cni/net.d/10-mynet.conf
# cat /etc/cni/net.d/10-mynet.conf
{"cniVersion": "1.0.0","name": "mynet","type": "bridge","bridge": "cni0","isGateway": true,"ipMasq": true,"ipam": {"type": "host-local","subnet": "10.66.0.0/16","routes": [{ "dst": "0.0.0.0/0" }]}
}
# vim /etc/cni/net.d/99-loopback.conf
# cat /etc/cni/net.d/99-loopback.conf
{"cniVerion": "1.0.0","name": "lo","type": "loopback"
}
2.1.4 生成CNI网络
获取epel源
# wget -O /etc/yum.repos.d/epel.repo http://mirrors.aliyun.com/repo/epel-7.repo安装jq
# yum -y install jq
进入cni工具目录
# cd cni
[root@localhost cni]# ls
cnitool             CONTRIBUTING.md  DCO            go.mod  GOVERNANCE.md  LICENSE   MAINTAINERS  plugins    RELEASING.md  scripts  test.sh
CODE-OF-CONDUCT.md  CONVENTIONS.md   Documentation  go.sum  libcni         logo.png  pkg          README.md  ROADMAP.md    SPEC.md必须在scripts目录中执行,需要依赖exec-plugins.sh文件,再次进入scripts目录
[root@localhost cni]# cd scripts/ 查看执行脚本文件
[root@localhost scripts]# ls
docker-run.sh  exec-plugins.sh  priv-net-run.sh  release.sh执行脚本文件,基于/etc/cni/net.d/目录中的*.conf配置文件生成容器网络
[root@localhost scripts]# CNI_PATH=/home/cni-plugins ./priv-net-run.sh echo "Hello World"
Hello World
在宿主机上查看是否生成容器网络名为cni0的网桥
# ip a s
......
5: cni0: <NO-CARRIER,BROADCAST,MULTICAST,UP> mtu 1500 qdisc noqueue state DOWN group default qlen 1000link/ether 36:af:7a:4a:d6:12 brd ff:ff:ff:ff:ff:ffinet 10.66.0.1/16 brd 10.66.255.255 scope global cni0valid_lft forever preferred_lft foreverinet6 fe80::34af:7aff:fe4a:d612/64 scope linkvalid_lft forever preferred_lft forever
在宿主机上查看其路由表情况
# ip route
default via 192.168.10.2 dev ens33 proto dhcp metric 100
10.66.0.0/16 dev cni0 proto kernel scope link src 10.66.0.1
192.168.10.0/24 dev ens33 proto kernel scope link src 192.168.10.164 metric 100
192.168.122.0/24 dev virbr0 proto kernel scope link src 192.168.122.1
2.2 为Containerd容器配置网络功能
2.2.1 创建一个容器
# ctr images ls
REF TYPE DIGEST SIZE PLATFORMS LABELS# ctr images pull docker.io/library/busybox:latest# ctr run -d docker.io/library/busybox:latest busybox# ctr container ls
CONTAINER    IMAGE                               RUNTIME
busybox      docker.io/library/busybox:latest    io.containerd.runc.v2# ctr tasks ls
TASK       PID     STATUS
busybox    8377    RUNNING
2.2.2 进入容器查看其网络情况
# ctr tasks exec --exec-id $RANDOM -t busybox sh/ # ip a s
1: lo: <LOOPBACK,UP,LOWER_UP> mtu 65536 qdisc noqueue qlen 1000link/loopback 00:00:00:00:00:00 brd 00:00:00:00:00:00inet 127.0.0.1/8 scope host lovalid_lft forever preferred_lft foreverinet6 ::1/128 scope hostvalid_lft forever preferred_lft forever
2.2.3 获取容器进程ID及其网络命名空间
在宿主机中完成指定容器进程ID获取
# pid=$(ctr tasks ls | grep busybox | awk '{print $2}')
# echo $pid
8377
在宿主机中完成指定容器网络命名空间路径获取
# netnspath=/proc/$pid/ns/net
# echo $netnspath
/proc/8377/ns/net
2.2.4 为指定容器添加网络配置
确认执行脚本文件时所在的目录
[root@localhost scripts]# pwd
/home/cni/scripts
执行脚本文件为容器添加网络配置
[root@localhost scripts]# CNI_PATH=/home/cni-plugins ./exec-plugins.sh add $pid $netnspath
进入容器确认是否添加网卡信息
# ctr tasks exec --exec-id $RANDOM -t busybox sh
/ # ip a s
1: lo: <LOOPBACK,UP,LOWER_UP> mtu 65536 qdisc noqueue qlen 1000link/loopback 00:00:00:00:00:00 brd 00:00:00:00:00:00inet 127.0.0.1/8 scope host lovalid_lft forever preferred_lft foreverinet6 ::1/128 scope hostvalid_lft forever preferred_lft forever
2: eth0@if7: <BROADCAST,MULTICAST,UP,LOWER_UP,M-DOWN> mtu 1500 qdisc noqueuelink/ether a2:35:b7:e0:60:0a brd ff:ff:ff:ff:ff:ffinet 10.66.0.3/16 brd 10.66.255.255 scope global eth0valid_lft forever preferred_lft foreverinet6 fe80::a035:b7ff:fee0:600a/64 scope linkvalid_lft forever preferred_lft forever在容器中ping容器宿主机IP地址
/ # ping -c 2 192.168.10.164
PING 192.168.10.164 (192.168.10.164): 56 data bytes
64 bytes from 192.168.10.164: seq=0 ttl=64 time=0.132 ms
64 bytes from 192.168.10.164: seq=1 ttl=64 time=0.044 ms--- 192.168.10.164 ping statistics ---
2 packets transmitted, 2 packets received, 0% packet loss
round-trip min/avg/max = 0.044/0.088/0.132 ms在容器中ping宿主机所在网络中的其它主机IP地址
/ # ping -c 2 192.168.10.165
在容器中开启httpd服务
/ # echo "containerd net web test" > /tmp/index.html
/ # httpd -h /tmp/ # wget -O - -q 127.0.0.1
containerd net web test
/ # exit在宿主机访问容器提供的httpd服务
[root@localhost scripts]# curl http://10.66.0.3
containerd net web test
3、Containerd容器数据持久化存储
实现把宿主机目录挂载至Containerd容器中,实现容器数据持久化存储
# ctr container create docker.io/library/busybox:latest busybox3 --mount type=bind,src=/tmp,dst=/hostdir,options=rbind:rw
说明:
创建一个静态容器,实现宿主机目录与容器挂载
src=/tmp 为宿主机目录
dst=/hostdir 为容器中目录
运行用户进程
# ctr tasks start -d busybox3 bash
进入容器,查看是否挂载成功
# ctr tasks exec --exec-id $RANDOM -t busybox3 sh/ # ls /hostdir
VMwareDnD
systemd-private-cf1fe70805214c80867e7eb62dff5be7-bolt.service-MWV1Ju
systemd-private-cf1fe70805214c80867e7eb62dff5be7-chronyd.service-6B6j8p
systemd-private-cf1fe70805214c80867e7eb62dff5be7-colord.service-6fI31A
systemd-private-cf1fe70805214c80867e7eb62dff5be7-cups.service-tuK4zI
systemd-private-cf1fe70805214c80867e7eb62dff5be7-rtkit-daemon.service-vhP67o
tracker-extract-files.0
vmware-root_703-3988031936
vmware-root_704-2990744159
vmware-root_713-4290166671向容器中挂载目录中添加文件
/ # echo "hello world" > /hostdir/test.txt退出容器
/ # exit在宿主机上查看被容器挂载的目录中是否添加了新的文件,已添加表明被容器挂载成功,并可以读写此目录中内容。
[root@localhost ~]# cat /tmp/test.txt
hello world
4、与其它Containerd容器共享命名空间
当需要与其它Containerd管理的容器共享命名空间时,可使用如下方法。
# ctr tasks ls
TASK        PID      STATUS
busybox3    13778    RUNNING
busybox     8377     RUNNING
busybox1    12469    RUNNING
# ctr container create --with-ns "pid:/proc/13778/ns/pid" docker.io/library/busybox:latest busybox4
[root@localhost ~]# ctr tasks start -d busybox4 bash
[root@localhost ~]# ctr tasks exec --exec-id $RANDOM -t busybox3 sh
/ # ps aux
PID   USER     TIME  COMMAND1 root      0:00 sh20 root      0:00 sh26 root      0:00 sh32 root      0:00 ps aux
5、Docker集成Containerd实现容器管理
目前Containerd主要任务还在于解决容器运行时的问题,对于其周边生态还不完善,所以可以借助Docker结合Containerd来实现Docker完整的功能应用。
准备Docker安装YUM源
# wget -O /etc/yum.repos.d/docker-ce.repo https://mirrors.aliyun.com/docker-ce/linux/centos/docker-ce.repo
安装Docker-ce
# yum -y install docker-ce
修改Docker服务文件,以便使用已安装的containerd。
# vim /etc/systemd/system/multi-user.target.wants/docker.service修改前:
[Service]
Type=notify
# the default is not to use systemd for cgroups because the delegate issues still
# exists and systemd currently does not support the cgroup feature set required
# for containers run by docker
ExecStart=/usr/bin/dockerd -H fd:// --containerd=/run/containerd/containerd.sock 此处
ExecReload=/bin/kill -s HUP $MAINPID修改后:[Service]
Type=notify
# the default is not to use systemd for cgroups because the delegate issues still
# exists and systemd currently does not support the cgroup feature set required
# for containers run by docker
ExecStart=/usr/bin/dockerd --containerd  /run/containerd/containerd.sock --debug 此处
ExecReload=/bin/kill -s HUP $MAINPID
TimeoutSec=0
RestartSec=2
Restart=always
设置docker daemon启动并设置其开机自启动
# systemctl daemon-reload
# systemctl enable docker
Created symlink from /etc/systemd/system/multi-user.target.wants/docker.service to /usr/lib/systemd/system/docker.service.
# systemctl start docker
查看其启动后进程
# ps aux | grep docker
root      16270  0.0  3.1 1155116 63320 ?       Ssl  12:09   0:00 /usr/bin/dockerd --containerd /run/containerd/containerd.sock --debug
使用docker运行容器
# docker run -d nginx:latest
......
219a9c6727bcd162d0a4868746c513a277276a110f47e15368b4229988003c13
使用docker ps命令查看正在运行的容器
# docker ps
CONTAINER ID   IMAGE          COMMAND                  CREATED          STATUS          PORTS     NAMES
219a9c6727bc   nginx:latest   "/docker-entrypoint.…"   14 seconds ago   Up 13 seconds   80/tcp    happy_tu
使用ctr查看是否添加一个新的namespace,本案例中发现添加一个moby命名空间,即为docker使用的命名空间。
# ctr namespace ls
NAME    LABELS
default
kubemsb
moby
查看moby命名空间,发现使用docker run运行的容器包含在其中。
# ctr -n moby container ls
CONTAINER                                                           IMAGE    RUNTIME
219a9c6727bcd162d0a4868746c513a277276a110f47e15368b4229988003c13    -        io.containerd.runc.v2
使用ctr能够查看到一个正在运行的容器,既表示docker run运行的容器是被containerd管理的。
# ctr -n moby tasks ls
TASK                                                                PID      STATUS
219a9c6727bcd162d0a4868746c513a277276a110f47e15368b4229988003c13    16719    RUNNING
使用docker stop停止且使用docker rm删除容器后再观察,发现容器被删除。
# docker stop 219;docker rm 219
219
219# ctr -n moby container ls
CONTAINER    IMAGE    RUNTIME# ctr -n moby tasks ls
TASK    PID    STATUS
![[IDEA]使用idea比较两个jar包的差异](http://pic.xiahunao.cn/[IDEA]使用idea比较两个jar包的差异)
—— 分析篇)


)


