小皮面板配置Xdebug
首先下载phpstrom,和小皮面板
打开小皮面板,选中好要使用的php版本
然后点击【管理】=> 【php扩展】=> 【xdebug】
然后打开选中好版本的php位置
D:\Program_Files\phpstudy_pro\Extensions\php\php7.4.3nts打开php.ini文件,再末尾修改为下面这种状态
[Xdebug];zend_extension_ts = "D:\phpstudy_pro\Extensions\php\php7.3.4nts\ext\php_xdebug-3.0.4-7.3-vc15-nts-x86_64.dll"zend_extension = xdebug ;指定xdebug,我这里用的是页面提供的xdebug.remote_enable = 1 ;开启调试xdebug.remote_host = "127.0.0.1" ;调试的ipxdebug.remote_port = 9001 ;调试的端口xdebug.remote_autostart=On ;远程调试自动开启xdebug.collect_return=Off ;必须为Off,或者不设定,要不Thinkphp一直死循环在入口index.phpxdebug.auto_trace = On ;不知道,不会用,贴过来的xdebug.show_exception_trace = On ;不知道,不会用,贴过来的xdebug.remote_handler = dbgp ;应该是多人调试用的xdebug.idekey = "PHPSTORM" ;调试关键字# 初始状态[Xdebug]zend_extension=D:/Program_Files/phpstudy_pro/Extensions/php/php7.4.3nts/ext/php_xdebug.dllxdebug.collect_params=1xdebug.collect_return=1xdebug.auto_trace=Offxdebug.trace_output_dir=D:/Program_Files/phpstudy_pro/Extensions/php_log/php7.4.3nts.xdebug.tracexdebug.profiler_enable=Offxdebug.profiler_output_dir=D:/Program_Files/phpstudy_pro/Extensions/php_log/php7.4.3nts.xdebug.profiler# 这个初始为Off,修改为Onxdebug.remote_enable=Onxdebug.remote_host=localhostxdebug.remote_port=9000xdebug.remote_handler=dbgpXdebug.remote_autostart=1# 添加xdebug.idekey="PHPSTORM"保存,打开phpstorm
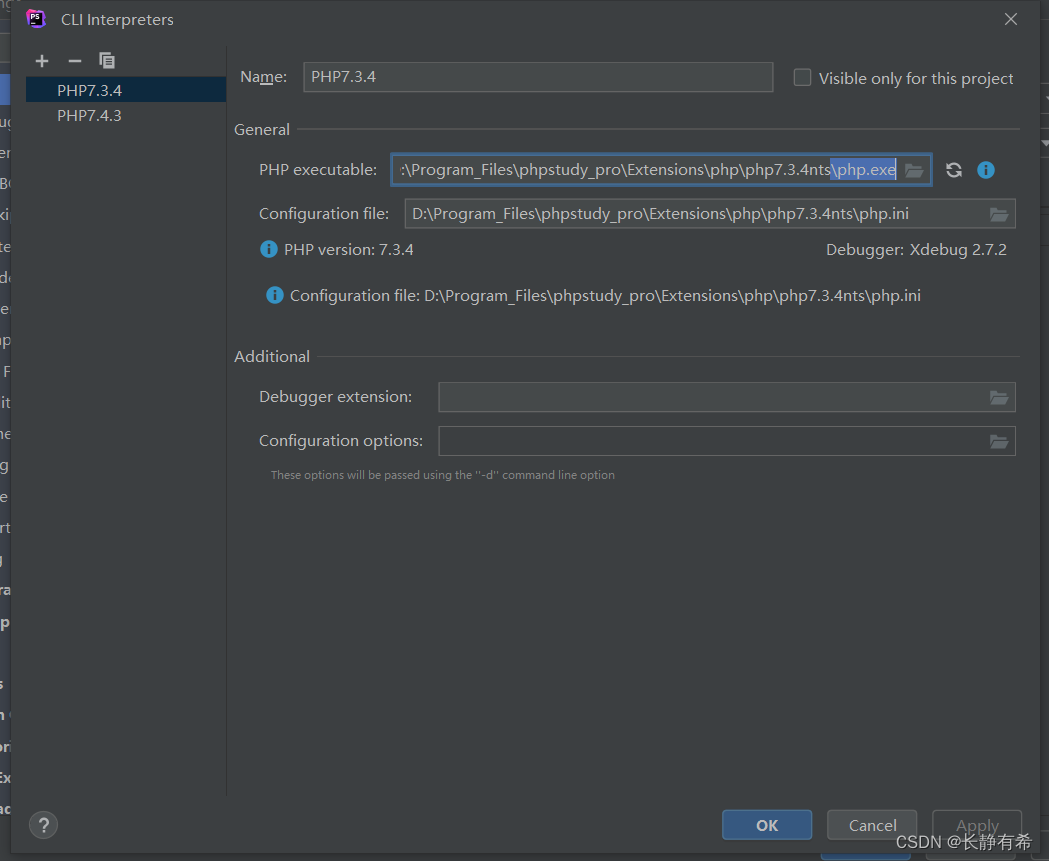
- 配置好要使用的php版本,直接指向小皮面版下php版本即可
远程调试小皮面板中单个php文件
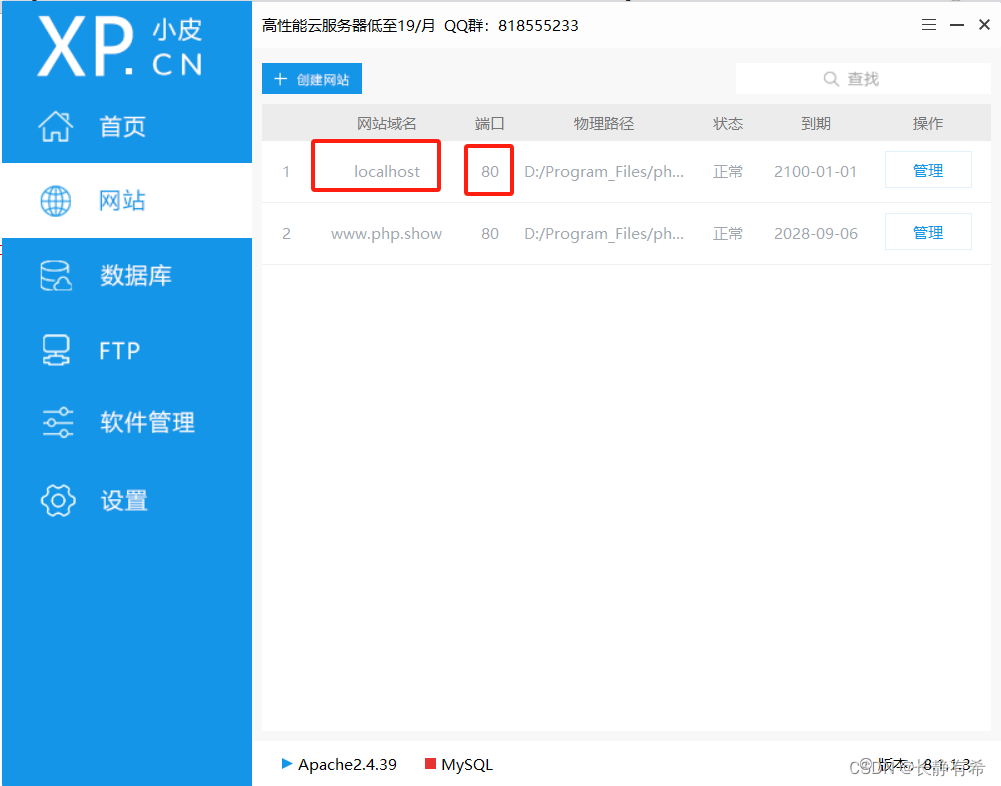
首先使用小皮面包运行项目设置好名称和运行的端口号
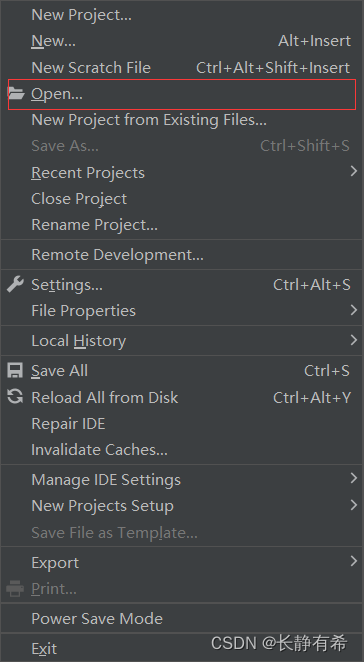
测试可以正常访问后,使用phpstorm打开这个项目
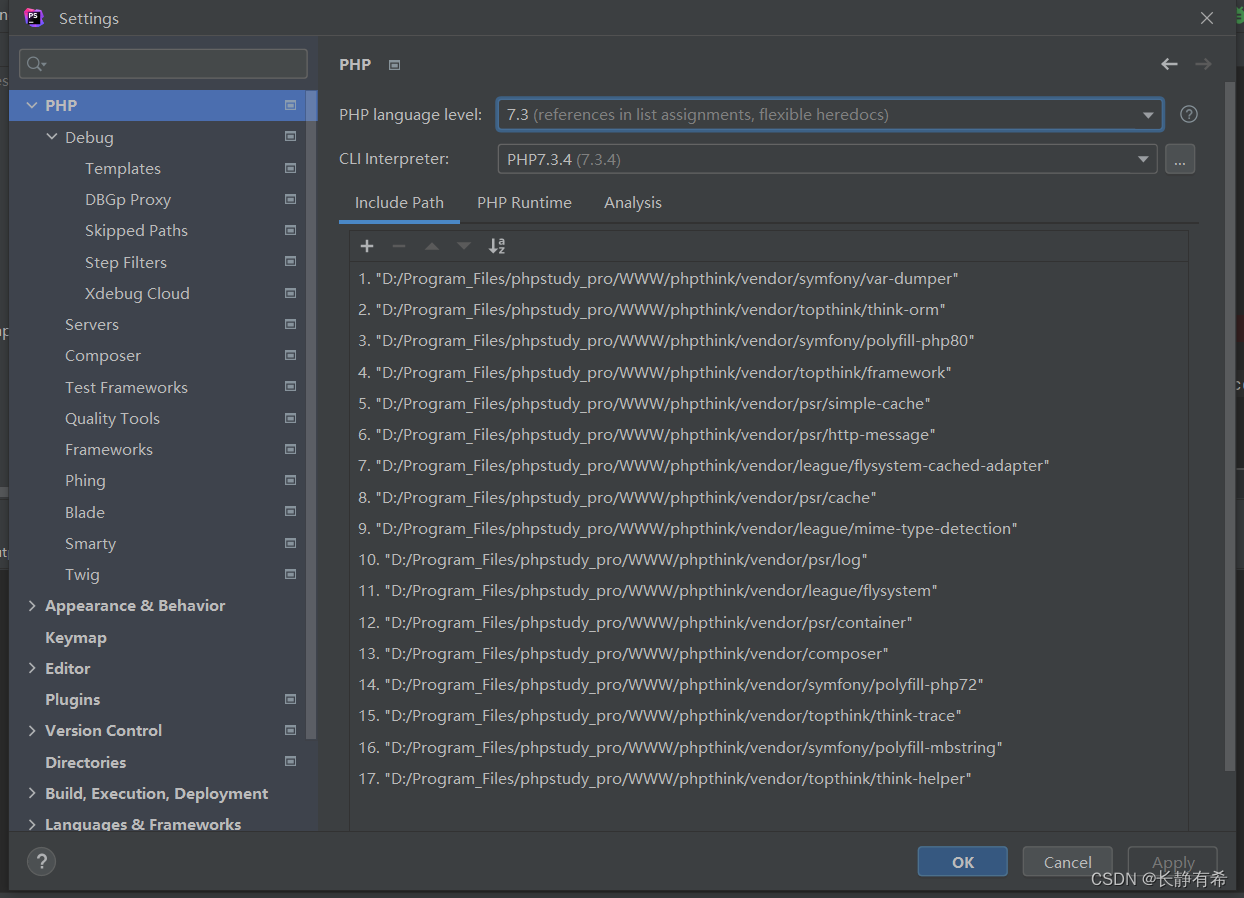
打开完成后配置php使用的版本和小皮面板一致
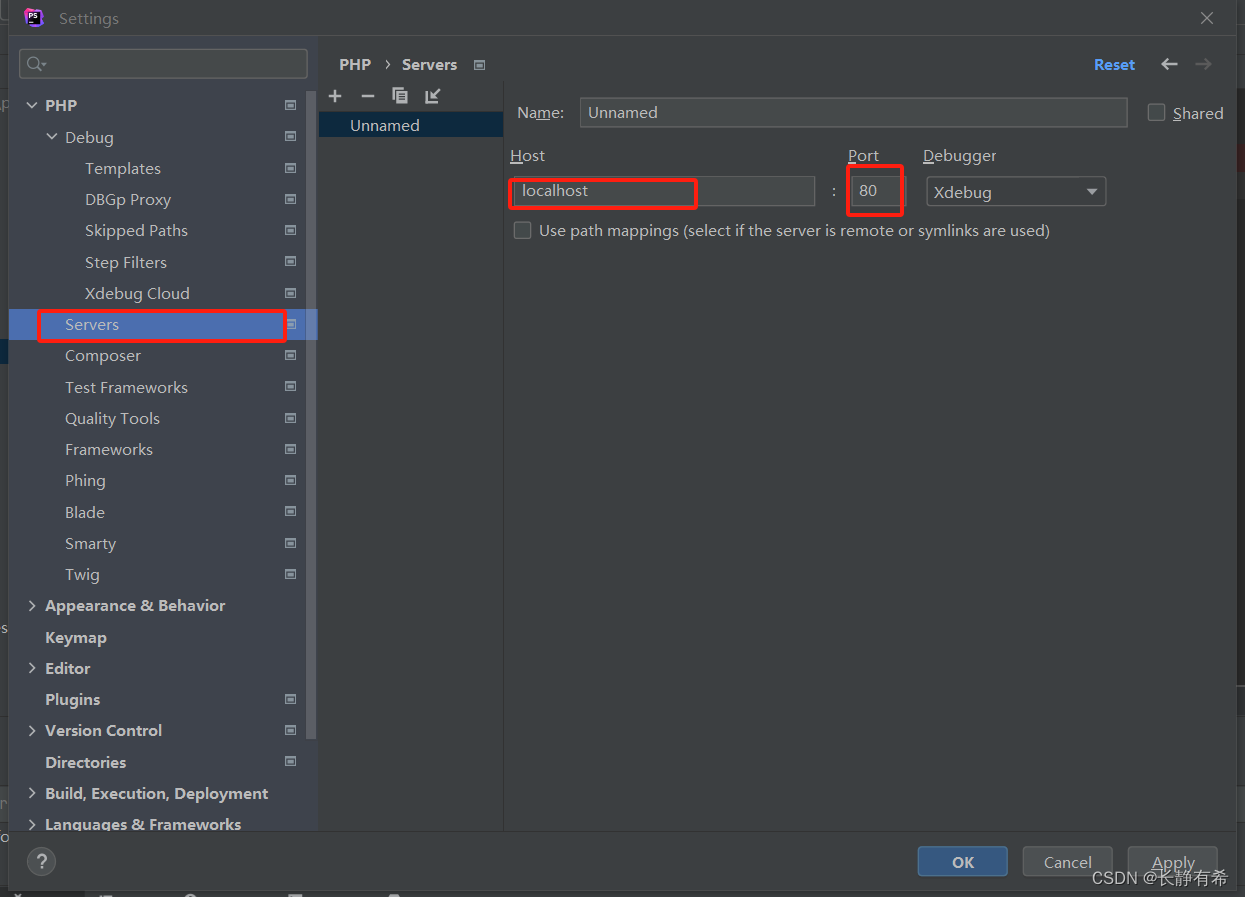
然后配置远程服务器地址,要和第一步的名称和端口一致
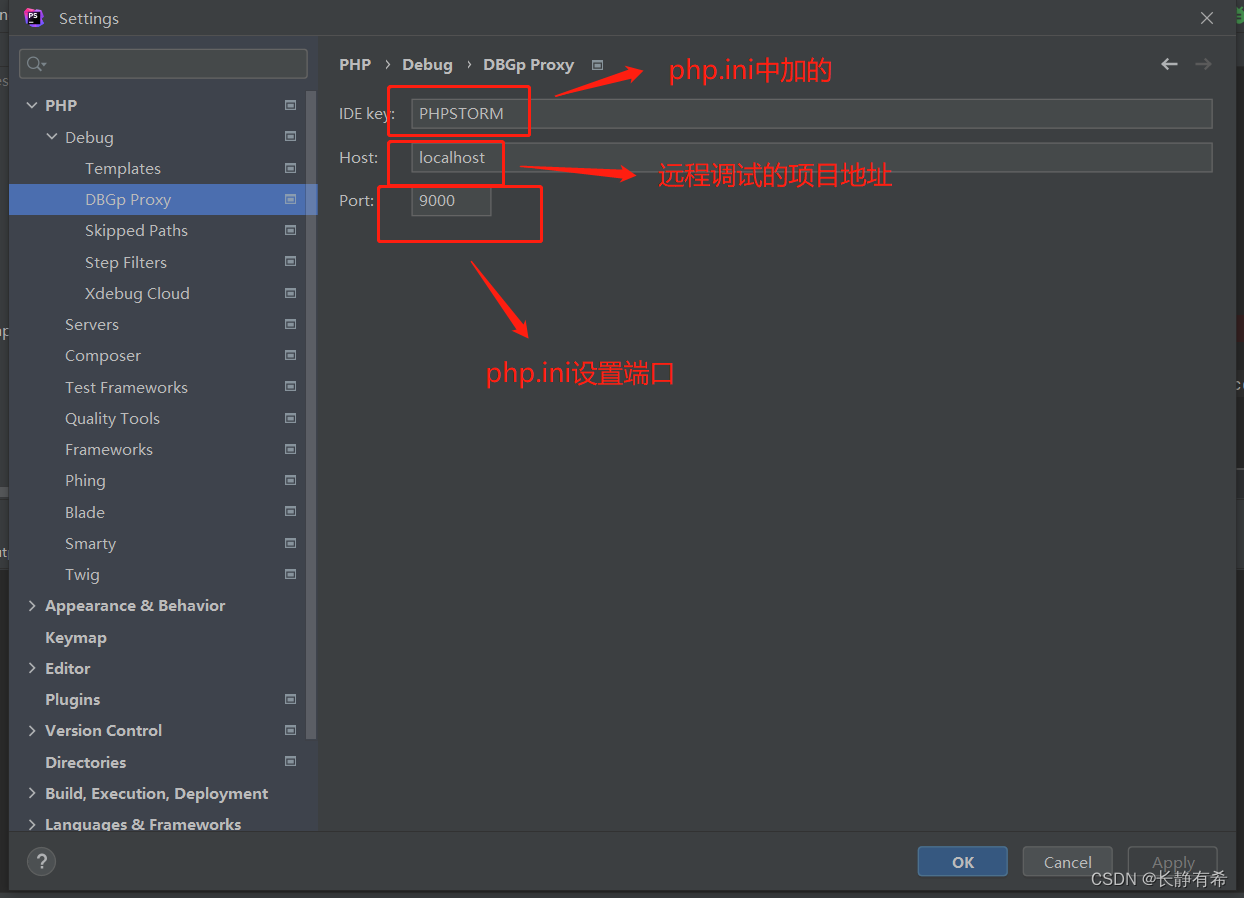
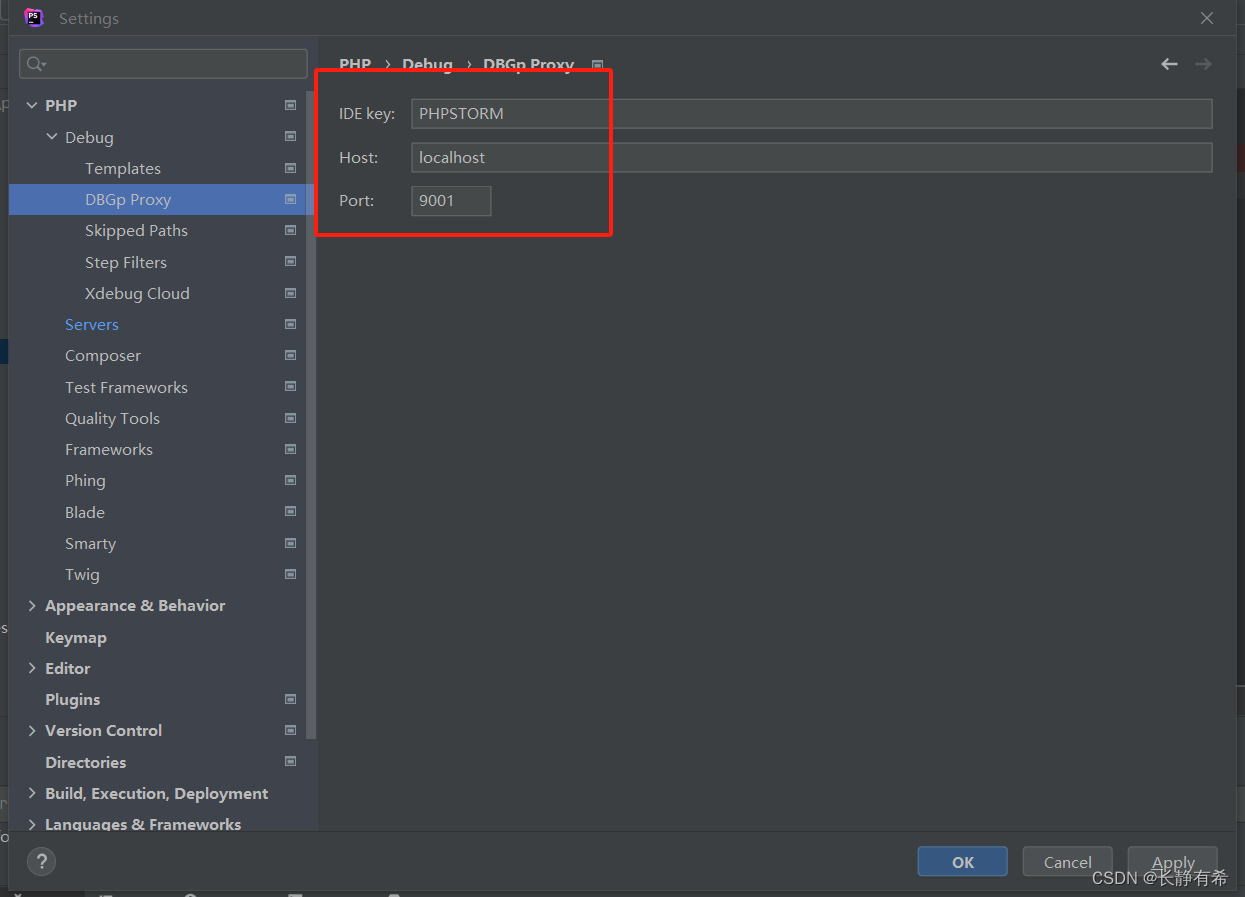
配置密匙,密匙再php.ini配置文件最底下
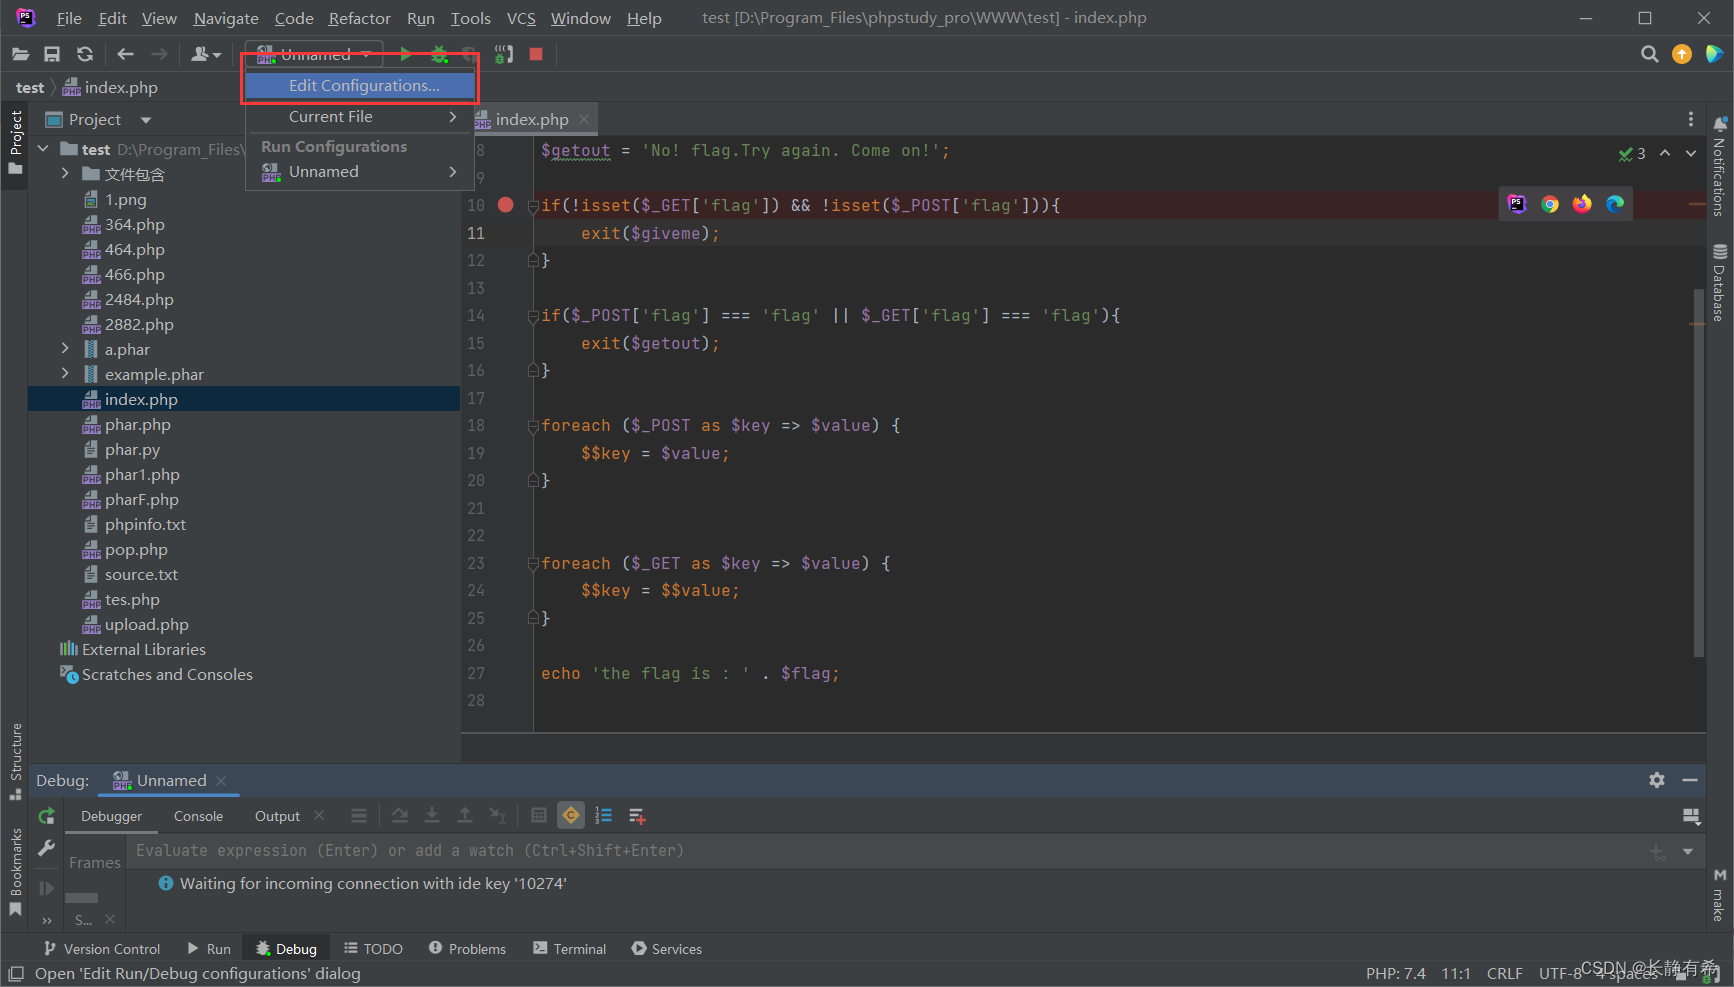
新建一个文件入口
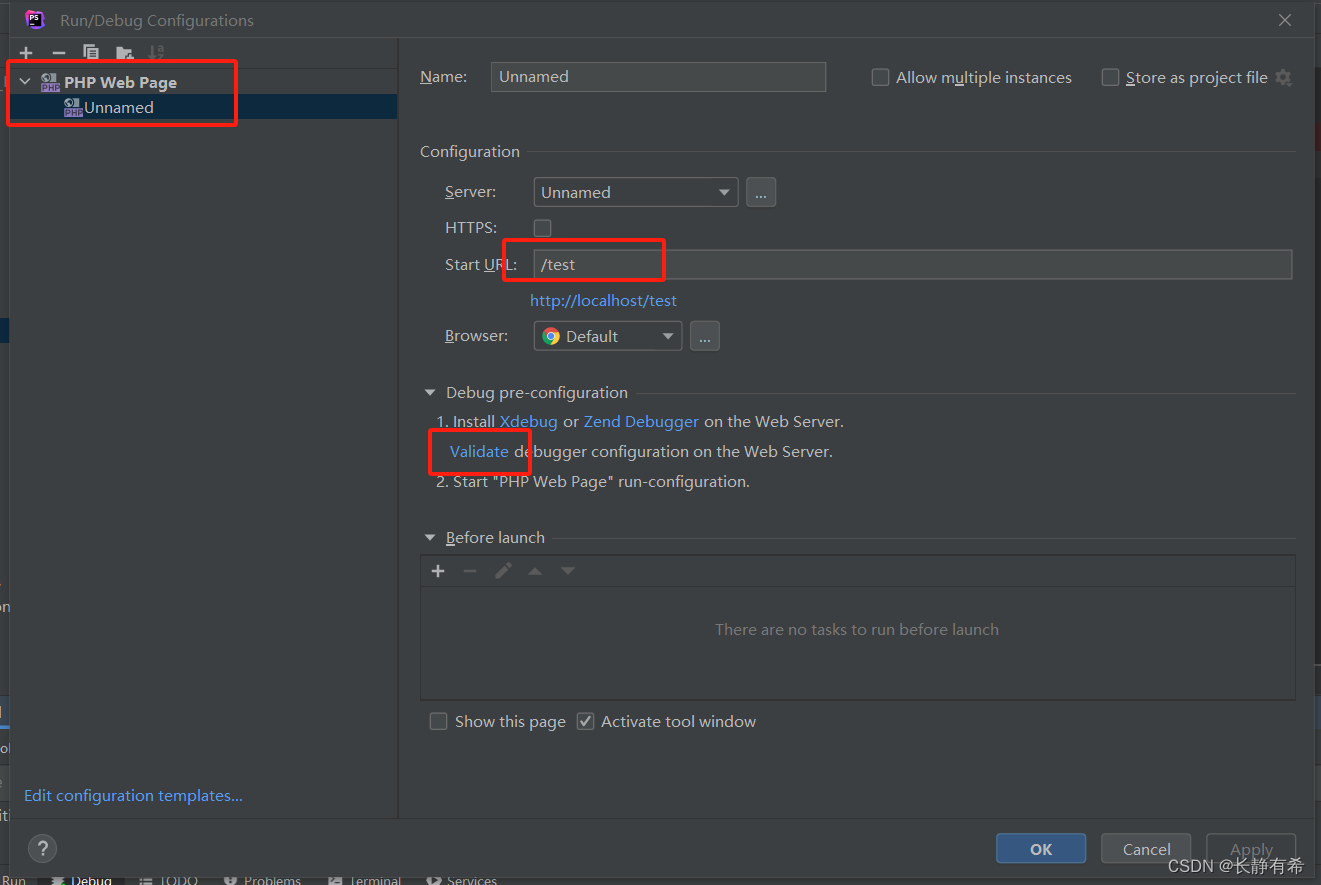
然后新疆一个Web Page,然后设置好入口,入口为使用小皮面包可正常访问的入口,
可以点击
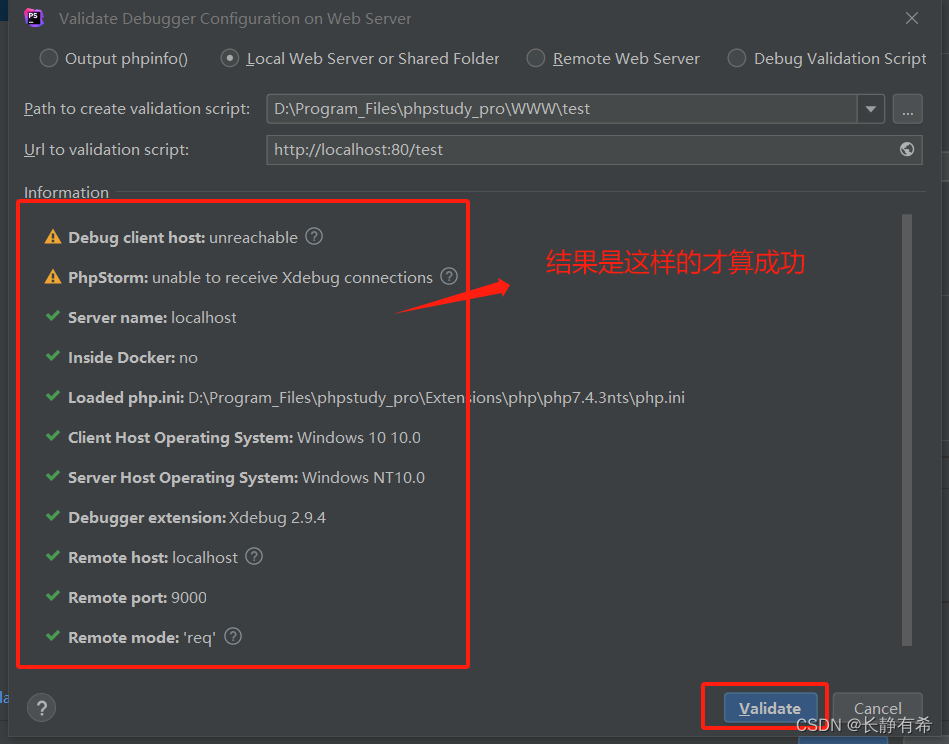
validate测试入是否有用
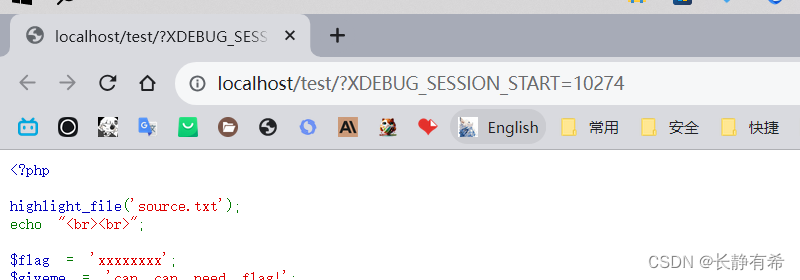
最后点击以dubug模式启动项目



)


源码)


