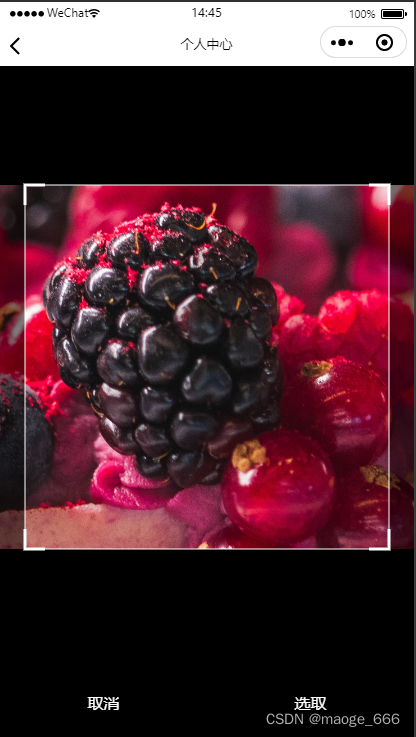
效果如图:

操作流程:
个人中心–点击设置头像–选择图片-裁剪–选取–上传
template
<view class="meilan" style="position: relative;"><u-row justify="space-between"><u-col span="3">设置头像</u-col><u-col span="8"><view class="picselect"><view class="usernameyang"><view class="user-img"><image :src="userImg" mode="" v-if="userImg !=null"></image><image :src="userImg" mode="" v-else></image></view></view></view></u-col><u-col span="1"><u-icon name="arrow-right"></u-icon></u-col></u-row><cropper selWidth="660rpx" selHeight="660rpx" @upload="myUpload"  avatarStyle="width:100%;height:110rpx;position:absolute;top:0rpx;left:0px;"></cropper>
</view>
script
<script>
//引入组件
import cropper from "@/packageMy/facecropper.vue"
export default {onLoad(options) {this.getUserInfo()},components: {cropper},data() {return {userinfo:{},userImg:null};},methods:{//查看当前用户信息getUserInfo() {uni.showLoading();this.$api.task.roleIdList().then(res => {uni.hideLoading();this.userinfo = res.data.sysUser;if(res.data.sysUser.avatar){//用户头像this.userImg = res.data.sysUser.avatar}else{this.userImg = null}})},//上传返回图片myUpload(rsp) {const self = this;self.userImg = rsp.path;this.gosubmit()},gosubmit(){let imgData= {avatar: this.userImg}this.$api.mine.addImg(imgData).then(res => {uni.hideLoading();if (res.code == 1) {uni.showToast({title:"图片上传失败",icon:"none"})return}if (res.code == 0) {uni.showToast({title:"图片上传成功",icon:"none"})setTimeout(function() {uni.switchTab({url:"/pages/mine/mine"})}, 1000);}})}}
}
</script>
组件文件
facecropper.vue 点击此处
style
.picselect{position: relative;margin: 0 auto;text-align: center;
}
.usernameyang{width: 100%;height: 110rpx;line-height: 110rpx;box-sizing: border-box;text-align: right;padding-right: 20rpx;overflow: hidden;text-overflow: ellipsis;white-space: nowrap;font-size: 30rpx;color: #333;
}
.user-img{width: 80rpx;height: 80rpx;border-radius: 8rpx;float: right;margin-top: 17rpx;
}
.user-img image{width: 100%;height: 100%;
}


)
)


