安装vcpkg:
git clone https://github.com/microsoft/vcpkg
执行脚本:
.\vcpkg\bootstrap-vcpkg.bat
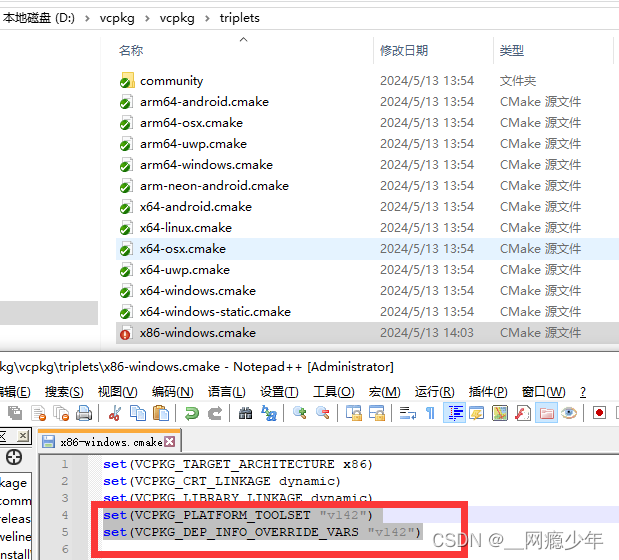
在安装之前如果需要指定vs的编译器, 在如下文件中做更改, 我指定的是用vs2019编译的:
D:\vcpkg\vcpkg\triplets

增加了
set(VCPKG_PLATFORM_TOOLSET "v142")
set(VCPKG_DEP_INFO_OVERRIDE_VARS "v142")
安装Libheif
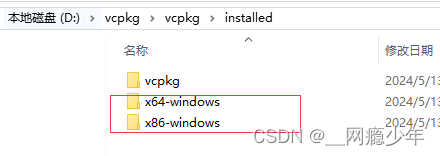
指定安装(编译)64位库.\vcpkg\vcpkg install libheif:x64-windows#指定安装(编译)32位库.\vcpkg\vcpkg install libheif:x86-windows成功后在如下目录中生成64位和32位的
编写qt插件(这里有我自已写的demo, vs2019 32位的)
https://download.csdn.net/download/uVarAndMethod/89302876?spm=1001.2014.3001.5503
生成的debug和release的dll放入qt安装目录下 Qt\5.15.2\msvc2019\plugins\imageformats中, 如下图

这样做完之后, 加载heic图片
import QtQuick 2.15
import QtQuick.Window 2.15Window {width: 640height: 480visible: truetitle: qsTr("Hello World")Image{anchors.centerIn: parentsource: "file:///C:\\Users\\Administrator\\Desktop\\wget\\311.HEIC"}
}
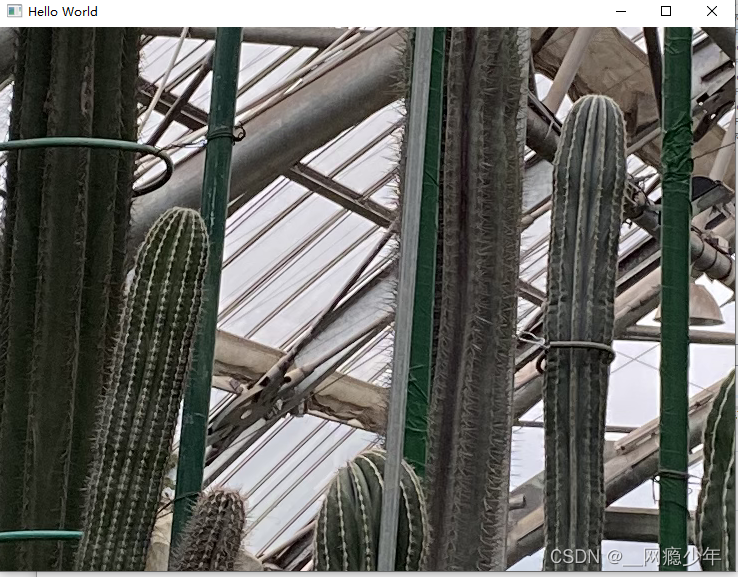
然后, 再把 vcpkg中编译好的dll放入当前可执行文件目录下,运行即可显示

运行图片:


)


)


)

结构体)

