如果我们安装好pytorch,其实不一定一定要安装libtorch,默认都已经安装过了
1 进入pytorch
conda env list
conda activate pytorch
命令行下使用 python -c 来获取libtorch的基本信息,
python -c "import torch;print(torch.utils.cmake_prefix_path)"
(pytorch) E:\AI5 py\build>python -c “import torch;print(torch.utils.cmake_prefix_path)”
得到pytorch的地址,目的是要cmake文件中的变量地址
C:\ProgramData\anaconda3\envs\pytorch\lib\site-packages\torch\share\cmake
2 cmake文件
写好test.cpp文件
写好cmake文件
cmake文件如下
cmake_minimum_required(VERSION 3.0 FATAL_ERROR)
project(test)
#Libtorch
find_package(Torch REQUIRED)
set(CMAKE_CXX_FLAGS "${CMAKE_CXX_FLAGS} ${TORCH_CXX_FLAGS}")
add_executable(${PROJECT_NAME}  test.cpp)
target_link_libraries(${PROJECT_NAME} "${TORCH_LIBRARIES}")
# Libtorch 新版本是基于C++17
set_property(TARGET ${PROJECT_NAME} PROPERTY CXX_STANDARD 17)
执行
cmake -DCMAKE_PREFIX_PATH=C:\ProgramData\anaconda3\envs\pytorch\lib\site-packages\torch\share\cmake ..
结果如下
-- Found CUDA: C:/Program Files/NVIDIA GPU Computing Toolkit/CUDA/v11.8 (found version "11.8")
CMake Warning (dev) at C:/ProgramData/anaconda3/envs/pytorch/Lib/site-packages/torch/share/cmake/Caffe2/public/cuda.cmake:44 (if):Policy CMP0054 is not set: Only interpret if() arguments as variables orkeywords when unquoted.  Run "cmake --help-policy CMP0054" for policydetails.  Use the cmake_policy command to set the policy and suppress thiswarning.Quoted variables like "MSVC" will no longer be dereferenced when the policyis set to NEW.  Since the policy is not set the OLD behavior will be used.
Call Stack (most recent call first):C:/ProgramData/anaconda3/envs/pytorch/Lib/site-packages/torch/share/cmake/Caffe2/Caffe2Config.cmake:87 (include)C:/ProgramData/anaconda3/envs/pytorch/Lib/site-packages/torch/share/cmake/Torch/TorchConfig.cmake:68 (find_package)CMakeLists.txt:5 (find_package)
This warning is for project developers.  Use -Wno-dev to suppress it.-- The CUDA compiler identification is NVIDIA 11.8.89
-- Detecting CUDA compiler ABI info
-- Detecting CUDA compiler ABI info - done
-- Check for working CUDA compiler: C:/Program Files/NVIDIA GPU Computing Toolkit/CUDA/v11.8/bin/nvcc.exe - skipped
-- Detecting CUDA compile features
-- Detecting CUDA compile features - done
-- Found CUDAToolkit: C:/Program Files/NVIDIA GPU Computing Toolkit/CUDA/v11.8/include (found version "11.8.89")
-- Caffe2: CUDA detected: 11.8
-- Caffe2: CUDA nvcc is: C:/Program Files/NVIDIA GPU Computing Toolkit/CUDA/v11.8/bin/nvcc.exe
-- Caffe2: CUDA toolkit directory: C:/Program Files/NVIDIA GPU Computing Toolkit/CUDA/v11.8
-- Caffe2: Header version is: 11.8
-- C:/Program Files/NVIDIA GPU Computing Toolkit/CUDA/v11.8/lib/x64/nvrtc.lib shorthash is dd482e34
-- USE_CUDNN is set to 0. Compiling without cuDNN support
-- USE_CUSPARSELT is set to 0. Compiling without cuSPARSELt support
-- Autodetected CUDA architecture(s):  8.9
-- Added CUDA NVCC flags for: -gencode;arch=compute_89,code=sm_89
-- Found Torch: C:/ProgramData/anaconda3/envs/pytorch/Lib/site-packages/torch/lib/torch.lib
-- Configuring done (8.8s)
-- Generating done (0.0s)
-- Build files have been written to: E:/AI5 py/build
这样就生成solution文件了
3 编译
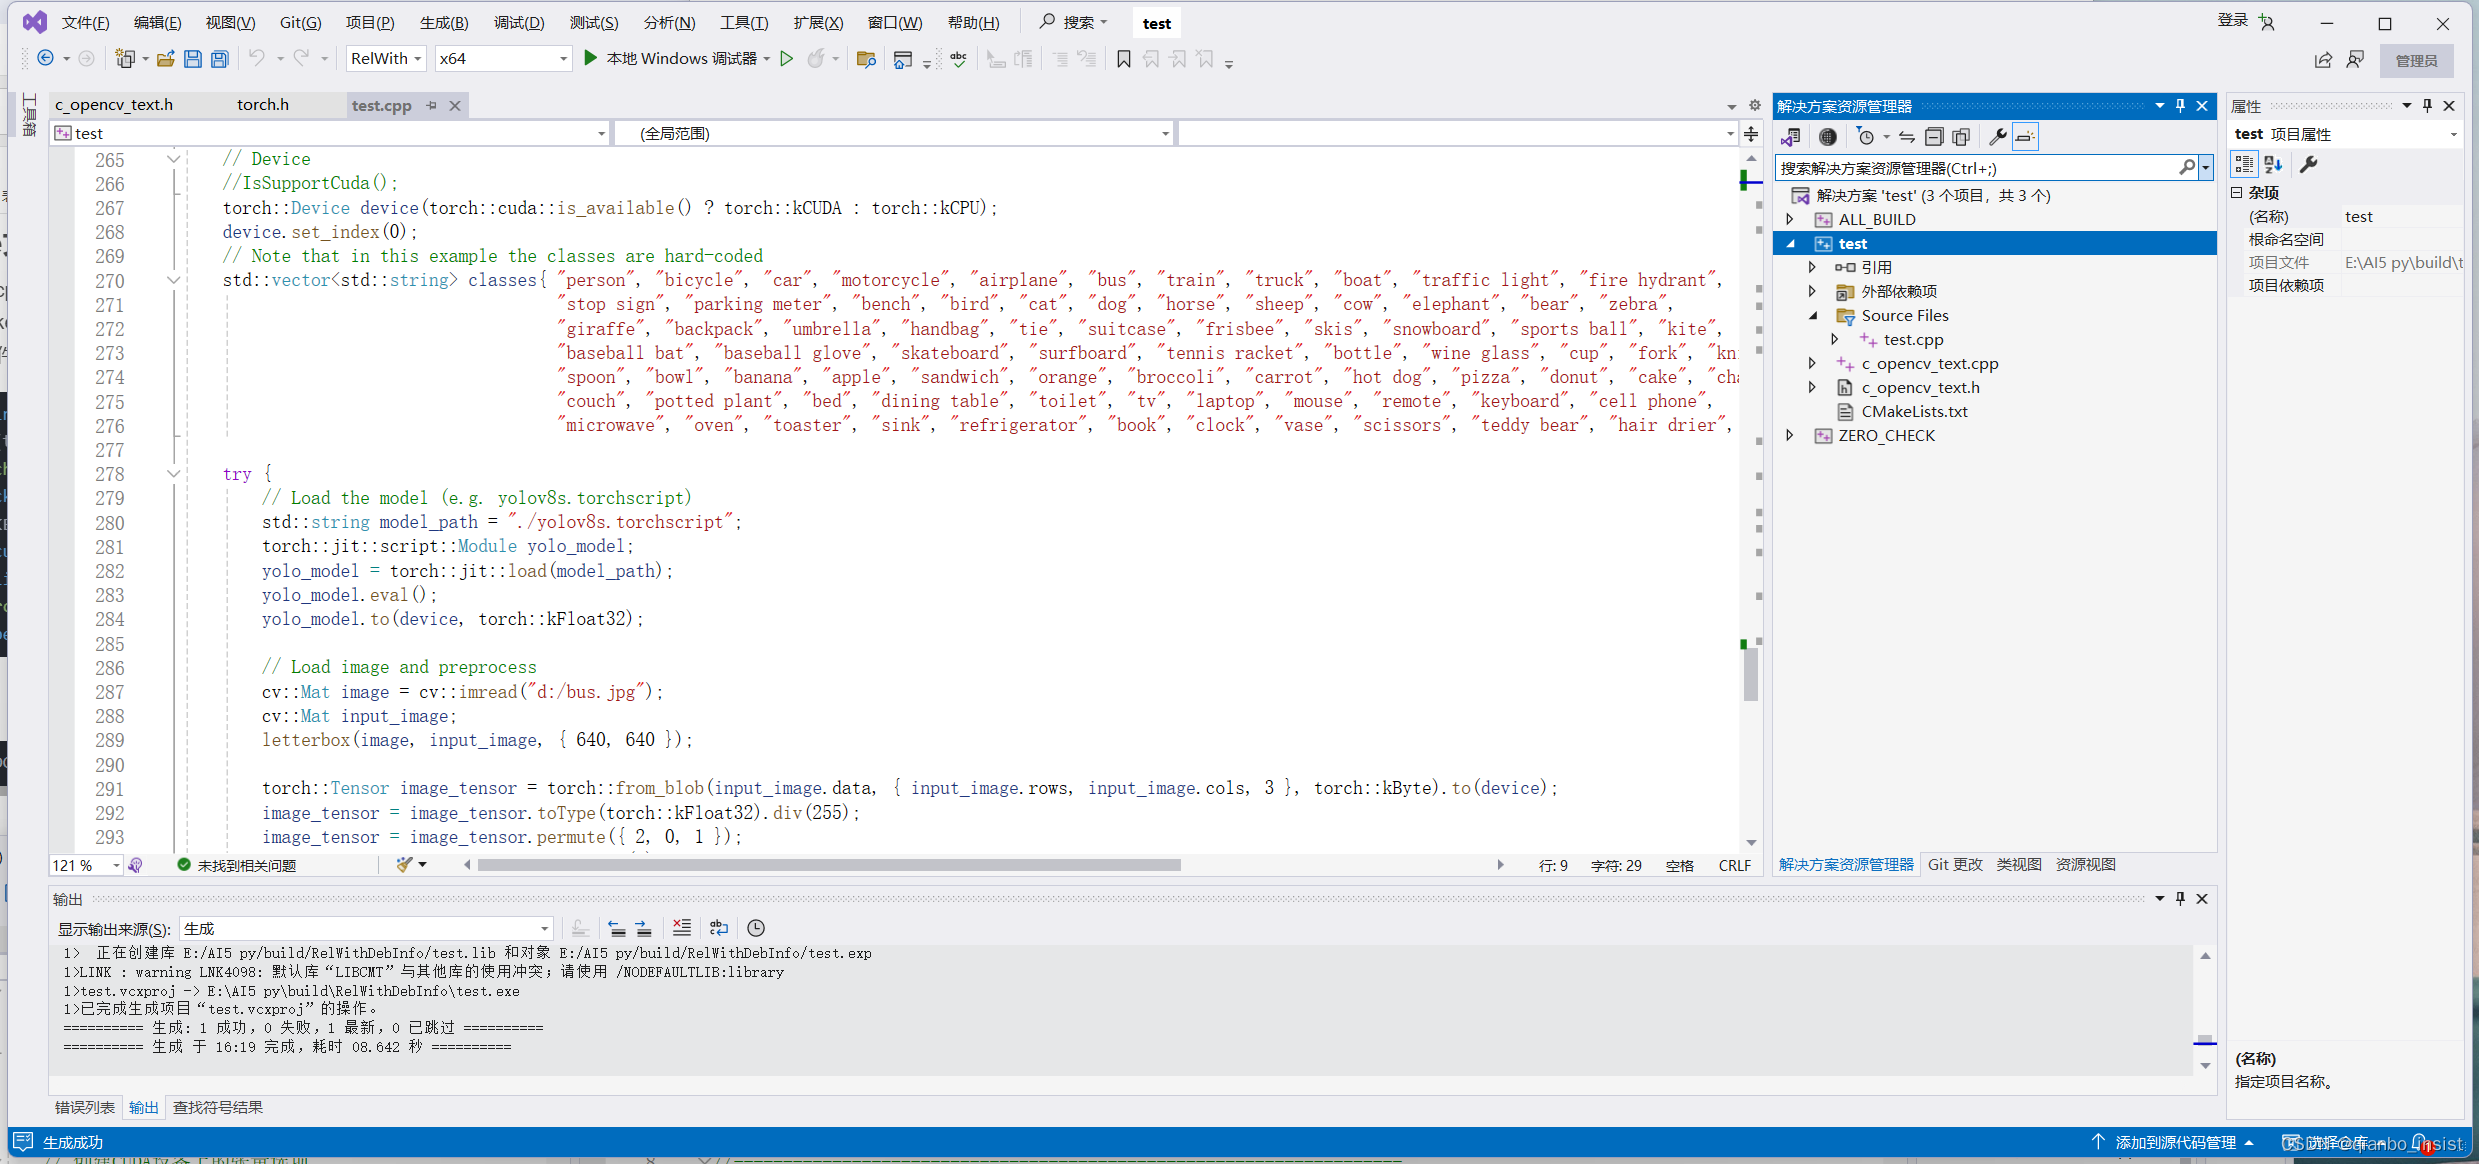
到build目录下面,打开test项目,我们会发现所有有关的libtorch的配置都已经好了,不用自己再配置,下面就增加opencv的目录和自己额外的c++文件,配置好

编译,没有错误
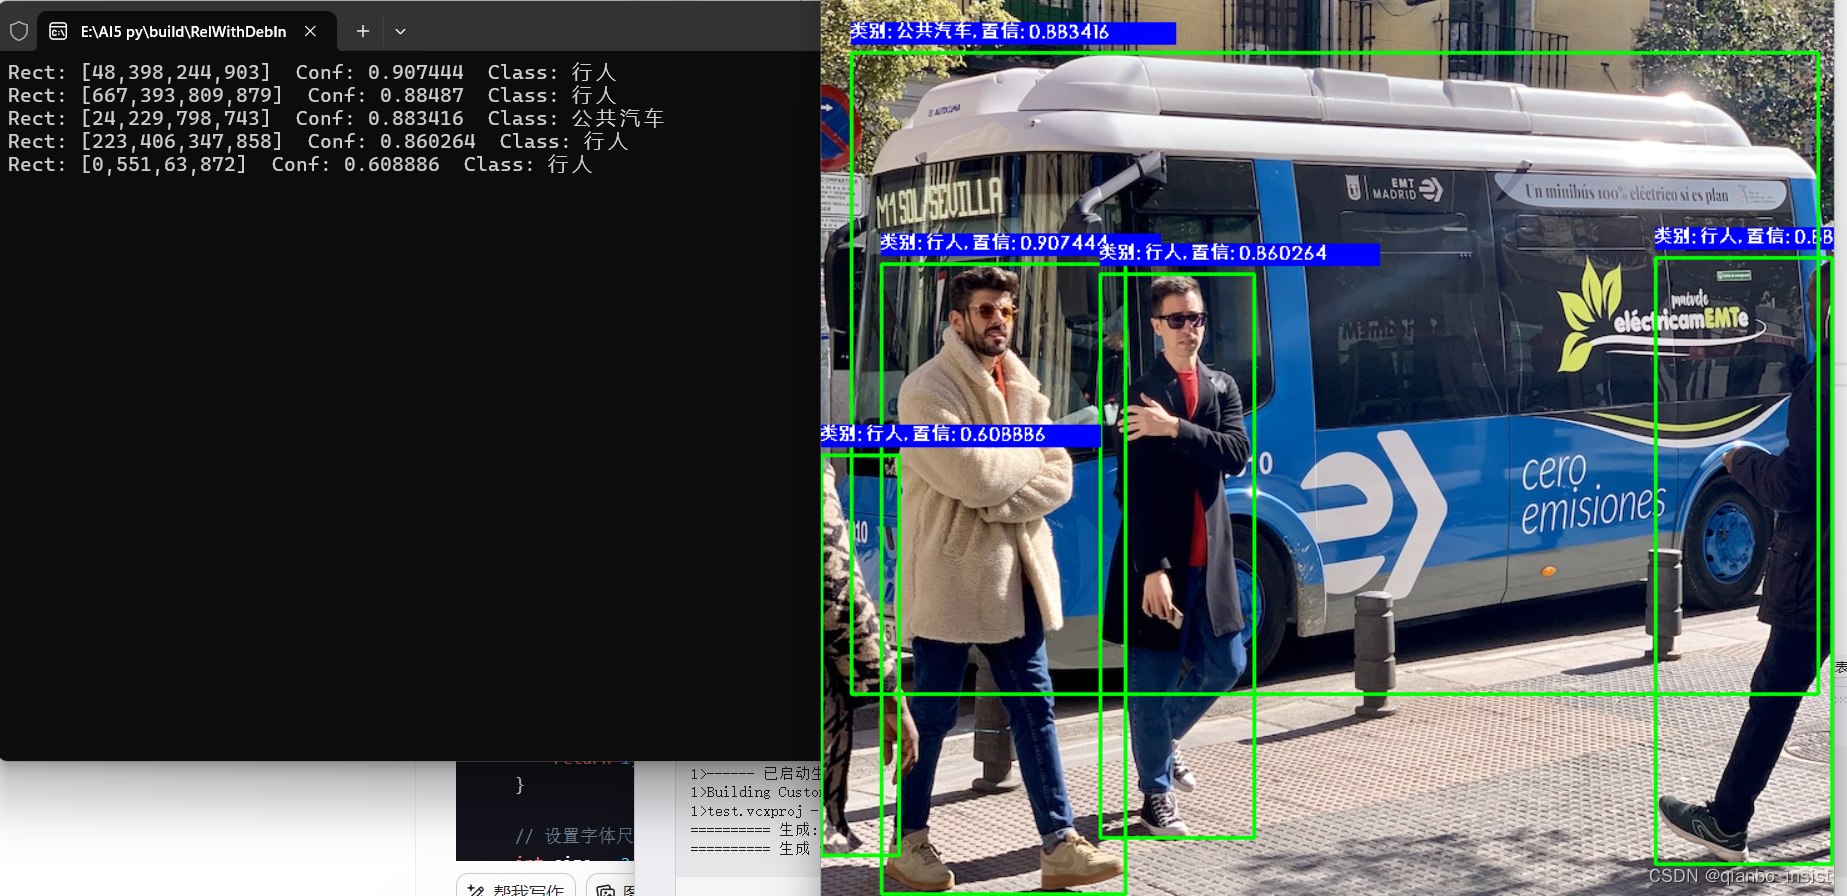
执行
将数据从执行后拿到,直接画到原始的图像上


:基本概念)


)
