之前写过一个React Native调用摄像头画面及拍照和保存图片到相册全流程但是这个仅限于调用摄像头拍照并保存图片,今天再写一个版本的操作,这个博客目前实现的有三点操作:
- 调用摄像头拍照
- 对照片进行剪切
- 从相册选取图片
功能上面来说有两点:
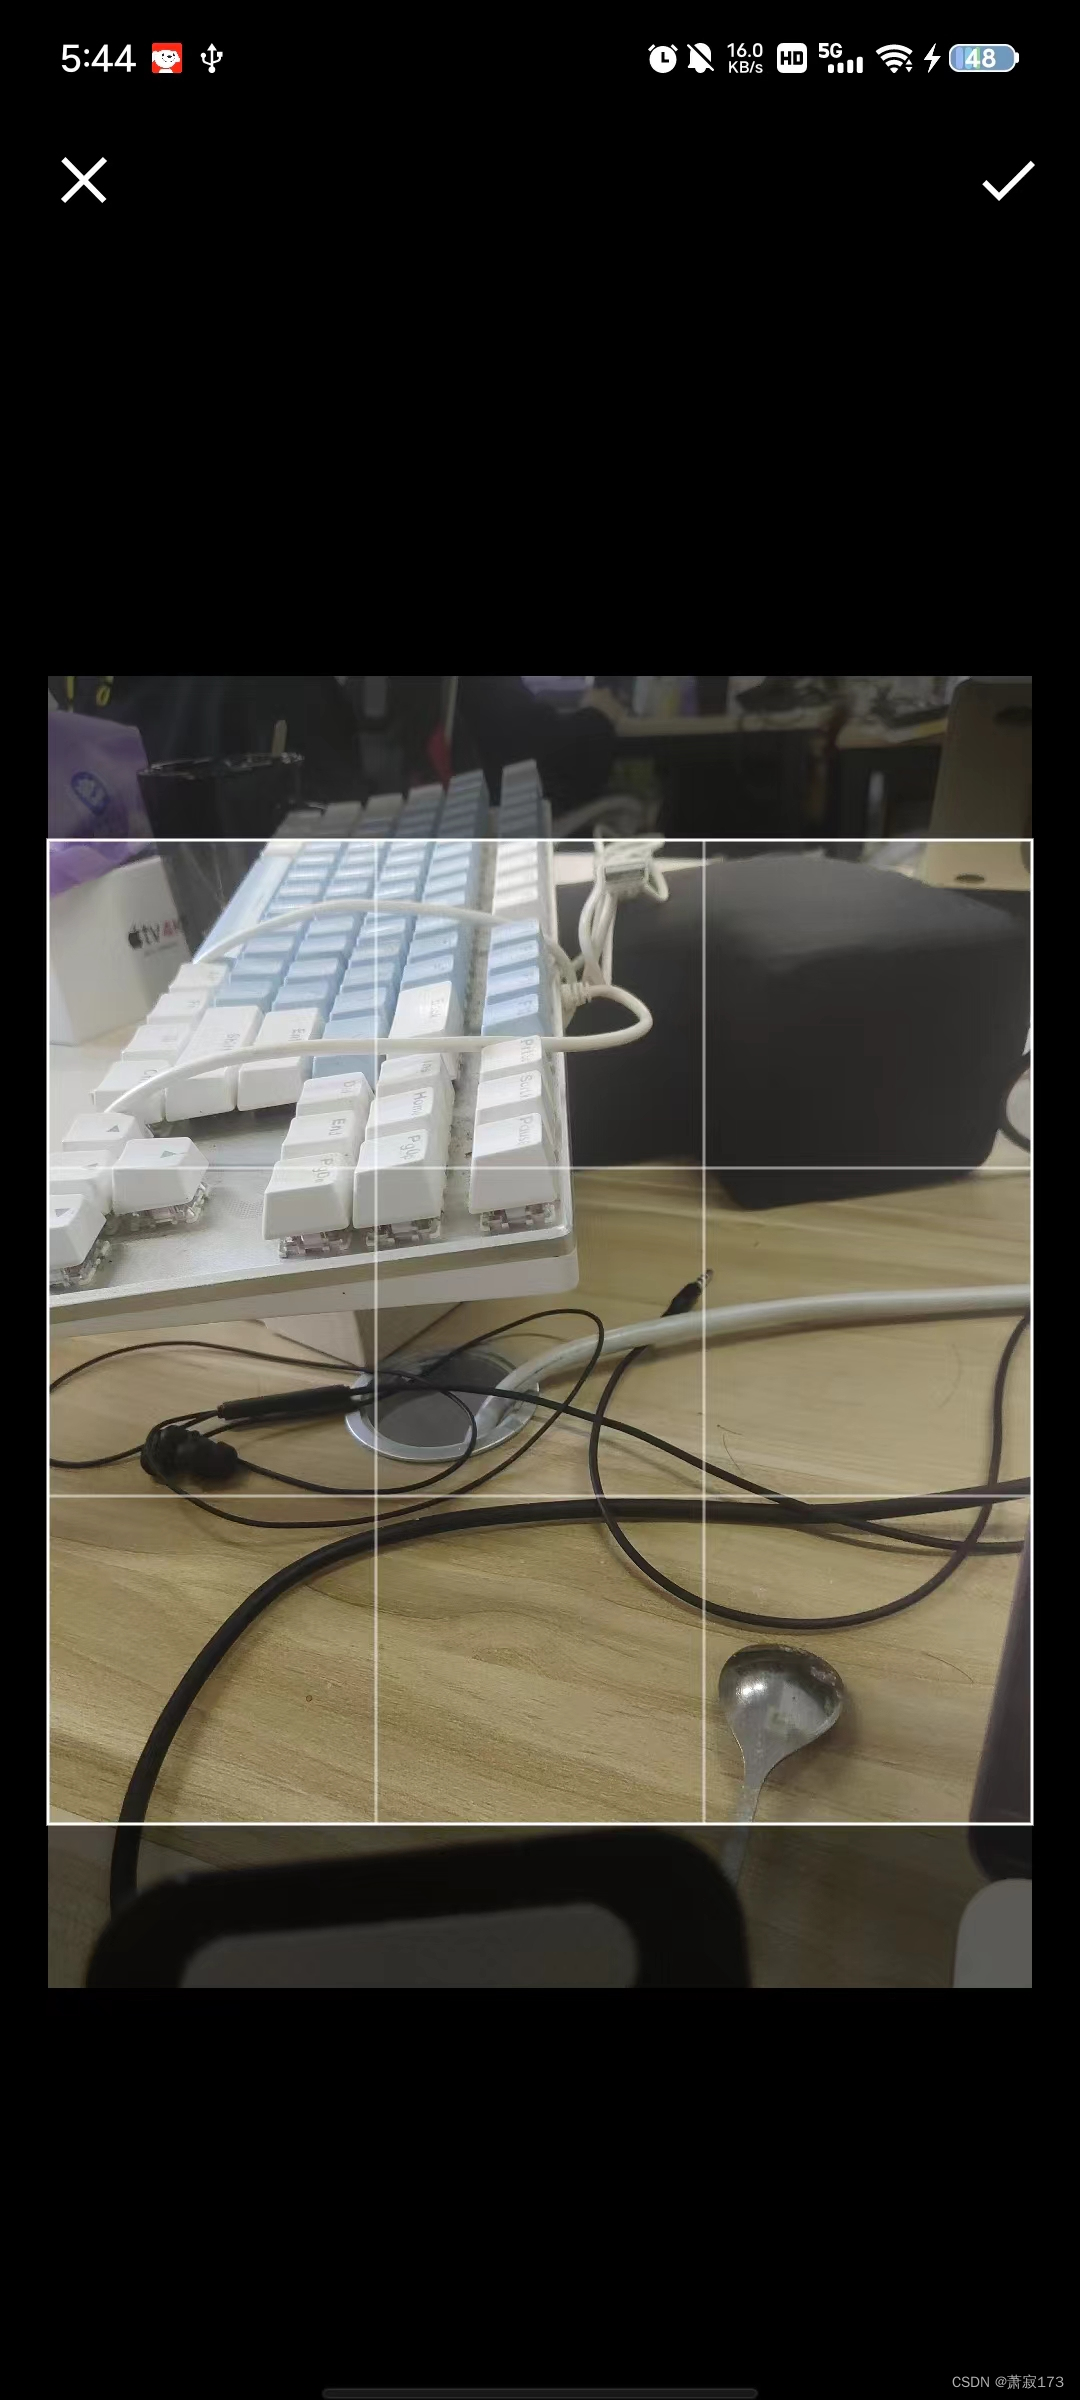
- 点击按钮可以对摄像头进行拍照,拍完照会自动跳转到编辑页面,编辑完后图片会显示到页面上面
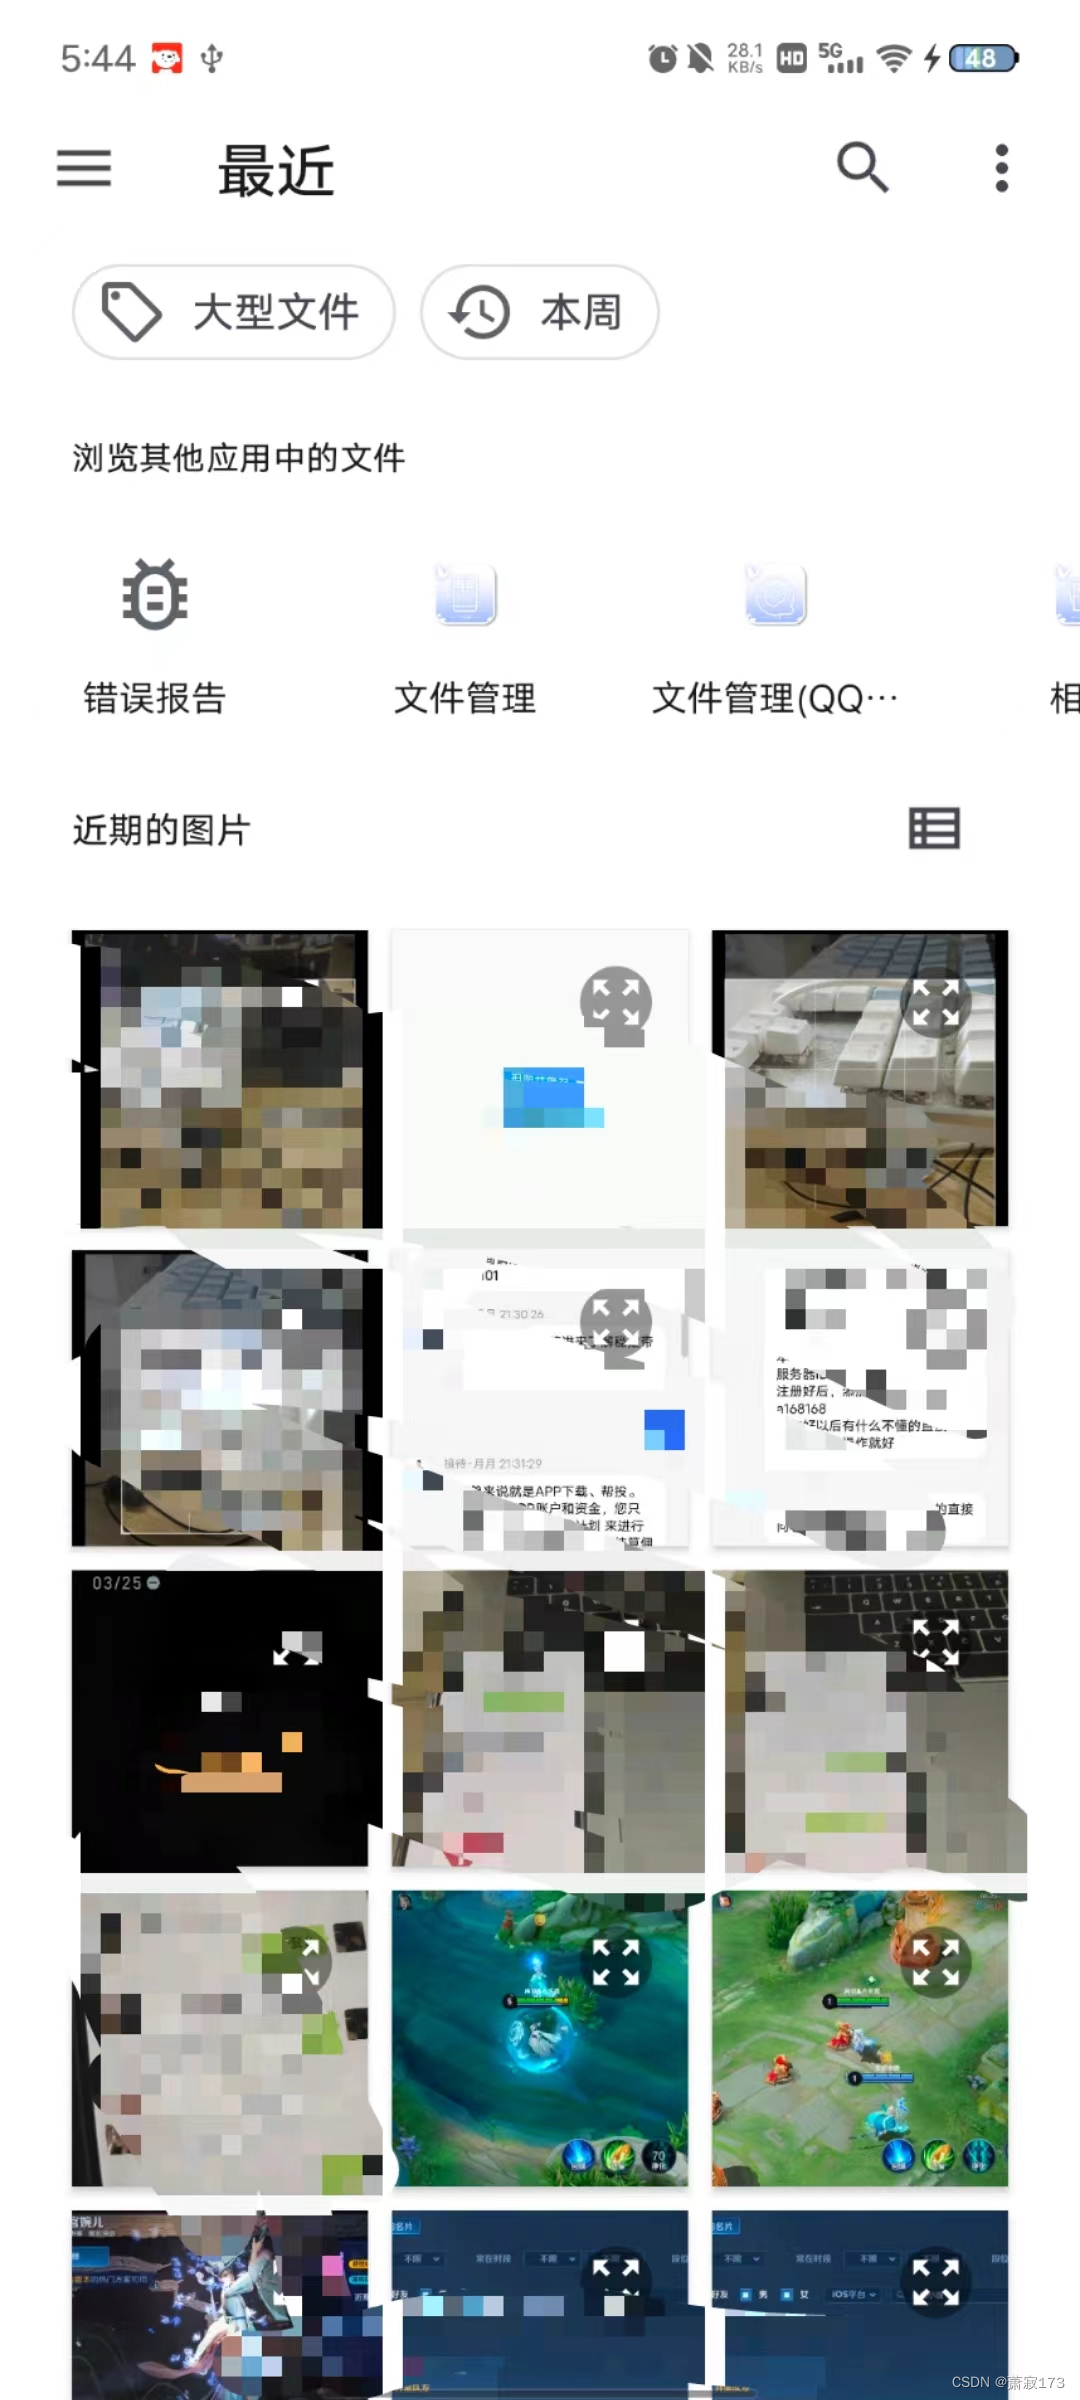
- 相册选取图片,选择完了自动跳转到图片编辑页面,编辑完了会显示到页面上
下面就是实现步骤
安装下面的依赖包
yarn add react-native-image-crop-picker
在RN项目下android/app/src/main/AndroidManifest.xml文件内加入以下权限申请(调用摄像头权限)
...
<uses-permission android:name="android.permission.CAMERA"/>
...
在RN项目新加个页面,放入以下代码
import React, { useState } from 'react';
import { View, Button, Image } from 'react-native';
import ImagePicker from 'react-native-image-crop-picker';const MyComponent = () => {const [image, setImage] = useState(null);const handleCameraPress = async () => {try {const pickedImage = await ImagePicker.openCamera({cropping: true,cropperCircleOverlay: false,width: 300,height: 300,cropperToolbarTitle: '',cropperToolbarColor: 'black',cropperActiveWidgetColor: '#ffffff',cropperStatusBarColor: 'black',cropperToolbarWidgetColor: '#ffffff',cropperToolbarVisible: false,hideBottomControls: true,freeStyleCropEnabled: false});setImage(pickedImage.path);} catch (error) {console.log('Error:', error);}};const handleGalleryPress = async () => {try {const pickedImage = await ImagePicker.openPicker({cropping: true,cropperCircleOverlay: false,width: 300,height: 300,cropperToolbarTitle: '',cropperToolbarColor: 'black',cropperActiveWidgetColor: '#ffffff',cropperStatusBarColor: 'black',cropperToolbarWidgetColor: '#ffffff',cropperToolbarVisible: false,hideBottomControls: true,freeStyleCropEnabled: false});setImage(pickedImage.path);} catch (error) {console.log('Error:', error);}};return (<View style={{ flex: 1, alignItems: 'center', justifyContent: 'center' }}>{image && <Image source={{ uri: image }} style={{ width: 200, height: 200 }} />}<Button title="拍照并裁剪" onPress={handleCameraPress} /><Button title="从相册选择并裁剪" onPress={handleGalleryPress} /></View>);
};export default MyComponent;

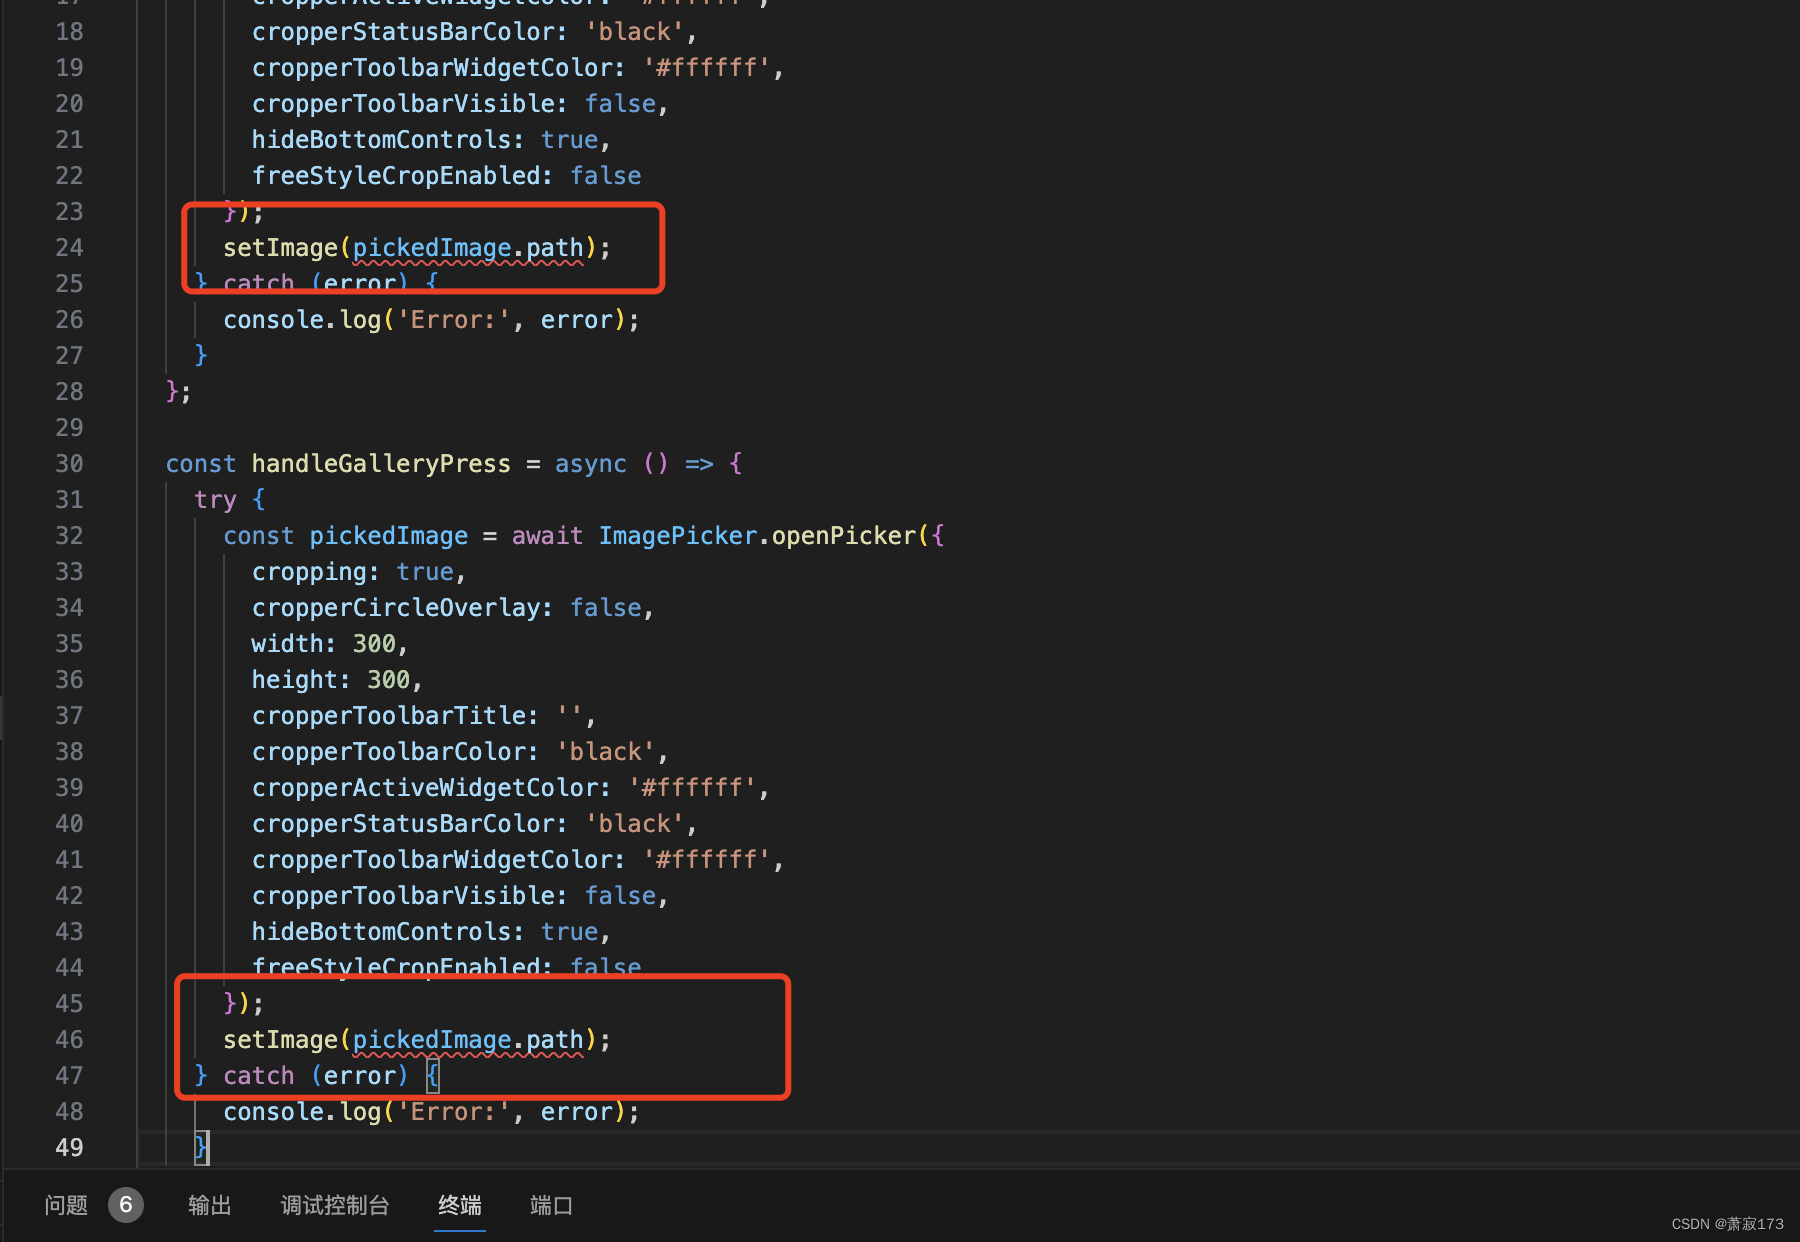
PS:如果这里有爆红先不用管,因为path是ImagePicker返回回来的对象里面的属性,编辑器不知道,默认就是未识别的属性,反正代码能跑通
然后直接看页面运行就好,下面贴几个效果图
页面样式

截图页面样式

选取相册图片


)

)


)