目录
- 一、什么是网络编程
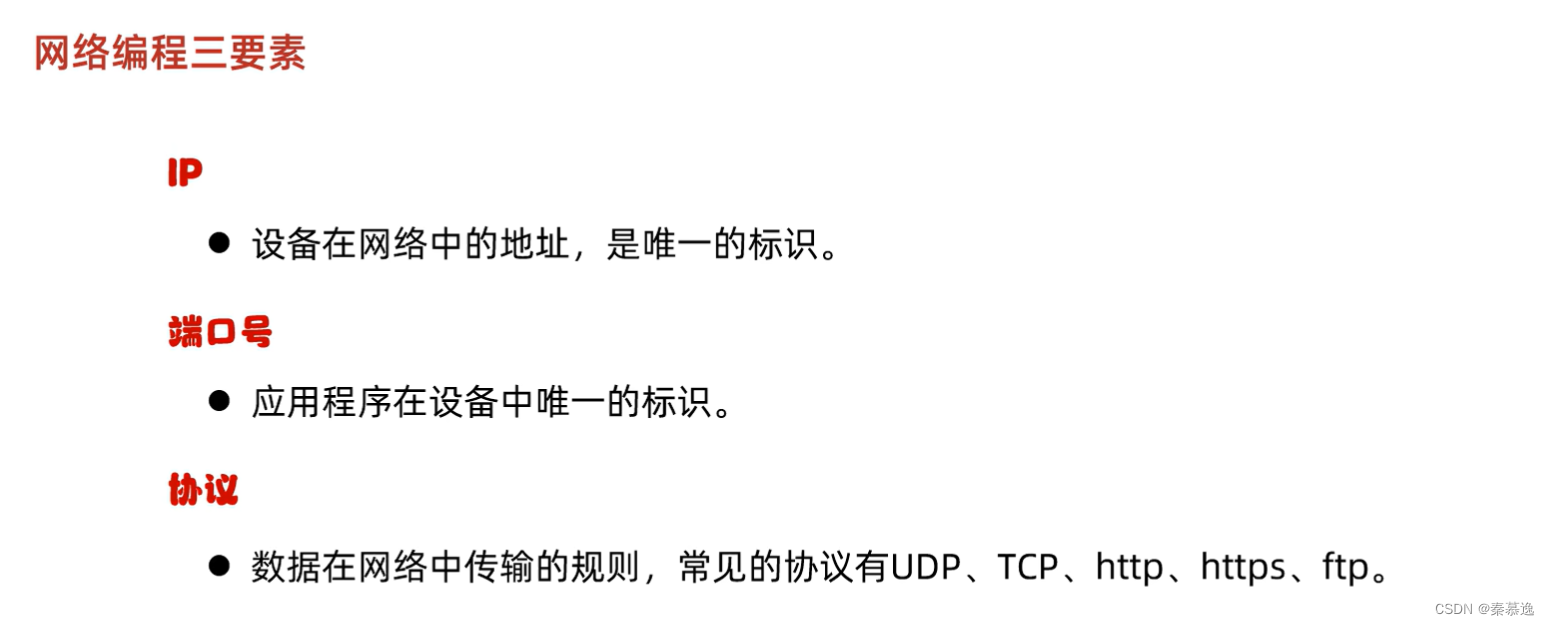
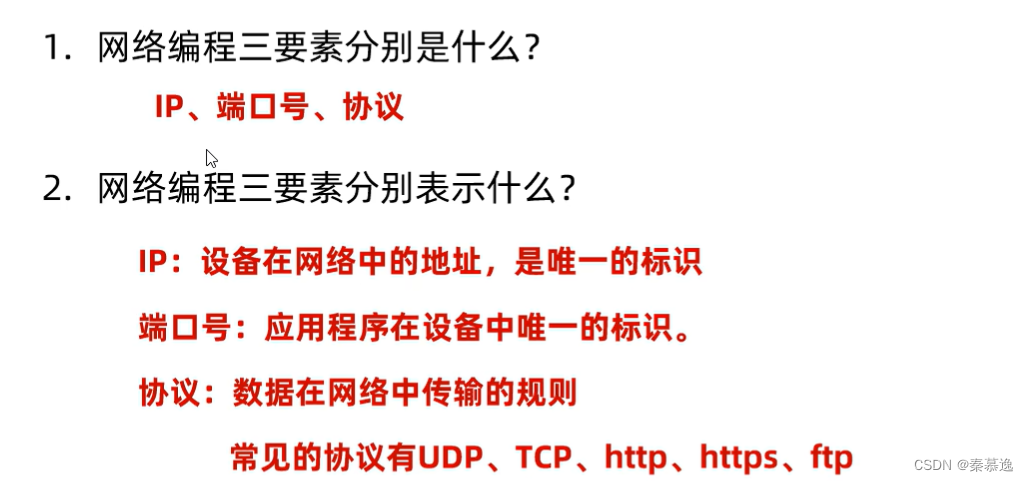
- 二、网络编程三要素
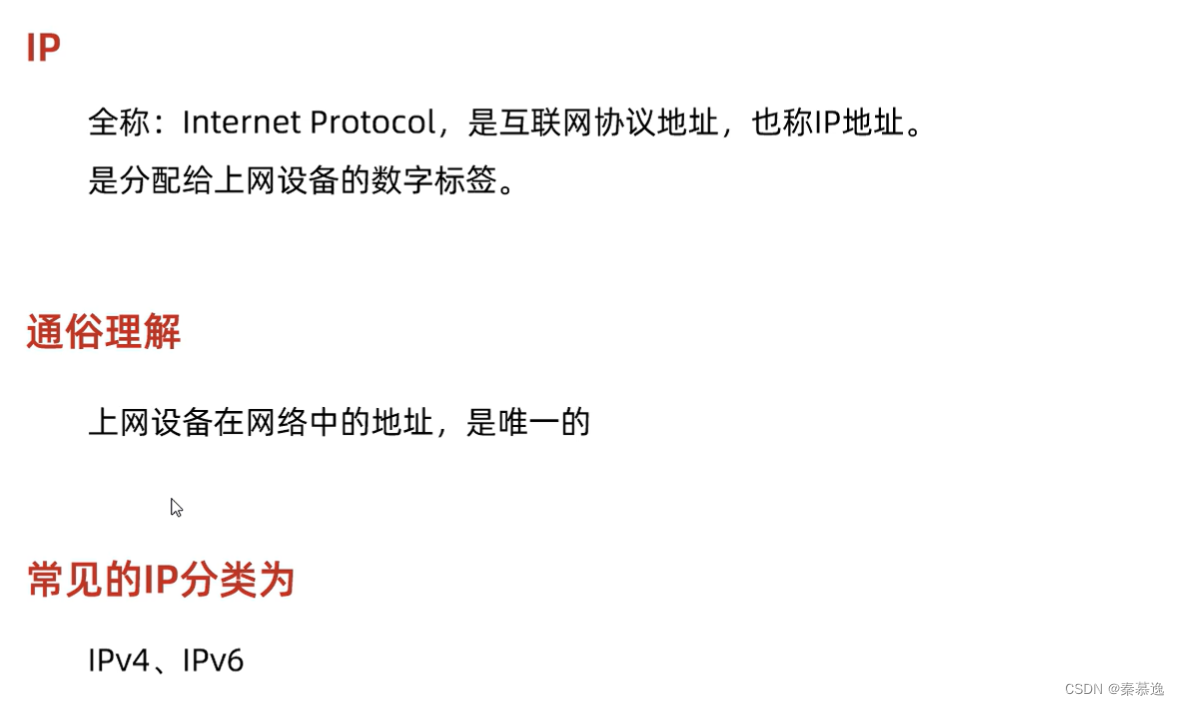
- 2.1 IP
- 2.2 InetAddress的使用
- 2.3 端口号
- 2.4 协议
- 三、UDP通信程序
- 3.1 发送数据
- 3.2 接收数据
- 3.3 练习
- 四、UDP的三种通信方式
- 五、TCP的通信程序
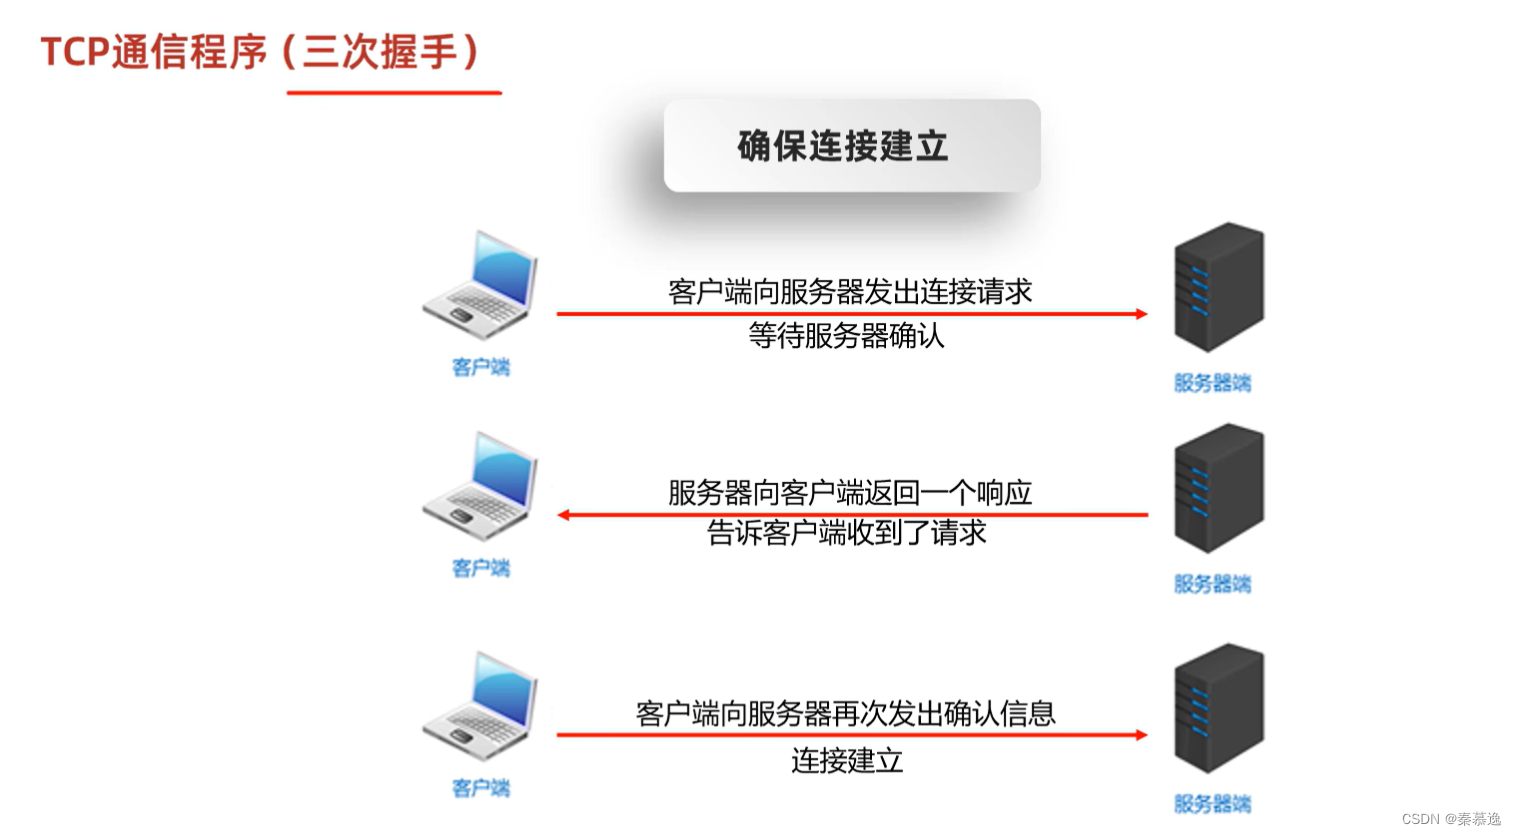
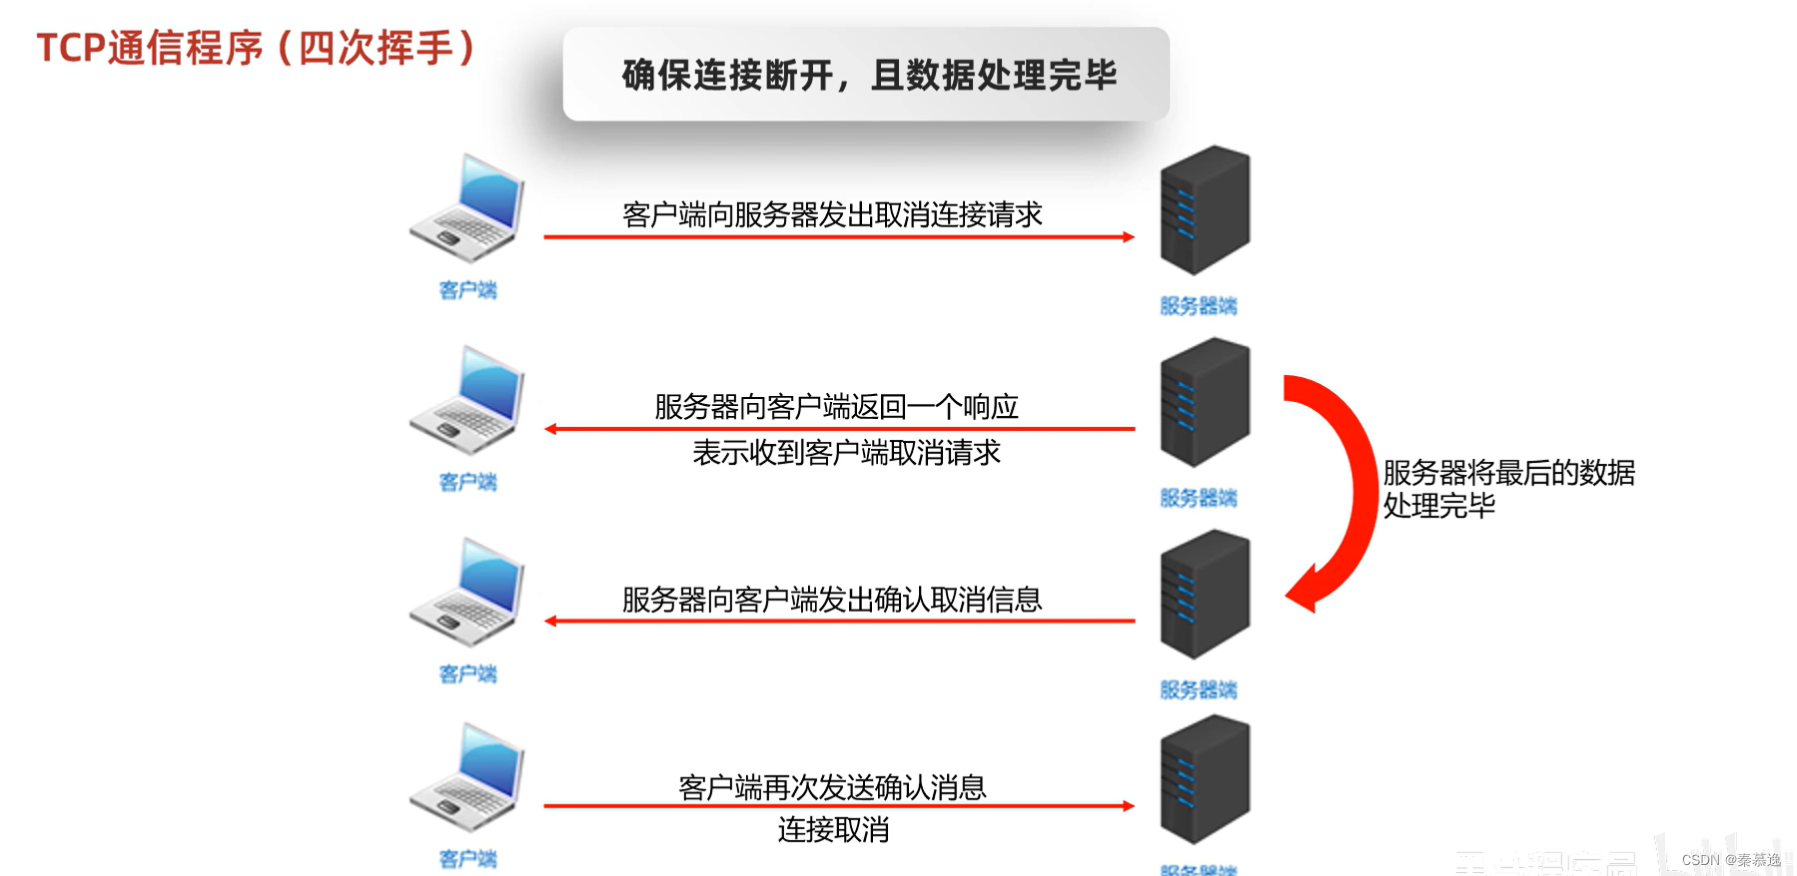
- 六、三次握手和四次挥手
- 七、练习
- 7.1 TCP通信练习1——多发多收
- 7.2 TCP通信练习2——接收和反馈
- 7.3 TCP通信练习3——上传文件
- 7.4 TCP通信练习4——上传文件(文件名重复问题)
- 7.5 TCP通信练习5——上传文件(多线程版)
- 7.6 TCP通信练习6——上传文件(线程池优化)
- 7.7 TCP通信练习7——BS(接收浏览器的消息并打印)
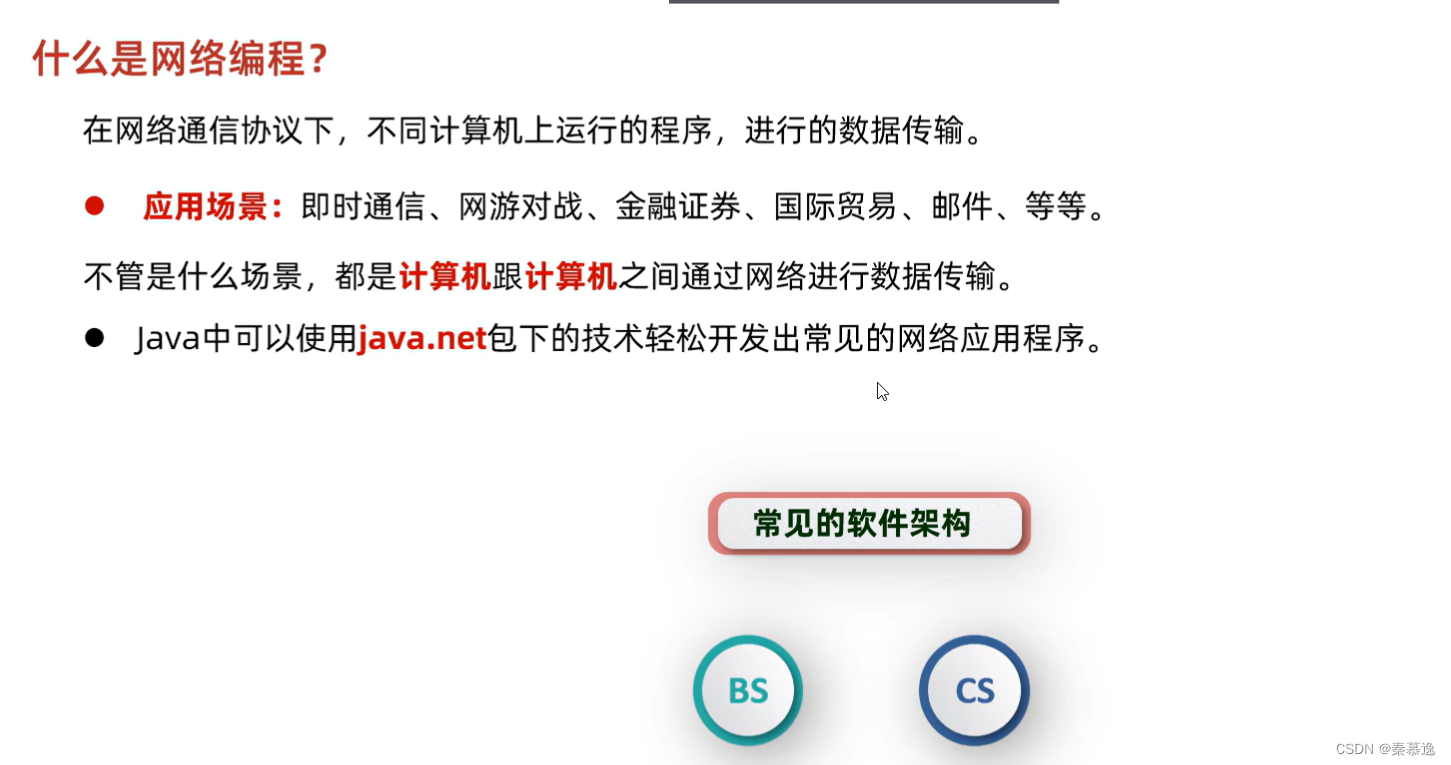
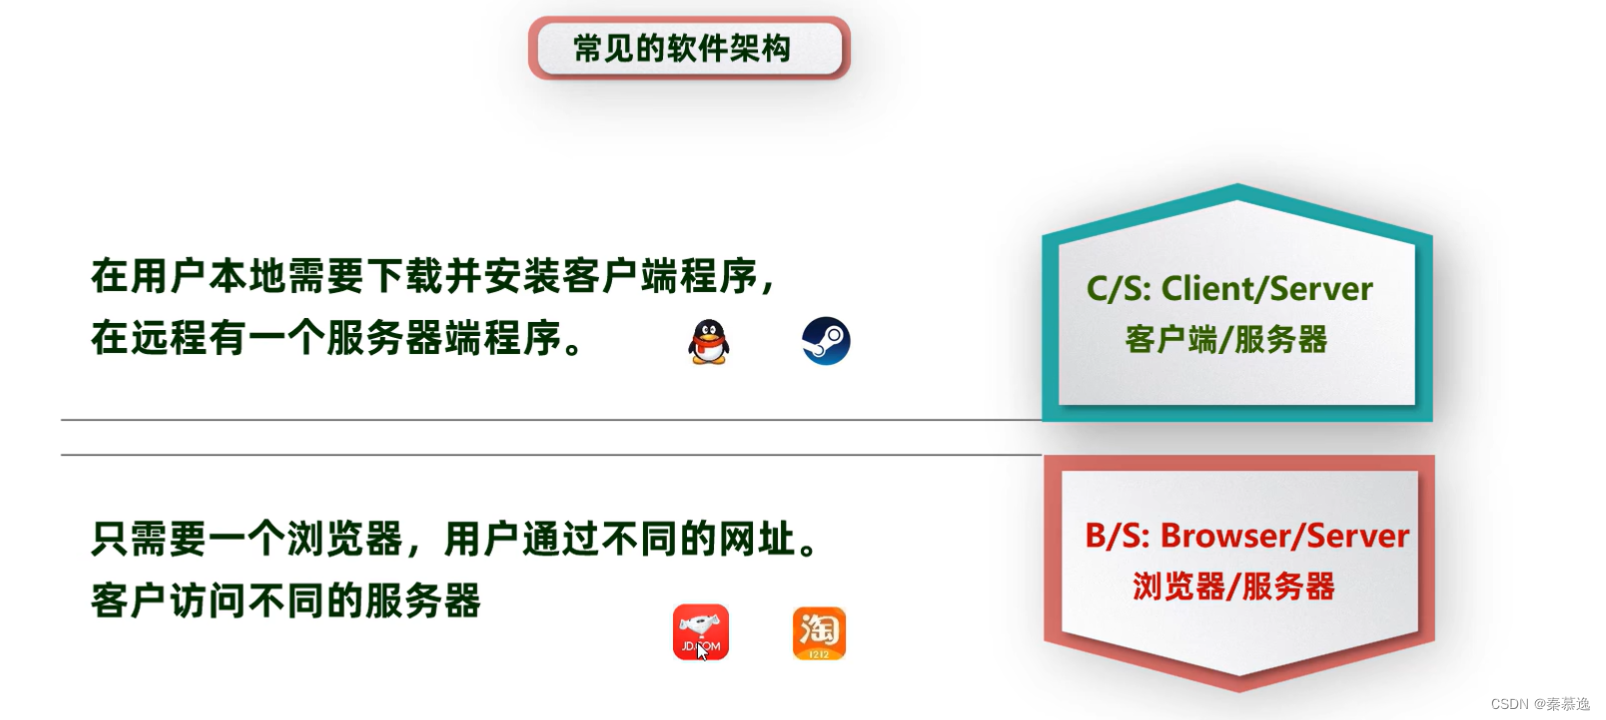
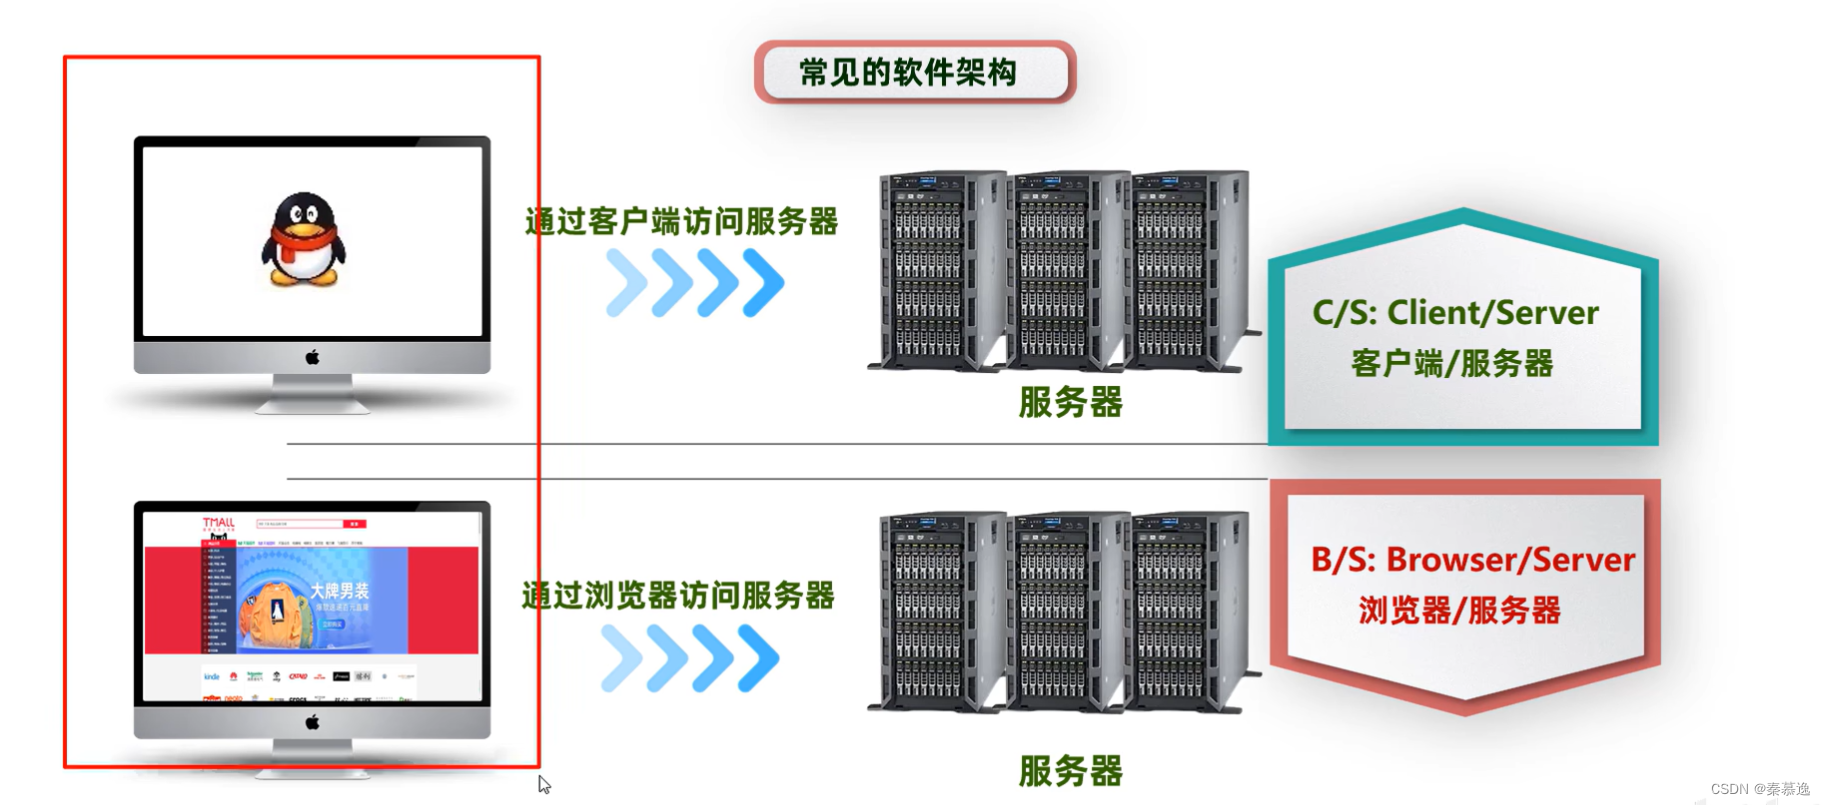
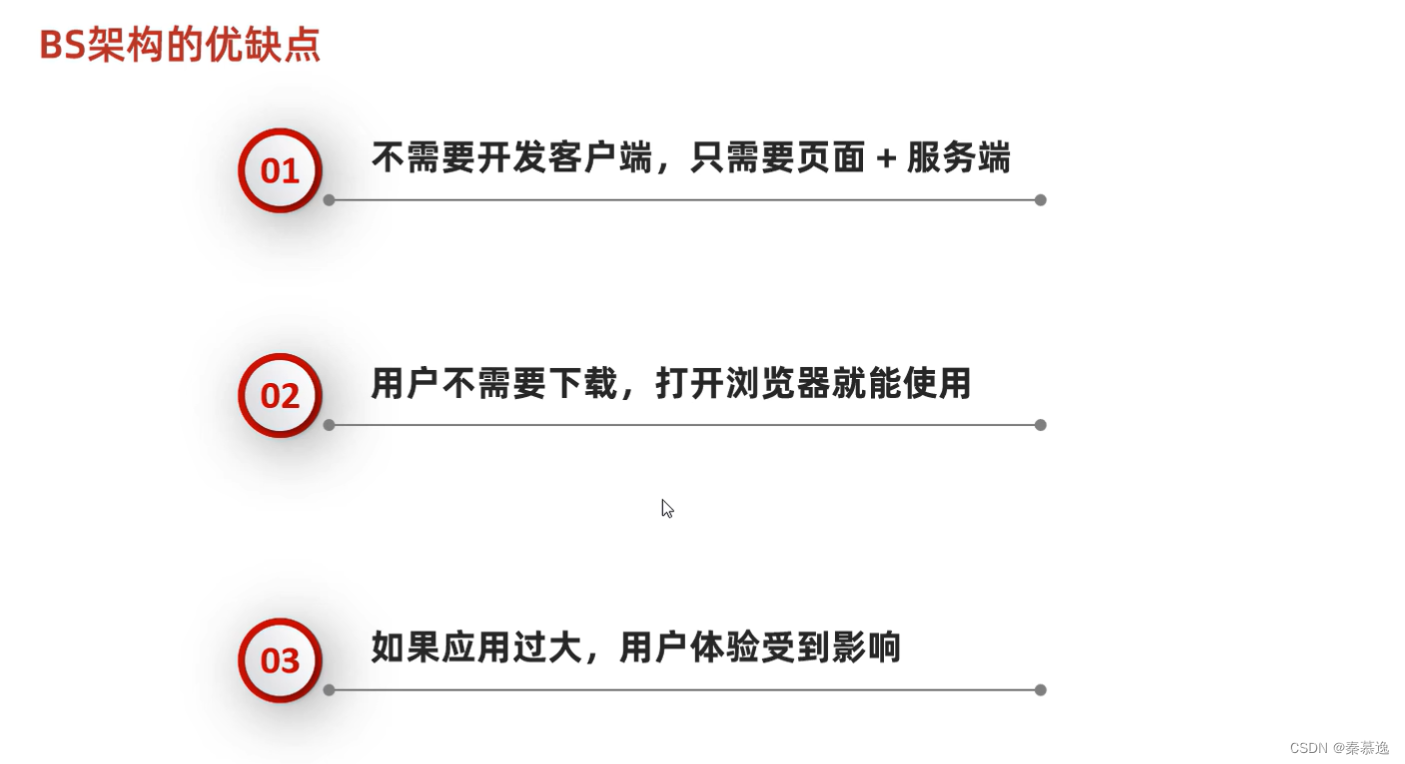
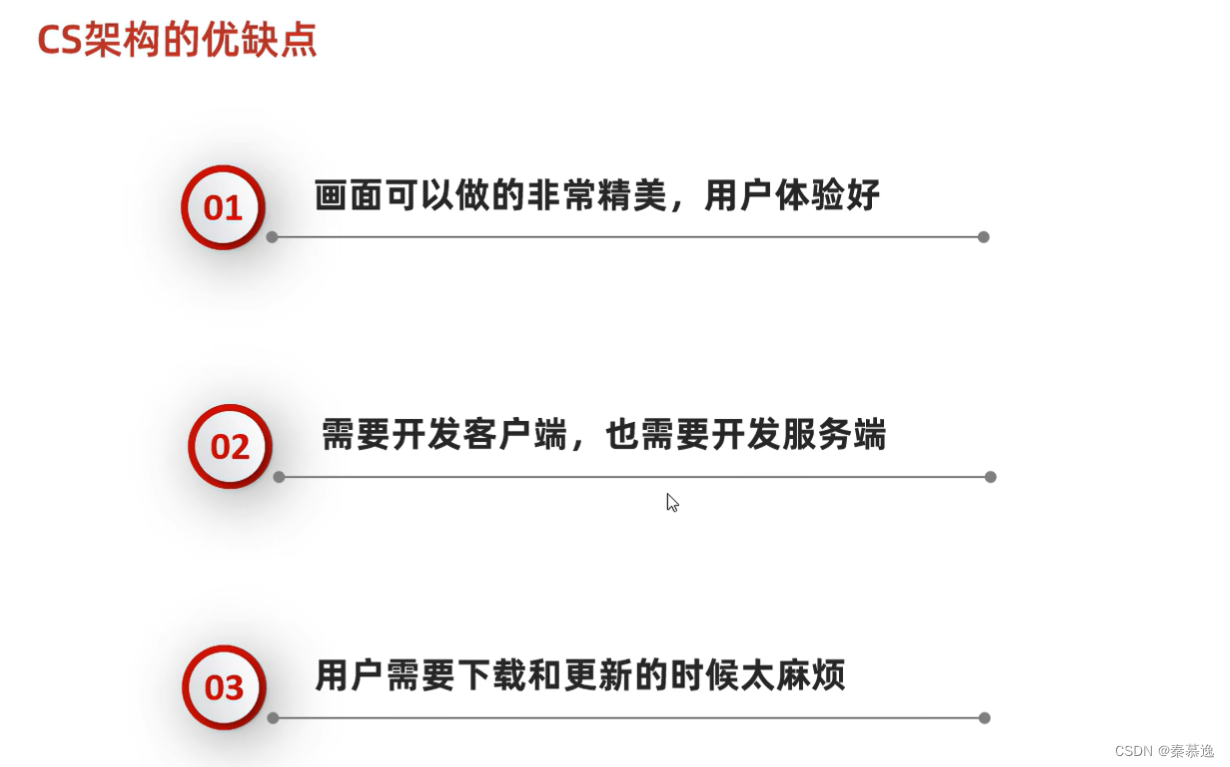
一、什么是网络编程



二、网络编程三要素
2.1 IP
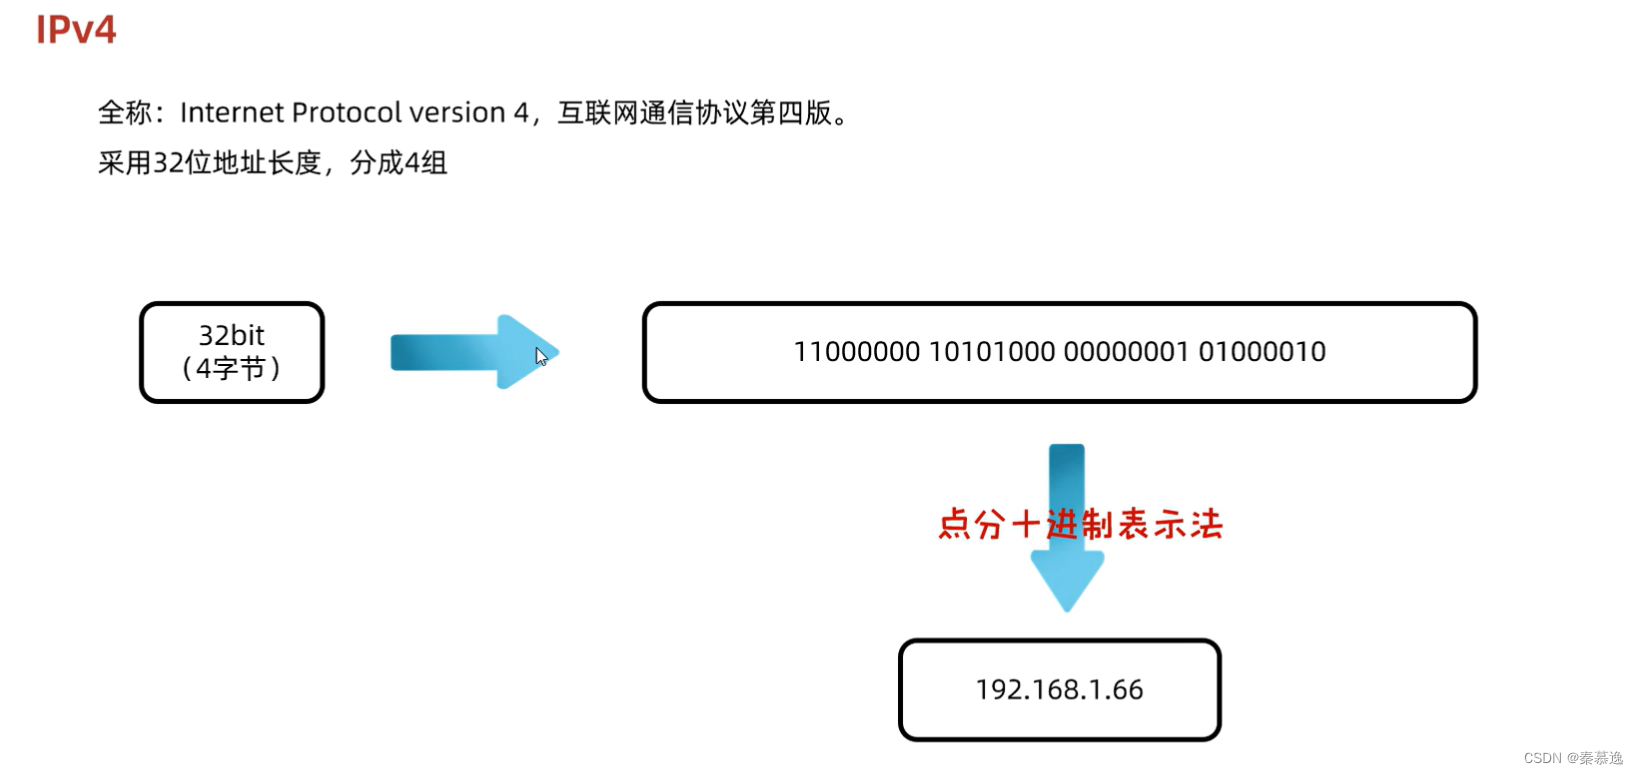
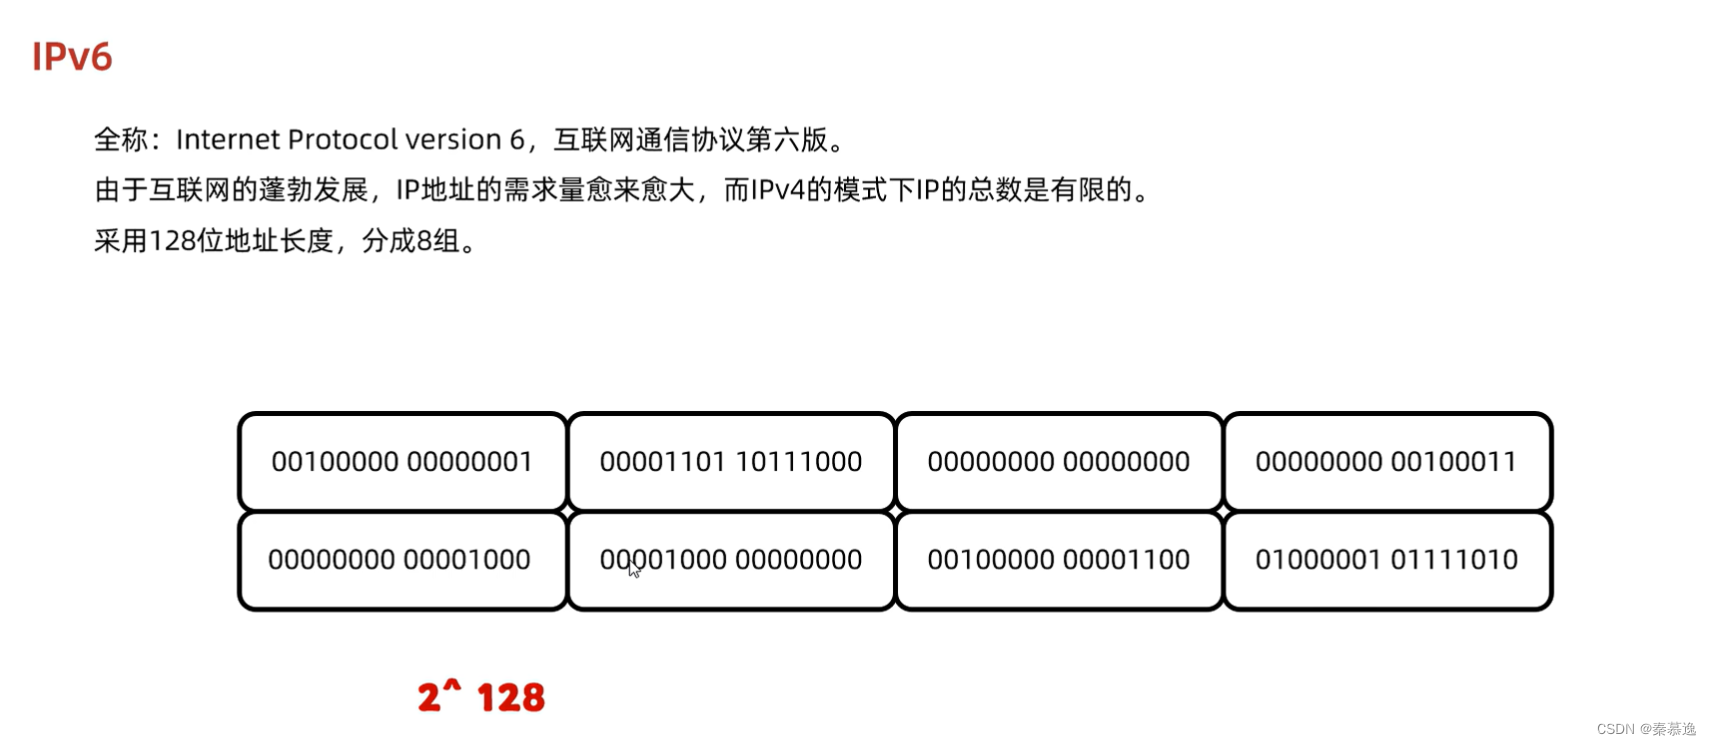
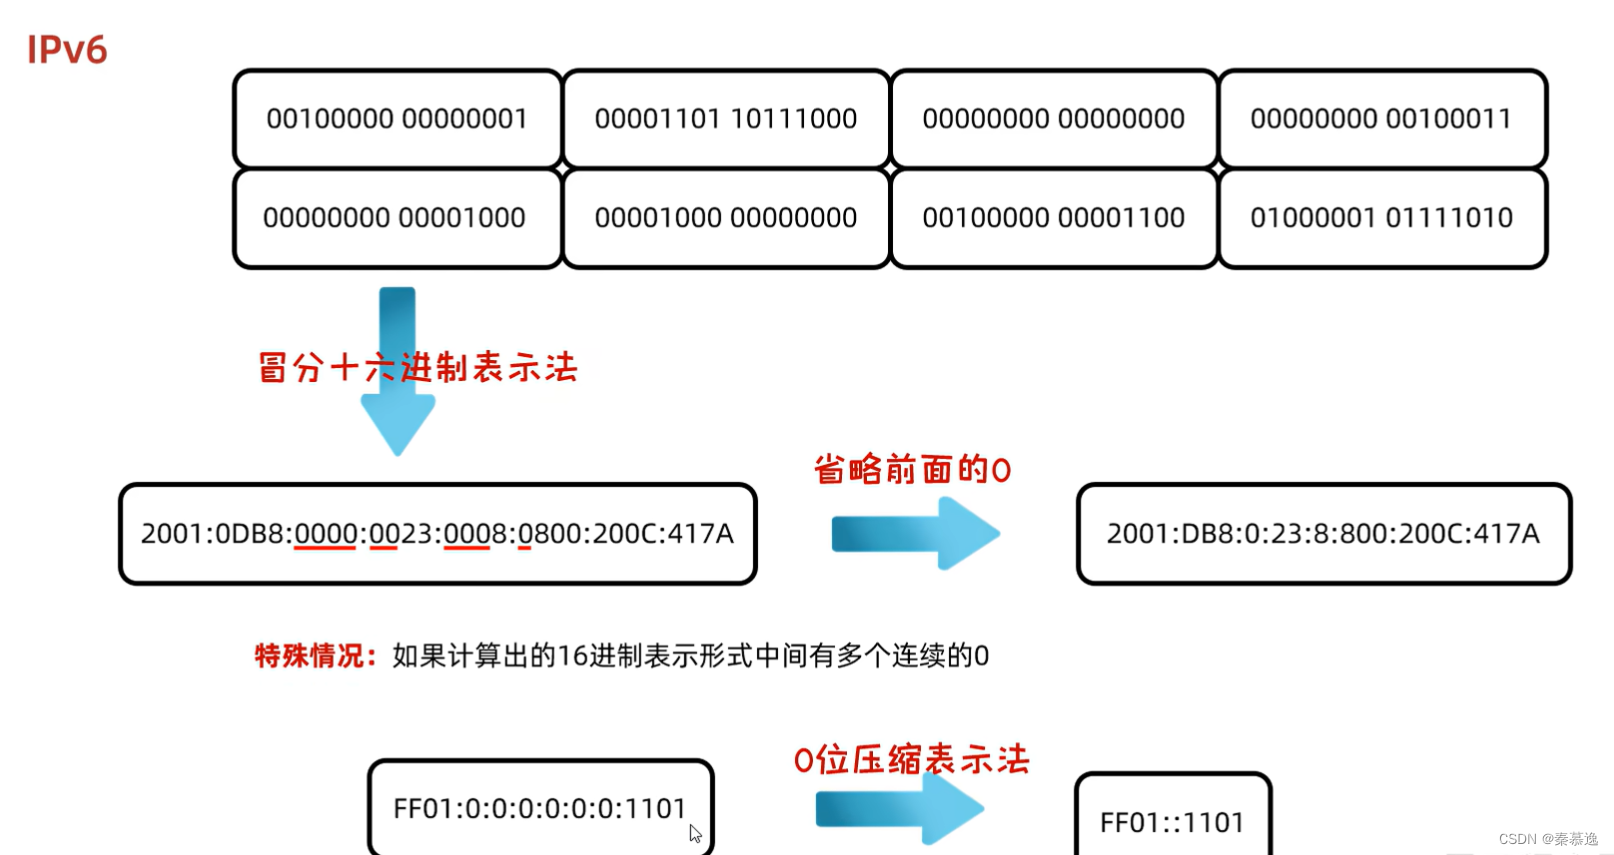
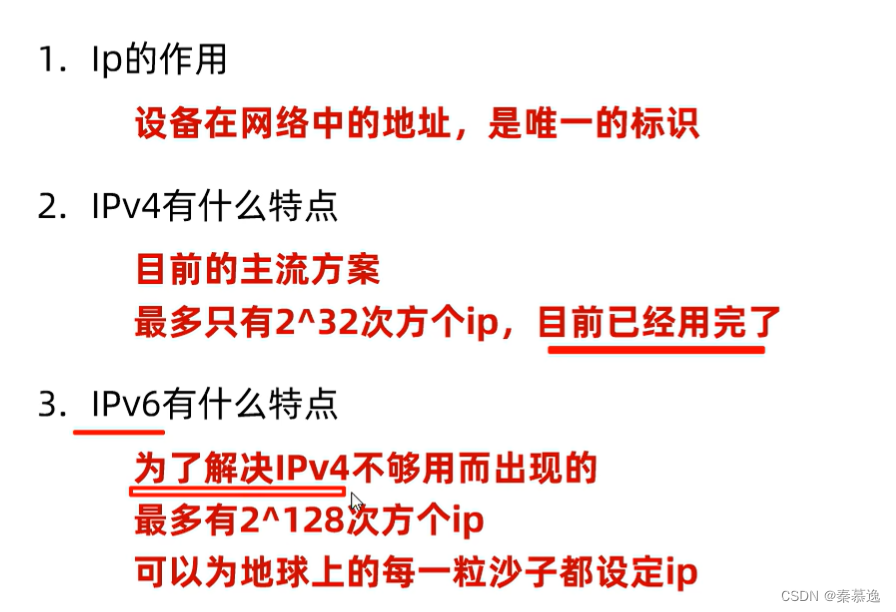
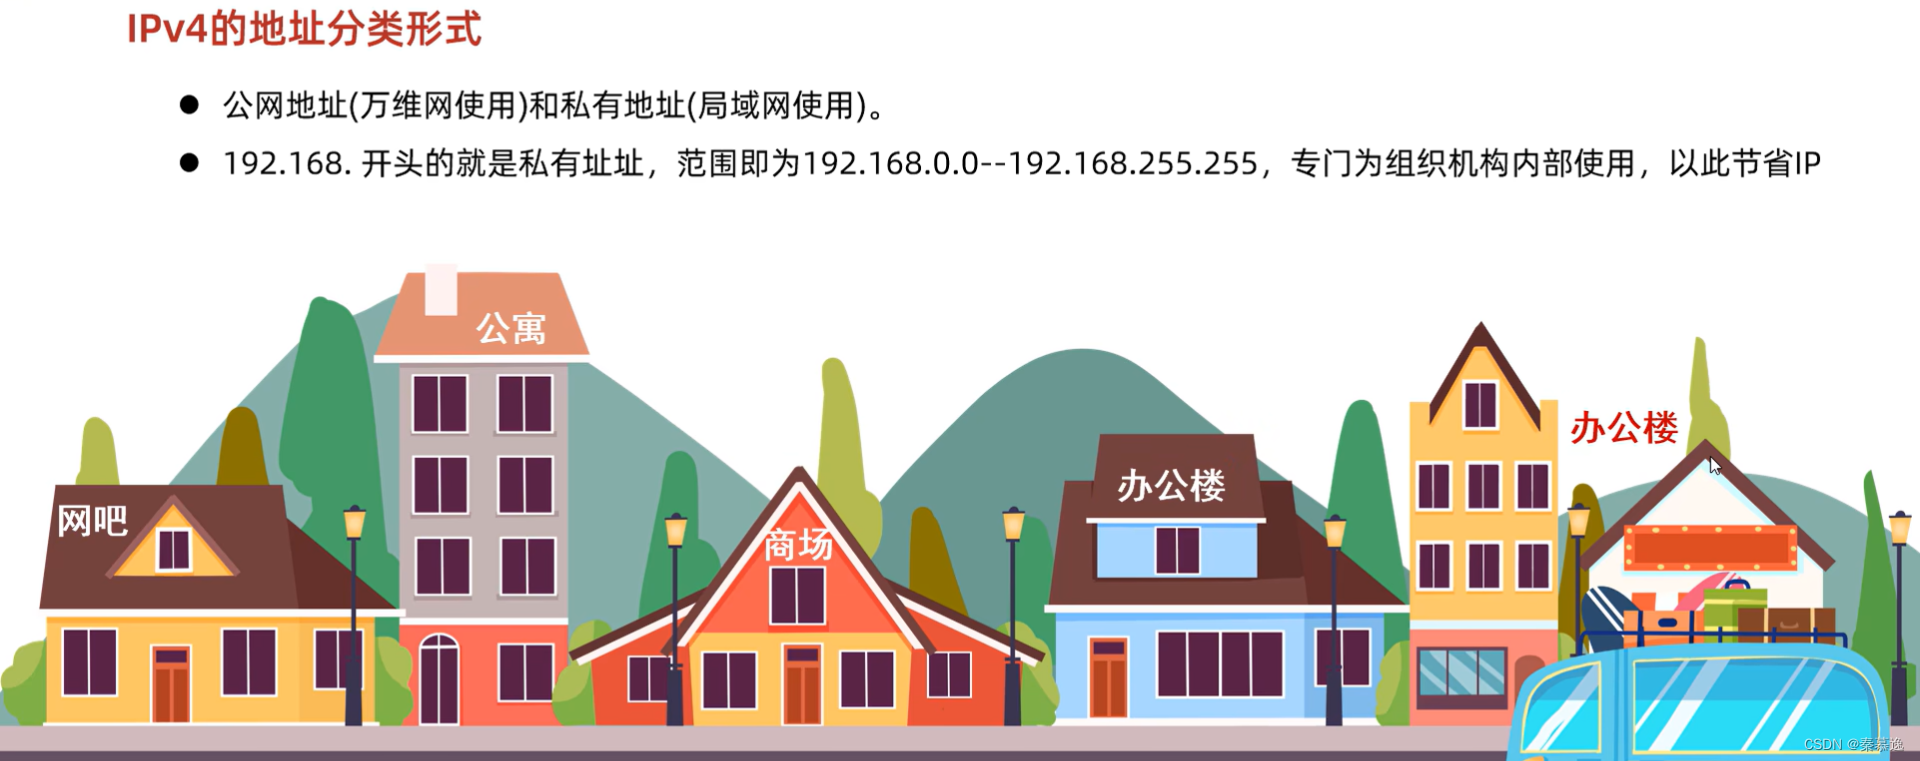
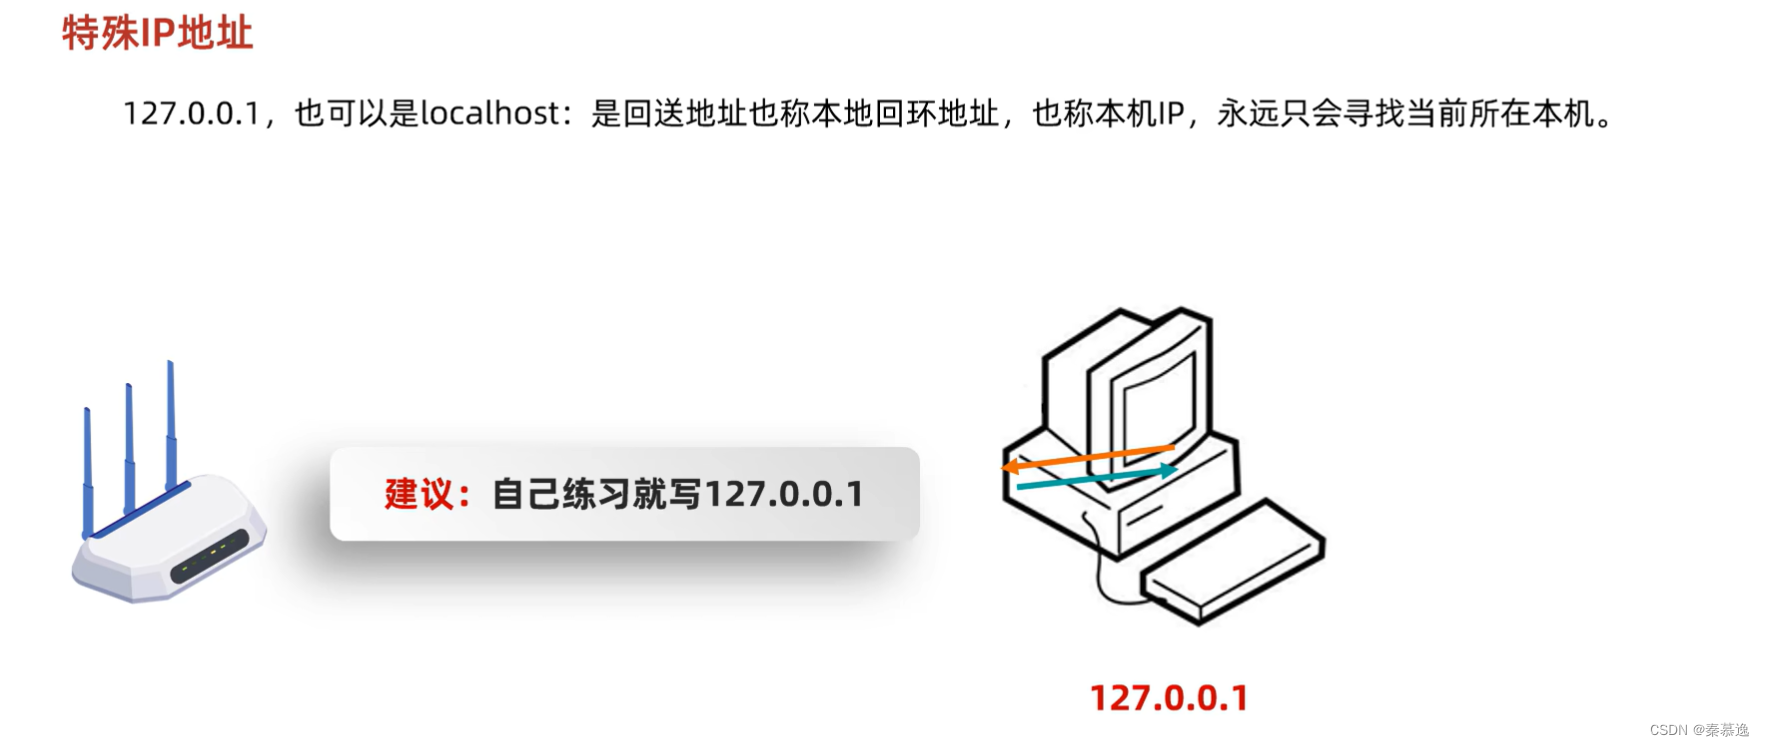
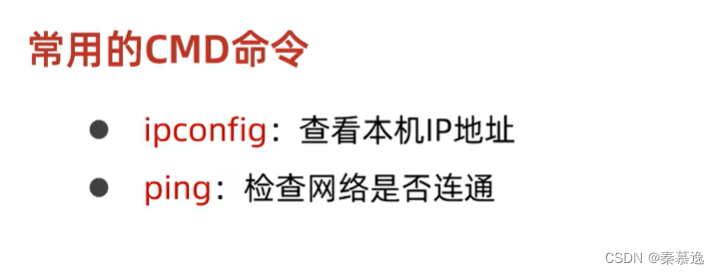
2.2 InetAddress的使用
public static void main(String[] args) throws UnknownHostException {/*static InetAddress getByName(String host) 确定主机名称的IP地址。主机名称可以是机器名称,也可以是IP地址String getHostName() 获取此IP地址的主机名String getHostAddress() 返回文本显示中的IP地址字符串*///0.获取InetAddress对象InetAddress address = InetAddress.getByName("摆烂小T");System.out.println(address);String hostName = address.getHostName();System.out.println(hostName);String hostAddress = address.getHostAddress();System.out.println(hostAddress);}
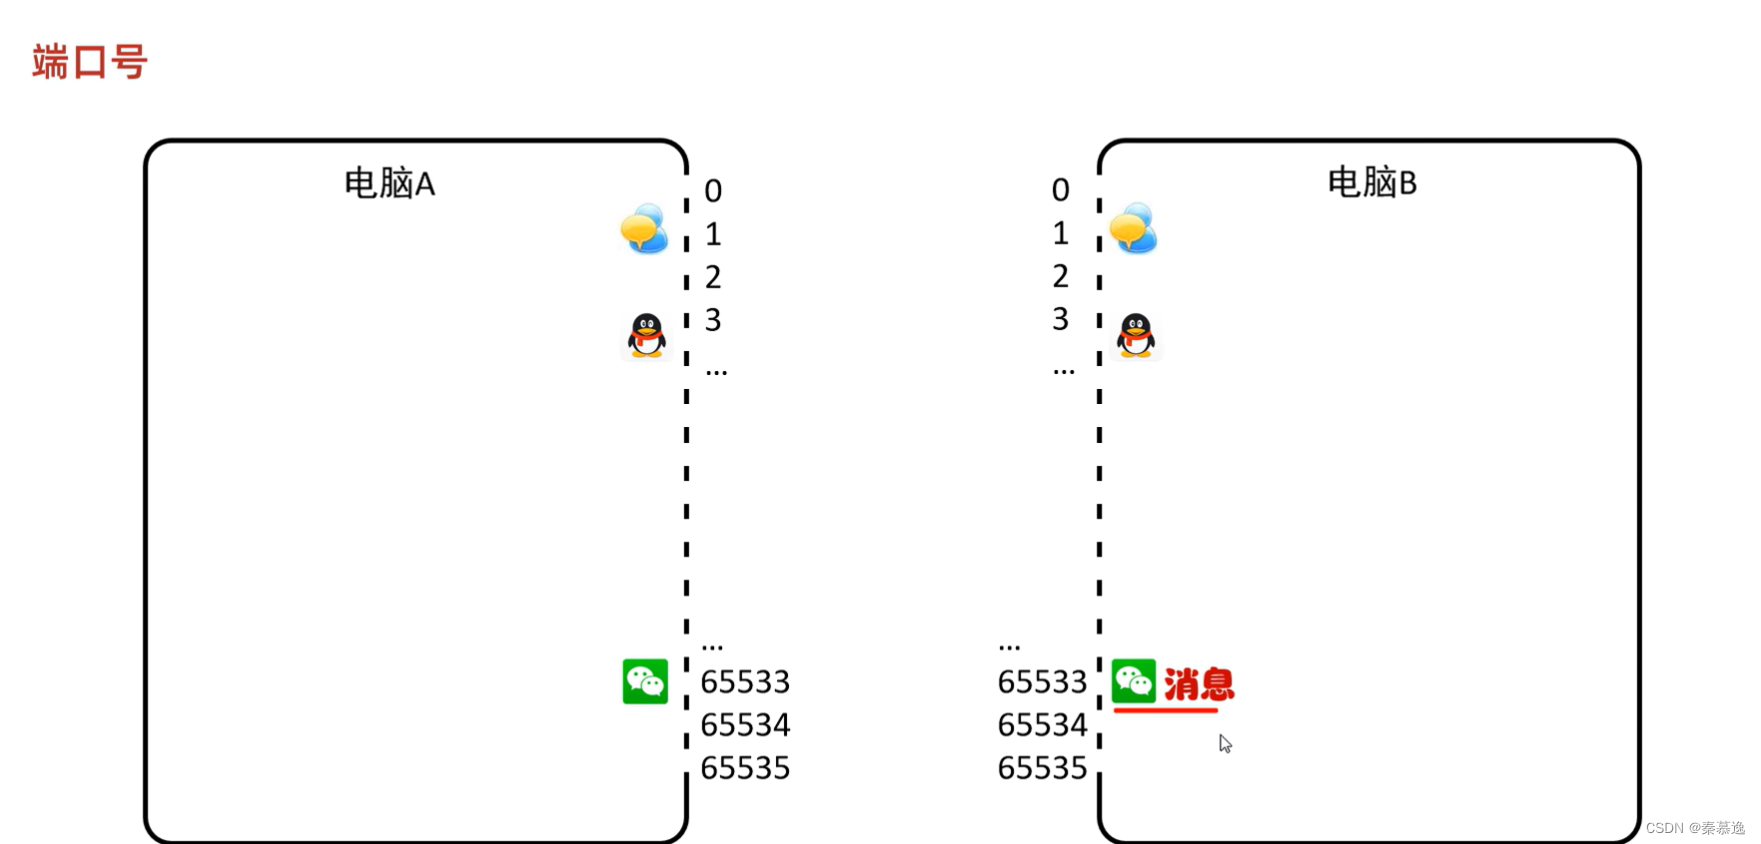
2.3 端口号
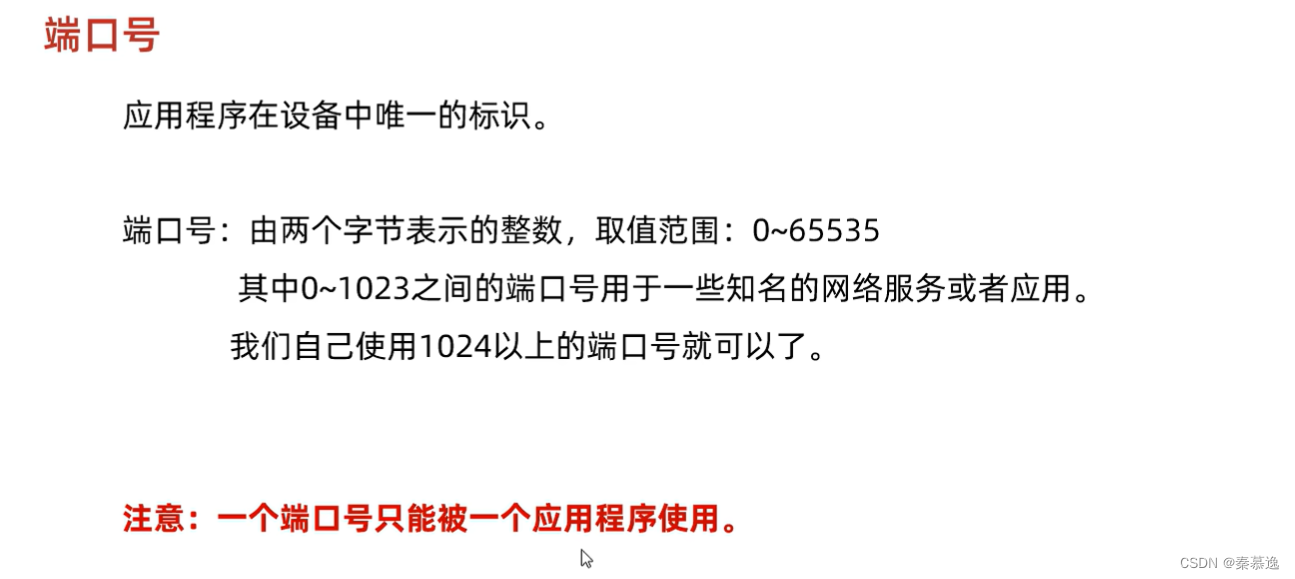
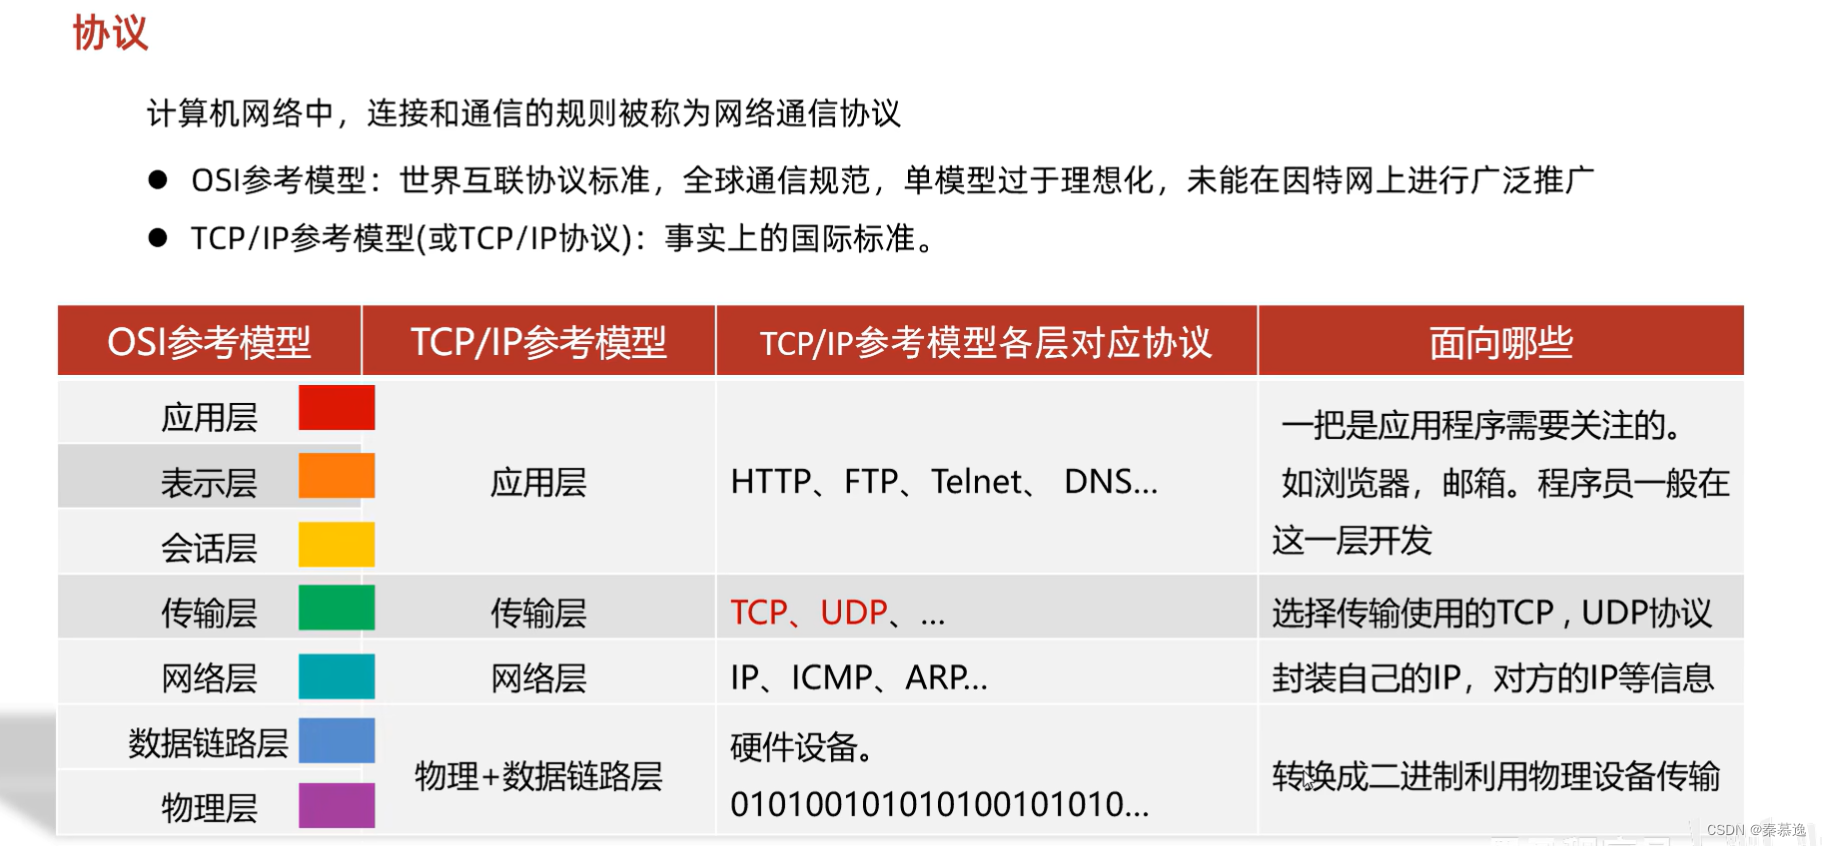
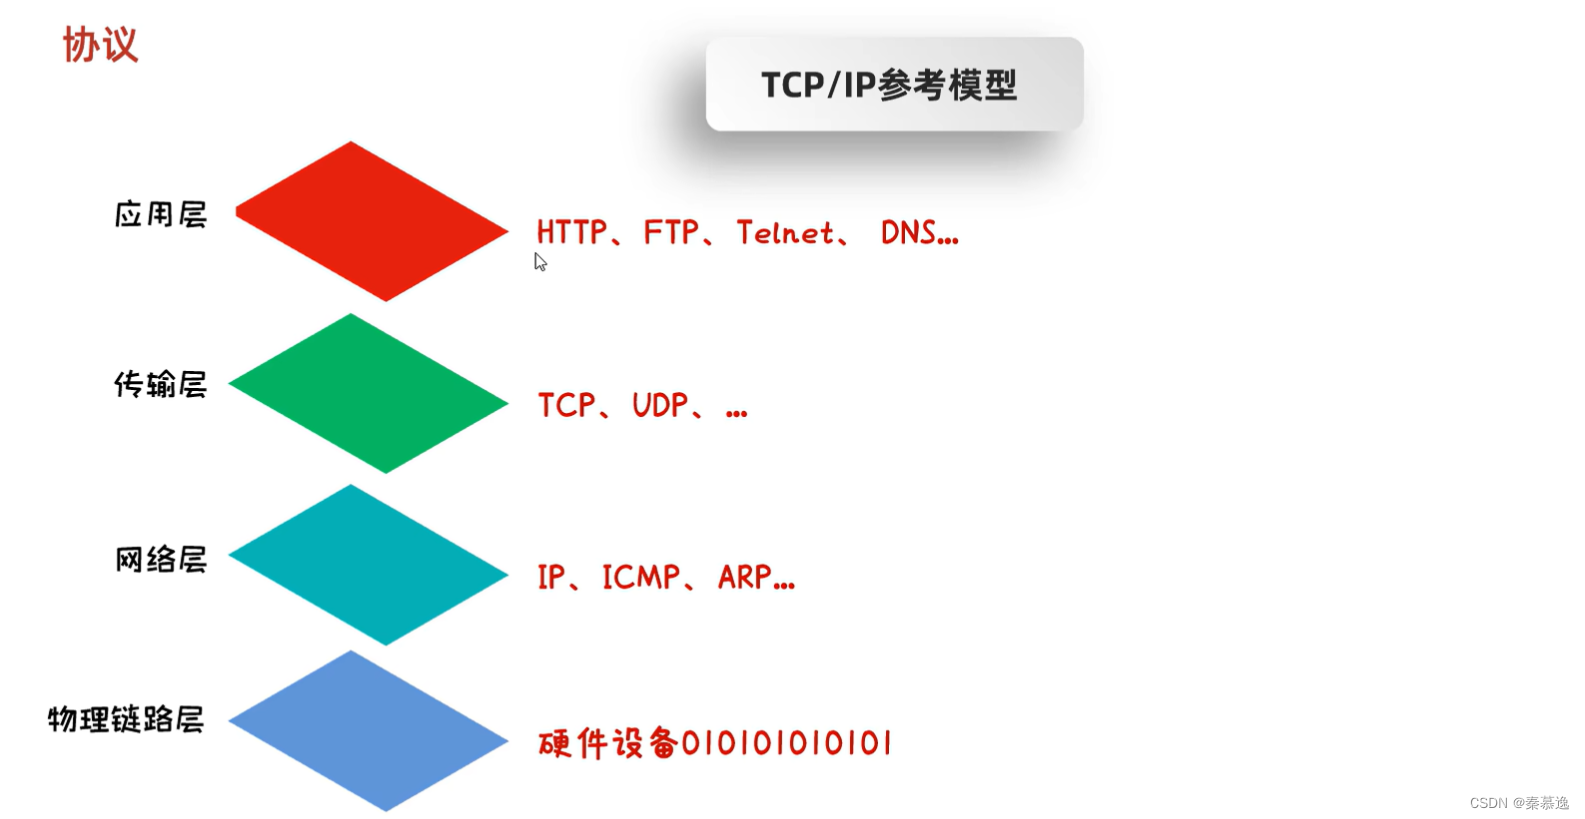
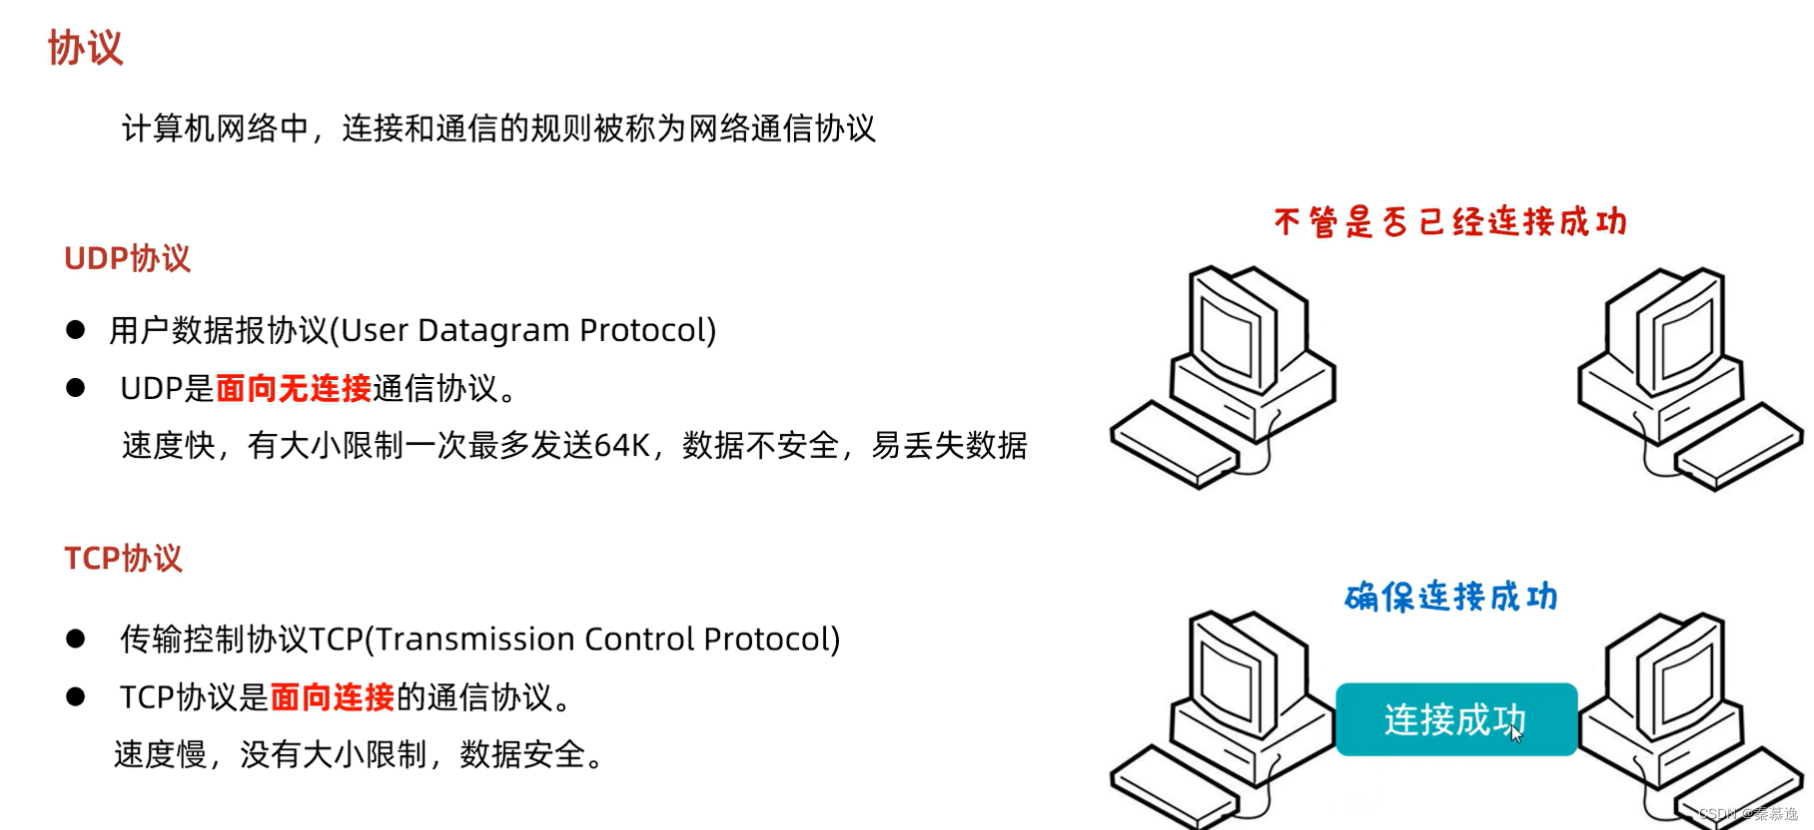
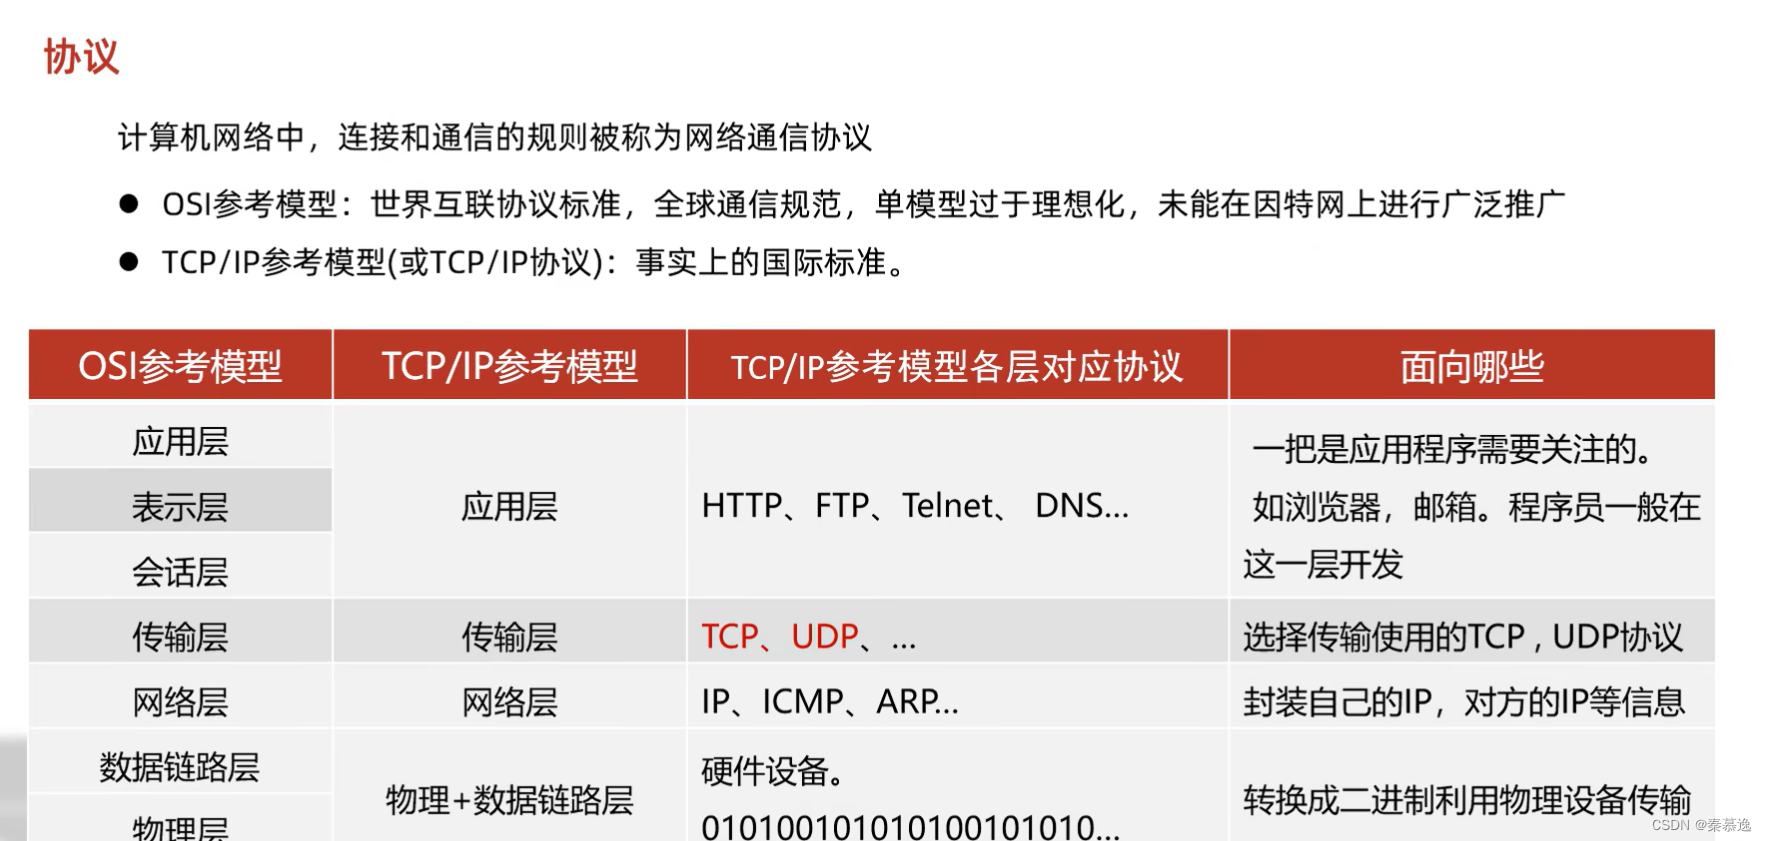
2.4 协议

三、UDP通信程序
3.1 发送数据
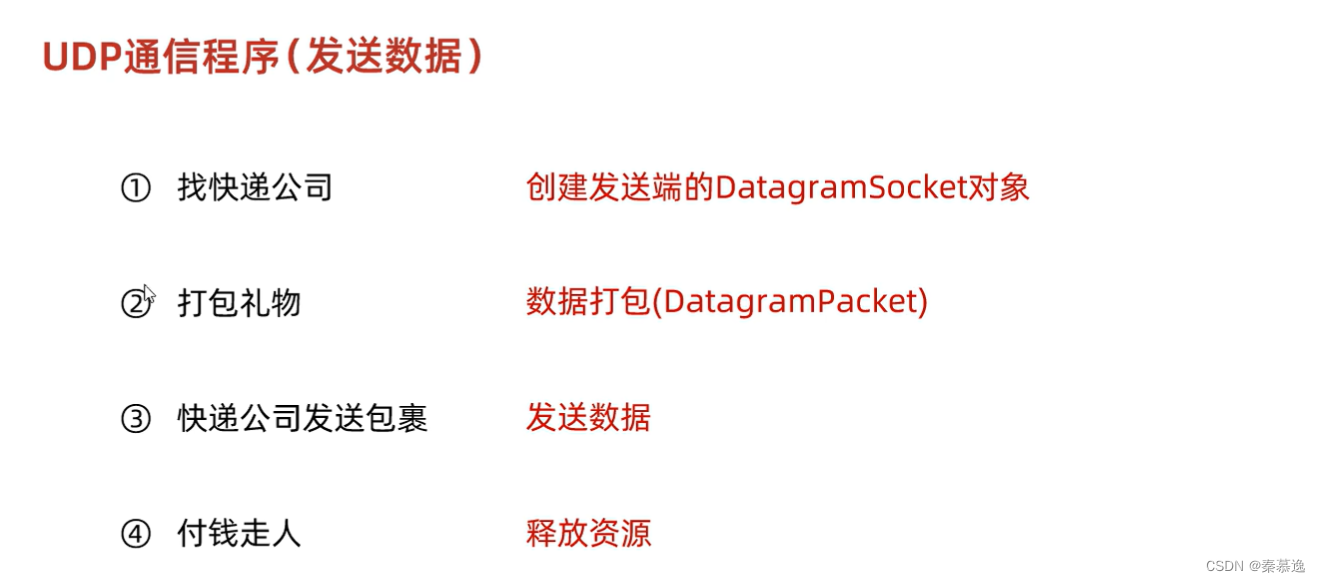
public static void main(String[] args) throws IOException {//1.创建DatagramSocket对象(快递公司)//细节://绑定端口,以后我们就是通过这个端口往外发送//空参:所有可用的端口中随机一个进行使用//有参:指定端口号进行绑定DatagramSocket ds = new DatagramSocket();//1.打包数据String str = "你好啊!";byte[] bytes = str.getBytes();InetAddress address = InetAddress.getByName("127.0.0.1");int port = 10086;DatagramPacket dp = new DatagramPacket(bytes, bytes.length, address, port);//2.发送数据ds.send(dp);//3.释放资源ds.close();}
3.2 接收数据
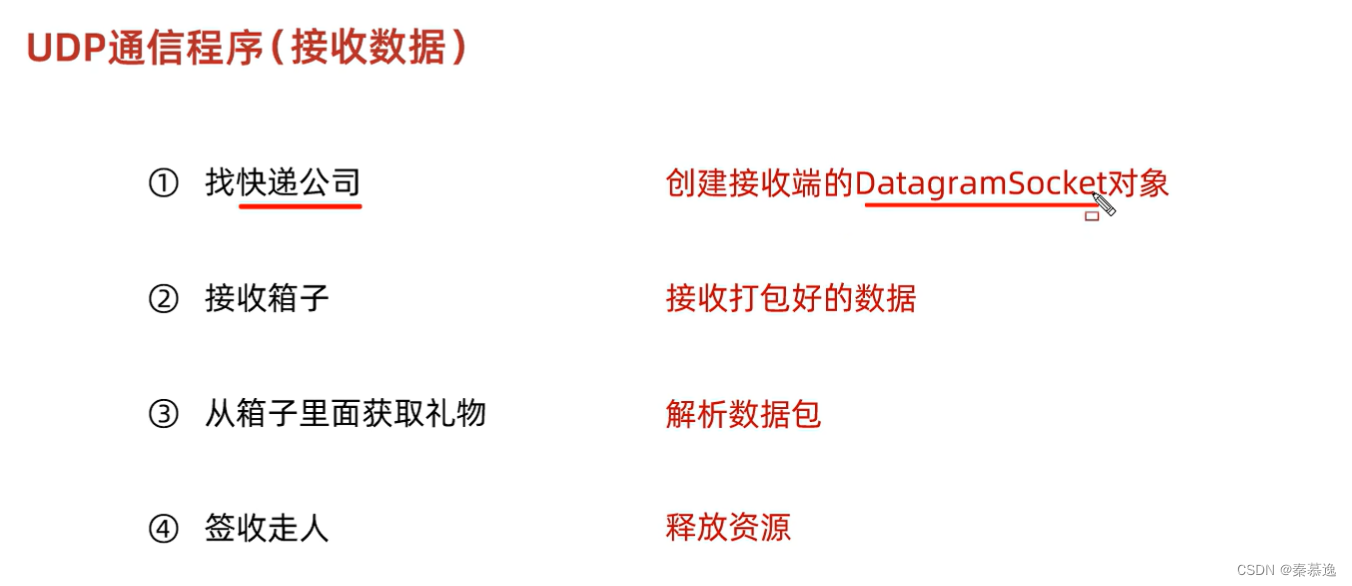
public static void main(String[] args) throws IOException {//0.创建对象//细节://在接收的时候,一定要绑定端口//而且绑定的端口一定要跟发送的端口保持一致DatagramSocket ds = new DatagramSocket(10086);//1.接收数据byte[] bytes = new byte[1024];DatagramPacket dp = new DatagramPacket(bytes, bytes.length);//该方法是阻塞的//程序执行到这一步的时候,会在这里死等//等发送端发送消息ds.receive(dp);//2.解析数据byte[] data = dp.getData();InetAddress address = dp.getAddress();int port = dp.getPort();int length = dp.getLength();System.out.println("发送的数据是:" + new String(data, 0, length));System.out.println("这条数据是从" + address + "的" + port + "端口发送出来的");//3.释放资源ds.close();}
3.3 练习

接收端:
public static void main(String[] args) throws IOException {DatagramSocket ds = new DatagramSocket(10086);byte[] bytes = new byte[1024];DatagramPacket dp = new DatagramPacket(bytes, bytes.length);while (true) {ds.receive(dp);byte[] data = dp.getData();String hostAddress = dp.getAddress().getHostAddress();String hostName = dp.getAddress().getHostName();int length = dp.getLength();System.out.println("ip为:" + hostAddress + ",主机名为:" + hostName + "发送的数据是:" + new String(data, 0, length));}}
发送端
public static void main(String[] args) throws IOException {DatagramSocket ds = new DatagramSocket();Scanner sc = new Scanner(System.in);System.out.println("请输入您要说的话:");while (true) {String str = sc.nextLine();if(str.equals("886")){break;}byte[] bytes = str.getBytes();InetAddress address = InetAddress.getByName("127.0.0.1");int port = 10086;DatagramPacket dp = new DatagramPacket(bytes, bytes.length, address, port);ds.send(dp);}ds.close();}


四、UDP的三种通信方式
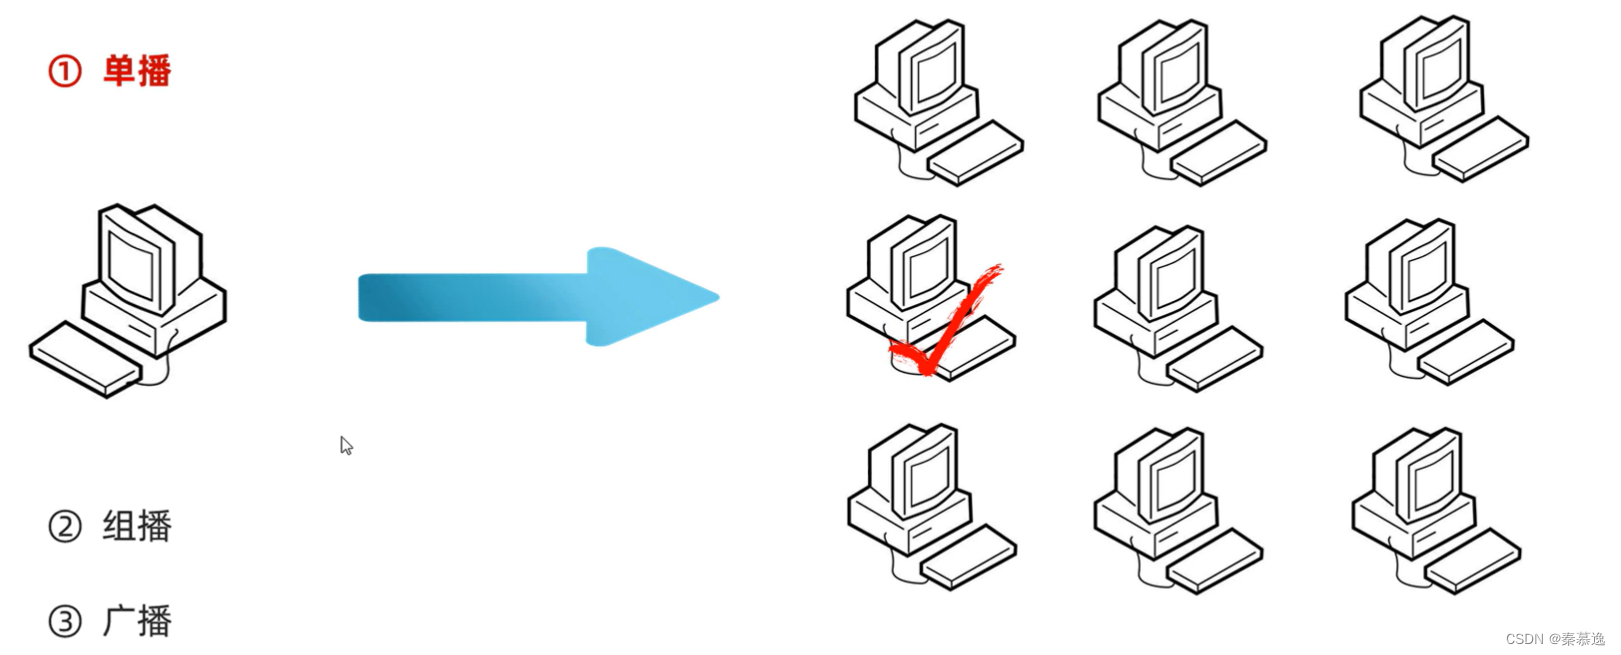
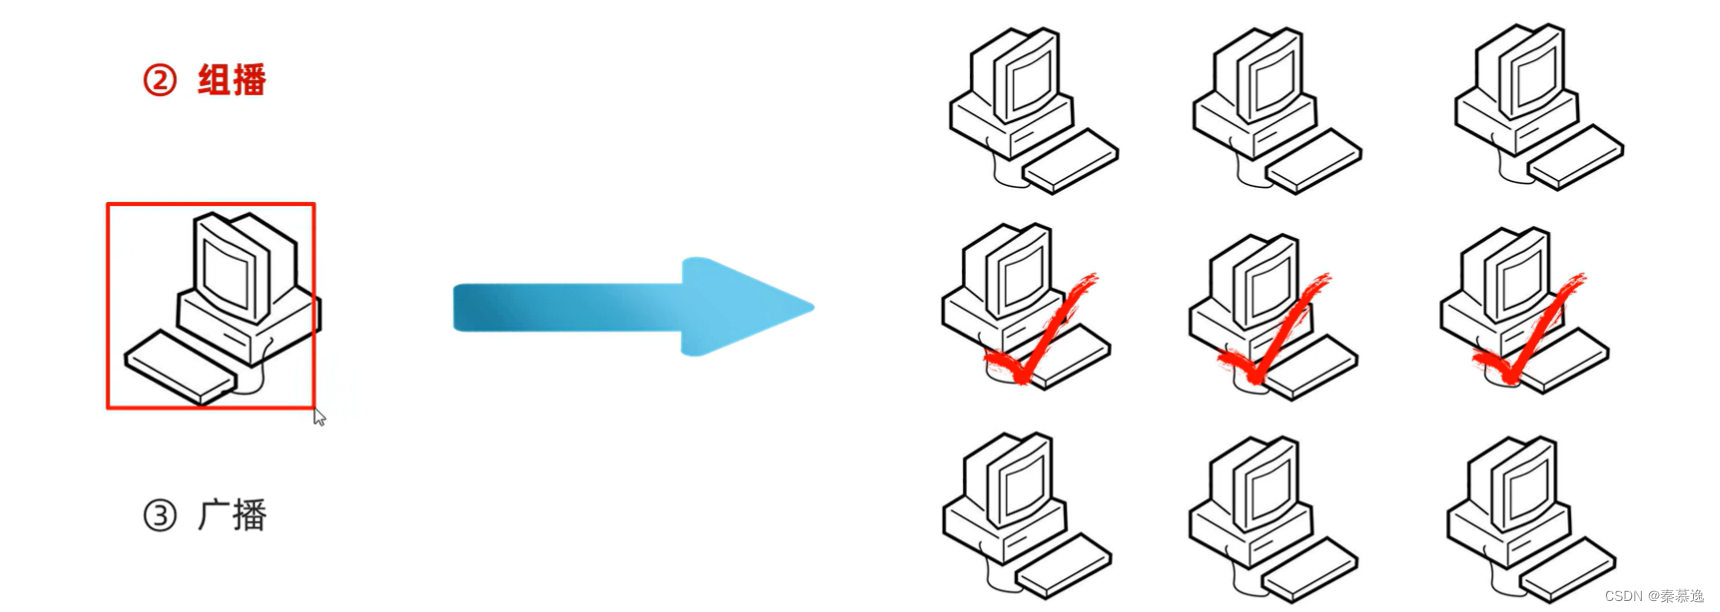
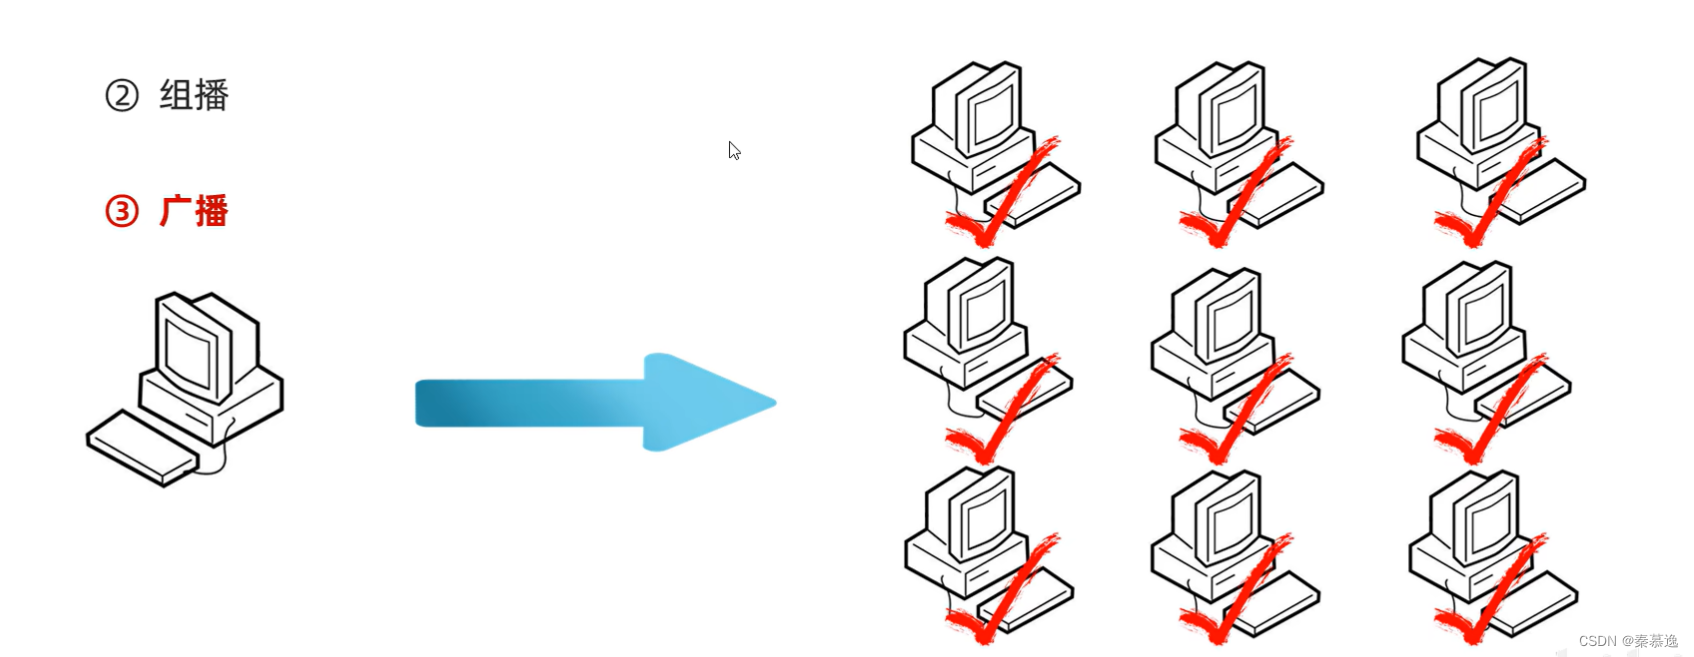
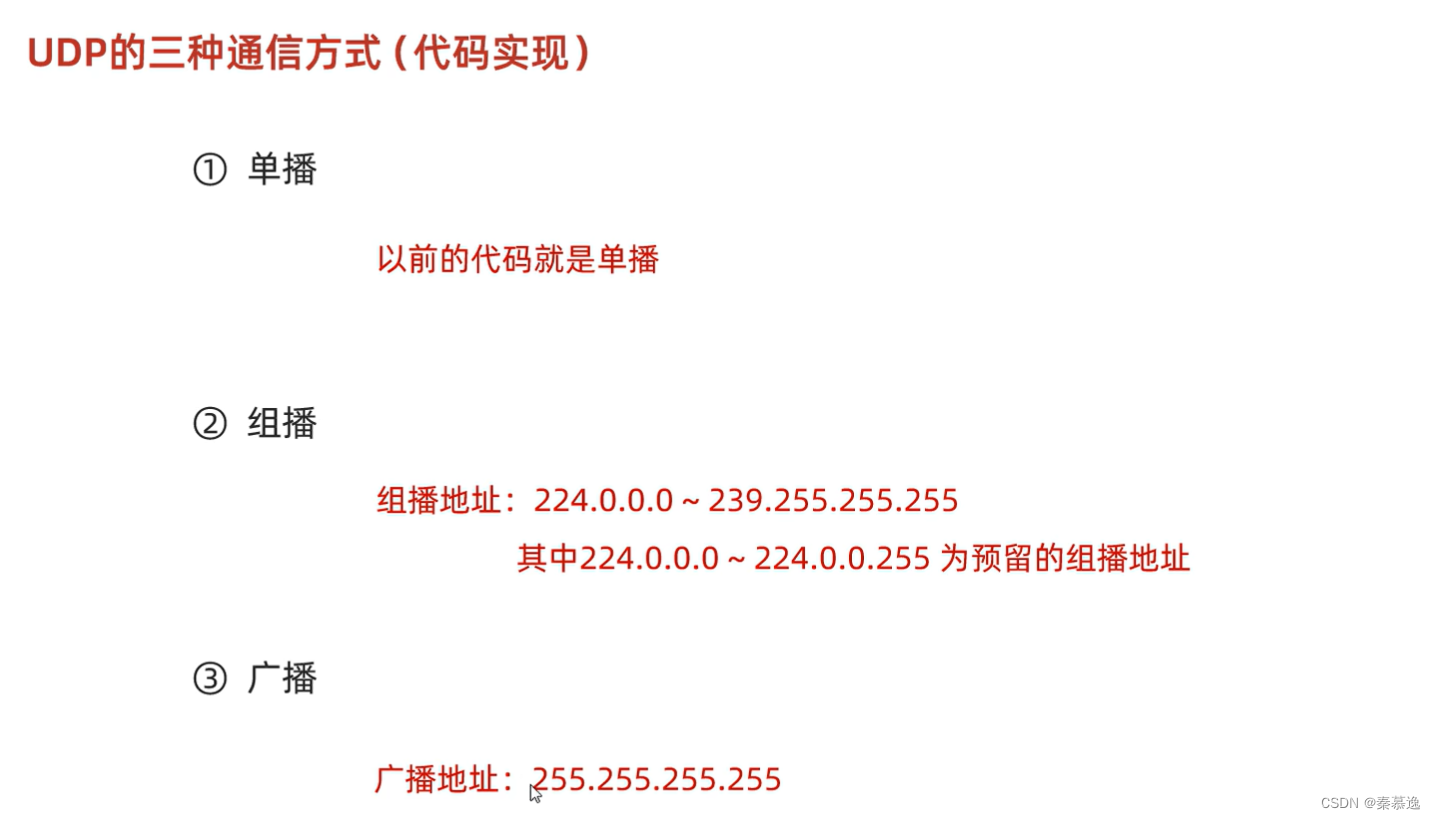
public static void main(String[] args) throws IOException {//组播发送代码MulticastSocket ms = new MulticastSocket();String s = "你好你好";byte[] bytes = s.getBytes();InetAddress address = InetAddress.getByName("224.0.0.2");int port = 10086;DatagramPacket dp = new DatagramPacket(bytes, bytes.length, address, port);//发送数据ms.send(dp);//释放资源ms.close();}
public static void main(String[] args) throws IOException {MulticastSocket ms = new MulticastSocket(10086);//将当前本机,添加到224.0.0.2的这一组当中InetAddress address = InetAddress.getByName("224.0.0.2");ms.joinGroup(address);//创建数据包对象byte[] bytes = new byte[1024];DatagramPacket dp = new DatagramPacket(bytes, bytes.length);//接收数据ms.receive(dp);//解析数据String hostAddress = dp.getAddress().getHostAddress();String hostName = dp.getAddress().getHostName();byte[] data = dp.getData();int length = dp.getLength();int port = dp.getPort();System.out.println("ip为:" + hostAddress + ",主机名为:" + hostName + "的人,发送了数据:" + new String(data, 0, length));ms.close();}
public static void main(String[] args) throws IOException {//广播发送代码MulticastSocket ms = new MulticastSocket();String s = "你好你好";byte[] bytes = s.getBytes();InetAddress address = InetAddress.getByName("255.255.255.255");int port = 10086;DatagramPacket dp = new DatagramPacket(bytes, bytes.length, address, port);//发送数据ms.send(dp);//释放资源ms.close();}
五、TCP的通信程序
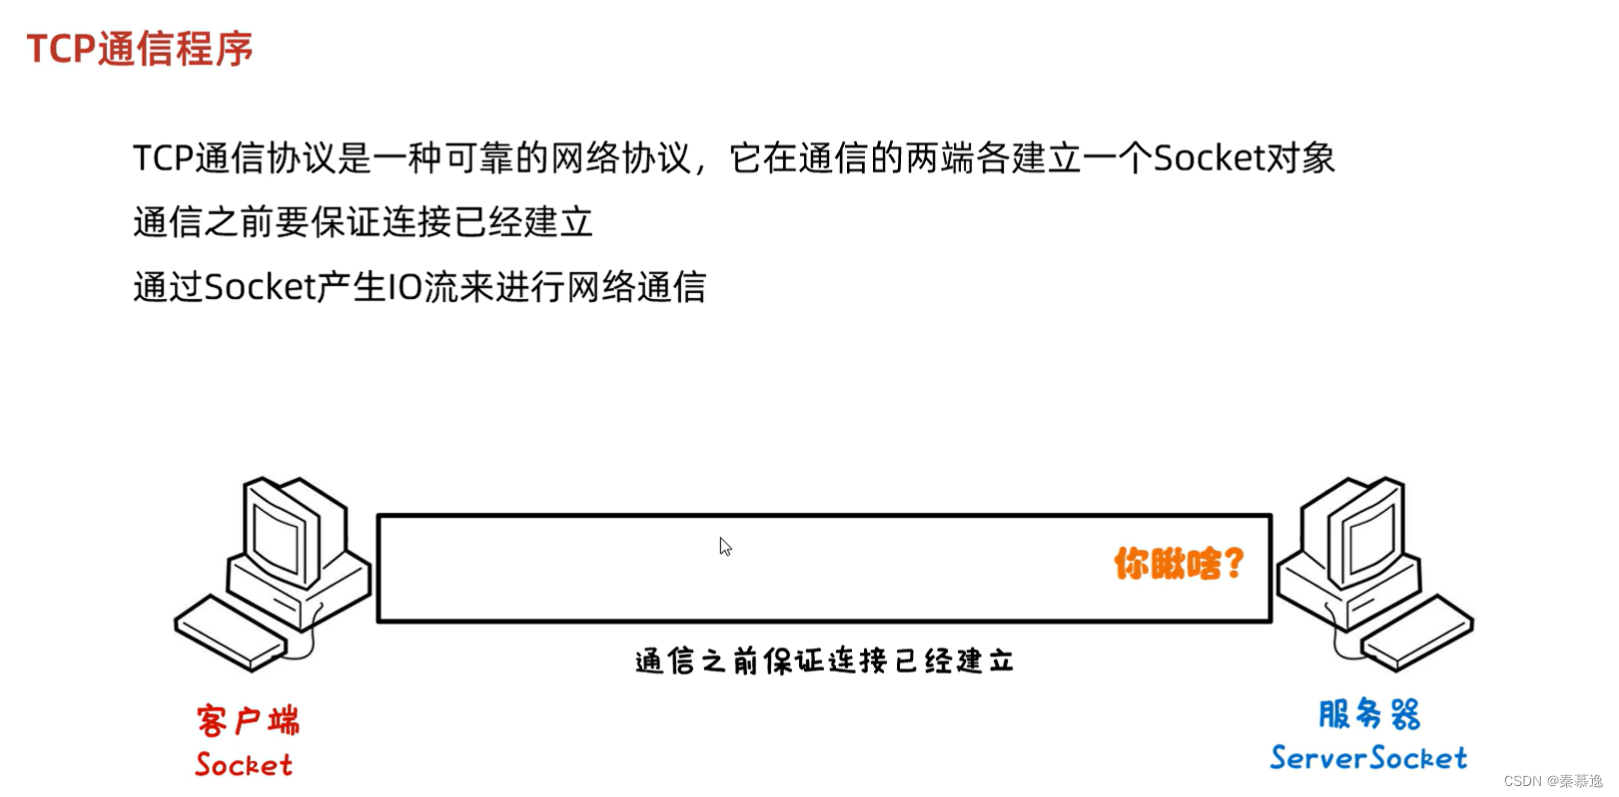
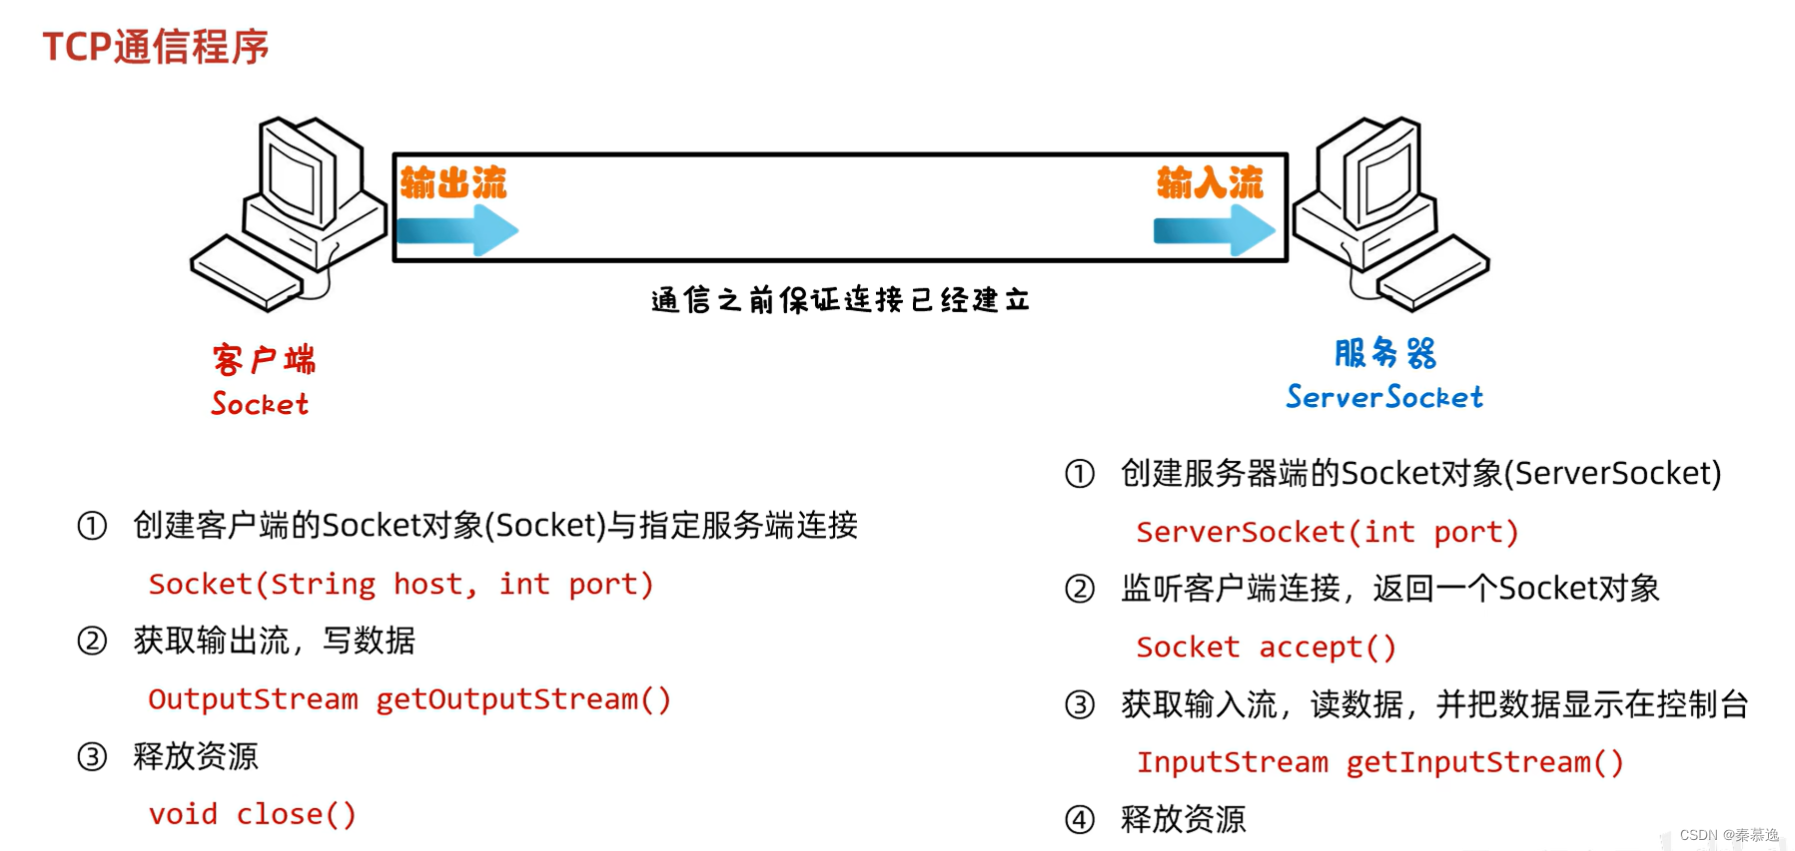
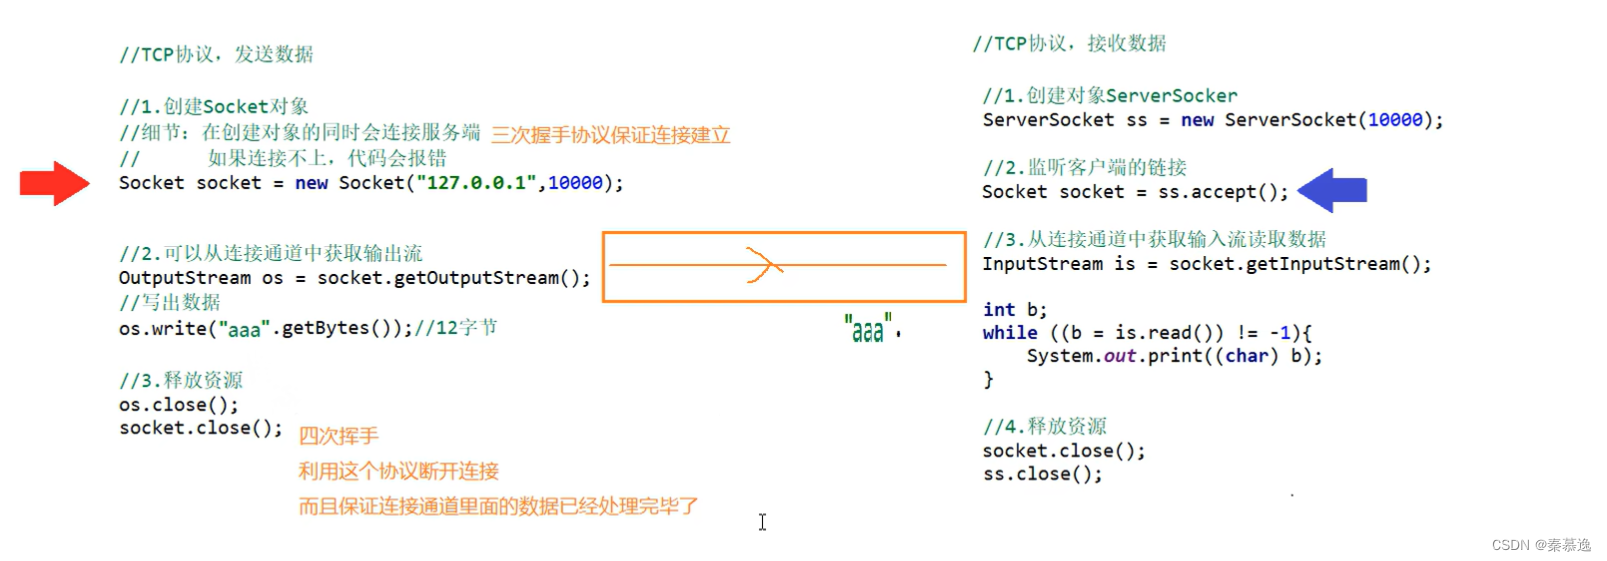
public static void main(String[] args) throws IOException {//TCP协议 接收数据//0.创建对象ServerSocket ss = new ServerSocket(10086);//1.监听客户端Socket accept = ss.accept();//2.从连接通道中获取输入流读取数据InputStream is = accept.getInputStream();int b;while ((b = is.read()) != -1) {System.out.println((char) b);}is.close();accept.close();ss.close();}
public static void main(String[] args) throws IOException {//TCP协议发送数据//1.创建Socket对象//细节:在创建对象时会连接服务端, 如果连接不上,代码会报错Socket socket = new Socket("127.0.0.1",10086);//从连接通道中获取输出流OutputStream os = socket.getOutputStream();os.write("aaa".getBytes());os.close();socket.close();}

六、三次握手和四次挥手
七、练习
7.1 TCP通信练习1——多发多收
客户端:多次发送数据
服务器:接收多次数据,并打印
public static void main(String[] args) throws IOException {/*客户端:多次发送数据服务器:接收多次数据,并打印*///0.创建Socket对象Socket socket = new Socket("127.0.0.1", 10086);//写出数据Scanner sc = new Scanner(System.in);OutputStream os = socket.getOutputStream();while (true) {System.out.println("请输入您要发送的消息:");String str = sc.nextLine();if (str.equals("886")){break;}os.write(str.getBytes());}//释放资源socket.close();}
public static void main(String[] args) throws IOException {//创建ServerSocket对象ServerSocket ss = new ServerSocket(10086);//等待客户端连接Socket accept = ss.accept();//读取数据InputStreamReader isr = new InputStreamReader(accept.getInputStream());int b;while ((b = isr.read()) != -1){System.out.print((char) b);}//释放资源ss.close();}
7.2 TCP通信练习2——接收和反馈
客户端:发送一条数据,接收服务端反馈的消息并打印
服务器:接收数据并打印,再给客户端反馈消息
public class Client {public static void main(String[] args) throws IOException {/*客户端:发送一条数据,接收服务端反馈的消息并打印服务器:接收数据并打印,再给客户端反馈消息*///0.创建一个Socket对象Socket s = new Socket("127.0.0.1", 10086);//1.写出数据String str = "见到你很高兴!";OutputStream os = s.getOutputStream();os.write(str.getBytes());//结束标记s.shutdownOutput();//3.接收服务器回写的数据InputStream is = s.getInputStream();InputStreamReader isr = new InputStreamReader(is);int b;while ((b = isr.read()) != -1) {System.out.println((char) b);}//释放资源s.close();}
}
public class Server {public static void main(String[] args) throws IOException {//0.创建ServerSocket对象ServerSocket ss = new ServerSocket(10086);//1.等待客户端连接Socket accept = ss.accept();//2.获取数据InputStream is = accept.getInputStream();InputStreamReader isr = new InputStreamReader(is);int b;while ((b = isr.read()) != -1){System.out.println((char) b);}//3.会写数据String str = "到底有多开心呢?";OutputStream os = accept.getOutputStream();os.write(str.getBytes());//释放资源accept.close();ss.close();}
}
7.3 TCP通信练习3——上传文件
客户端:将本地文件上传到服务器。接收服务器的反馈。
服务器:接收客户端上传的文件,上传完毕之后给出反馈。

public class Server {public static void main(String[] args) throws IOException {//创建ServerSocket对象ServerSocket ss = new ServerSocket(10086);//等待客户端连接Socket socket = ss.accept();//读取数据并保存到本地文件中BufferedInputStream bis = new BufferedInputStream(socket.getInputStream());BufferedOutputStream bos = new BufferedOutputStream(new FileOutputStream("day32_code\\ServerDir\\a.jpg"));int len;byte[] bytes = new byte[1024];while ((len = bis.read(bytes)) != -1) {bos.write(bytes, 0, len);}bos.close();//会写数据BufferedWriter bw = new BufferedWriter(new OutputStreamWriter(socket.getOutputStream()));bw.write("上传成功");bw.newLine();bw.flush();socket.close();ss.close();}
}
public class Client {public static void main(String[] args) throws IOException {//0.创建Socket对象Socket s = new Socket("127.0.0.1", 10086);//1.创建BufferedWriter关联本地文件BufferedInputStream bis = new BufferedInputStream(new FileInputStream("day32_code\\ClientDir\\a.jpg"));BufferedOutputStream bos = new BufferedOutputStream(s.getOutputStream());int len;byte[] bytes = new byte[1024];while ((len = bis.read(bytes)) != -1) {bos.write(bytes, 0, len);}s.shutdownOutput();//接收服务器的回写数据BufferedReader br = new BufferedReader(new InputStreamReader(s.getInputStream()));String line = br.readLine();System.out.println(line);//释放资源s.close();}
}
7.4 TCP通信练习4——上传文件(文件名重复问题)
解决上一题文件名重复问题
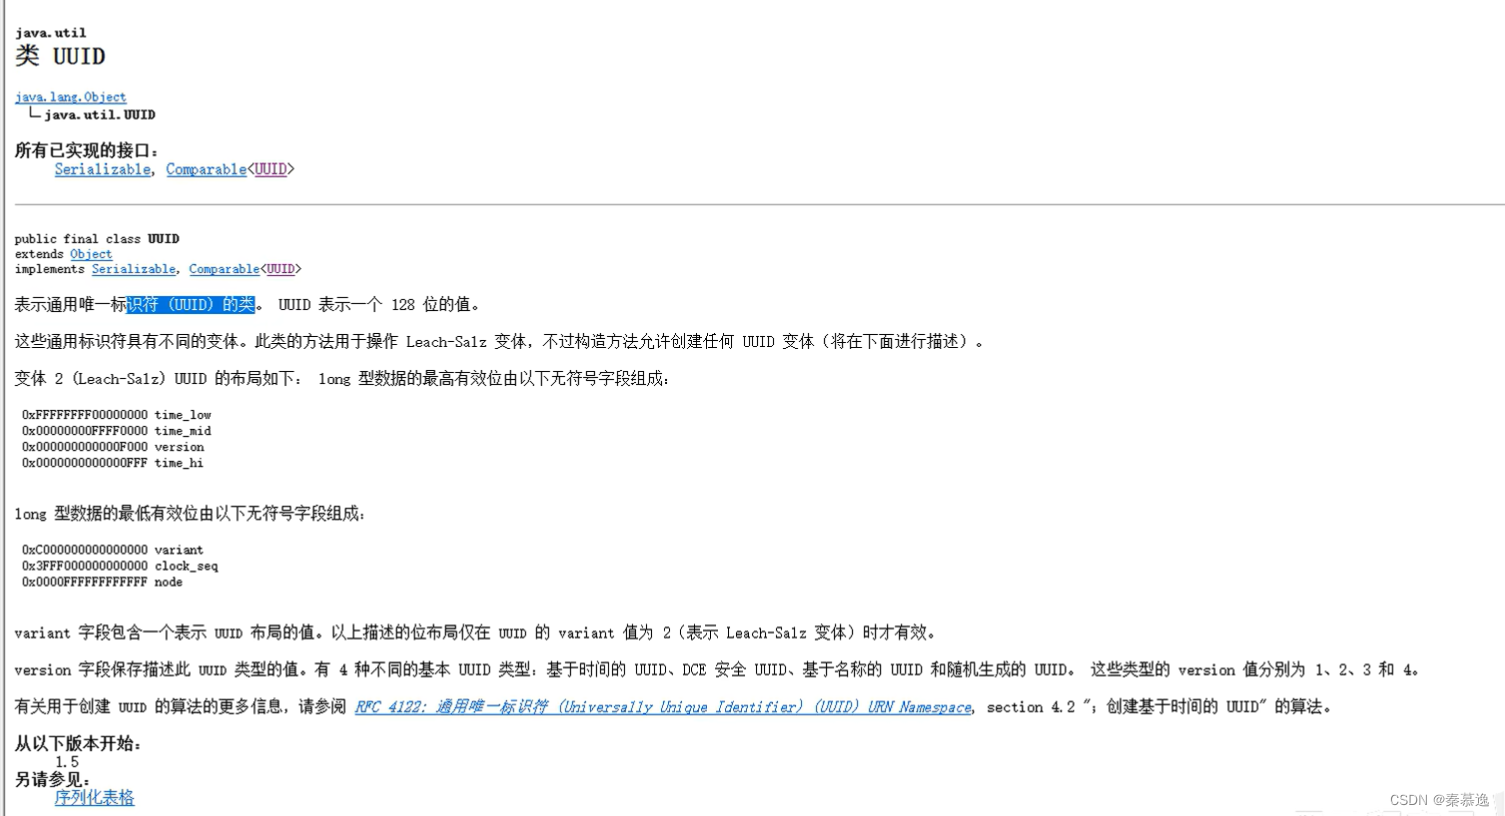
public class UUIDTest {public static void main(String[] args) {String s = UUID.randomUUID().toString().replace("-", "");System.out.println(s);}
}
String filename = UUID.randomUUID().toString().replace("-", "");
BufferedOutputStream bos = new BufferedOutputStream(new FileOutputStream("day32_code\\ServerDir\\" + filename + "+.jpg"));
7.5 TCP通信练习5——上传文件(多线程版)
想要服务器不停止,能接收很多用户上传的图片。
该怎么做呢?
提示:可以用循环或者多线程。
但是循环不合理,最优解发是用循环+多线程改写
public class MyRunable implements Runnable {Socket socket;public MyRunable(Socket socket) {this.socket = socket;}@Overridepublic void run() {try {String filename = UUID.randomUUID().toString().replace("-", "");BufferedInputStream bis = new BufferedInputStream(socket.getInputStream());BufferedOutputStream bos = new BufferedOutputStream(new FileOutputStream("day32_code\\ServerDir\\" + filename + "+.jpg"));int len;byte[] bytes = new byte[1024];while ((len = bis.read(bytes)) != -1) {bos.write(bytes, 0, len);}bos.close();//会写数据BufferedWriter bw = new BufferedWriter(new OutputStreamWriter(socket.getOutputStream()));bw.write("上传成功");bw.newLine();bw.flush();} catch (IOException e) {e.printStackTrace();} finally {if (socket != null) {try {socket.close();} catch (IOException e) {e.printStackTrace();}}}}
}
public class Server {public static void main(String[] args) throws IOException {//创建ServerSocket对象ServerSocket ss = new ServerSocket(10086);while (true) {//等待客户端连接Socket socket = ss.accept();//读取数据并保存到本地文件中//开启一条线程//一个用户对应服务端的一条线程new Thread(new MyRunable(socket)).start();}}
}
7.6 TCP通信练习6——上传文件(线程池优化)
频繁创建线程并销毁非常浪费系统资源,所以需要用线程池优化
public class Server {public static void main(String[] args) throws IOException {//创建ServerSocket对象ServerSocket ss = new ServerSocket(10086);//创建线程池对象ThreadPoolExecutor pool = new ThreadPoolExecutor(3, // 核心线程数量16, // 线程池总大小60, // 空闲时间TimeUnit.SECONDS, // 空闲时间(单位)new ArrayBlockingQueue<>(2) , // 队列Executors.defaultThreadFactory(), // 线程工厂new ThreadPoolExecutor.AbortPolicy() // 阻塞队列);while (true) {//等待客户端连接Socket socket = ss.accept();//读取数据并保存到本地文件中//开启一条线程//一个用户对应服务端的一条线程new Thread(new MyRunable(socket)).start();}}
}
7.7 TCP通信练习7——BS(接收浏览器的消息并打印)
客户端:不需要写
服务器:接收数据并打印。
public class Server {public static void main(String[] args) throws IOException {//创建ServerSocket对象ServerSocket ss = new ServerSocket(10086);//等待客户端连接Socket accept = ss.accept();//读取数据InputStreamReader isr = new InputStreamReader(accept.getInputStream());int b;while ((b = isr.read()) != -1){System.out.print((char) b);}//释放资源ss.close();}
}
运行以上代码,打开浏览器,输入回环地址127.0.0.1加端口号
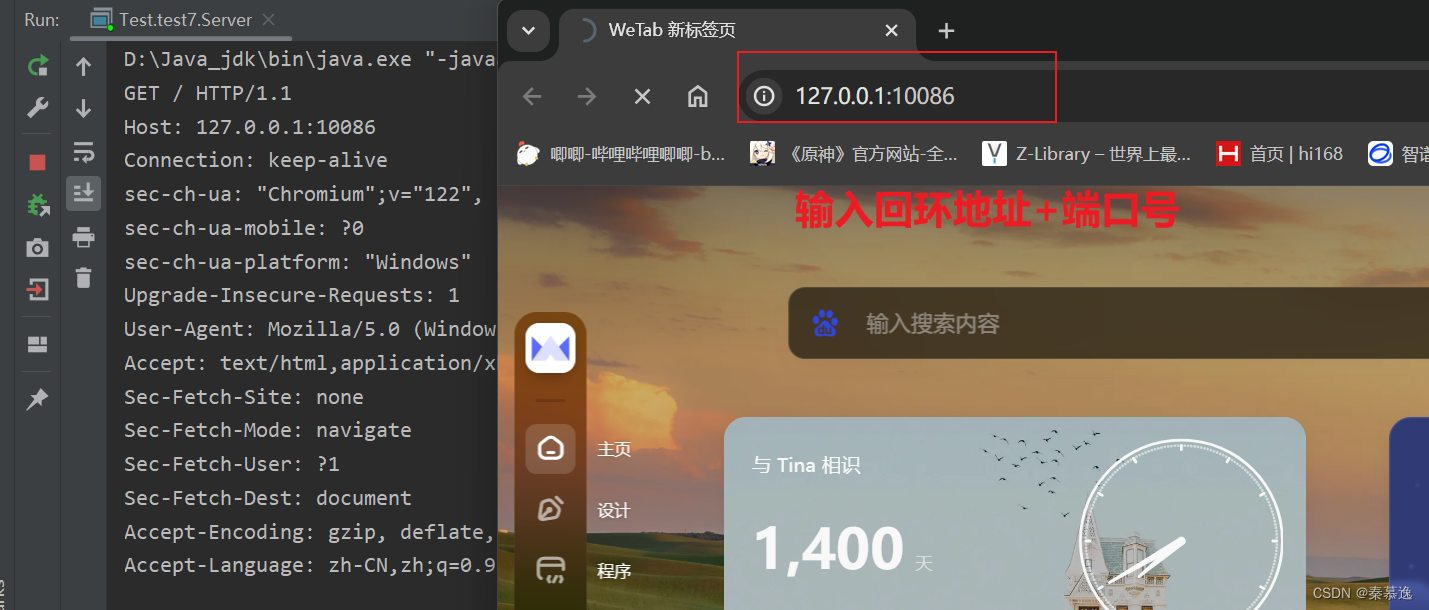
如图,idea控制台就会出现相应的信息。


:折线图(特点:渐变、面积区域))


)
)


