目录
一、环境准备
二、使用root创建用户和组
三、创建部署目录
四、上传安装包
五、创建 oraInst.loc 文件
六、创建wls.rsp 响应文件
七、进行安装
八、使用 wlst.sh 离线模式创建一个域
九、启动服务
十、浏览器访问
一、环境准备
REDHAT版本:Redhat 7.6
Weblogic版本:WLS12.2.1.3.0
关掉服务器的防火墙,selinux。
二、使用root创建用户和组
groupadd weblogic
useradd -G weblogic weblogic
三、创建部署目录
mkdir /weblogic
chown -R weblogic:weblogic /weblogic 指定目录用户及属组
passwd weblogic 修改weblogic用户密码
四、上传安装包
su - weblogic 切换用户为weblogic用户
cd /weblogic/

[weblogic@kk weblogic]$ rpm -ivh jdk-8u221-linux-x64.rpm 安装jdk
五、创建 oraInst.loc 文件
[weblogic@kk weblogic]$ vi oraInst.loc
inventory_loc=/opt/weblogic/oraInventory #产品目录清单
inst_group=weblogic #用户组名称
六、创建wls.rsp 响应文件
[weblogic@kk weblogic]$vi wls.rsp
[ENGINE]
Response File Version=1.0.0.0.0
[GENERIC]
ORACLE_HOME=/weblogic/oracle #weblogic的安装路径,根据自己的需要修改
INSTALL_TYPE=WebLogic Server # 安装类型选择了最基本的Weblogic Server组件
注意:检查一下wls.rsp和oraInst.loc有没有空格或者中文乱码。
七、进行安装
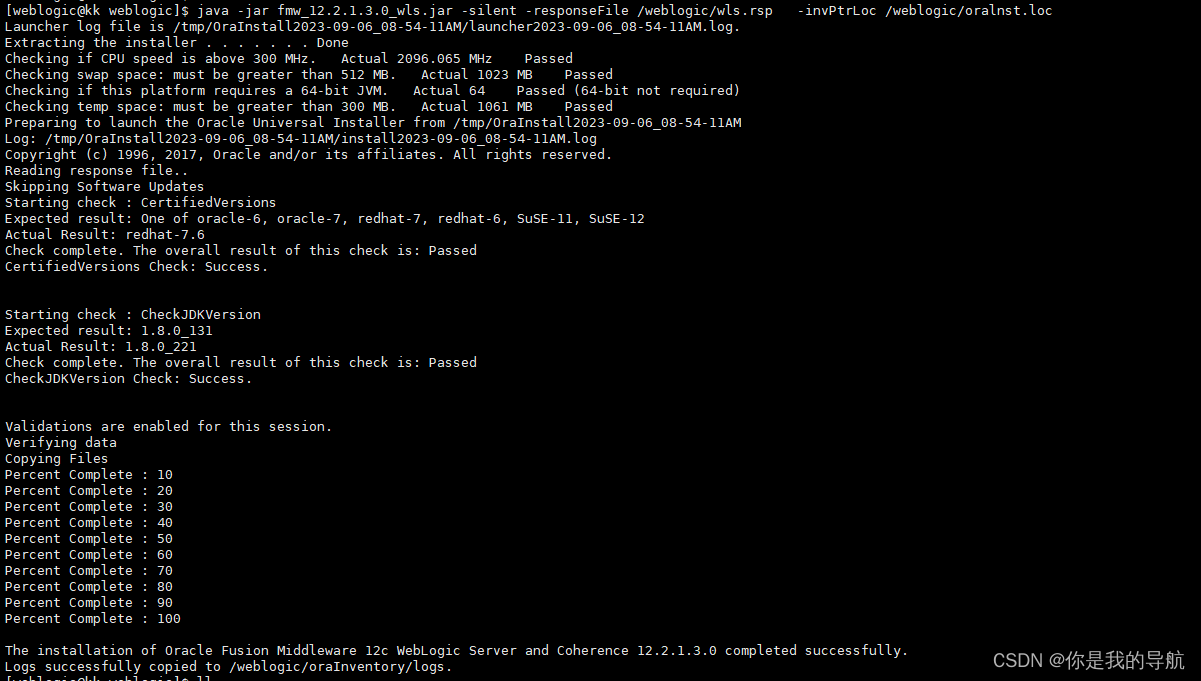
[weblogic@kk weblogic]$ java -jar fmw_12.2.1.3.0_wls.jar -silent -responseFile /weblogic/wls.rsp -invPtrLoc /weblogic/oralnst.loc

八、使用 wlst.sh 离线模式创建一个域
[weblogic@kk bin]$ sh /weblogic/oracle/wlserver/common/bin/wlst.sh

wls:/offline> readTemplateForUpdate('/weblogic/oracle/wlserver/common/templates/wls/wls.jar')
wls:/offline/base_domain>cd ('Server/AdminServer')
wls:/offline/base_domain/Server/AdminServer>set('ListenAddress','')
wls:/offline/base_domain/Server/AdminServer>set('ListenPort',17001) 自定义控制台程序访问端口 防火墙未关闭需要配置端口访问
wls:/offline/base_domain/Server/AdminServer>cd('/')
wls:/offline/base_domain>cd('Security/base_domain/User/weblogic')
wls:/offline/base_domain/Security/base_domain/User/weblogic>cmo.setPassword('weblogic123')
wls:/offline/base_domain/Security/base_domain/User/weblogic>setOption('OverwriteDomain','true')
wls:/offline/base_domain/Security/base_domain/User/weblogic>writeDomain('/weblogic/oracle/user_projects/domains/base_domain') 创建的域目录
wls:/offline/base_domain/Security/base_domain/User/weblogic>closeTemplate()
wls:/offline>exit() 退出
Exiting WebLogic Scripting Tool.
九、启动服务
nohup sh /weblogic/oracle/user_projects/domains/base_domain/startWebLogic.sh &
十、浏览器访问
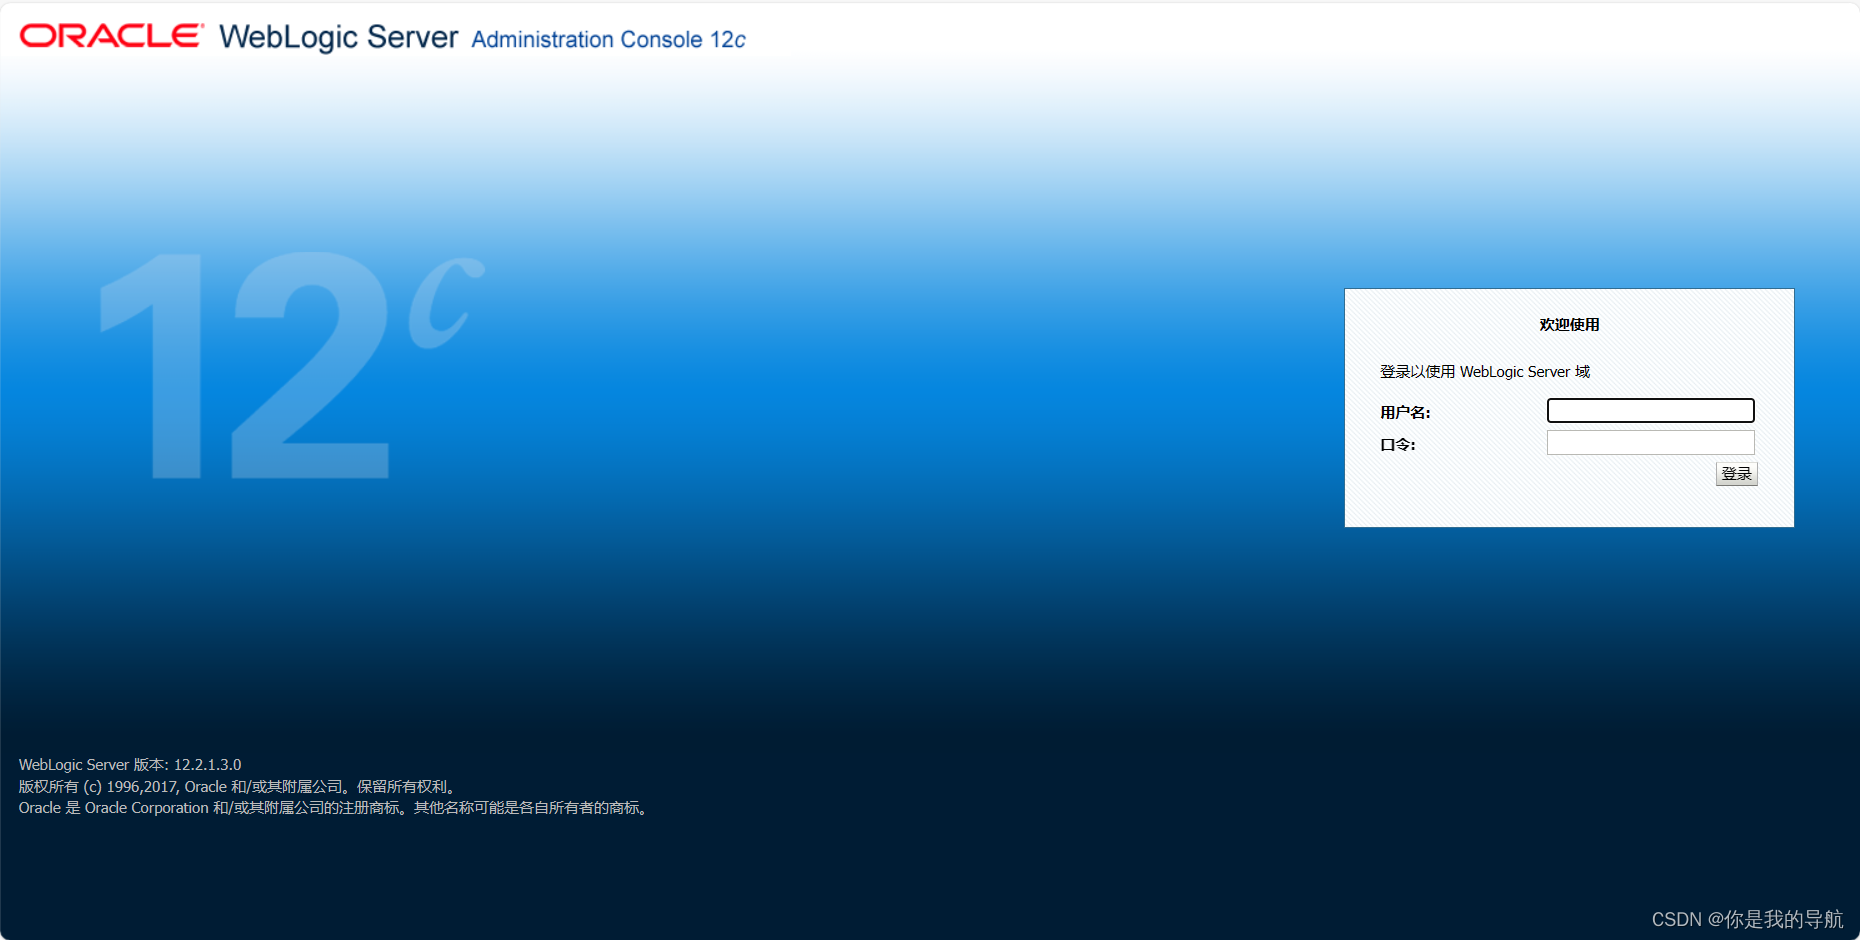
http://xxxxxx:17001/console

安装完毕
|LXC容器)


如何实现用户权限控制?)
 剑指 Offer 65. 不用加减乘除做加法 ——【Leetcode每日一题】)


