文章目录
- 一、Uthread: switching between threads
- 简介
- 提示
- 实验代码
- 实验结果
- 二、Using threads
- 简介
- 实验代码
- 三、Barrier
- 简介
- 实验代码
- 实验结果
一、Uthread: switching between threads
简介
切换到 thread 分支
- git fetch
- git checkout thread
- make clean
实现用户态线程的上下文切换机制,该实验已准备了 user/uthread.c 和 user/uthread_switch.S,makefile添加了构建规则。但是缺少了创建用户态线程以及线程切换的代码。
我们的任务就是实现一套机制,包含创建用户态线程以及保存/恢复线程上下文的功能。
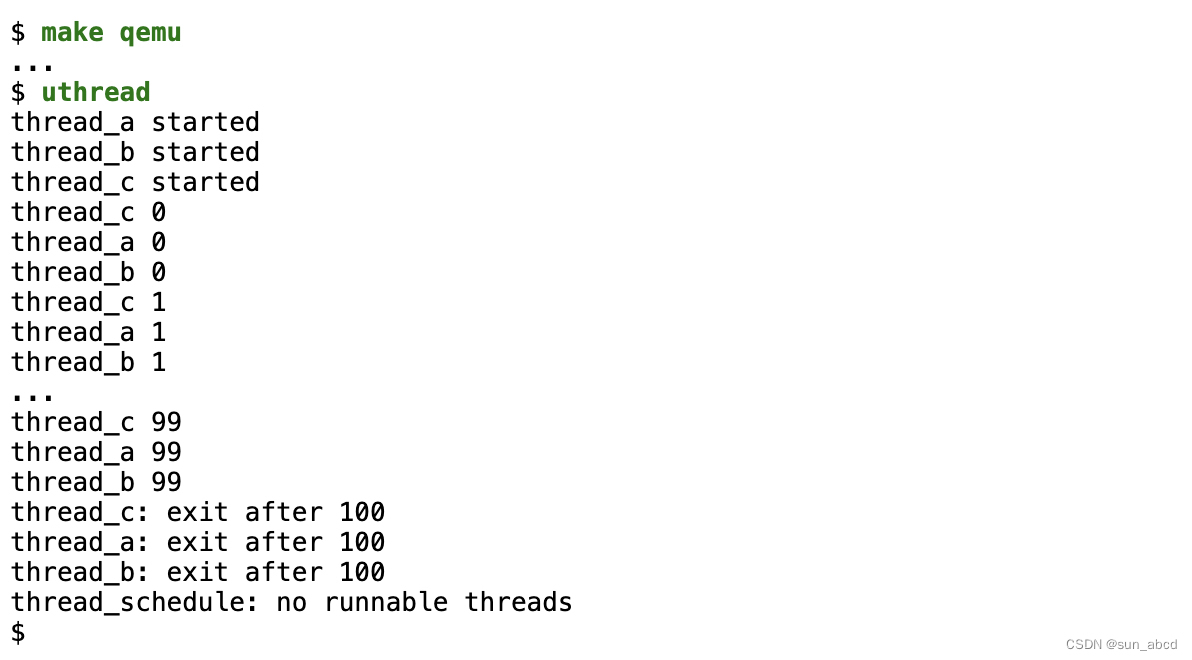
完成实验之后,执行make qemu,并运行 uthread程序,应该可以看到如下图输出:

- 在
user/uthread.c中完善thread_create()和thread_schedule()函数 - 在
user/uthread_switch.S中完善thread_switch - 目标是保证
thread_schedule()首次调度一个给定的用户态线程时,该线程需要在它的栈上执行通过thread_create()创建线程时传递的函数 - 另一个目标是保存被切换用户态线程的寄存器上下文,恢复获得cpu的线程的寄存器上下文,以使得其可以从上一次中断的位置继续执行
提示
thread_switch只需要保存/恢复仅由被调用者(callee)负责保存的寄存器。为什么? 这是因为线程被切换出去时肯定是在一个函数中,此时寄存器中的值只有被调用者保存的寄存器是可能被线程切换代码导致丢失的。因此需要保存,而由调用者保存的寄存器,已经在函数栈帧中保存了一次。- 可以在
user/uthread.asm中看到uthread的汇编代码,这可以帮助调试 - 使用
riscv64-linux-gnu-gdb进行thread_switch的单步调试,方法如下:

实验代码
思路:
- user/uthread.c:添加一个
struct thread_context结构体,用于记录用户态线程上下文 - user/uthread.c:
thread_create()完善用户态线程的创建逻辑 - user/uthread_switch.S:实现
thread_switch()用于保存被调度用户态线程的上下文,恢复切换用户态线程的上下文
代码:
- user/uthread.c
//定义用户态线程上下文
struct thread_context {uint64 ra;uint64 sp;// callee-saveduint64 s0;uint64 s1;uint64 s2;uint64 s3;uint64 s4;uint64 s5;uint64 s6;uint64 s7;uint64 s8;uint64 s9;uint64 s10;uint64 s11;
};struct thread {char       stack[STACK_SIZE]; /* the thread's stack */int        state;             /* FREE, RUNNING, RUNNABLE */struct thread_context context; // 新增
};void
thread_create(void (*func)())
{struct thread *t;for (t = all_thread; t < all_thread + MAX_THREAD; t++) {if (t->state == FREE) break;}t->state = RUNNABLE;// YOUR CODE HERE// 新增memset(&t->context, 0, sizeof(struct thread_context));t->context.ra = (uint64)func;t->context.sp = (uint64)t->stack + STACK_SIZE; //栈顶为高地址
}void
thread_schedule(void)
{struct thread *t, *next_thread;/* Find another runnable thread. */// ...if (current_thread != next_thread) {         /* switch threads?  */next_thread->state = RUNNING;t = current_thread;current_thread = next_thread;/* YOUR CODE HERE* Invoke thread_switch to switch from t to next_thread:* thread_switch(??, ??);*/// 新增:调用 thread_switch(参考内核态 swtch()函数)thread_switch((uint64)&t->context, (uint64)&next_thread->context);}// ...
}
- user/uthread_switch.S
thread_switch:/* YOUR CODE HERE */sd ra, 0(a0)sd sp, 8(a0)sd s0, 16(a0)sd s1, 24(a0)sd s2, 32(a0)sd s3, 40(a0)sd s4, 48(a0)sd s5, 56(a0)sd s6, 64(a0)sd s7, 72(a0)sd s8, 80(a0)sd s9, 88(a0)sd s10, 96(a0)sd s11, 104(a0)ld ra, 0(a1)ld sp, 8(a1)ld s0, 16(a1)ld s1, 24(a1)ld s2, 32(a1)ld s3, 40(a1)ld s4, 48(a1)ld s5, 56(a1)ld s6, 64(a1)ld s7, 72(a1)ld s8, 80(a1)ld s9, 88(a1)ld s10, 96(a1)ld s11, 104(a1)ret /* return to ra */实验结果
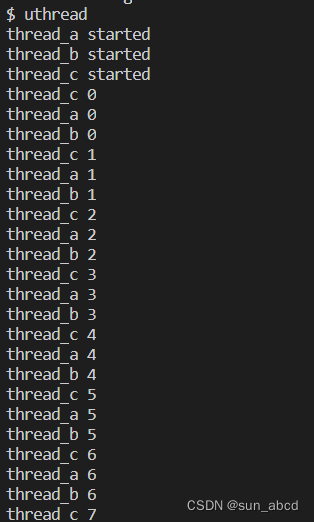
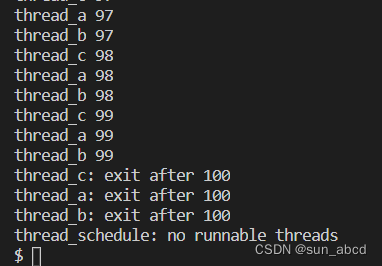
- uthread


二、Using threads
简介
本实验将使用哈希表来探索锁和线程的并发编程。
notxv6/ph.c中包含一个简单的不保证并发安全的哈希表实现,可以在xv6的主目录使用 make ph、./ph 1 将产生如下结果(需要使用gcc编译,而不是riscv的交叉工具链,且结果的数值取决于具体的机器):

然后通过 ./ph 2尝试并发版本,将得到如下结果:

实验代码
本实验比较简单
static
void put(int key, int value)
{int i = key % NBUCKET;// is the key already present?struct entry *e = 0;for (e = table[i]; e != 0; e = e->next) {if (e->key == key)break;}if(e){// update the existing key.e->value = value;} else {// the key is new.pthread_mutex_lock(&locks[i]);insert(key, value, &table[i], table[i]);pthread_mutex_unlock(&lock[i]);}
}
三、Barrier
简介
实现一个 barrier,即每个线程都要在 barrier 处等待所有线程到达 barrier 之后才能继续运行。因此我们需要用到 unix 提供的条件变量以及 wait/broadcast 机制。
实验代码
static void
barrier()
{// YOUR CODE HERE//// Block until all threads have called barrier() and// then increment bstate.round.//pthread_mutex_lock(&bstate.barrier_mutex);bstate.nthread++;if (bstate.nthread < nthread) {pthread_cond_wait(&bstate.barrier_cond, &bstate.barrier_mutex);} else {bstate.round++;bstate.nthread = 0;pthread_cond_broadcast(&bstate.barrier_cond);}pthread_mutex_unlock(&bstate.barrier_mutex);
}
)


之指令提示词(Prompt)基础教学)


)

报错)


