目录
Android ConstraintLayout 约束布局
简介
ConstraintLayout 约束布局分类
1、相对定位 (Relative positioning)
2、边距 ( Margins )
3、居中定位和偏向 ( Centering positioning and bias )
4、环形定位 ( Circular positioning )
5、对可见性的处理 ( Visibility behavior )
6、尺寸约束 ( Dimension constraints )
7、链 ( Chains )
8、辅助布局 ( Virtual Helpers objects )
9、比例 ( Ratio )
Android ConstraintLayout 约束布局
Android 中一些传统布局的优缺点。确实,每种布局方式都有其特定的使用场景和限制,这也是为什么在实际开发中,开发者经常需要结合多种布局方式来实现复杂的 UI 设计。
- AbsoluteLayout:这个布局虽然灵活,但需要对齐像素,且适配不同的设备屏幕非常困难。因此,它在实际开发中已经被弃用。
- LinearLayout:这是最简单、最直观的布局方式之一,但它的问题在于,当 UI 变得复杂时,嵌套的 LinearLayout 会导致布局层次过深,性能下降,且难以维护。
- GridLayout 和 TableLayout:这两种布局主要用于实现网格和表格样式的 UI,但它们的使用场景相对单一,不够灵活。
- RelativeLayout:这个布局非常灵活,可以用于实现各种复杂的 UI 设计。然而,它的灵活性也可能导致布局代码变得难以理解和维护,特别是在处理大型项目时。此外,它只能处理父子关系和兄弟关系之间的布局,这在某些情况下可能会限制其使用。
因此,结合使用 LinearLayout 和 RelativeLayout 是一种非常实用的策略。通常,开发者会使用 LinearLayout 来构建整体框架和大型组件,然后使用 RelativeLayout 来处理细节和微调布局。这样做可以充分利用两种布局的优势,同时避免它们的缺点。
不过,值得注意的是,随着 Android 开发的不断发展,现在有了更多现代的布局方式可供选择,如 ConstraintLayout。ConstraintLayout 提供了一种更为强大和灵活的布局方式,可以在不增加布局层次的情况下实现复杂的 UI 设计。因此,对于新的开发项目,使用 ConstraintLayout 可能是一个更好的选择。
简介
ConstraintLayout 是一种非常强大的布局方式,它的核心思想就是通过约束(Constraints)来定义视图(View)的位置和尺寸。这种方式旨在提供一种灵活且高效的布局解决方案,可以减少布局嵌套,优化性能,并且使得 UI 适配更加容易。
在 ConstraintLayout 中,每个视图都可以通过添加约束条件来定义其在布局中的位置。这些约束条件可以相对于父布局、其他视图或者布局的指导线(Guideline)来设置。通过设置这些约束条件,视图可以在不同的屏幕尺寸和方向下保持一致的布局效果。
ID 和 parent 是 ConstraintLayout 中非常重要的概念。每个视图都有一个唯一的 ID,用于在布局中唯一标识该视图。而 parent 则是指视图所在的父布局,通过设置与父布局的约束关系,可以定义视图在父布局中的位置。
总的来说,ConstraintLayout 是一种非常强大和灵活的布局方式,它可以帮助开发者更加高效地实现复杂的 UI 设计,并且优化布局性能。虽然它的学习曲线可能稍微陡峭一些,但是一旦掌握了它的基本用法和高级功能,就可以大大提高开发效率和布局质量。
ConstraintLayout 约束布局分类
我们知道 ConstraintLayout 也是一种约束布局,而约束的方式则有以下几种
1、相对定位 (Relative positioning)
相对定位是ConstraintLayout中最基本的功能之一,允许开发者通过指定一个组件相对于另一个组件或父布局的位置(如上、下、左、右)来确定其位置。这类似于RelativeLayout,但ConstraintLayout提供了更多的灵活性和更精确的控制。
下面是对可用约束的属性的简要说明及其应用:
水平方向约束
- layout_constraintLeft_toLeftOf: 控件的左边缘与另一个控件的左边缘对齐。
- layout_constraintLeft_toRightOf: 控件的左边缘与另一个控件的右边缘对齐。
- layout_constraintRight_toLeftOf: 控件的右边缘与另一个控件的左边缘对齐。
- layout_constraintRight_toRightOf: 控件的右边缘与另一个控件的右边缘对齐。
- layout_constraintStart_toEndOf: 控件的起始边缘与另一个控件的结束边缘对齐。这在支持从右到左语言(如阿拉伯语)的布局中特别有用。
- layout_constraintStart_toStartOf: 控件的起始边缘与另一个控件的起始边缘对齐。
- layout_constraintEnd_toStartOf: 控件的结束边缘与另一个控件的起始边缘对齐。
- layout_constraintEnd_toEndOf: 控件的结束边缘与另一个控件的结束边缘对齐。
垂直方向约束
- layout_constraintTop_toTopOf: 控件的顶边缘与另一个控件的顶边缘对齐。
- layout_constraintTop_toBottomOf: 控件的顶边缘与另一个控件的底边缘对齐。
- layout_constraintBottom_toTopOf: 控件的底边缘与另一个控件的顶边缘对齐。
- layout_constraintBottom_toBottomOf: 控件的底边缘与另一个控件的底边缘对齐。
特殊约束
- layout_constraintBaseline_toBaselineOf: 控件的文本基线与另一个控件的文本基线对齐。这对于确保位于同一水平线上的文本视觉上保持一致非常有用,即使它们的大小或字体样式不同。
在ConstraintLayout中,所有的约束属性都遵循layout_constraintXXX_toYYYOf的命名规则,其中XXX代表目标控件自身的某一边(或基线),而YYY代表参照控件的相应边。通过这种方式,开发者可以定义组件间的相对位置关系,从而构建出复杂且灵活的布局结构。
范例
<?xml version="1.0" encoding="utf-8"?>
<androidx.constraintlayout.widget.ConstraintLayout xmlns:android="http://schemas.android.com/apk/res/android"xmlns:app="http://schemas.android.com/apk/res-auto"xmlns:tools="http://schemas.android.com/tools"android:layout_width="match_parent"android:layout_height="match_parent"tools:context=".MainActivity"><Buttonandroid:id="@+id/button1"android:layout_width="wrap_content"android:layout_height="wrap_content"android:text="我是 Button1"/><Buttonandroid:id="@+id/button2"android:layout_width="wrap_content"android:layout_height="wrap_content"android:text="我是 button2"app:layout_constraintLeft_toRightOf="@id/button1"/><Buttonandroid:id="@+id/button3"android:layout_width="wrap_content"android:layout_height="wrap_content"android:layout_marginBottom="20dp"android:text="我是 button3"app:layout_constraintBottom_toBottomOf="parent"/><Buttonandroid:id="@+id/button4"android:layout_width="wrap_content"android:layout_height="wrap_content"android:layout_marginRight="20dp"android:text="我是 button4"app:layout_constraintTop_toBottomOf="@id/button1"/></androidx.constraintlayout.widget.ConstraintLayout>
运行范例,显示结果如下

2、边距 ( Margins )
边距用于在组件之间或组件与父布局之间添加空间。在ConstraintLayout中,可以很容易地为任何方向(上、下、左、右)设置边距,以创建更加美观和实用的UI设计。
margin 和以往的使用一致,注意 margin 不能为负值 即可。
边距属性
- android:layout_marginStart: 控件开始边(在LTR(从左到右)语言环境中为左边,在RTL(从右到左)语言环境中为右边)的外边距。用于定义控件开始边与相邻对象之间的距离。
- android:layout_marginEnd: 控件结束边(在LTR语言环境中为右边,在RTL语言环境中为左边)的外边距。用于定义控件结束边与相邻对象之间的距离。
- android:layout_marginLeft: 控件左边的外边距。不考虑语言环境,始终指向物理左边。
- android:layout_marginTop: 控件顶部的外边距。用于定义控件顶部与其上方对象之间的距离。
- android:layout_marginRight: 控件右边的外边距。不考虑语言环境,始终指向物理右边。
- android:layout_marginBottom: 控件底部的外边距。用于定义控件底部与其下方对象之间的距离。
注意事项
- 值必须是大于等于0的数值,并且带上单位,如dp(密度无关像素),sp(用于字体的缩放独立像素)等。通常,为了保证布局在不同屏幕密度上的一致性,建议使用dp作为边距的单位。
- 在支持RTL的应用中,推荐使用layout_marginStart和layout_marginEnd而非layout_marginLeft和layout_marginRight,以确保布局在从左到右和从右到左的语言环境中都表现正确。
连接到 GONE (缺失) 小部件时的边距
在使用ConstraintLayout进行Android布局设计时,处理GONE状态的控件与其他控件之间的约束关系是一个常见的需求。当一个控件被设置为GONE状态时,它不仅不会在界面上显示,也不会占用任何布局空间。然而,在某些情况下,开发者可能希望即使控件处于GONE状态,仍然保留一定的空间或者对其他控件的位置产生影响。这时,就可以使用layout_goneMargin属性来实现这一需求。
layout_goneMargin属性
- layout_goneMarginStart: 当约束的目标控件处于GONE状态时,当前控件的开始边距(在LTR语言环境中为左边,在RTL语言环境中为右边)。
- layout_goneMarginEnd: 当约束的目标控件处于GONE状态时,当前控件的结束边距(在LTR语言环境中为右边,在RTL语言环境中为左边)。
- layout_goneMarginLeft: 当约束的目标控件处于GONE状态时,当前控件的左边距。
- layout_goneMarginTop: 当约束的目标控件处于GONE状态时,当前控件的顶边距。
- layout_goneMarginRight: 当约束的目标控件处于GONE状态时,当前控件的右边距。
- layout_goneMarginBottom: 当约束的目标控件处于GONE状态时,当前控件的底边距。
注意事项
- 使用layout_goneMargin属性可以在控件消失时维护布局的整体外观和结构,但应谨慎使用,以避免布局过于复杂或出现意料之外的布局行为。
- 这些属性只有在ConstraintLayout中有效,因为它们是ConstraintLayout特有的功能。
范例
<?xml version="1.0" encoding="utf-8"?>
<androidx.constraintlayout.widget.ConstraintLayout xmlns:android="http://schemas.android.com/apk/res/android"xmlns:app="http://schemas.android.com/apk/res-auto"xmlns:tools="http://schemas.android.com/tools"android:layout_width="match_parent"android:layout_height="match_parent"tools:context=".MainActivity"><Buttonandroid:id="@+id/signin"android:layout_width="100dp"android:layout_height="wrap_content"android:text="我是 Button1"app:layout_constraintEnd_toEndOf="parent" /><Buttonandroid:id="@+id/signup"android:layout_width="wrap_content"android:layout_height="wrap_content"android:layout_marginEnd="10dp"android:text="我是 Button2"app:layout_constraintEnd_toStartOf="@id/signin"app:layout_goneMarginEnd="110dp"/><Buttonandroid:id="@+id/forgot_password"android:layout_width="wrap_content"android:layout_height="wrap_content"android:text="我是 Button3"android:layout_marginTop="20dp"app:layout_constraintTop_toBottomOf="@id/signup"app:layout_constraintStart_toStartOf="parent"app:layout_goneMarginStart="50dp" /><Buttonandroid:id="@+id/help"android:layout_width="wrap_content"android:layout_height="wrap_content"android:text="我是 Button4"android:layout_marginTop="20dp"app:layout_constraintTop_toBottomOf="@id/forgot_password"app:layout_constraintEnd_toEndOf="parent"app:layout_goneMarginEnd="50dp" /></androidx.constraintlayout.widget.ConstraintLayout>
运行范例,显示结果如下

3、居中定位和偏向 ( Centering positioning and bias )
居中定位允许开发者将组件在其父布局或两个其他组件之间居中对齐。偏向是ConstraintLayout的一个独特特性,它允许开发者调整组件在居中位置的偏向程度,从而实现更灵活的布局设计。
居中定位
app:layout_constraintLeft_toLeftOf="parent"
app:layout_constraintRight_toRightOf="parent"
倾向 ( Bias ) 提供了两个属性用于设置偏向到的程度
| 属性 | 说明 |
|---|---|
| layout_constraintHorizontal_bias | (0最左边 1 最右边,默认是 0.5) |
| layout_constraintVertical_bias | (0最上边 1 最底边,默认是 0.5) |
注意:偏向值都是 0.5,表示组件完全居中。
在 ConstraintLayout 中,可以使用居中定位和偏向来实现灵活的布局设计。下面是一个简单的示例,演示如何在 ConstraintLayout 中使用居中定位和偏向:
<?xml version="1.0" encoding="utf-8"?>
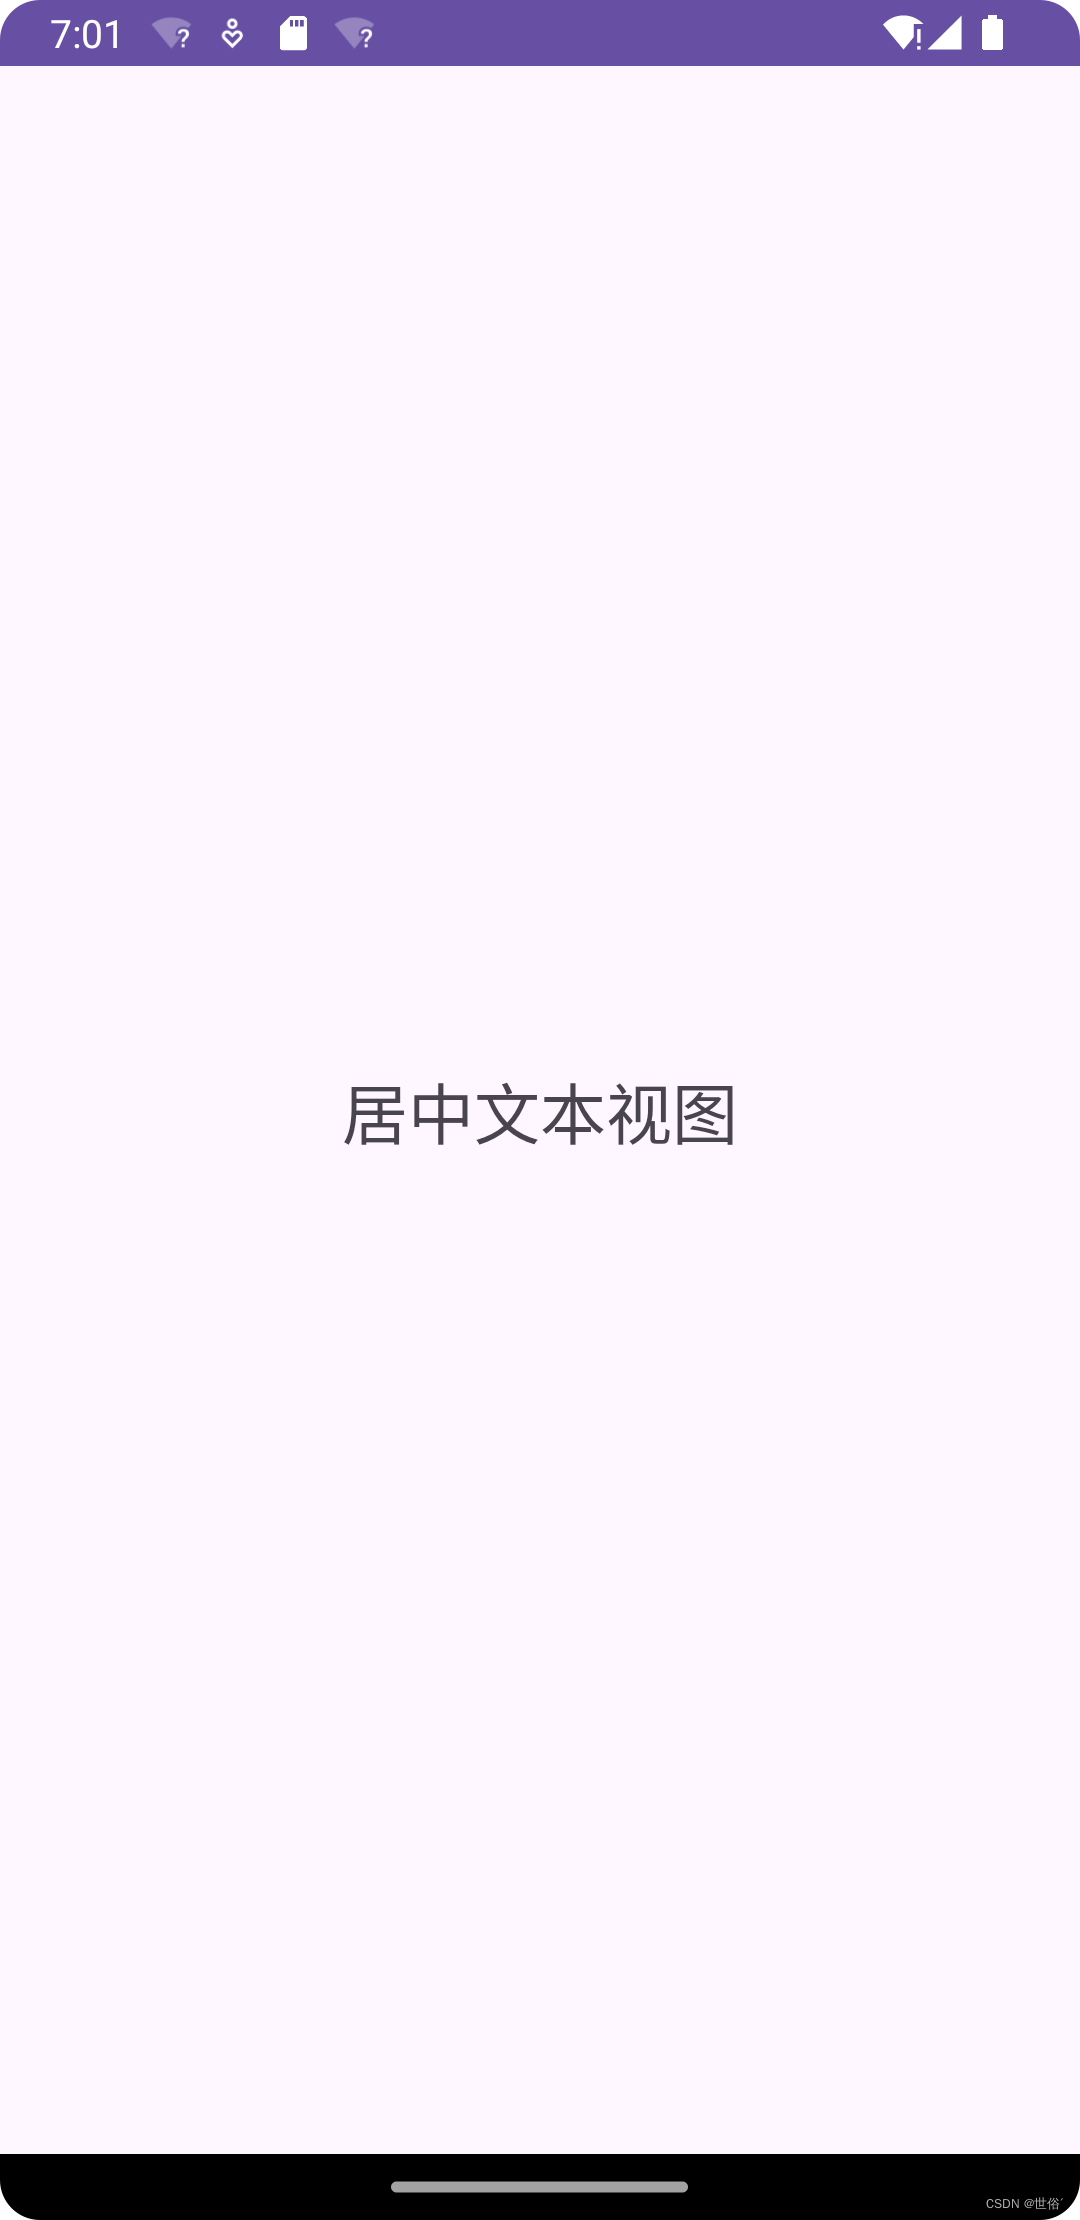
<androidx.constraintlayout.widget.ConstraintLayoutxmlns:android="http://schemas.android.com/apk/res/android"xmlns:app="http://schemas.android.com/apk/res-auto"android:layout_width="match_parent"android:layout_height="match_parent"><TextViewandroid:id="@+id/textView"android:layout_width="wrap_content"android:layout_height="wrap_content"android:text="居中文本视图"android:textSize="24sp"app:layout_constraintLeft_toLeftOf="parent"app:layout_constraintRight_toRightOf="parent"app:layout_constraintTop_toTopOf="parent"app:layout_constraintBottom_toBottomOf="parent"app:layout_constraintHorizontal_bias="0.5"app:layout_constraintVertical_bias="0.5"/></androidx.constraintlayout.widget.ConstraintLayout>
运行范例,显示结果如下

4、环形定位 ( Circular positioning )
环形定位是ConstraintLayout提供的一个有趣的特性,允许开发者基于另一个组件的位置以圆形方式定位组件。这可以用来创建动态且吸引人的界面。
使用这个布局,需要修改 build.gradle 文件添加如下代码
dependencies {compile ("com.android.support.constraint:constraint-layout:1.1.0-beta3")
}
环形定位 (Circular positioning) 在 ConstraintLayout 中是一种非常有用的布局方式,它允许你约束一个视图相对于另一个视图的弧度和半径进行定位。这在一些布局和动画效果中非常有用,比如模拟行星绕太阳旋转的效果。
以下是 ConstraintLayout 提供的用于环形定位的属性:
- layout_constraintCircle:引用另一个小部件的 ID,该小部件将作为参考点,用于确定环形定位的中心。
- layout_constraintCircleRadius:指定到其它小部件中心的距离,即半径。
- layout_constraintCircleAngle:指定小部件应处于的角度,以度数表示,范围从0到360度。
需要注意的是,环形定位是以各自视图的中心为参照进行约束的,与通常使用 start/end/top/bottom 或 baseline 进行约束的方式不同。
下面是一个简单的示例,演示如何使用环形定位:
<?xml version="1.0" encoding="utf-8"?>
<androidx.constraintlayout.widget.ConstraintLayoutxmlns:android="http://schemas.android.com/apk/res/android"xmlns:app="http://schemas.android.com/apk/res-auto"android:layout_width="match_parent"android:layout_height="match_parent"><Buttonandroid:id="@+id/buttonA"android:layout_width="wrap_content"android:layout_height="wrap_content"app:layout_constraintBottom_toBottomOf="parent"app:layout_constraintEnd_toEndOf="parent"app:layout_constraintStart_toStartOf="parent"app:layout_constraintTop_toTopOf="parent"android:text="Button A" /><Buttonandroid:id="@+id/buttonB"android:layout_width="wrap_content"android:layout_height="wrap_content"android:text="Button B"app:layout_constraintCircle="@+id/buttonA"app:layout_constraintCircleRadius="100dp"app:layout_constraintCircleAngle="45" />
</androidx.constraintlayout.widget.ConstraintLayout>
运行范例,显示结果如下

5、对可见性的处理 ( Visibility behavior )
对可见性的处理 ( Visibility behavior ) 是对 goneMargin 的补充。
对于 ConstraintLayout 中设置为 View.GONE 的视图,会被解析为一个点,并且会忽略设置的 margin。这意味着,即使视图设置为 GONE,它仍然会在布局计算中占据空间,但它的实际尺寸被视为零,并且不会对布局本身造成影响。具体来说,有以下几个特点:
- 对于布局传递,GONE 视图的尺寸被视为零,因此它们不会占据任何可见空间。
- 如果 GONE 视图对其他视图有约束力(例如,作为约束的目标),则这些约束仍然会被尊重,但任何 margin 都将被视为 0。
- 任何 GONE 视图的 margin 都会被忽略,即使它们是其他视图的 margin。
这种布局行为在制作动画时非常有用,因为即使将视图临时标记为 GONE,也不会破坏原有的布局。这使得在动画期间可以动态隐藏或显示视图,而不会影响布局的稳定性。
这种特定行为的布局处理在 ConstraintLayout 中非常灵活,并且可以帮助开发者实现复杂的布局和动画效果。
范例
<?xml version="1.0" encoding="utf-8"?>
<androidx.constraintlayout.widget.ConstraintLayoutxmlns:android="http://schemas.android.com/apk/res/android"xmlns:app="http://schemas.android.com/apk/res-auto"android:layout_width="match_parent"android:layout_height="match_parent"><Buttonandroid:id="@+id/button"android:layout_width="wrap_content"android:layout_height="wrap_content"android:text="单击我"app:layout_constraintStart_toStartOf="parent"app:layout_constraintTop_toTopOf="parent"android:layout_marginStart="16dp"android:layout_marginTop="16dp"/><TextViewandroid:id="@+id/textView"android:layout_width="wrap_content"android:layout_height="wrap_content"android:text="隐藏文本//显示文本"android:textSize="18sp"app:layout_constraintStart_toEndOf="@id/button"app:layout_constraintTop_toTopOf="@id/button"android:layout_marginStart="16dp"android:layout_marginTop="16dp"/></androidx.constraintlayout.widget.ConstraintLayout>
package com.example.myapplication;import androidx.appcompat.app.AppCompatActivity;import android.os.Bundle;
import android.view.View;
import android.view.ViewGroup;
import android.widget.Button;
import android.widget.LinearLayout;
import android.widget.TextView;
import android.widget.ViewAnimator;public class MainActivity extends AppCompatActivity {@Overrideprotected void onCreate(Bundle savedInstanceState) {super.onCreate(savedInstanceState);setContentView(R.layout.activity_main);Button button = findViewById(R.id.button);TextView textView = findViewById(R.id.textView);button.setOnClickListener(new View.OnClickListener() {@Overridepublic void onClick(View v) {if (textView.getVisibility() == View.VISIBLE) {textView.setVisibility(View.GONE);} else {textView.setVisibility(View.VISIBLE);}}});}
}
这段代码在按钮上设置了点击事件监听器,当按钮被点击时,检查文本视图的可见性。如果文本视图当前是可见的,则将其设置为 View.GONE,这样它就会被隐藏。如果文本视图当前是隐藏的,则将其设置为 View.VISIBLE,这样它就会重新显示。
通过这种方式,我们可以在 ConstraintLayout 中使用 View.GONE 来动态隐藏或显示视图,而不会影响到布局的稳定性。
6、尺寸约束 ( Dimension constraints )
尺寸约束是ConstraintLayout中的一个核心概念,允许开发者定义组件的最小、最大尺寸,或者根据其他组件的尺寸来动态调整尺寸。这为创建响应式布局提供了极大的灵活性。
ConstraintLayout 的最小和最大尺寸
- android:minWidth:设置布局的最小宽度。
- android:minHeight:设置布局的最小高度。
- android:maxWidth:设置布局的最大宽度。
- android:maxHeight:设置布局的最大高度。
当 ConstraintLayout 的尺寸设置为 wrap_content 时,会自动考虑这些最小和最大尺寸的限制。
控件尺寸约束
1、确定尺寸:可以直接为控件指定确定的尺寸。
2、wrap_content:让控件根据其内容自适应尺寸。
3、0dp:使用 MATCH_CONSTRAINT,控件的尺寸将根据与其它控件的约束来动态调整。
- 可以设置左/右或顶部/底部约束条件来定义相对于父布局的尺寸。
- 如果设置了 margin,会在计算中考虑它们。
注意:在 ConstraintLayout 中,MATCH_PARENT 不再被推荐使用,而是推荐使用 MATCH_CONSTRAINT 加上相应的约束条件来定义相对于父布局的尺寸。
范例
<?xml version="1.0" encoding="utf-8"?>
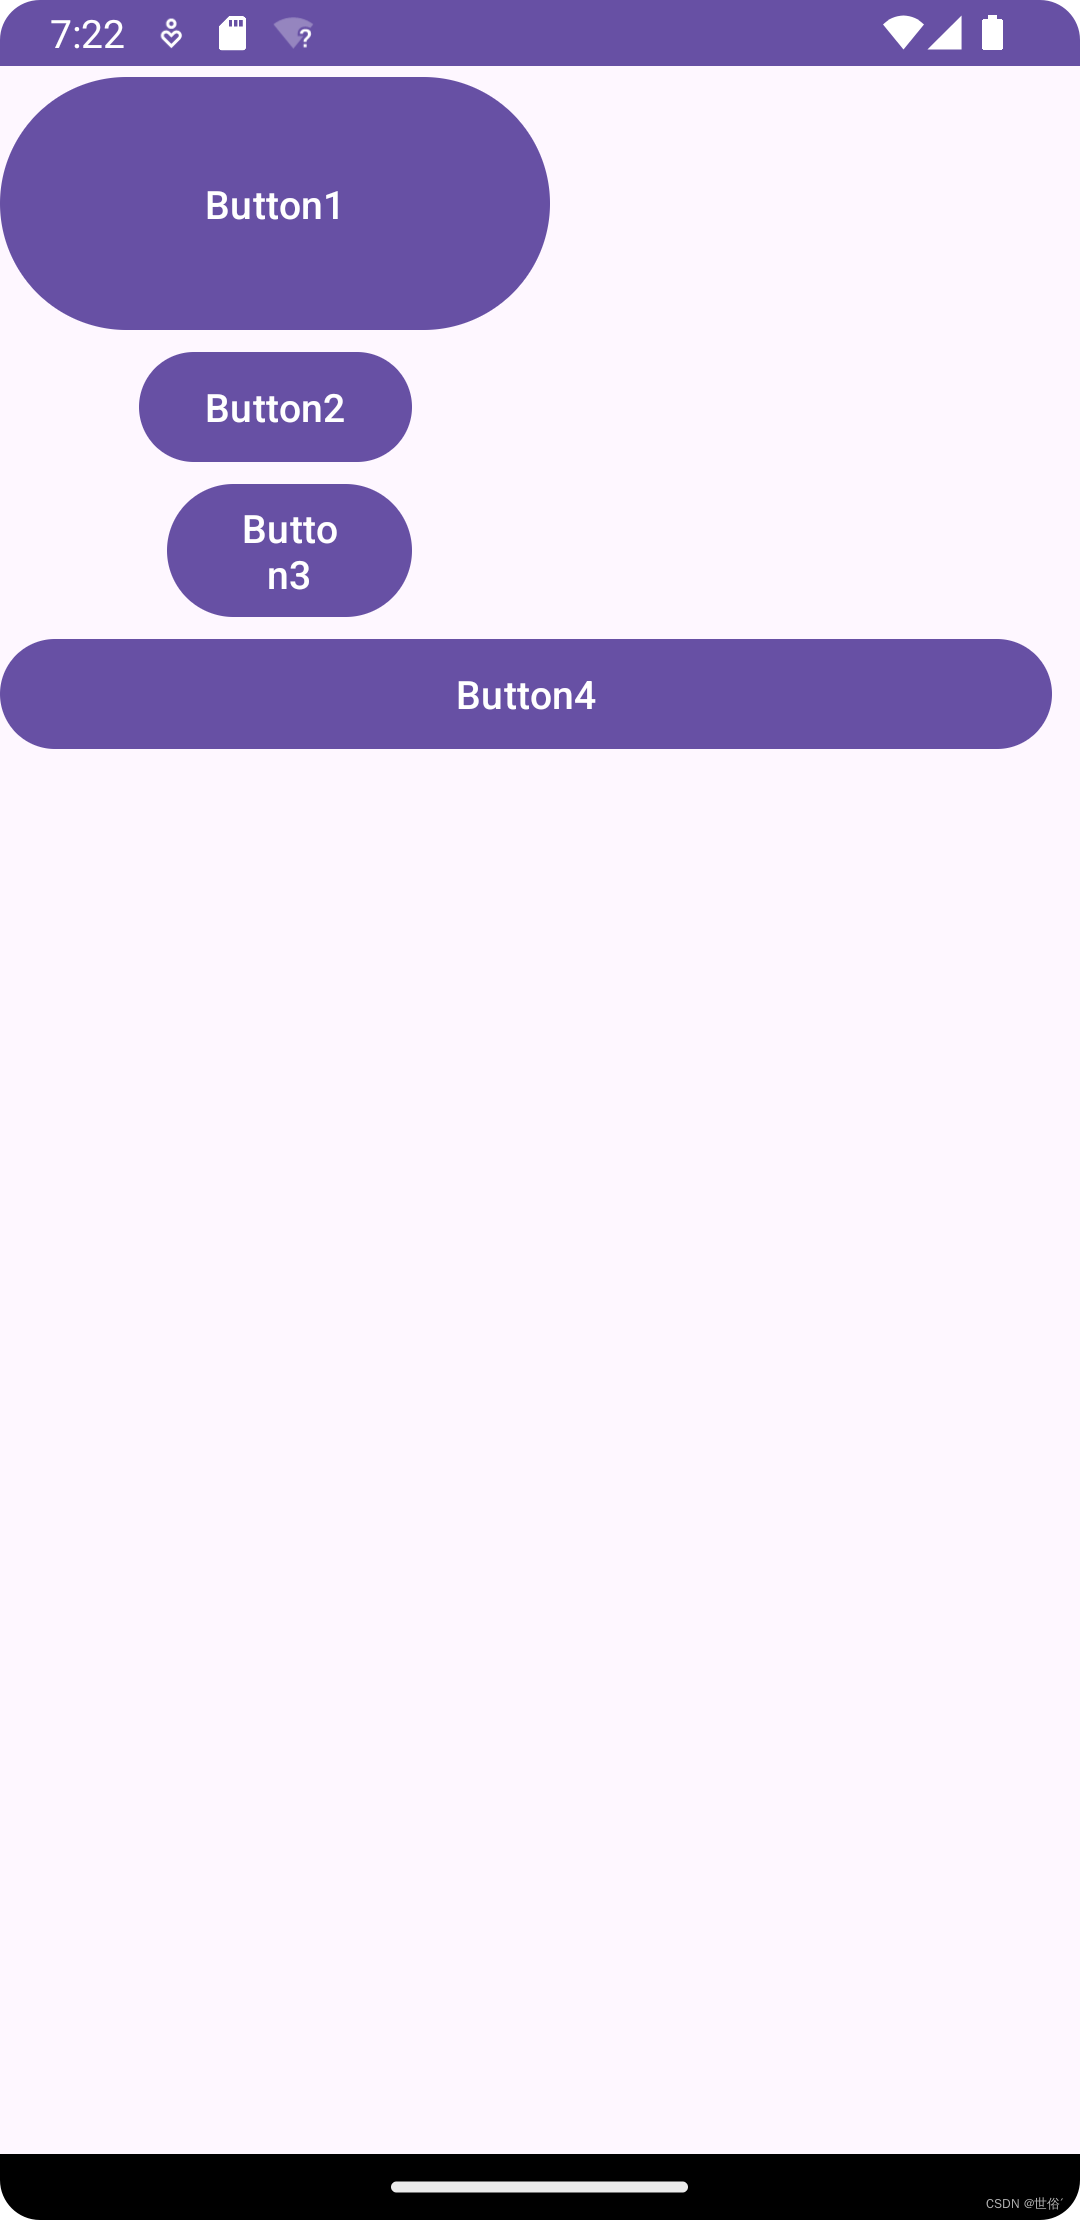
<androidx.constraintlayout.widget.ConstraintLayoutxmlns:android="http://schemas.android.com/apk/res/android"xmlns:app="http://schemas.android.com/apk/res-auto"android:layout_width="match_parent"android:layout_height="match_parent"><Buttonandroid:id="@+id/button"android:layout_width="200dp"android:layout_height="100dp"android:text="Button1"app:layout_constraintLeft_toLeftOf="parent"app:layout_constraintTop_toTopOf="parent"/><Buttonandroid:id="@+id/button10"android:layout_width="wrap_content"android:layout_height="wrap_content"android:text="Button2"app:layout_constraintLeft_toLeftOf="@+id/button"app:layout_constraintRight_toRightOf="@+id/button"app:layout_constraintTop_toBottomOf="@+id/button"/><Buttonandroid:id="@+id/button12"android:layout_width="0dp"android:layout_height="wrap_content"android:layout_marginLeft="10dp"android:text="Button3"app:layout_constraintLeft_toLeftOf="@id/button10"app:layout_constraintRight_toRightOf="@id/button10"app:layout_constraintTop_toBottomOf="@id/button10"/><Buttonandroid:id="@+id/button11"android:layout_width="0dp"android:layout_height="wrap_content"android:layout_marginRight="10dp"android:text="Button4"app:layout_constraintLeft_toLeftOf="parent"app:layout_constraintRight_toRightOf="parent"app:layout_constraintTop_toBottomOf="@+id/button12"/></androidx.constraintlayout.widget.ConstraintLayout>
运行范例,显示结果如下

7、链 ( Chains )
链是ConstraintLayout中用于将多个组件链接在一起的机制,可以视为一种高级的相对定位。通过链,可以轻松实现复杂的布局结构,如等分空间、权重分配等。
链条
在 ConstraintLayout 中,可以使用链条(Chains)来为一组 UI 控件提供类似群组的统一表现,其中在一个方向上(水平或垂直)连接的视图称为链条。链条可以帮助你在布局中创建一组相关的视图,并且可以在另一个轴上单独控制它们的位置。
1、创建链条:
如果一组 UI 控件通过双向连接(即彼此约束)连接在一起,则将它们视为链条。以下是创建链条的示例:
<?xml version="1.0" encoding="utf-8"?>
<androidx.constraintlayout.widget.ConstraintLayoutxmlns:android="http://schemas.android.com/apk/res/android"xmlns:app="http://schemas.android.com/apk/res-auto"android:layout_width="match_parent"android:layout_height="match_parent"><Buttonandroid:id="@+id/button1"android:layout_width="wrap_content"android:layout_height="wrap_content"android:text="Button 1"app:layout_constraintStart_toStartOf="parent"app:layout_constraintTop_toTopOf="parent"android:layout_marginStart="16dp"android:layout_marginTop="16dp"/><Buttonandroid:id="@+id/button2"android:layout_width="wrap_content"android:layout_height="wrap_content"android:text="Button 2"app:layout_constraintStart_toEndOf="@id/button1"app:layout_constraintTop_toTopOf="parent"android:layout_marginStart="16dp"android:layout_marginTop="16dp"/><Buttonandroid:id="@+id/button3"android:layout_width="wrap_content"android:layout_height="wrap_content"android:text="Button 3"app:layout_constraintStart_toEndOf="@id/button2"app:layout_constraintTop_toTopOf="parent"android:layout_marginStart="16dp"android:layout_marginTop="16dp"/>
</androidx.constraintlayout.widget.ConstraintLayout>
在这个示例中,Button1、Button2、Button3 通过 app:layout_constraintStart_toEndOf 和 app:layout_constraintTop_toTopOf 相互连接,形成了一个水平链条。
2、链条头:
在链条中,最左边的视图或者最顶部的视图被认为是链条的头。在水平链条中,最左边的视图是头,而在垂直链条中,最顶部的视图是头。
3、链条上的 margin:
如果链条中的某个视图设置了 margin,这些 margin 会被考虑在内,并影响到链条的布局。
链条样式 ( Chain Style )
在 ConstraintLayout 中,可以通过设置属性 layout_constraintHorizontal_chainStyle 或 layout_constraintVertical_chainStyle 来调整链条的样式。以下是这两个属性的可用值及其说明:
水平链样式 (layout_constraintHorizontal_chainStyle) 和垂直链样式 (layout_constraintVertical_chainStyle):
- CHAIN_SPREAD:元素将被展开,这是默认的样式。在 spread 模式下,如果某些小部件设置为 MATCH_CONSTRAINT,则它们将拆分可用空间。
- CHAIN_SPREAD_INSIDE:类似于 CHAIN_SPREAD,但链的端点将不会扩展。这意味着链的第一个和最后一个元素将保持在链的范围内,不会延伸到父布局的边界。
- CHAIN_PACKED:链的元素将被打包在一起。子控件的水平或垂直偏移属性将影响打包元素的定位。这样,所有的链条元素将会聚集在一起,形成一个紧凑的组。
下面是一个示例,演示如何使用链条样式属性:
<?xml version="1.0" encoding="utf-8"?>
<androidx.constraintlayout.widget.ConstraintLayoutxmlns:android="http://schemas.android.com/apk/res/android"xmlns:app="http://schemas.android.com/apk/res-auto"android:layout_width="match_parent"android:layout_height="match_parent"><!-- 使用 CHAIN_SPREAD_INSIDE 样式的水平链条 --><Buttonandroid:id="@+id/button1"android:layout_width="wrap_content"android:layout_height="wrap_content"android:text="Button 1"app:layout_constraintStart_toStartOf="parent"app:layout_constraintTop_toTopOf="parent"android:layout_marginStart="16dp"android:layout_marginTop="16dp"app:layout_constraintHorizontal_chainStyle="spread_inside"/><Buttonandroid:id="@+id/button2"android:layout_width="wrap_content"android:layout_height="wrap_content"android:text="Button 2"app:layout_constraintStart_toEndOf="@id/button1"app:layout_constraintTop_toTopOf="parent"android:layout_marginStart="16dp"android:layout_marginTop="16dp"app:layout_constraintHorizontal_chainStyle="spread_inside"/><Buttonandroid:id="@+id/button3"android:layout_width="wrap_content"android:layout_height="wrap_content"android:text="Button 3"app:layout_constraintStart_toEndOf="@id/button2"app:layout_constraintTop_toTopOf="parent"android:layout_marginStart="16dp"android:layout_marginTop="16dp"app:layout_constraintHorizontal_chainStyle="spread_inside"/>
</androidx.constraintlayout.widget.ConstraintLayout>
在这个示例中,三个按钮通过水平连接形成了一个链条,并且使用了 app:layout_constraintHorizontal_chainStyle="spread_inside" 属性来设置链条样式为 CHAIN_SPREAD_INSIDE。这意味着链的端点不会扩展,而是链中的元素会在链的范围内进行分布。
加权链 ( Weighted chains )
在 ConstraintLayout 中,可以使用 layout_constraintHorizontal_weight 和 layout_constraintVertical_weight 属性来实现加权链(Weighted chains),类似于 LinearLayout 中的 weight。加权链的默认行为是在可用空间中平均分配元素。如果一个或多个元素使用 MATCH_CONSTRAINT,它们将使用剩余的空白空间,这些空间在它们之间相等。
layout_constraintHorizontal_weight 和 layout_constraintVertical_weight 属性:
- 这两个属性用于决定设置了 MATCH_CONSTRAINT 的 View 如何分配空间。
- 它们的值决定了每个元素相对于其他元素在链中所占的权重。
以下是一个示例,演示如何使用加权链的属性:
<?xml version="1.0" encoding="utf-8"?>
<androidx.constraintlayout.widget.ConstraintLayoutxmlns:android="http://schemas.android.com/apk/res/android"xmlns:app="http://schemas.android.com/apk/res-auto"android:layout_width="match_parent"android:layout_height="match_parent"><!-- 使用加权链的水平链条 --><Buttonandroid:id="@+id/button1"android:layout_width="0dp"android:layout_height="wrap_content"android:text="Button 1"app:layout_constraintStart_toStartOf="parent"app:layout_constraintTop_toTopOf="parent"android:layout_marginStart="16dp"android:layout_marginTop="16dp"app:layout_constraintHorizontal_weight="1"/><Buttonandroid:id="@+id/button2"android:layout_width="0dp"android:layout_height="wrap_content"android:text="Button 2"app:layout_constraintStart_toEndOf="@id/button1"app:layout_constraintTop_toTopOf="parent"android:layout_marginStart="16dp"android:layout_marginTop="16dp"app:layout_constraintHorizontal_weight="2"/><Buttonandroid:id="@+id/button3"android:layout_width="0dp"android:layout_height="wrap_content"android:text="Button 3"app:layout_constraintStart_toEndOf="@id/button2"app:layout_constraintTop_toTopOf="parent"android:layout_marginStart="16dp"android:layout_marginTop="16dp"app:layout_constraintHorizontal_weight="1"/>
</androidx.constraintlayout.widget.ConstraintLayout>
在这个示例中,三个按钮通过水平连接形成了一个链条,并且每个按钮都设置了 layout_constraintHorizontal_weight 属性来指定它们的权重。按钮2的权重为2,而按钮1和按钮3的权重为1。因此,在布局过程中,可用的空间将按照2:1:1的比例分配给按钮1、按钮2和按钮3,以实现加权分配的效果。
8、辅助布局 ( Virtual Helpers objects )
辅助布局对象,如Guideline、Barrier等,是ConstraintLayout提供的用于辅助布局的虚拟视图。它们不会在应用的UI中显示,但可以作为布局中的参考点或边界,帮助实现更复杂的布局需求。
在 ConstraintLayout 中,可以使用 Guideline 辅助布局来帮助定位其他视图,它是一个不可见的工具类,仅用于辅助布局而不会被显示。
Guideline 可以是水平或垂直的,可以通过设置 android:orientation 属性来指定。例如,android:orientation="vertical" 表示垂直的 Guideline。
定位 Guideline 有三种方式:
- 指定距离左侧或顶部的固定距离:使用 layout_constraintGuide_begin 属性可以将 Guideline 定位到距离左侧或顶部的固定距离。
- 指定距离右侧或底部的固定距离:使用 layout_constraintGuide_end 属性可以将 Guideline 定位到距离右侧或底部的固定距离。
- 指定在父控件中的宽度或高度的百分比:使用 layout_constraintGuide_percent 属性可以将 Guideline 定位到父控件中的宽度或高度的百分比位置。
以下是一个示例,演示如何使用 Guideline 辅助布局:
<?xml version="1.0" encoding="utf-8"?>
<androidx.constraintlayout.widget.ConstraintLayoutxmlns:android="http://schemas.android.com/apk/res/android"xmlns:app="http://schemas.android.com/apk/res-auto"android:layout_width="match_parent"android:layout_height="match_parent"><!-- 垂直 Guideline,距离左侧固定距离为 50dp --><androidx.constraintlayout.widget.Guidelineandroid:id="@+id/guideline_vertical"android:layout_width="wrap_content"android:layout_height="wrap_content"android:orientation="vertical"app:layout_constraintGuide_begin="50dp"/><!-- 水平 Guideline,距离顶部固定距离为 100dp --><androidx.constraintlayout.widget.Guidelineandroid:id="@+id/guideline_horizontal"android:layout_width="wrap_content"android:layout_height="wrap_content"android:orientation="horizontal"app:layout_constraintGuide_begin="100dp"/><!-- 在父控件宽度的 25% 处创建一个垂直 Guideline --><androidx.constraintlayout.widget.Guidelineandroid:id="@+id/guideline_vertical_percent"android:layout_width="wrap_content"android:layout_height="wrap_content"android:orientation="vertical"app:layout_constraintGuide_percent="0.25"/><Buttonandroid:id="@+id/button1"android:layout_width="wrap_content"android:layout_height="wrap_content"android:layout_marginStart="8dp"android:layout_marginTop="8dp"android:text="Button1"app:layout_constraintStart_toStartOf="@id/guideline_vertical"app:layout_constraintTop_toTopOf="@id/guideline_horizontal"/></androidx.constraintlayout.widget.ConstraintLayout>
在这个示例中,创建了三个 Guideline。第一个是垂直的 Guideline,距离左侧固定距离为 50dp;第二个是水平的 Guideline,距离顶部固定距离为 100dp;第三个是垂直的 Guideline,定位在父控件宽度的 25% 处。
还有一个示例视图,是一个 Button,通过设置其约束将其定位在第一个垂直 Guideline 的左侧和第二个水平 Guideline 的顶部。这样,Guideline 可以辅助将视图定位到特定位置。
9、比例 ( Ratio )
在 ConstraintLayout 中,可以使用 app:layout_constraintDimensionRatio 属性来设置某个方向的比例约束。以下是一些关于这个属性的说明:
app:layout_constraintDimensionRatio 属性:
- 约束比例:用逗号 , 分隔方向,用冒号 : 分隔比例。
- 只有一个方向约束:如果只有一个方向的约束,可以用比例去定义 View 的宽高。需要将至少一个约束维度设置为 0dp(即 MATCH_CONSTRAINT),并将属性 app:layout_constraintDimensionRatio 设置为给定的比例。
-
当约束多于一个 ( 宽高都被约束了):在 ConstraintLayout 中,如果两个维度均设置为 MATCH_CONSTRAINT(即 0dp),也可以使用比例来约束宽高。在这种情况下,系统会使用满足所有约束条件和比率的最大尺寸。如果需要根据一个维度的尺寸去约束另一个维度的尺寸,则可以在比率值的前面添加 W 或者 H 来分别约束宽度或者高度。
范例
<?xml version="1.0" encoding="utf-8"?>
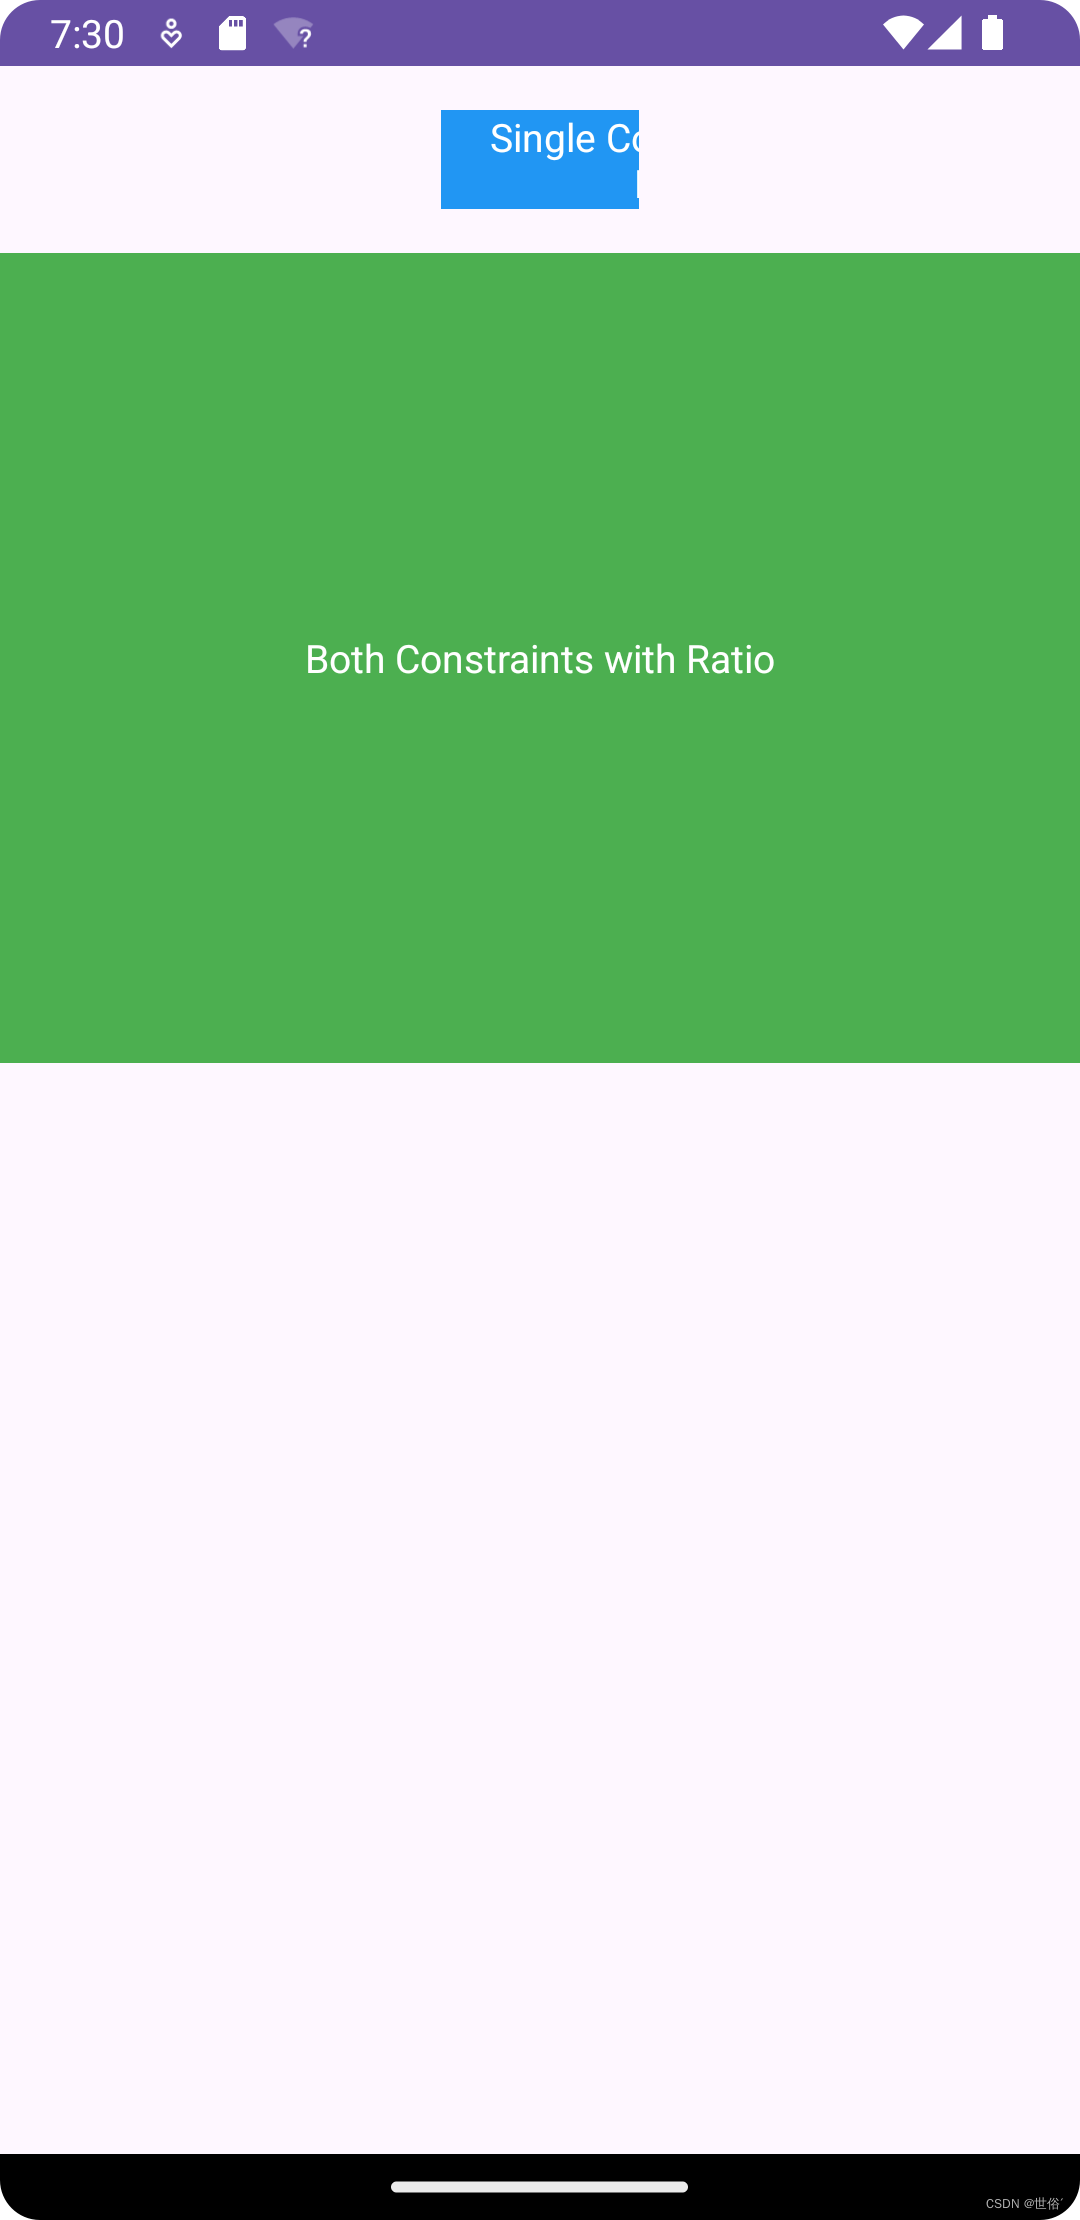
<androidx.constraintlayout.widget.ConstraintLayoutxmlns:android="http://schemas.android.com/apk/res/android"xmlns:app="http://schemas.android.com/apk/res-auto"android:layout_width="match_parent"android:layout_height="match_parent"><!-- 只有一个方向约束,使用比例约束设置 View 的宽高 --><TextViewandroid:id="@+id/textViewSingleConstraint"android:layout_width="0dp"android:layout_height="wrap_content"android:text="Single Constraint with Ratio"app:layout_constraintStart_toStartOf="parent"app:layout_constraintEnd_toEndOf="parent"app:layout_constraintDimensionRatio="2:1"app:layout_constraintTop_toTopOf="parent"android:layout_marginTop="16dp"android:background="#2196F3"android:textColor="#FFFFFF"android:gravity="center"/><!-- 宽高都被约束,使用比例约束设置 View 的宽高 --><TextViewandroid:id="@+id/textViewBothConstraints"android:layout_width="0dp"android:layout_height="0dp"android:text="Both Constraints with Ratio"app:layout_constraintStart_toStartOf="parent"app:layout_constraintEnd_toEndOf="parent"app:layout_constraintTop_toBottomOf="@id/textViewSingleConstraint"app:layout_constraintDimensionRatio="H,4:3"android:layout_marginTop="16dp"android:background="#4CAF50"android:textColor="#FFFFFF"android:gravity="center"/>
</androidx.constraintlayout.widget.ConstraintLayout>
运行范例,显示结果如下


)


温度转换)

)


:数组的初始化及元素访问)
)


