【 声明:版权所有,欢迎转载,请勿用于商业用途。 联系信箱:feixiaoxing @163.com】
目前,大家都习惯了特定的图像处理方式,要么是windows上位机来处理,要么是arm soc来进行处理,要么是fpga或者是nvidia gpu来对图像进行处理。但是,这几种方法都有一个共同的特点,那就是对处理器的性能要求高。大家有没有想过,假设运算资源不是很充足,获取的图像分辨率不是很高,在这种情况下还要对图像处理的话,或者是完成特定的一个功能,我们是不是就要想想别的办法了。这样的话,soc是不可能了,mcu也许比较合适一点。此外,opencv库也不好使了,算法也需要我们自己用c写出来。
为了说明这种情况下,图像应该怎么处理,我们不妨借助于qt来仿真一下整个流程。

1、创建一个基于widget的qt工程
首先创建一个qt工程,主要是替我们完成图像的解析和保存。
2、借助于qt实现图像的加载和保存
这里创建qt的目的,主要还是为了演示一下怎么用qt来打开图像和保存图像。实际在嵌入式模块执行的时候,一般我们可以直接拿到图像裸数据的,也不存在文件解析的地方。
#include <QImage>
#include <QDebug>
#include <malloc.h>
#include <assert.h>// generate binary image here
static unsigned char* p_mem = NULL;
void generate_binary_img(unsigned char* p_char, int width, int height);void processImage(QString inputPath, QString outputPath)
{// load imageQImage inputImage(inputPath);if (inputImage.isNull()){qDebug() << "Failed to load image";return;}// get image infoint width = inputImage.width();int height = inputImage.height();p_mem = (unsigned char*)malloc(width * height);assert(p_mem);// loop to process pixelunsigned char* p_data = p_mem;for (int y = 0; y < height; ++y){for (int x = 0; x < width; ++x){QRgb pixel = inputImage.pixel(x, y);// get dataint red = qRed(pixel);int green = qGreen(pixel);int blue = qBlue(pixel);// get grayint gray = qGray(red, green, blue);// save gray to matrix memory*p_data= gray;p_data++;}}// process binary heregenerate_binary_img(p_mem, width, height);// loop to save pixelfor (int y = 0; y < height; ++y){for (int x = 0; x < width; ++x){// set grayunsigned char gray = p_mem[y * width + x];inputImage.setPixel(x, y, qRgb(gray, gray, gray));}}// save dataif (!inputImage.save(outputPath)){qDebug() << "Failed to save processed image";}// free data hereif(p_mem) free(p_mem);
}
代码当中有两个地方需要注意一下,第一个地方,它生成了gray灰度值,并且把这个数值保存到了p_mem指向的空间里面。第二个地方,它把来自于p_mem的数据,保存到inputImage的下面。这两个部分中间的generate_binary_image函数,才是我们需要真正处理的地方。
3、编写纯图像算法
纯图像算法,一般就是对内存数据进行操作和处理。操作的方法,通常就是数字图像处理和分析的基本方法。编写的过程中,尽量参照算法的基本逻辑来。同时,参考一下效率,
void generate_binary_img(unsigned char* p_char, int width, int height)
{unsigned char* p_outer;unsigned char* p_inner;int x, y;for (y = 0, p_outer = p_char; y < height; ++y, p_outer += width){p_inner = p_outer;for (x = 0; x < width; ++x, ++p_inner){if (*p_inner > 120)*p_inner = 255;else*p_inner = 0;}}
}
4、文件整合和处理
所有的内容都准备好之后,就可以加入main函数,实现代码的测试了。这部分内容比较简单,大家直接看代码就好了。目前整个过程都是在windows平台完成的,主要还是因为windows上面开发和调试比较方便。
int main()
{// set input and output pathQString inputPath = "D:/lena.bmp";QString outputPath = "D:/lena_binary.bmp";// process imageprocessImage(inputPath, outputPath);return 0;
}
5、从soc到mcu
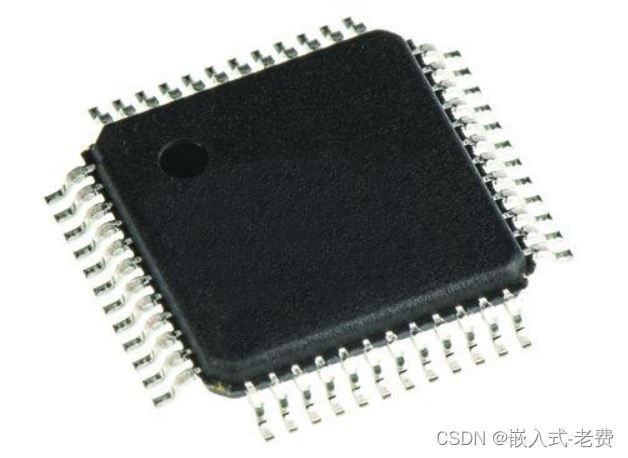
和soc相比较,mcu的算力、内存和flash都是不足的,所以一般为了处理图像,会找一些频率高一点的mcu,比如400m的h7。内存方面,mcu通常只有1m左右,这部分未必能够满足需要,通常会外扩一个sram chip。flash的话,通常不做要求,如果要数据导出的话,裸数据存到micro sd卡即开。保存的方式,可以直接是二进制保存,没必要保存成为bmp格式,到时候自己写一个解析的上位机即可。
6、软件编写
因为mcu的库比较少,语法支持上面也比较有限,所以大家编写算法的时候尽可能简单明了,不要用太多的语法糖。如果是为了提高效率,尽量使用空间换时间的方法来解决。另外,mcu虽然性能差一点,但是胜在稳定性和成本方面,作为产品开发来说,也是很好的一个选择,大家不必过多地去矮化mcu。只要能满足需求,降低成本,就是好的方案、优秀的方案。

详解)
![[SwiftUI]Text对字符串中部分字符改变颜色和字体](http://pic.xiahunao.cn/[SwiftUI]Text对字符串中部分字符改变颜色和字体)
)
)


---- 有缓冲的channel)


)
![[二叉树专题]二叉树最大高度|n叉树最大高度](http://pic.xiahunao.cn/[二叉树专题]二叉树最大高度|n叉树最大高度)

 字典树 一题双解)

