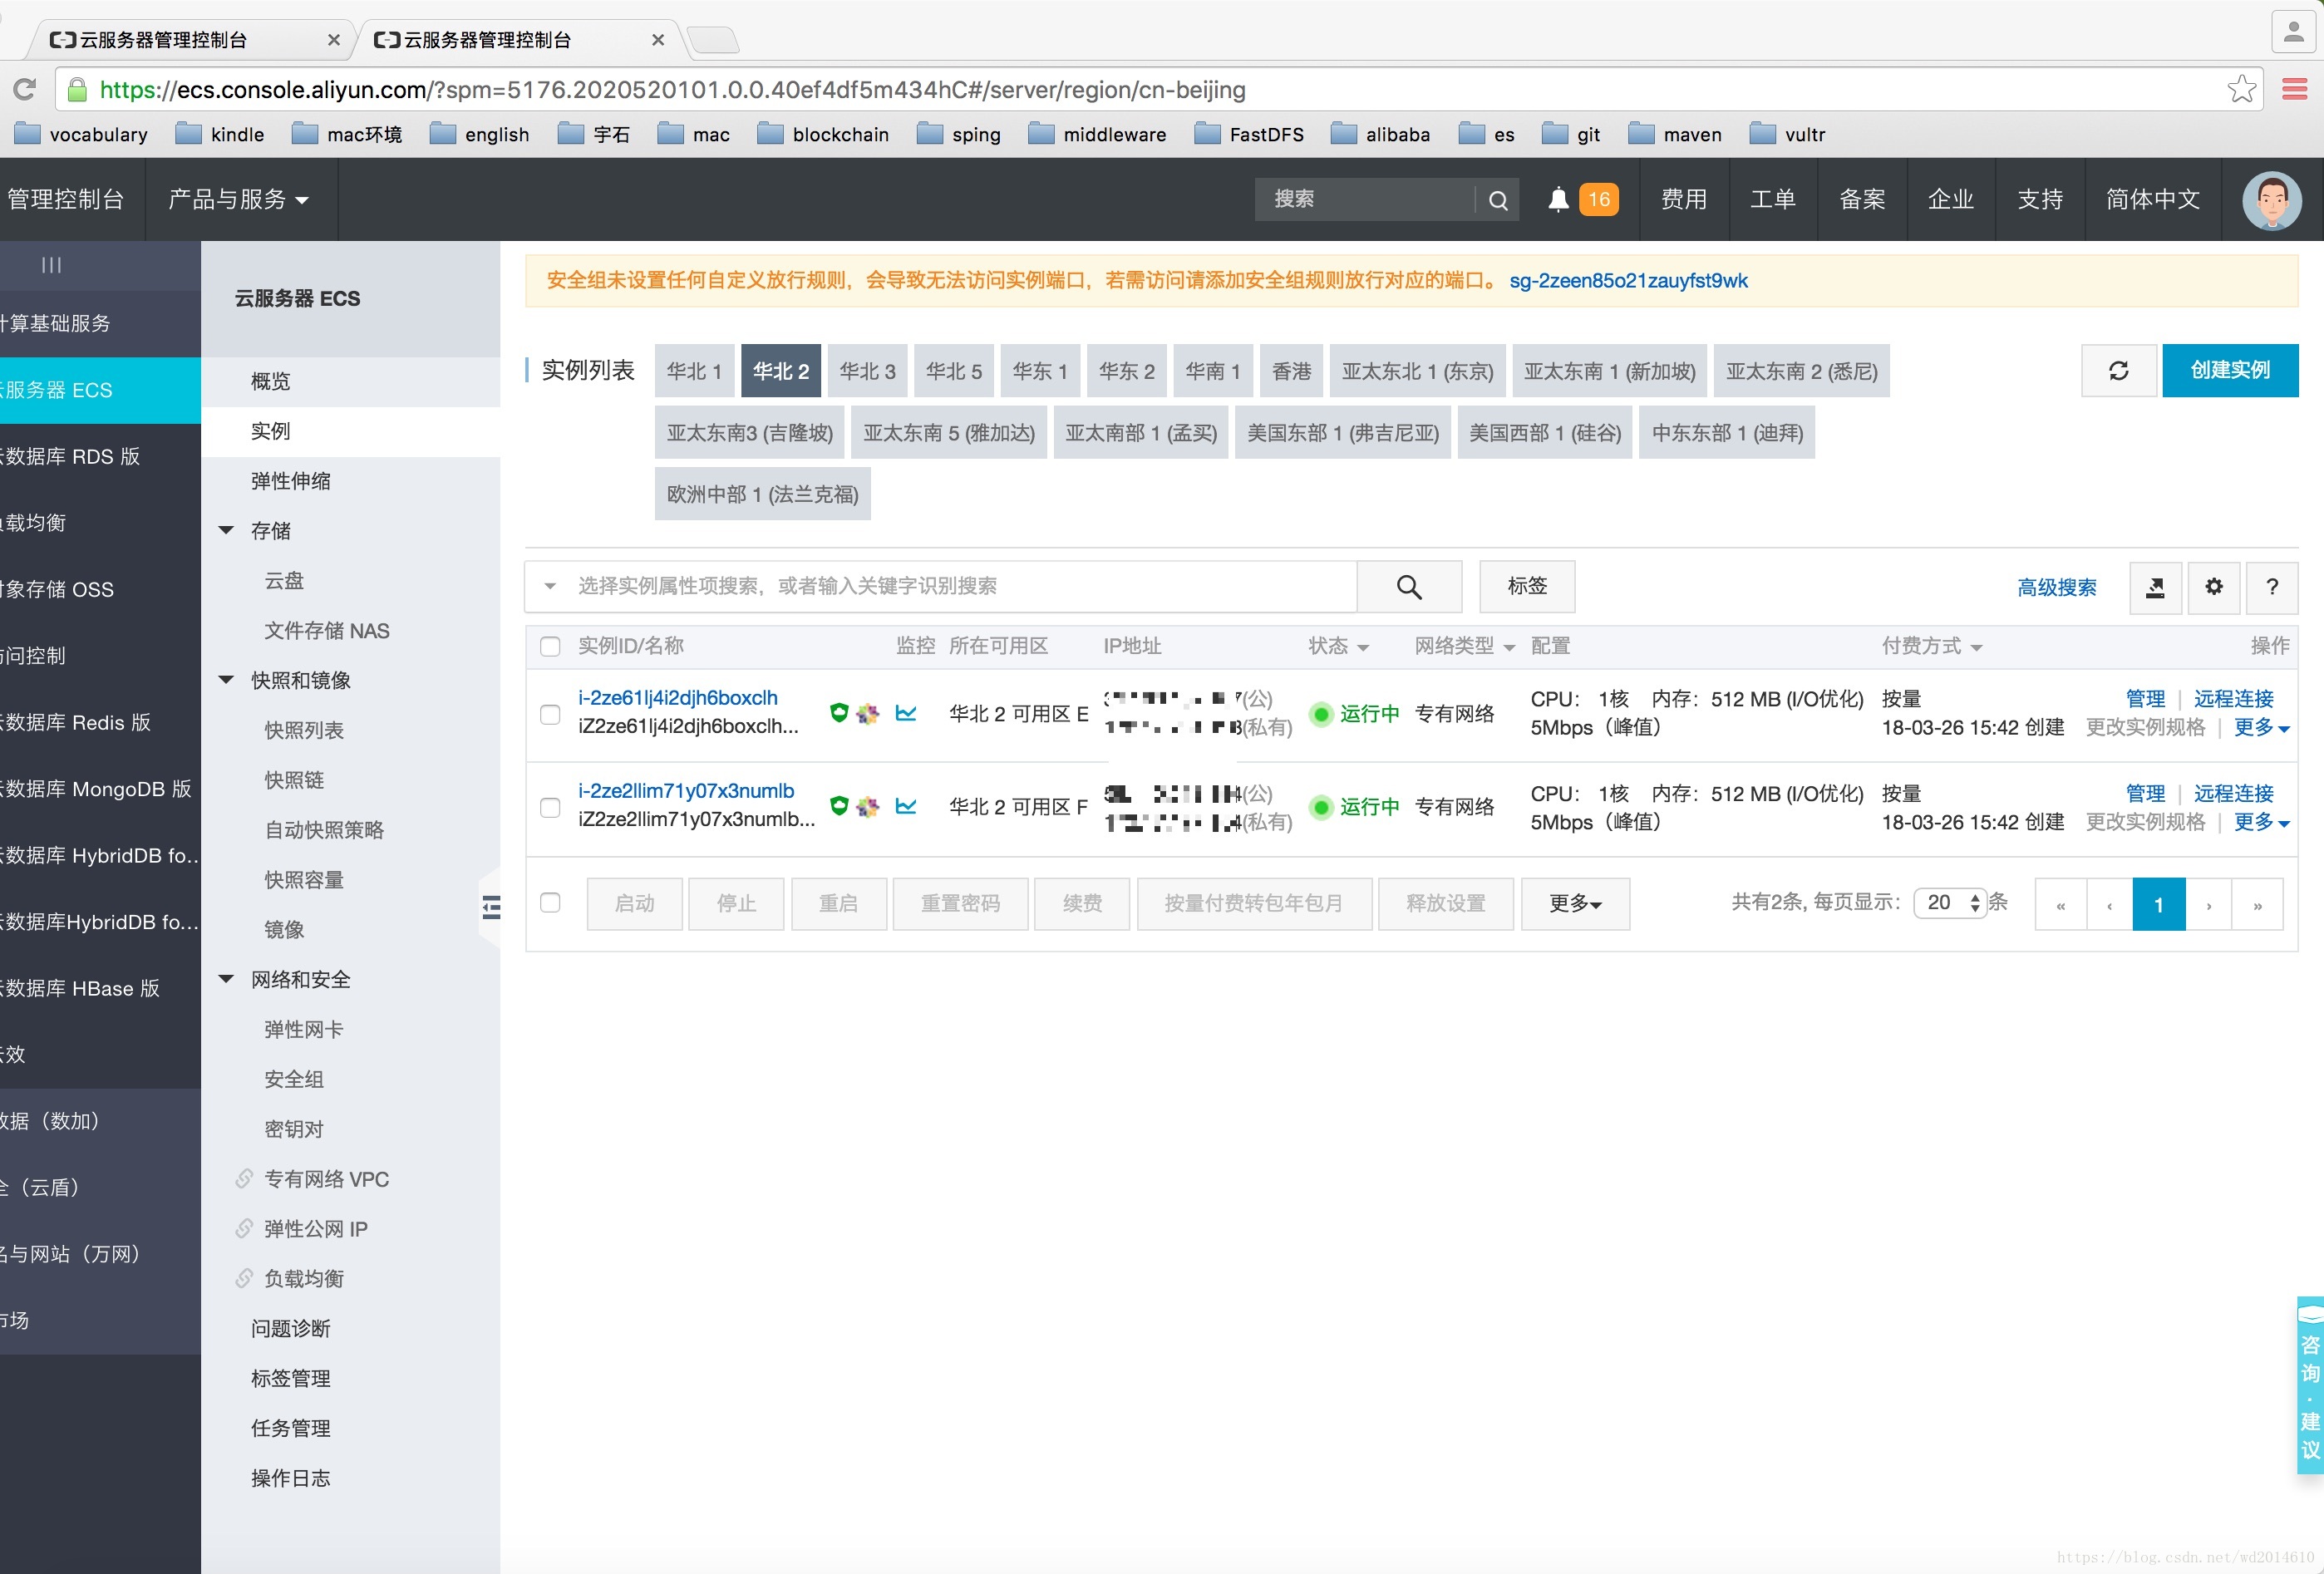
一、首先得在阿里云等云主机上申请两台主机

二、现在连上去安装mysql
1、通过安装源将mysql下载下来
[root@iz2ze2llim71y07x3numlbz ~]# wget 'https://dev.mysql.com/get/mysql57-community-release-el7-11.noarch.rpm'
--2018-03-26 16:52:00-- https://dev.mysql.com/get/mysql57-community-release-el7-11.noarch.rpm
正在解析主机 dev.mysql.com (dev.mysql.com)... 137.254.60.11
正在连接 dev.mysql.com (dev.mysql.com)|137.254.60.11|:443... 已连接。
已发出 HTTP 请求,正在等待回应... 302 Found
位置:https://repo.mysql.com//mysql57-community-release-el7-11.noarch.rpm [跟随至新的 URL]
--2018-03-26 16:52:02-- https://repo.mysql.com//mysql57-community-release-el7-11.noarch.rpm
正在解析主机 repo.mysql.com (repo.mysql.com)... 104.127.195.16
正在连接 repo.mysql.com (repo.mysql.com)|104.127.195.16|:443... 已连接。
已发出 HTTP 请求,正在等待回应... 200 OK
长度:25680 (25K) [application/x-redhat-package-manager]
正在保存至: “mysql57-community-release-el7-11.noarch.rpm”
2、将源里面的信息读取出来
[root@iz2ze2llim71y07x3numlbz ~]# rpm -Uvh mysql57-community-release-el7-11.noarch.rpm
警告:mysql57-community-release-el7-11.noarch.rpm: 头V3 DSA/SHA1 Signature, 密钥 ID 5072e1f5: NOKEY
准备中... ################################# [100%]
正在升级/安装...
1:mysql57-community-release-el7-11 ################################# [100%]
3、安装mysql
方法一:安装下载包
[root@iz2zeap06av7ci1sytmil8z ~]# ls
mysql57-community-release-el7-11.noarch.rpm
[root@iz2zeap06av7ci1sytmil8z ~]# yum -y install mysql57-community-release-el7-11.noarch.rpm
已加载插件:fastestmirror
正在检查 mysql57-community-release-el7-11.noarch.rpm: mysql57-community-release-el7-11.noarch
mysql57-community-release-el7-11.noarch.rpm 将被安装
正在解决依赖关系
方法二:直接安装最新的服务器版本
[root@iz2ze2llim71y07x3numlbz ~]# yum -y install mysql-community-server
已加载插件:fastestmirror
base | 3.6 kB 00:00
epel | 4.7 kB 00:00
extras | 3.4 kB 00:00
mysql-connectors-community | 2.5 kB 00:00
4、安装完毕
已安装:
mysql-community-libs.x86_64 0:5.7.21-1.el7
mysql-community-libs-compat.x86_64 0:5.7.21-1.el7
mysql-community-server.x86_64 0:5.7.21-1.el7
作为依赖被安装:
libaio.x86_64 0:0.3.109-13.el7
mysql-community-client.x86_64 0:5.7.21-1.el7
mysql-community-common.x86_64 0:5.7.21-1.el7
替代:
mariadb-libs.x86_64 1:5.5.56-2.el7
完毕!
5、启动mysql
[root@iz2ze2llim71y07x3numlbz ~]# service mysqld start
Redirecting to /bin/systemctl start mysqld.service
[root@iz2ze2llim71y07x3numlbz ~]#
6、查看是否已经启动了(如下就是已经启动了)
[root@iz2ze2llim71y07x3numlbz ~]# systemctl status mysqld
● mysqld.service - MySQL Server
Loaded: loaded (/usr/lib/systemd/system/mysqld.service; enabled; vendor preset: disabled)
Active: active (running) since 一 2018-03-26 17:03:05 CST; 50s ago
Docs: man:mysqld(8)
http://dev.mysql.com/doc/refman/en/using-systemd.html
Process: 10570 ExecStart=/usr/sbin/mysqld --daemonize --pid-file=/var/run/mysqld/mysqld.pid $MYSQLD_OPTS (code=exited, status=0/SUCCESS)
Process: 10497 ExecStartPre=/usr/bin/mysqld_pre_systemd (code=exited, status=0/SUCCESS)
Main PID: 10575 (mysqld)
CGroup: /system.slice/mysqld.service
└─10575 /usr/sbin/mysqld --daemonize --pid-file=/var/run/mysqld/my...
3月 26 17:02:57 iz2ze2llim71y07x3numlbz systemd[1]: Starting MySQL Server...
3月 26 17:03:05 iz2ze2llim71y07x3numlbz systemd[1]: Started MySQL Server.
7、查看初始密码
[root@iz2zeap06av7ci1sytmil8z ~]# grep "password" /var/log/mysqld.log
2018-03-26T09:03:00.568391Z 1 [Note] A temporary password is generated for root@localhost: qAC(+wqJp8dA
[root@iz2ze2llim71y07x3numlbz ~]#
8、修改密码
[root@iz2ze2llim71y07x3numlbz ~]# mysql -uroot -p
Enter password:
Welcome to the MySQL monitor. Commands end with ; or \g.
Your MySQL connection id is 2
Server version: 5.7.21
Copyright (c) 2000, 2018, Oracle and/or its affiliates. All rights reserved.
Oracle is a registered trademark of Oracle Corporation and/or its
affiliates. Other names may be trademarks of their respective
owners.
Type 'help;' or '\h' for help. Type '\c' to clear the current input statement.
mysql>
9、修改密码设置规则
mysql> set global validate_password_policy=0;
Query OK, 0 rows affected (0.00 sec)
10、设置密码
mysql> SET PASSWORD FOR 'root'@'localhost' = 'hello123456';
Query OK, 0 rows affected (0.00 sec)
11、接下来就可以远程连接了


损坏的解决办法...)

)


)


