前提是你已经有了注册中心,然后搭建一个基础spring cloud 服务,并配置注册服务等等前提环境搭建
接下来描述的服务提供者和服务调用者的配置都是一样的,来自《spring cloud 与 docker微服务架构实战》的读后的个人总结.
pom文件中需要引入spring-cloud-starter-hystrix/spring-cloud-starter-hystrix-dashboard/spring-cloud-netflix-hystrix-stream/spring-cloud-starter-turbine-stream/spring-cloud-starter-stream-rabbit
如下
org.springframework.cloud
spring-cloud-starter-hystrix
org.springframework.cloud
spring-cloud-starter-hystrix-dashboard
org.springframework.cloud
spring-cloud-netflix-hystrix-stream
org.springframework.cloud
spring-cloud-starter-turbine-stream
org.springframework.cloud
spring-cloud-starter-stream-rabbit
启动类需要添加如下注解
/*turibine监控*/
@EnableTurbineStream
@EnableCircuitBreaker
/*Dashboard监控*/
@EnableHystrixDashboard
接下来的操作才是关键
1,将注册中心 服务提供者 服务调用者 都启动
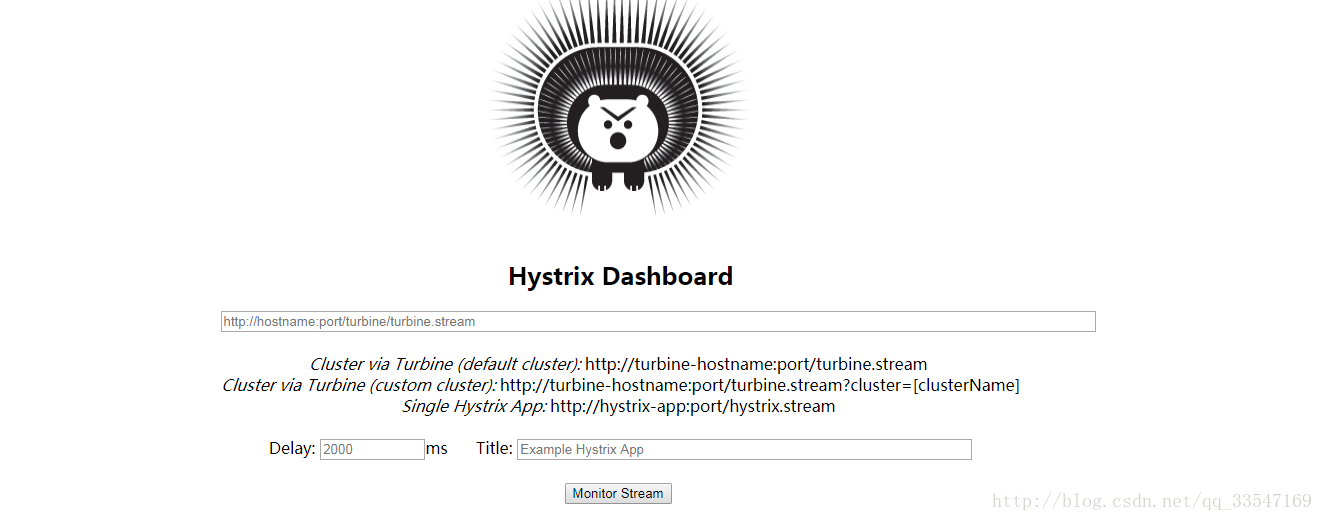
2.访问服务提供者 ip:port/hystrix 如图

3. 图中总共有三个文本框,其中第一个文本框是必填的,填写的是服务调用者的 ip:port/hystrix.stream,然后点击Monitor Stream.

4. 注意,如果第一个文本框填写的不正确会展示如下内容

5. 访问服务调用者,当然,该服务调用者提供的接口需要调用服务提供者提供的接口的
6.这时候就能看到如下内容,就证明你成功了

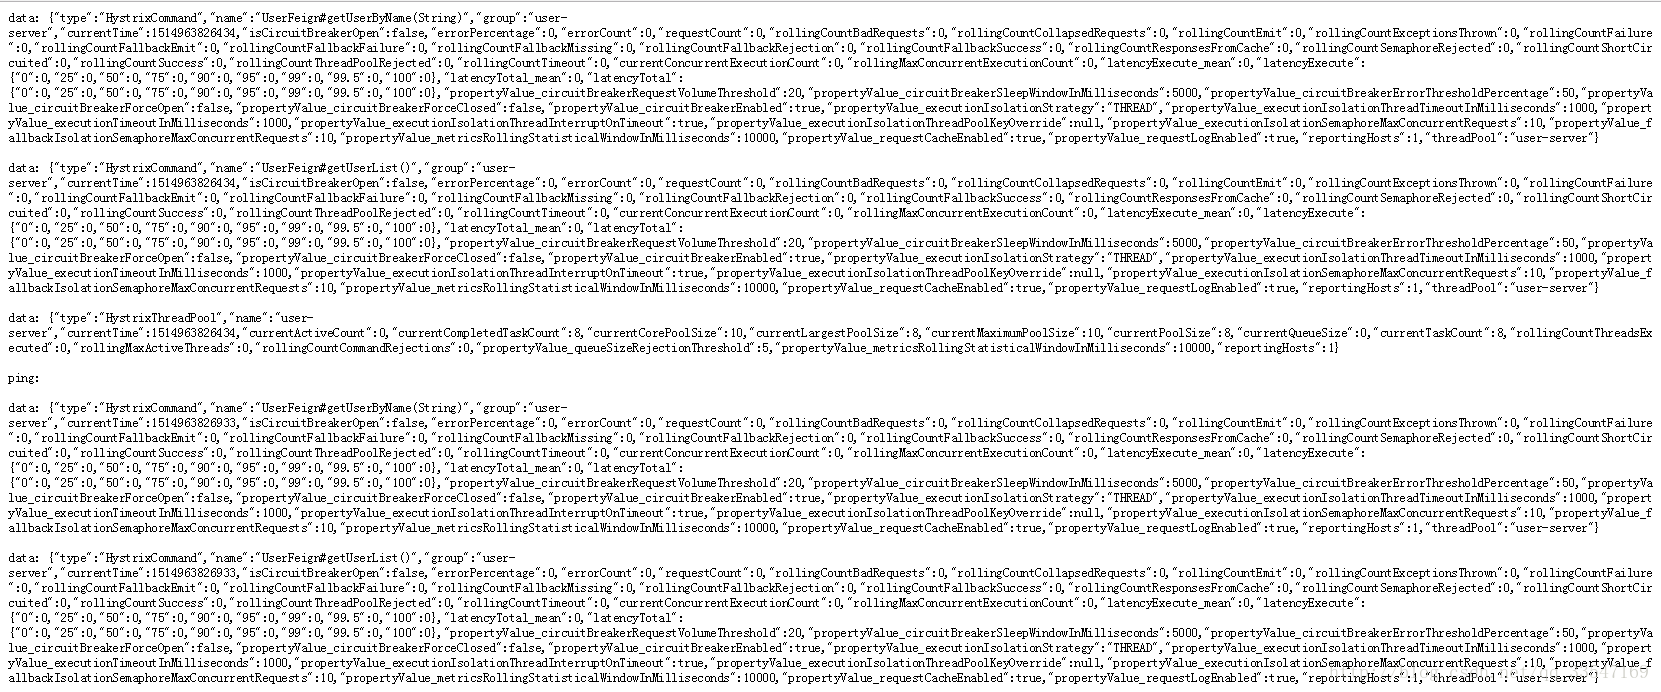
访问hystrix.stream
访问该连接时,想要出现如下的情况

这个就要访问服务提供者的 ip:port/hystrix.stream
以上就是本文的全部内容,希望对大家的学习有所帮助,也希望大家多多支持脚本之家。


...)


