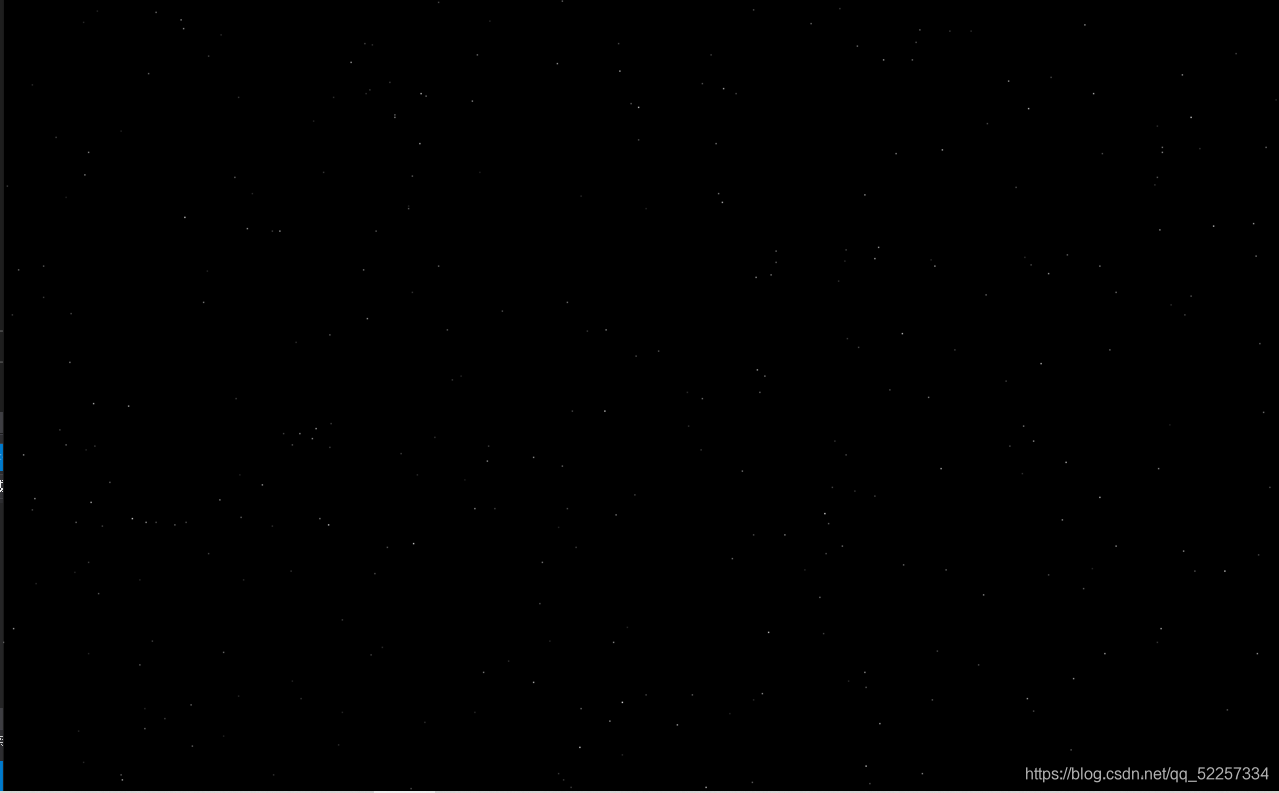
大家好,这是我学完C++后,完整的编写的一个程序之一,有兴趣的可尝试编写,画面(动态的)还可以。

本程序总结有两个版本,分别是对C++中的继承、多态等一些方面的练习。
编写用的是VS2019,easyx。
首先,来写第一个版本,也是最基础的版本,后续的都是在这个上进行一些细节的优化。有更好想法的小伙伴欢迎来一起讨论。
#include<iostream>
#include<graphics.h>
#include<time.h>
#include<coino.h>
#define SCREEN_WIDTH  1024
#define SCREEN_HEIGHT  840
using  namespace std;
//创建一个星星类管理数据
class star
{public:star(){}void Init();void move();~star(){}
private:double		m_x=0;int			m_y;int			m_color;double		m_step;
};
void star::Init() //对星星的初始化
{if (m_x == 0){m_x = rand() % SCREEN_WIDTH;}else{m_x = 0;}m_y = rand() % SCREEN_HEIGHT;m_step = (rand() % 5000) / 1000.0 + 1;m_color = (int)(m_step * 255 / 6.0 + 0.5);m_color = RGB(m_color, m_color, m_color);}
void star::move() //星星的移动
{putpixel((int)m_x, m_y, 0);m_x += m_step;if (m_x > SCREEN_WIDTH){this->Init();		\}putpixel((int)m_x, m_y, m_color);
}int main()
{srand((unsigned)time(NULL));initgraph(SCREEN_WIDTH, SCREEN_HEIGHT);star star[MAXSTAR];for (int i = 0; i < MAXSTAR; i++){star[i].Init();}while (!_kbhit()){for (int i = 0; i < MAXSTAR; i++){star[i].move();}Sleep(30);}closegraph();return 0;}
有编译环境的可以上机跑一下,代码不是很难。
接下来这个版本是升级版,对一些代码进行了优化,从上述代码中不难看出对星星的“画”、“檫”、“新的位置”这三个用得较多,不如将这三个单独用个函数写出,后面直接调用即可。
代码优化如下:
#include<iostream>
#include<graphics.h>
#include<windows.h>
#include<time.h>
#include<conio.h>
#define SCREEN_WIDTH    1024
#define SCREEN_HEIGHT   840
#define MAXSTAR         400
using namespace std;
class Star
{
public:Star() {}~Star() {}void Init();void Move();public:void Draw();void NewPos();void Remove();double  m_x = 0;int     m_y;double  m_step;int     m_color;};
class RectStar : public Star
{
public:RectStar() {}~RectStar() {}void Move(){Remove();NewPos();Draw();}protected:void Draw();void Remove();
};
void Star::Init()
{if (m_x == 0){m_x = rand() % SCREEN_WIDTH;}else{m_x = 0;}m_y = rand() % SCREEN_HEIGHT;m_step = (rand() % 5000) / 1000.0 + 1;m_color = (int)(m_step * 255 / 6.0 + 0.5);  // 速度越快,颜色越亮m_color = RGB(m_color, m_color, m_color);}void Star::Move()
{Remove();NewPos();Draw();}/*void Star::Draw()
{putpixel((int)m_x, m_y, m_color);
}*/void Star::NewPos()
{m_x += m_step;if (m_x > SCREEN_WIDTH)this->Init();
}
void Star::Draw()
{putpixel((int)m_x, m_y, m_color);setcolor(m_color);circle(m_x, m_y, 1);
}void Star::Remove()
{putpixel((int)m_x, m_y, 0);setcolor(0);circle(m_x, m_y, 1);
}
/*void Star::Remove()
{putpixel((int)m_x, m_y, 0);
}*/
int main()
{srand((unsigned)time(NULL));initgraph(SCREEN_WIDTH, SCREEN_HEIGHT);Star star[MAXSTAR];RectStar rstar[MAXSTAR];for (int i = 0; i < MAXSTAR; i++){star[i].Init();rstar[i].Init();}while (!_kbhit()){for (int i = 0; i < MAXSTAR; i++){star[i].Move();rstar[i].Move();}Sleep(50);}closegraph();return 0;}
是不是在运行后觉得一两种星的形状太枯燥了,接下来简单的用多态来实现不同的星星的形状
代码如下:
#include<iostream>
#include<graphics.h>
#include<time.h>
#include<conio.h>
#define SCREEN_WIDTH  1024
#define SCREEN_HEIGHT 840
#define MAXSTAR  400
using namespace std;
class StarType
{
public:virtual void Draw(int x, int y, int color) = 0;virtual void Remove(int x, int y) = 0;
};
class PointStar:public StarType
{void Draw(int x, int y, int color){putpixel((int)x, y, color);setcolor(color);circle(x, y, 1);}void Remove(int x, int y){putpixel((int)x, y,0);setcolor(0);circle(x, y, 1);}};
class RecStar :public StarType
{void Draw(int x, int y, int color){putpixel(x, y, color);setcolor(color);rectangle(x - 1,y - 1, x + 1, y + 1);}void Remove(int x, int y){putpixel(x, y, 0);setcolor(0);rectangle(x - 1, y - 1, x + 1, y + 1);}
};
class XStar :public StarType
{void Draw(int x, int y, int color){setcolor(color);outtextxy(x, y, _T("x"));}void Remove(int x, int y){settextcolor(0);outtextxy(x, y, _T("x"));}
};class Star
{
public:Star(){}~Star() {}void Init();void Move();void Init(StarType* pStarType);
public:void NewPos();double m_x;double m_y;int m_color;double m_step;StarType* m_pStarType;
};
void Star::Init()
{if (m_x == 0){m_x = rand() % SCREEN_WIDTH;}else{m_x = 0;}m_y = rand() % SCREEN_HEIGHT;m_step = (rand() % 5000) / 1000.0 + 1;m_color = (int)(m_step* 255 / 6.0 + 1);m_color = RGB(m_color, m_color, m_color);}
void Star::Init(StarType* pStarType)
{this->Init();m_pStarType = pStarType;
}
void Star::Move()
{m_pStarType->Remove(m_x,m_y);NewPos();m_pStarType->Draw(m_x, m_y, m_color);}
void Star::NewPos()
{m_x += m_step;if (m_x > SCREEN_WIDTH){this->Init();}}
void main()
{srand((unsigned)time(NULL));initgraph(SCREEN_WIDTH, SCREEN_WIDTH);Star star[MAXSTAR];PointStar pointstar;XStar xstar;RecStar restar;for (int i = 0; i < MAXSTAR; i++){switch (i % 3){case 0:star[i].Init(&pointstar);break;case 1:star[i].Init(&pointstar);break;case 2:star[i].Init(&pointstar);break;default:break;}}while (!kbhit){for (int i = 0; i < MAXSTAR; i++){star[i].Move();}Sleep(50);}closegraph();}
以上就是本次本人对对绘制星图的就简单理解。欢迎有志于学好C++的伙伴来分享C++学习心得和友好地评论。如是有问题看到了有时间的话会及时回复。感谢各位的观看。

)


搞定二维数组与循环嵌套)


)