0、前言
微服务架构上众多微服务通过REST调用,可能需要很多个服务协同才能完成一个接口功能,如果链路上任何一个服务出现问题或者网络超时,都会形成导致接口调用失败。随着业务的不断扩张,服务之间互相调用会越来越复杂。如何清晰地记录服务的调用链路,方便将来问题的定位,Spring cloud sleuth组件正是为了解决微服务跟踪的组件。
回到顶部
1、项目集成sleuth(zipkin)
1-1、运行服务端
服务端有两种方式:
一种是自己构建spring boot项目,自行定制编译;spring boot 2.X后,官方不再推荐这种做法,
一种是直接下载编译好的JAR包,直接运行,这也是官方的推荐做法;
我们下载好JAR包后,直接运行,默认端口是9411,
java -jar zipkin-server-2.10.1-exec.jar
1-2、客户端集成
1-2-1、添加依赖:

org.springframework.cloud
spring-cloud-starter-zipkin
org.springframework.cloud
spring-cloud-starter-sleuth

1-2-2、添加配置

server:
port:8762spring:
application:
name: nacos-user
cloud:
nacos:
discovery:
server-addr: 127.0.0.1:8848sentinel:
transport:
dashboard: localhost:8849eager:truesleuth:
web:
client:
enabled:truesampler:
probability:1.0 # 将采样比例设置为 1.0,也就是全部都需要。默认是 0.1zipkin:
base-url: http://localhost:9411/ # 指定了 Zipkin 服务器的地址

完成
回到顶部
2、运行测试
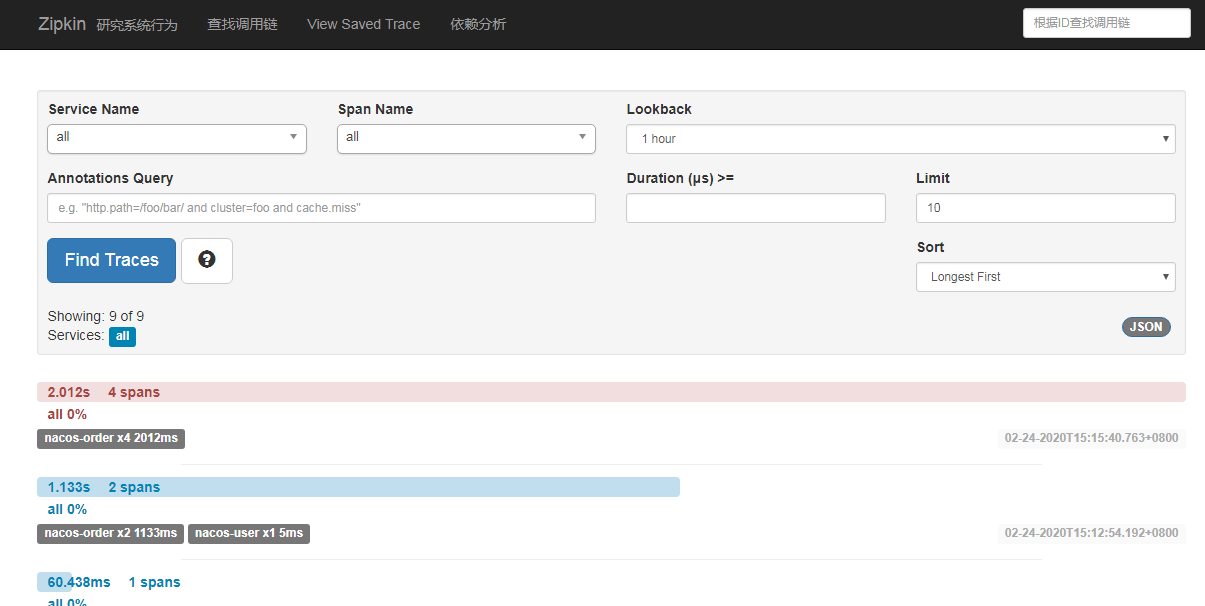
启动服务,启动客户端程序,http://localhost:9411/zipkin/ 就可以看到面板相关信息了:


各项指标的详细信息请参考官方文档


awt,UI)


:dom重点核心)

:高级事件导读)

...)
:attachment注册事件)

:注册事件兼容性处理)
)

 - 动画(下))