
audacity
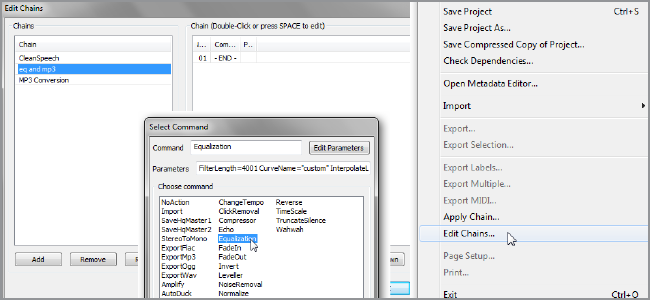
Got a bunch of files that need to be edited the same way? You can automate the process to save time and effort using Audacity’s Chain feature and modify tons of files at the same time.
有一堆需要以相同方式编辑的文件? 您可以使用Audacity的Chain功能自动执行该过程以节省时间和精力,并同时修改大量文件。
Batch processing is really useful when you want to make the same edits to multiple files. It comes in handy if you want to remove background noise from a series of audio lectures, remove clicks from recorded vinyl albums, or apply normalization to a bunch of sound clips. In our example, we’ll be creating an Equalizer preset and applying that to a series of wav files, then exporting them all as mp3s.
当您要对多个文件进行相同的编辑时,批处理非常有用。 如果您想消除一系列音频讲座中的背景噪音,消除录制的黑胶唱片中的咔嗒声或对一堆声音片段进行归一化处理,它会派上用场。 在我们的示例中,我们将创建一个均衡器预设并将其应用于一系列的wav文件,然后将它们全部导出为mp3。
设置我们的预设 (Getting Our Presets Set)
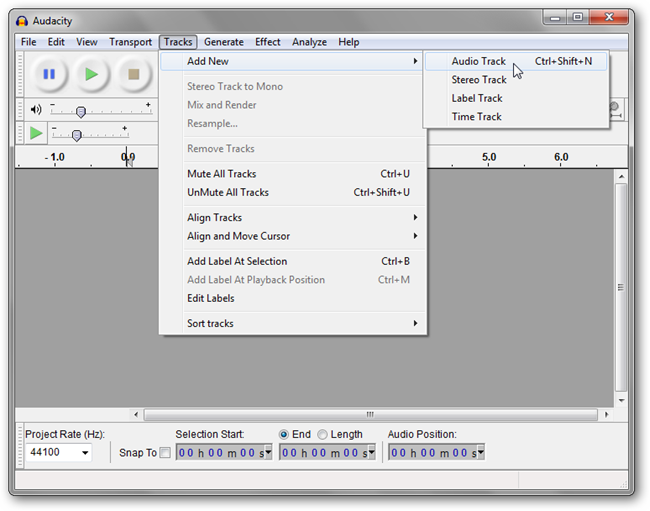
Let’s start by opening Audacity and go to Tracks > Add New > Audio Track.
首先,打开Audacity,然后转到“轨道”>“添加新的”>“音轨”。
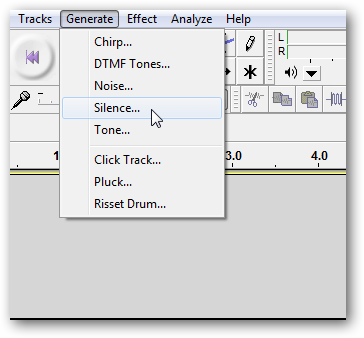
We’re only creating it so that we can edit some options that we can’t get to without a project loaded. Go to Generate > Silence.
我们只是在创建它,以便我们可以编辑一些没有加载项目就无法进入的选项。 转到生成>静音。
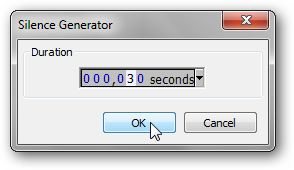
You’ll get a prompt for the duration. Just go with the default 30; it doesn’t really matter.
您会得到持续时间的提示。 只需使用默认值30; 没关系。
Go to Effect > Equalization.
转到效果>均衡。
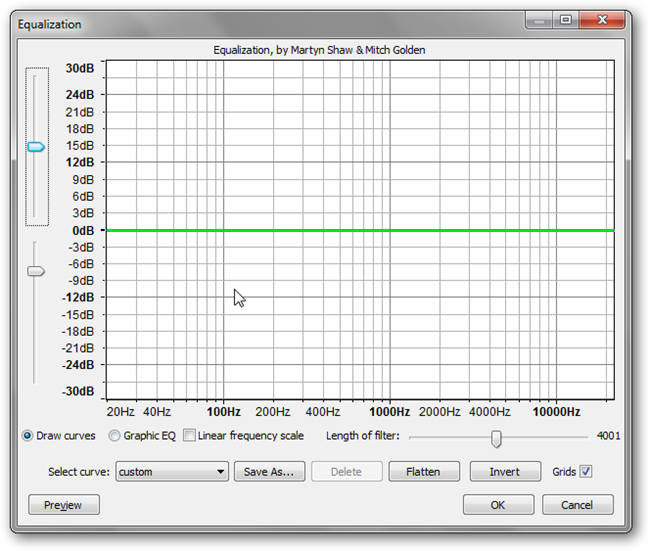
Here, you can click on intersections on the line to redraw it. This is a visual way to edit the equalizer settings. I’m tweaking some of my sitar tracks from long ago, so I’ll bump the highs and lows a bit. Of course, you should edit the EQ for whatever your needs are.
在这里,您可以单击直线上的交叉点以重绘它。 这是编辑均衡器设置的直观方法。 我正在调整很久以前的一些西塔琴曲目,所以我会碰到一些高点和低点。 当然,无论您需要什么,都应编辑均衡器。
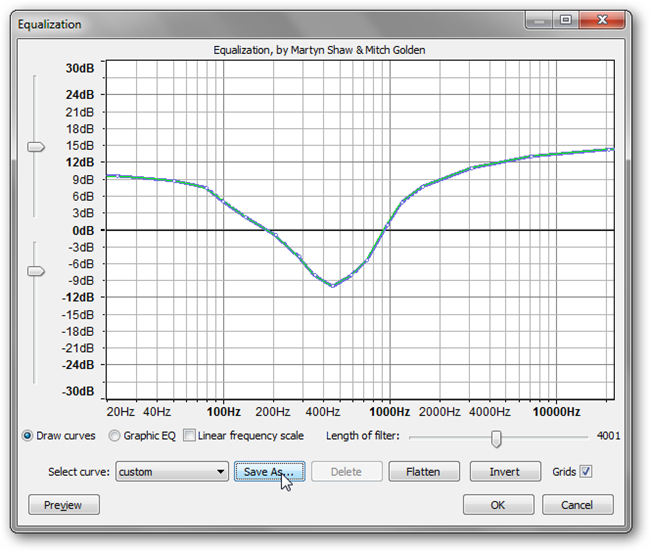
That’s much better. Now click on Save As to save your preset.
那好多了。 现在单击另存为以保存您的预设。
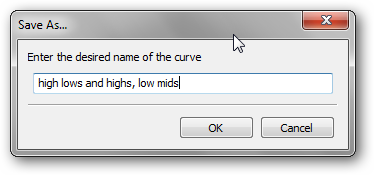
Give it a name. Then click OK until you’re back at the main window. Then go to File > Export.
给它起个名字。 然后单击“确定”,直到返回主窗口。 然后转到文件>导出。
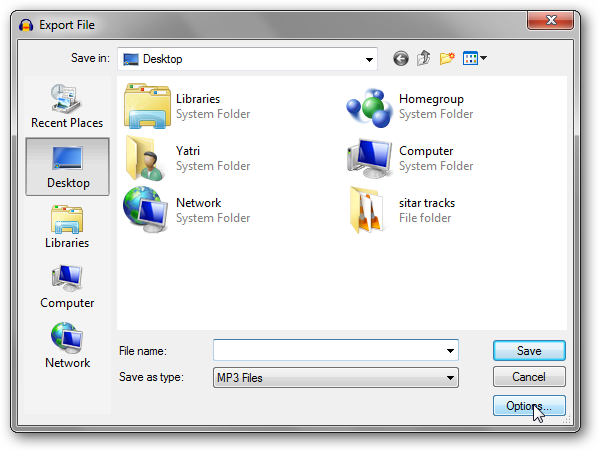
We’re going to change the mp3 export options, so choose mp3 from the drop-down and click Options.
我们将更改mp3导出选项,因此从下拉列表中选择mp3,然后单击选项。
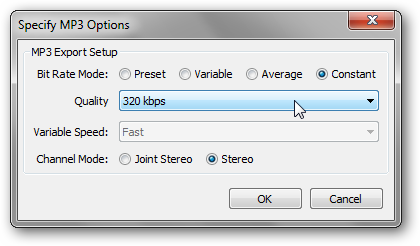
I want this down in high quality, so I chose 320 kbps. Click OK. You don’t actually have to save your fake project, so just hit cancel and close the track.
我想要高质量的,所以我选择了320 kbps。 单击确定。 您实际上不必保存您的假项目,因此只需单击取消并关闭轨道即可。
创建和应用链 (Creating and Applying Chains)
To create a “Chain” of effects and processes, go to File > Edit Chains. You’ll see a window like so:
要创建效果和过程的“链”,请转到“文件”>“编辑链”。 您会看到一个这样的窗口:
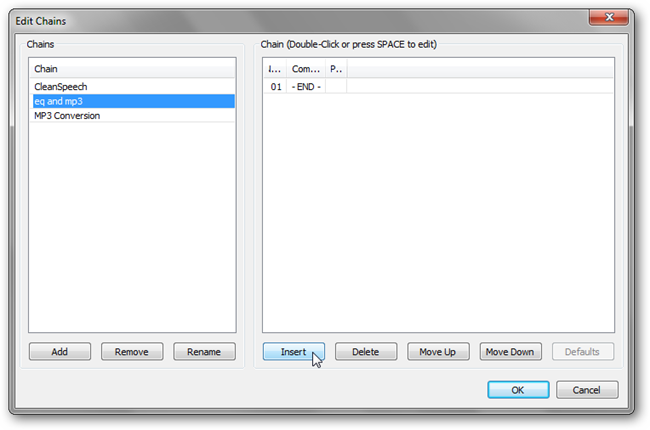
Click Add to create a new chain and give it a name. Then click on Insert to add an effect.
单击添加以创建一个新链并为其命名。 然后单击插入以添加效果。
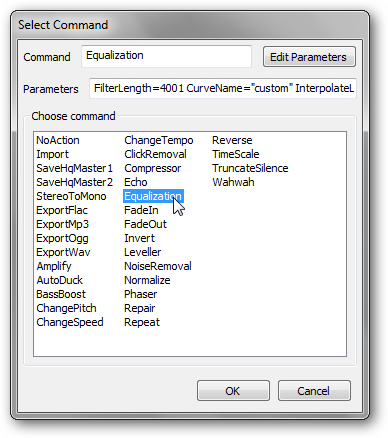
Here, double-click on Equalization to bring up the parameters. Click on the Edit Parameters button.
在这里,双击“均衡”以调出参数。 单击编辑参数按钮。
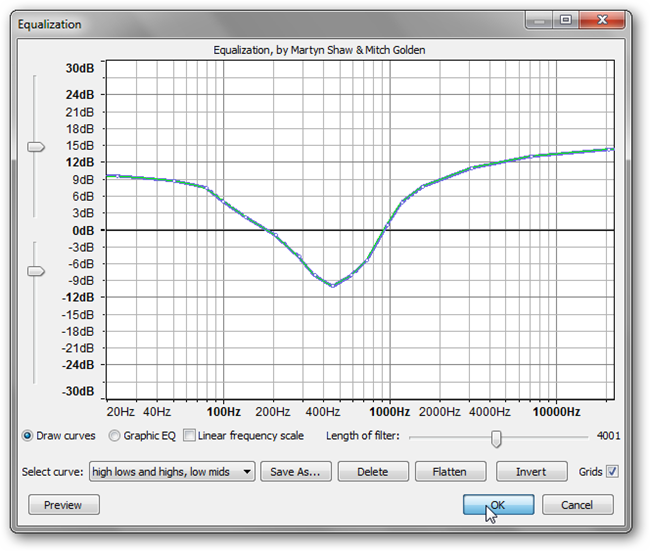
Where it says Select Curve, choose the new EQ preset we made earlier, then click OK twice. You’ll be back at the Edit Chains window, so click Insert again to add another process to our chain.
在显示选择曲线的地方,选择我们之前创建的新EQ预设,然后单击确定两次。 您将回到“编辑链”窗口,因此再次单击“插入”将另一个过程添加到我们的链中。
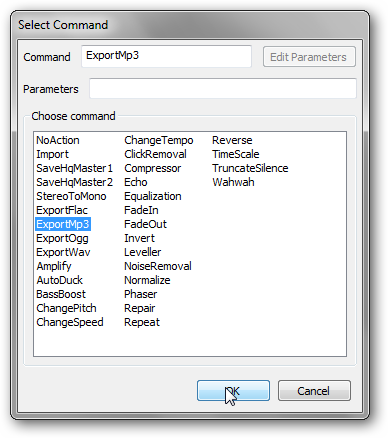
Double-click on ExportMp3. Unfortunately, you can’t edit the parameters here, which is why we did it earlier. Click OK, then at the Edit Chains window click OK. Our chain is all saved!
双击ExportMp3。 不幸的是,您不能在此处编辑参数,这就是我们之前进行编辑的原因。 单击“确定”,然后在“编辑链”窗口中单击“确定”。 我们的连锁店已全部保存!
To actually batch process files, we need to go to File > Apply Chains.
要实际批处理文件,我们需要转到文件>应用链。
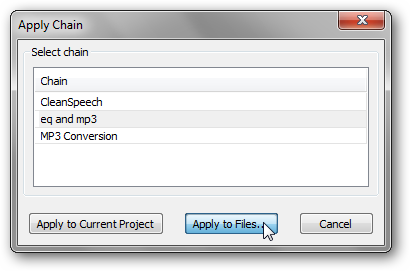
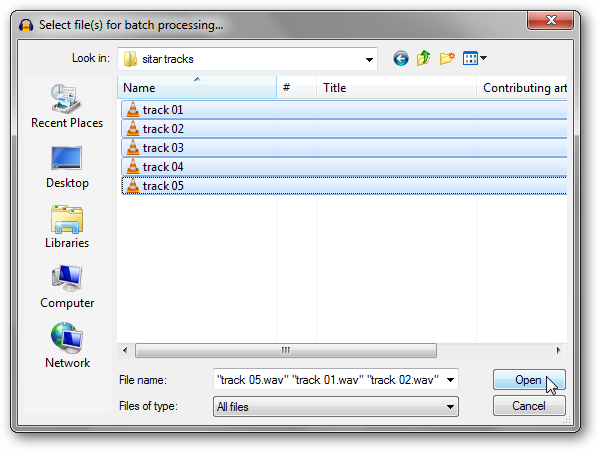
You can select a chain and apply it to your current project as well, but for our guide, let’s apply it to a couple of different files.
您可以选择一个链并将其也应用于当前项目,但是对于我们的指南,让我们将其应用于几个不同的文件。
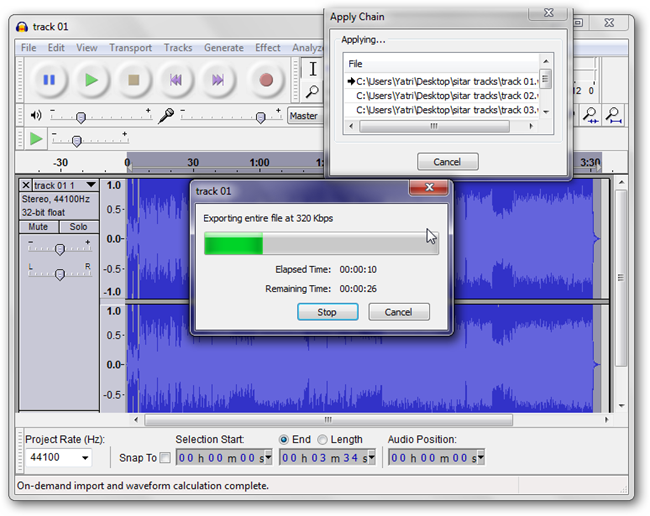
Then, sit back and watch Audacity work for you!
然后,坐下来观看Audacity为您服务!
Batch processing comes in handy when you want to repeat long effect chains to multiple files, or even for common functions in standard editing. It’s perfect for low-maintenance changes, like cleaning up dictations and exporting them in compressed formats. Share your uses and favorite effects in the comments!
当您想要将长效链重复到多个文件时,甚至对于标准编辑中的常用功能,批处理都非常方便。 它是低维护更改的理想选择,例如清理口述并以压缩格式将其导出。 在评论中分享您的使用和喜爱的效果!
翻译自: https://www.howtogeek.com/57571/how-to-quickly-edit-multiple-files-in-audacity/
audacity


store和localstorage中)


之开始centos学习,网络配置)


![[sol]250OJ 1~10](http://pic.xiahunao.cn/[sol]250OJ 1~10)


)