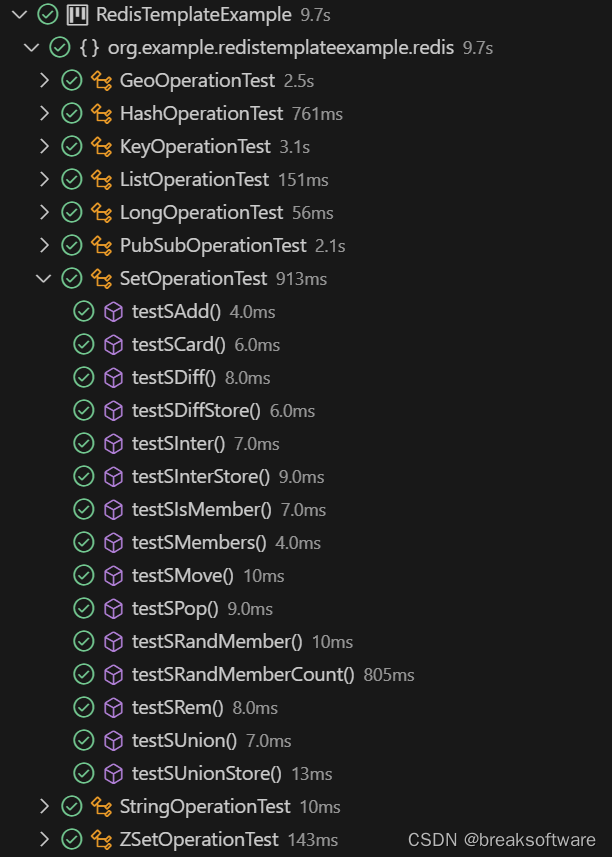
本例将展示,如何在Springboot3中完成:
- Redis功能的Web接口实现
- 构建Redis功能的单元测试
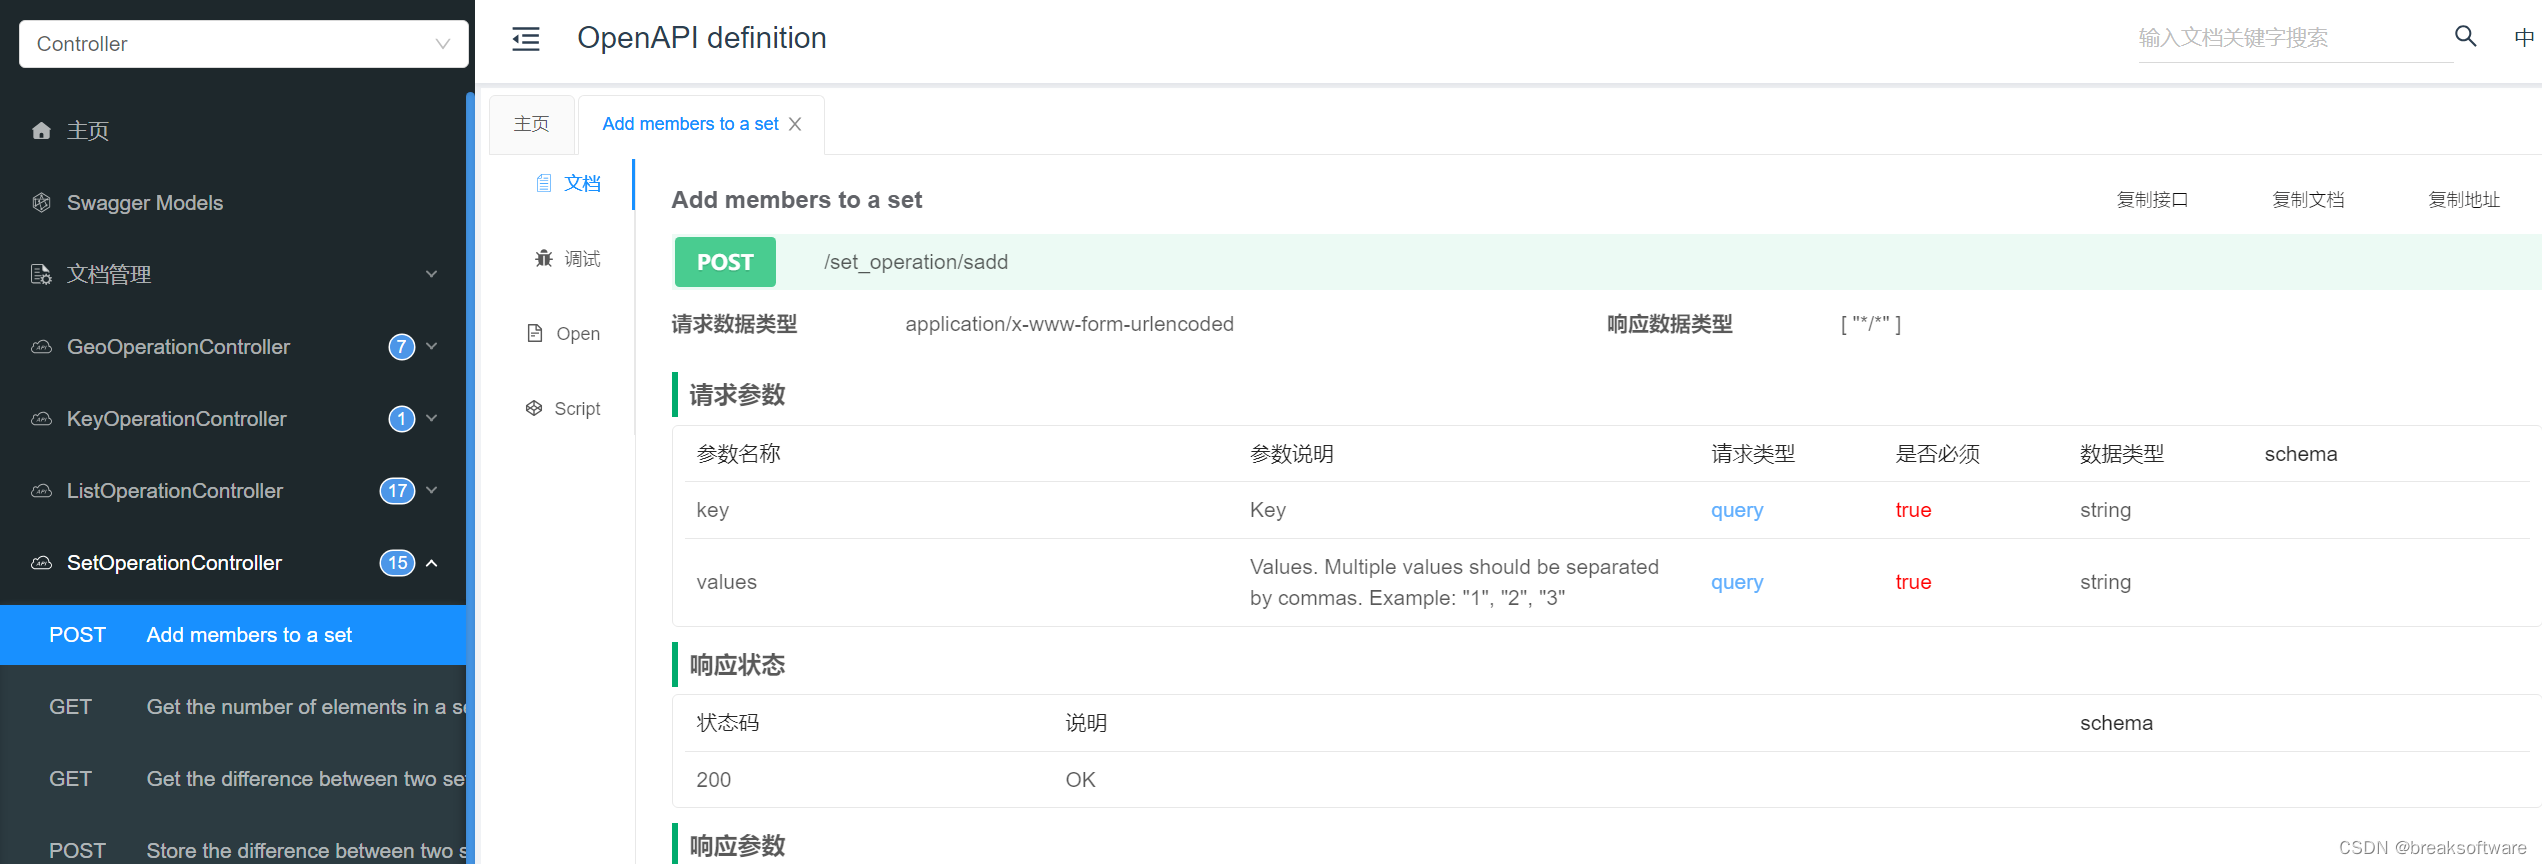
- knife4j自动化生成文档
Redis功能
Pom.xml
<dependency><groupId>org.springframework.boot</groupId><artifactId>spring-boot-starter-data-redis</artifactId></dependency>
application.yml
用于指定Redis的地址和端口信息
spring:data:redis:host: 127.0.0.1port: 6379
Redis操作代理文件
使用RedisTemplate自动化加载上述配置,然后借用它的方法完成Redis的操作。
// SetOperation.java
package org.example.redistemplateexample.redis;import jakarta.annotation.Resource;import org.springframework.data.redis.core.RedisTemplate;
import org.springframework.stereotype.Component;@Component
public class SetOperation {@Resourceprivate RedisTemplate<String, String> redisTemplate;/*** Adds the specified members to the set stored at the given key.** @param key    the key of the set* @param values the members to be added to the set* @return the number of elements that were added to the set*/public Long SAdd(String key, String... values) {return redisTemplate.opsForSet().add(key, values);}……
}
Redis单元测试
Pom.xml
<dependency><groupId>org.springframework.boot</groupId><artifactId>spring-boot-starter-test</artifactId><scope>test</scope></dependency>
测试文件
package org.example.redistemplateexample.redis;import java.util.ArrayList;
import java.util.List;
import java.util.Set;import org.junit.jupiter.api.Test;
import org.springframework.beans.factory.annotation.Autowired;import org.springframework.boot.test.context.SpringBootTest;
import org.springframework.data.util.Pair;import static org.junit.jupiter.api.Assertions.*;@SpringBootTest
public class SetOperationTest {@Autowiredprivate SetOperation setOperation;@Testpublic void testSAdd() {Pair<String, ArrayList<String>> pair = KeyGenerator.generateSetString("testSAdd", 3);final String key = pair.getFirst();final ArrayList<String> values = pair.getSecond();assertEquals(3, setOperation.SAdd(key, values.toArray(new String[0])));}……
}
KeyGenerator是我用于生成测试数据的工具类
package org.example.redistemplateexample.redis;import org.springframework.data.util.Pair;import java.util.ArrayList;public class KeyGenerator {public static Pair<String, ArrayList<String>> generateSetString(String biz, int count) {long currentTime = System.currentTimeMillis();String key = STR."\{biz}_key_\{currentTime}";ArrayList<String> list = new ArrayList<>();for (int i = 0; i < count; i++) {list.add(STR."\{biz}_value_\{i}");}return Pair.of(key, list);}
}

Web接口
Pom.xml
<dependency><groupId>org.springframework.boot</groupId><artifactId>spring-boot-starter-web</artifactId></dependency>
application.properties
spring.application.name=RedisTemplateExample
server.port=8080
Controller
package org.example.redistemplateexample.controller;import org.example.redistemplateexample.redis.SetOperation;
import org.springframework.beans.factory.annotation.Autowired;
import org.springframework.web.bind.annotation.PostMapping;
import org.springframework.web.bind.annotation.RequestMapping;
import org.springframework.web.bind.annotation.RestController;import java.util.Arrays;
import java.util.ArrayList;@RestController
@RequestMapping("/set_operation")
public class SetOperationController {@Autowiredprivate SetOperation setOperation;@PostMapping("/sadd")public Long sadd(String key, String values) {ArrayList<String> valuesList = new ArrayList<String>(Arrays.asList(values.split(",")));return setOperation.SAdd(key, valuesList.toArray(new String[0]));}……
}
自动化生成文档
我们使用knife4j
Pom.xml
<dependency><groupId>com.github.xiaoymin</groupId><artifactId>knife4j-openapi3-jakarta-spring-boot-starter</artifactId><version>4.5.0</version></dependency>
application.yml
springdoc:swagger-ui:path: /swagger-ui.htmltags-sorter: alphaoperations-sorter: alphaapi-docs:path: /v3/api-docsgroup-configs:- group: 'Controller'paths-to-match: '/**'packages-to-scan: org.example.redistemplateexample.controllerknife4j:enable: truesetting:language: zh_cn
packages-to-scan是我们让knife4j搜索的包名
对Controller的修改
controller可以不修改,但是可以增加部分信息,让knife4j看起来更美观。
//
// add for knife4j.非必须
@Tag(name = "SetOperationController")
//
@RestController
@RequestMapping("/set_operation")
public class SetOperationController {@Autowiredprivate SetOperation setOperation;
//// add for knife4j.非必须@Operation(summary = "Add members to a set")@Parameters({@Parameter(name = "key", description = "Key"),@Parameter(name = "values", description = "Values. Multiple values should be separated by commas. Example: \"1\", \"2\", \"3\"")})
//    @PostMapping("/sadd")public Long sadd(String key, String values) {ArrayList<String> valuesList = new ArrayList<String>(Arrays.asList(values.split(",")));return setOperation.SAdd(key, valuesList.toArray(new String[0]));}
然后我们在http://127.0.0.1:8080/doc.html就可以看到各个接口的文档。


题外
由于我们使用的是Java22,会使用到一些新特性,在Vscode中编译时会报如下错误。
String Template is a preview feature and disabled by default. Use --enable-preview to enable
我们只需要在Pom.xml中加入如下内容,即可解决(重启Vscode)
<plugin><groupId>org.apache.maven.plugins</groupId><artifactId>maven-compiler-plugin</artifactId><version>3.13.0</version><configuration><release>22</release><compilerArgs><arg>--enable-preview</arg></compilerArgs></configuration></plugin>
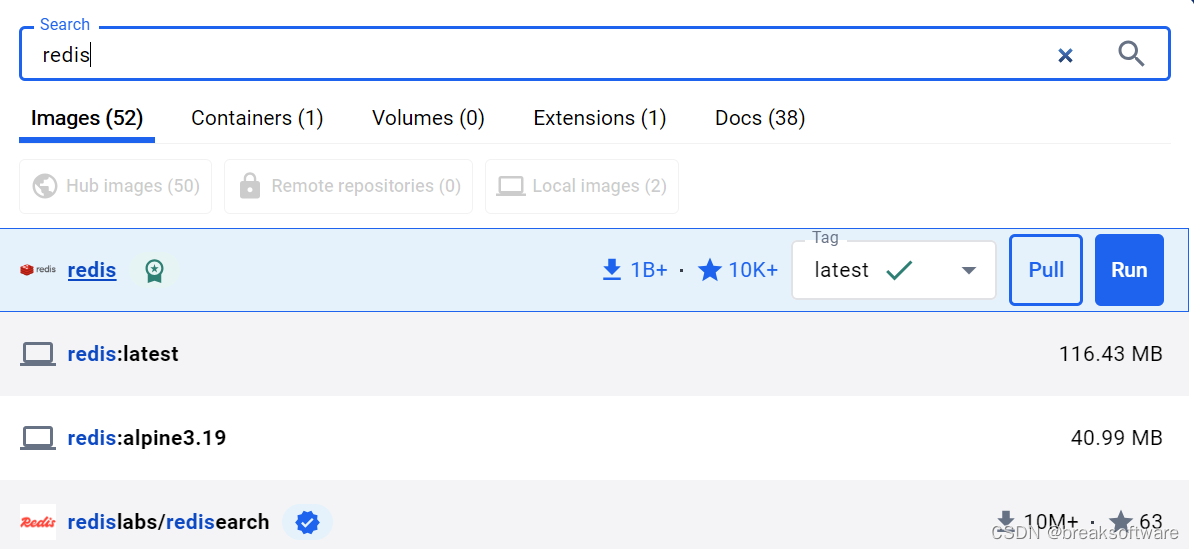
测试的Redis可以使用Docker方案,然后映射本地的端口(和yml文件中端口一致就行)
docker pull redis

完整项目
https://github.com/f304646673/RedisTemplateExample.git
)
配置文件详解)

)


