pytorch环境安装
- 1. windows 环境安装
- 2. mac环境安装
- 3. linux环境安装
- 1. 申请云服务器 链接机器--Ubuntu
- 2. 环境配置
- 4. 不安装环境直接使用colab
- QA
课程链接: https://www.bilibili.com/video/BV18p4y1h7Dr?p=1&vd_source=eb04c9a33e87ceba9c9a2e5f09752ef8
1. windows 环境安装
https://www.bilibili.com/video/BV18K411w7Vs/?share_source=copy_web&vd_source=eb04c9a33e87ceba9c9a2e5f09752ef8
2. mac环境安装
文档介绍:https://zh-v2.d2l.ai/chapter_installation/index.html
3. linux环境安装
1. 申请云服务器 链接机器–Ubuntu
2. 环境配置
# 升级一下环境
sudo apt update
# 安装一下gcc等环境  编译器等
sudo apt install build-essential
# 安装Python环境
sudo apt install python3.8
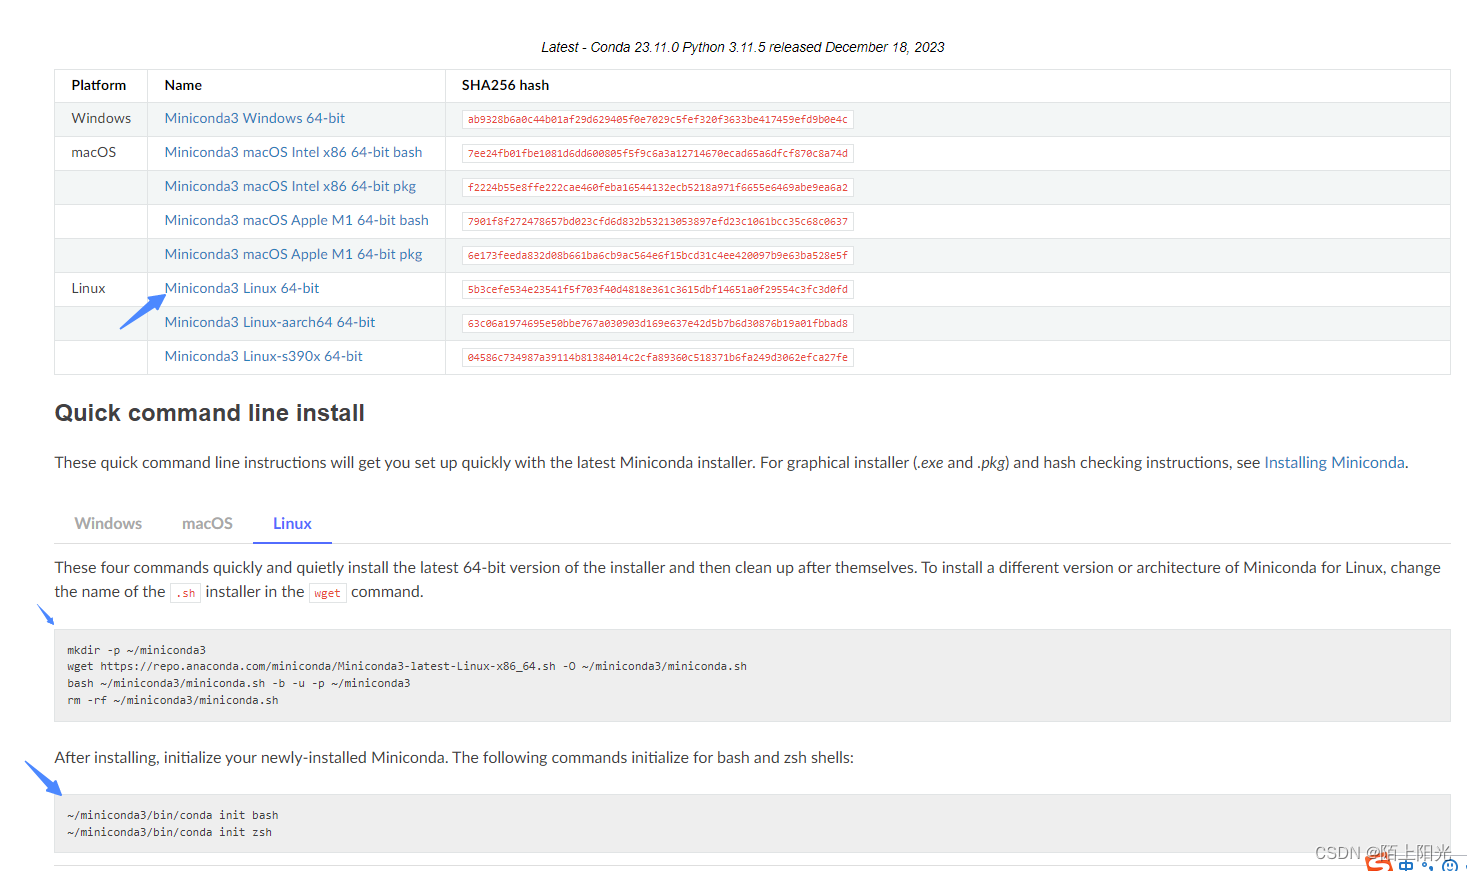
# 安装miniconda
# 下载conda
wget https://repo.anaconda.com/miniconda/Miniconda3-latest-Linux-x86_64.sh
# 安装conda
bash Miniconda3-latest-Linux-x86_64.sh  # 直接安装在home目录 所有yes
bash # 进入到base环境
# python包安装
pip install jupyter d2l torch torchvision torchaudio
# 安装慢的话可以用国内的源  比如清华源 下载安装快一些
# 下载jupyter记事本 http://zh-v2.d2l.ai
wget https://zh-v2.d2l.ai/d2l-zh.zip
# 解压文件
sudo apt install zip
unzip d2l-zh.zip
# github  d2l-ai/d2l-zh-pytorch-slides 幻灯片路径
# 把远端机器的8888端口map到本地 远端开发机网页在本地打开
# 需要 本地机器term窗口 远端开发机IP 账号及密码 IP用自己的 下面IP是瞎写的
ssh -L8888:localhost:8888 root@10.10.100.100
# 幻灯片格式数据 也在jupyter打开 需要rise插件
pip install rise
下载安装miniconda


4. 不安装环境直接使用colab
使用google colab工具,类似于jupyter notebook工具,每周有30H免费使用GPU
https://colab.research.google.com/drive/1SDfOXu4PtLSgqze4M8ZiNQe_DHw3b-KO#scrollTo=b39cdWaZrgO9
QA
- 豆瓣源 https://pypi.douban.com/simple/
- 清华源 https://pypi.tuna.tsinghua.edu.cn/simple https://mirrors.tuna.tsinghua.edu.cn/help/pypi/


![[每周一更]-(第28期):Windows服务自启动设置](http://pic.xiahunao.cn/[每周一更]-(第28期):Windows服务自启动设置)


)


)


